
 Owen Bradley
 An air purifier with a saturated filter is an expensive fan. Airflow drops, the motor works harder, and captured particles start blocking the very mesh that is supposed to trap them. Yet filter changes are also where owners lose money, either by replacing far too often, by buying counterfeit cartridges that void the warranty, or by trying to wash a HEPA element that was never designed to get wet. This guide covers how to replace an air purifier filter properly, how long each filter layer really lasts, how to reset the indicator light, and how to tell a genuine replacement from a look-alike.
Know Which Filters Your Unit Actually Has
Most room purifiers stack three stages, and each has a completely different service life. Understanding the difference stops you throwing away a HEPA element that still had six months in it.
The pre-filter is a coarse mesh or fabric screen that catches hair, lint and large dust. It is usually washable or vacuumable and should be cleaned every two to four weeks rather than replaced. Keeping it clean is the single biggest factor in extending the life of everything behind it.
The HEPA filter is the pleated white or off-white element that captures fine particulates down to 0.3 microns. It is a physical trap made of dense fibre and cannot be washed, brushed or vacuumed without destroying its structure. Typical life is 6 to 12 months of continuous use.
The activated carbon filter is a black granular or felted layer that adsorbs odours, smoke and volatile organic compounds. Carbon saturates on a chemical basis rather than by clogging, so it often needs replacing sooner than the HEPA, commonly every 3 to 6 months in a home with pets, cooking odours or smoke.
What You Need Before You Start
- The correct replacement filter, matched to your exact model number rather than the product family.
- A vacuum with a brush attachment for the pre-filter and housing.
- A dry microfibre cloth for the interior surfaces and sensors.
- A dust mask if the old filter is heavily loaded, plus a bin bag to seal it in.
- A small screwdriver only if your model uses a screwed rear panel; most use clips.
Find your model number on the label underneath or on the back of the unit, not on the box. Manufacturers frequently sell several filter sizes under one product name, and a filter that is one centimetre too small leaks unfiltered air straight past the seal.
Step-by-Step: Replacing the Filter
- Power down and unplug. Switch the unit off at the control panel first, then pull the plug. Never open the housing on a running purifier, since the fan blade sits close behind the filter on many designs.
- Move it somewhere you can clean up. A loaded filter releases dust when disturbed. A garage, balcony or bathroom beats the bedroom you are trying to keep clean.
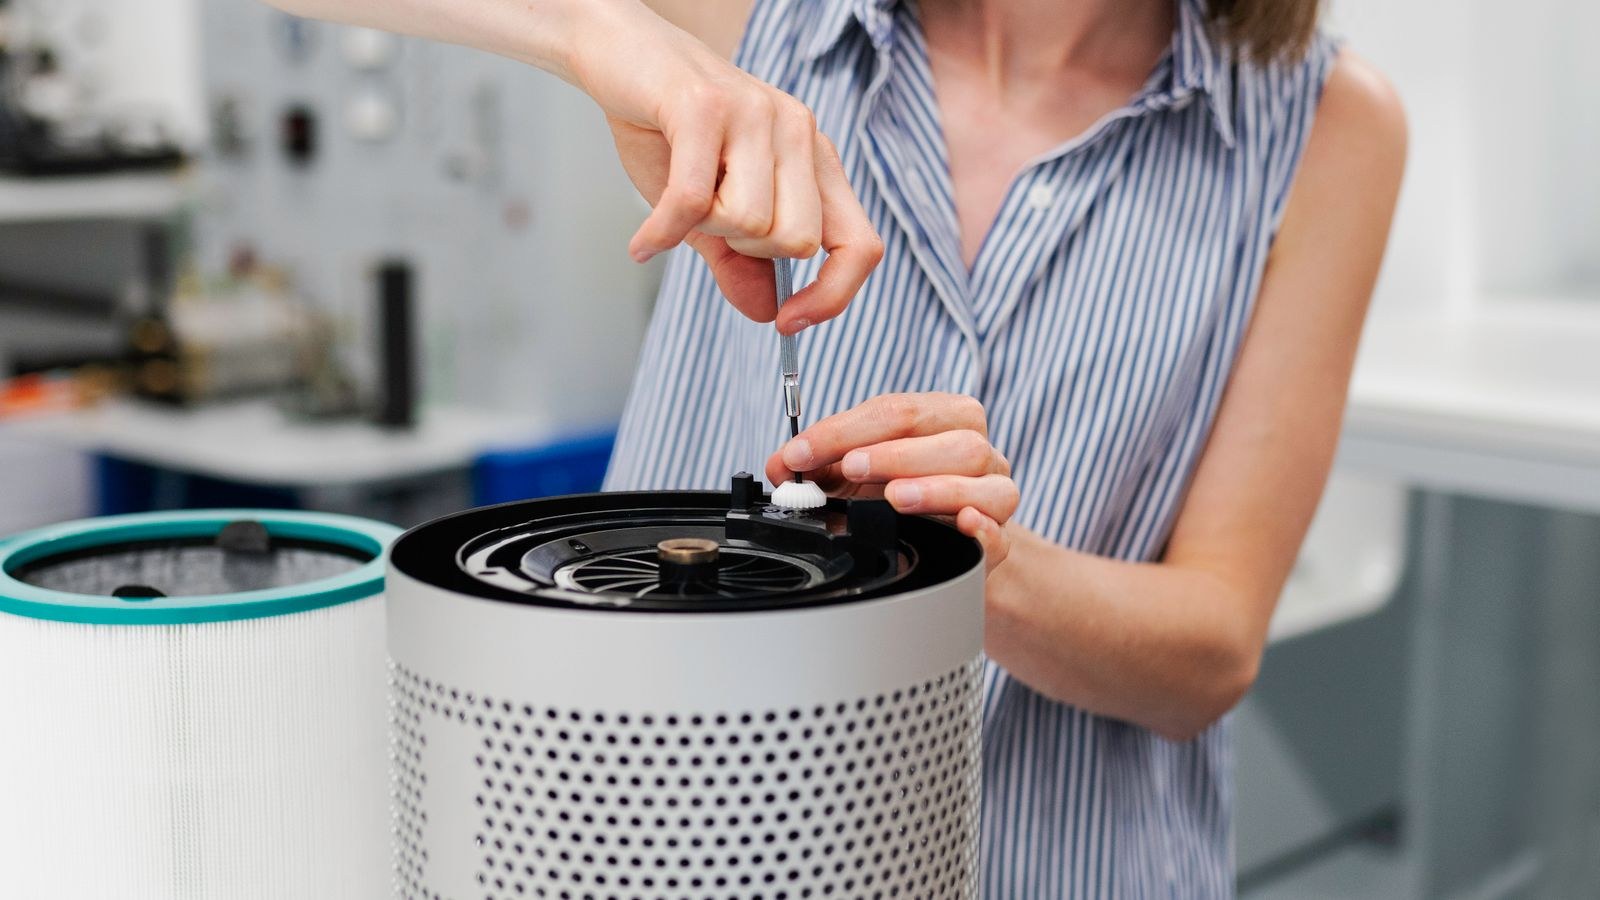
- Open the housing. Most units have a clip-on rear or front panel, or a twist-lock base. Note the orientation of every part as it comes out; photographing the assembly with your phone before removing anything saves guesswork later.
- Remove the old filter carefully. Pull it straight out without shaking it, and slide it directly into a bin bag. Seal the bag before carrying it through the house.
- Clean the housing and pre-filter. Vacuum the interior, the intake grille and the fan guard, then wipe with a dry cloth. If the pre-filter is washable, rinse it in lukewarm water and let it dry completely, which can take several hours. Refitting a damp pre-filter is a fast route to a musty smell.
- Wipe the air quality sensor. Units with a particle sensor have a small vented window on the side. Dust on the lens causes wildly wrong readings and makes auto mode run constantly. A dry cotton bud clears it.
- Unwrap the new filter completely. Every plastic sleeve must come off. Filters left in their shipping wrap are one of the most common reasons a new purifier appears to have no airflow at all.
- Fit it the right way round. Look for the airflow arrow printed on the frame and point it towards the fan. Combined HEPA and carbon cartridges usually have the carbon side facing the intake. Seat the filter fully so the gasket compresses evenly against the housing.
- Close the panel and confirm the interlock. Many units refuse to start unless the door sensor registers a properly closed panel. If nothing happens on power-up, the panel is not fully seated.
- Reset the filter indicator. With the unit powered on, press and hold the filter reset or child lock button for three to five seconds until the light blinks or clears. On models without a dedicated button, holding the fan speed or power button for the same time usually does it. Check the manual, because the indicator counts elapsed runtime and will otherwise keep nagging.
- Run it on high for ten minutes. This seats the filter, clears any manufacturing odour, and lets you confirm airflow feels strong and even across the outlet.
- Log the date. Write the replacement date on the filter frame in marker, or set a calendar reminder. It is far more reliable than trusting the indicator alone.

How Often Filters Really Need Changing
Manufacturer intervals assume moderate use in average air. Your actual schedule depends on runtime hours, fan speed, pets, smoking, cooking and outdoor pollution. A unit running continuously on high in a home with two dogs may need HEPA replacement at six months, while the same model on low in a clean apartment can reach twelve or more.
The indicator light is a timer, not a measurement, on the vast majority of units. Use these physical checks instead. Hold the filter up to a light: heavy grey loading across the whole pleat surface means it is done. Compare airflow at the outlet against how it felt when new. And trust your nose, because returning odours mean the carbon layer has saturated even if the HEPA looks fine.
Genuine Versus Third-Party Filters
Third-party filters can be perfectly good, but the risks are real. Undersized frames leak air around the edges, thin media offers lower capture efficiency than genuine HEPA, and skimpy carbon layers saturate within weeks. Some manufacturers also state that non-approved consumables void the warranty, so check the terms before saving twenty dollars on a unit that cost several hundred.
If you do buy third-party, look for a stated HEPA grade rather than vague wording like HEPA-type or HEPA-style, confirm exact dimensions against the original, and check the carbon weight if it is published. Buy one first and compare it side by side with the old genuine filter before committing to a multi-pack.
When Replacing the Filter Is Not the Answer
If a new filter does not improve things, the unit may simply be undersized for the room. Clean air delivery rate should match your square footage with enough headroom to turn the air over several times an hour. Our air purifier buying guide explains how to translate room size into the rating you need, and the models in our roundup of the best large room air purifiers suit open-plan spaces where a compact unit will always struggle.
Placement matters just as much. A purifier pressed into a corner or hidden behind a sofa recirculates its own output. Our walkthrough on how to set up an air purifier in a bedroom covers clearances and overnight fan speed. If your current unit is old, noisy or expensive to feed, compare running costs against the models in our best HEPA room air purifiers list, or the quieter designs in our best air purifiers for bedrooms roundup.
Common Mistakes to Avoid
- Washing a HEPA filter. Water collapses the fibre structure permanently, even if it looks fine afterwards.
- Leaving the plastic wrap on. The single most common cause of a new filter delivering no airflow.
- Fitting it backwards. The airflow arrow exists for a reason; reversed cartridges dump carbon dust into the room.
- Ignoring the pre-filter. A clogged pre-filter can halve the life of the HEPA behind it.
- Forgetting the reset. The indicator will keep flashing and you will lose track of the real schedule.
- Buying by product name only. Always match the model number printed on the unit itself.
Frequently Asked Questions
Can I vacuum a HEPA filter to extend its life?
No. Vacuuming tears the fine fibres and pulls embedded particles deeper into the media, reducing efficiency while appearing to clean it. Only the pre-filter should be vacuumed.
What happens if I never change the filter?
Airflow falls steadily, the motor draws more power and runs hotter, capture performance drops, and a saturated carbon layer can begin releasing trapped odours back into the room.
Does the indicator light measure actual filter loading?
On most units it is a simple runtime counter. A few premium models use a pressure sensor. Verify visually before assuming the light is right in either direction.
Should I run the purifier all the time?
Continuous low-speed operation generally keeps particle levels lower than intermittent high-speed bursts, and it is easier on the motor. Budget for slightly more frequent filter changes in exchange.
Can I replace only the carbon layer?
Only if your model sells the layers separately. Many units use a bonded HEPA and carbon cartridge that has to be replaced as a single piece.
Final Thoughts
Replacing an air purifier filter takes ten minutes and rewards a little care. Match the filter to the exact model number, unwrap it fully, orient it by the airflow arrow, clean the housing and sensor while the unit is open, and reset the indicator so your schedule stays honest. Keep the pre-filter clean between changes and you will stretch the expensive HEPA layer close to its full rated life. Do that consistently and your purifier will keep delivering the airflow it was rated for right through 2026, rather than quietly fading into an overpriced fan.









