
 Owen Bradley
 Installing blinds inside a window frame is one of the most satisfying afternoon projects in a house, largely because the result looks professional out of proportion to the effort. An inside mount tucks the headrail neatly within the window opening, showing off the casing and giving a clean, built-in appearance that outside mounts never quite match. The catch is that inside mounts are unforgiving: the opening has to be deep enough, the measurements have to be right to the sixteenth of an inch, and the brackets have to be dead level or the slats will bind. This walkthrough covers measuring for depth and width, marking and drilling brackets, shortening the blind to the correct drop, and fixing the problems that usually appear at the end of the job.
Inside Mount Versus Outside Mount
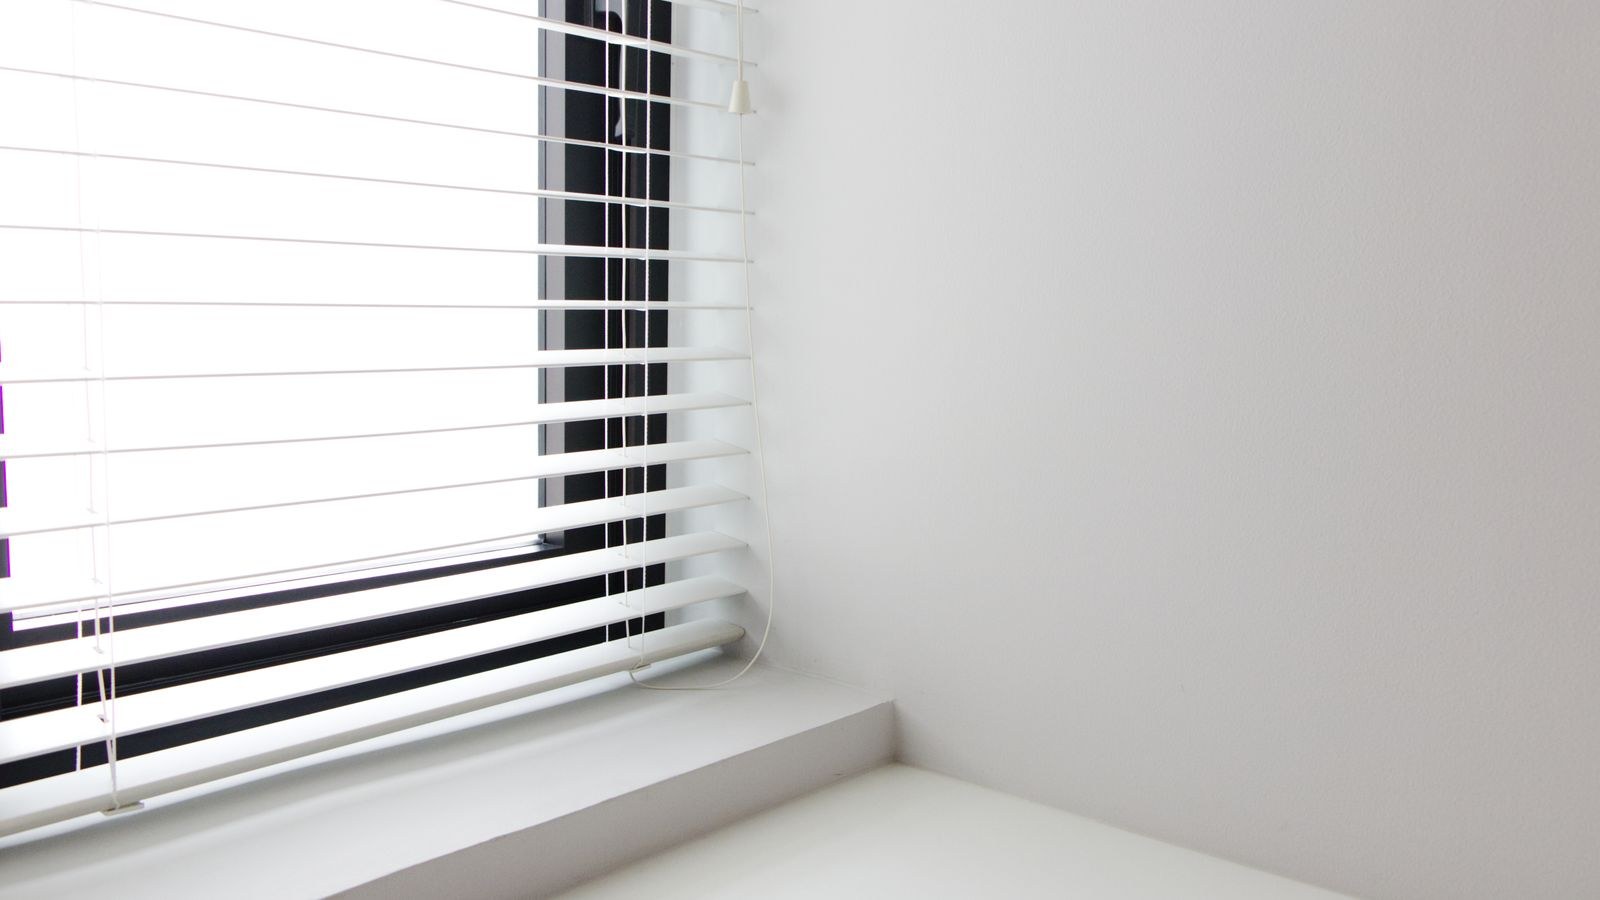
An inside mount sits entirely within the window recess, with the headrail screwed to the top of the opening or to the side jambs. It looks tidier, leaves the trim visible, and lets you layer curtains over the top without crowding. An outside mount attaches to the wall or casing above the window, covers the whole opening, and blocks more light around the edges.
Choose inside mount when the recess is deep enough for the headrail to sit flush or nearly flush, and when the opening is reasonably square. Choose outside mount when the recess is shallow, when the window is noticeably out of square, or when you need maximum light blockage in a bedroom. If you plan to combine blinds with drapery later, an inside-mounted blind pairs cleanly with panels hung on a wall rod; the curtain buying guide covers how to layer the two without the fabric fouling the slats.
Checking the Mounting Depth
Every blind lists a minimum depth for a flush inside mount and a smaller minimum for a partial mount where the headrail protrudes slightly. Measure from the face of the glass or the innermost obstruction to the front edge of the opening. Typical faux-wood horizontal blinds want around 2 to 2.5 inches for a flush mount and can partial-mount in about 1 inch. Cellular shades are much shallower. If you cannot meet even the partial-mount minimum, switch to an outside mount rather than forcing it.
Tools and Materials
- Steel tape measure — not a cloth or plastic tape, which stretches and costs you accuracy.
- Pencil and a small notepad for recording three width and three height readings.
- Torpedo level short enough to fit inside the window recess.
- Cordless drill with a small pilot bit and a driver bit for the bracket screws.
- Step stool so you can work square to the opening instead of reaching up at an angle.
- Blind shortening tools if the drop needs trimming — usually just needle-nose pliers and scissors.
- Hacksaw or slat cutter only if you are cutting the blind narrower, which most home installers should have the retailer do instead.
Step-by-Step: Installing Inside Mount Blinds
- Measure the width in three places. Measure the inside of the opening at the top, middle, and bottom. Record all three and use the narrowest reading. Round down to the nearest one-eighth inch. Do not subtract anything yourself — manufacturers deduct the necessary clearance, usually about a quarter to a half inch, when they cut the blind.
- Measure the height in three places. Measure from the top of the opening to the sill on the left, center, and right. Use the longest reading and round up so the blind covers fully when lowered.
- Check for square. Measure both diagonals of the opening. If they differ by more than about a quarter inch, the window is out of square and light gaps at the edges are unavoidable on an inside mount. Consider switching to an outside mount.
- Unpack and identify the parts. Lay out the headrail, mounting brackets, valance clips, wand or cord, and hardware bag. Confirm which bracket end faces front, since most are marked and installing them backward is the single most common assembly error.
- Position the brackets. Hold each bracket in its corner of the opening, set back from the front edge by the amount specified in the instructions — typically a half inch for a flush look. Keep both brackets the same distance from the front edge or the headrail will sit crooked.
- Mark and check level. Mark the screw holes with a pencil. Rest your torpedo level across the two marks or against a straightedge spanning them. Adjust before drilling; adjusting afterward means filling holes.
- Drill pilot holes. Use a bit slightly smaller than the screw shank. Pilot holes matter here — driving screws straight into hardwood jambs without them splits the wood, and the split often runs into visible trim.
- Fasten the brackets. Drive the screws until snug and the bracket sits flat. Do not overtighten into soft pine or you will crush the fibers and lose holding power.
- Snap in the headrail. Slide the headrail into the brackets and close the bracket doors until they click. Tug gently to confirm both ends are locked.
- Install the center support and valance. Wide blinds include a center support bracket that clips over the headrail; fit it before the valance. Then clip the valance onto the front of the headrail to hide the hardware.
- Test the operation. Raise and lower the blind fully, then tilt the slats open and closed through the full range. Anything that binds now will only get worse, so diagnose it before you shorten the blind.
- Shorten the drop if needed. Lower the blind fully and count how many slats pool on the sill. Remove the plugs from the bottom rail, untie the lift cord knots, slide out the excess slats and their ladder cords, reseat the bottom rail, retie the knots, and replace the plugs. Trim the ladder cord only after the blind hangs correctly.
Safety Notes
Corded blinds are a genuine strangulation hazard for young children and pets. If there are children in the home, choose cordless or wand-operated blinds outright. Where a corded blind is already installed, fit the supplied cord cleat high on the wall and wrap the excess cord every single time. Never leave a loop hanging within reach of a crib or a chair that can be climbed.
Wear eye protection when drilling overhead into a jamb, since chips fall straight down. Keep the drill unplugged or the battery out while changing bits. If you are drilling into a metal or vinyl window frame, use the fasteners supplied for that material rather than wood screws, and confirm there is no glazing seal or thermal break directly behind the mounting point.
Common Mistakes
- Subtracting clearance from the width yourself. The factory already does it. Doing it twice leaves a blind with visible gaps at both sides.
- Using the widest width measurement. Always use the narrowest, or the blind will not fit into the tightest point of the opening.
- Skipping the diagonal check. An out-of-square window produces wedge-shaped light gaps that no amount of adjustment will close.
- Mounting brackets at different setbacks. Even an eighth-inch difference front to back makes the headrail sit visibly askew.
- Forgetting the center support on wide blinds. The headrail bows under its own weight and the slats stop stacking evenly.
- Cutting the ladder cord before the blind is tested. Once cut, it cannot be lengthened, so test the full range of motion first.
Troubleshooting
If the blind will not snap into the brackets, the brackets are likely a fraction too far apart or one is rotated. Loosen one, reseat the headrail, then retighten. If the slats tilt unevenly, the headrail is not level or the tilt mechanism is not fully engaged with the wand — remove the headrail and reseat it.
If the blind lowers crookedly, the lift cords are wound unevenly on the drum. Raise it fully, let it sit for a day under its own weight, then lower it again. Persistent unevenness usually means one lift cord knot is tied at a different length than the other. If there are light gaps at the sides that bother you, add a light-blocking side channel or move to an outside mount; on an inside mount, some edge light is inherent to the design.
Frequently Asked Questions
How much depth do I need for an inside mount?
It depends on the product, but roughly 2 to 2.5 inches for a flush faux-wood blind and around 1 inch for a partial mount. Cellular and roller shades need less. Always check the specific minimum on the product page before ordering.
Should I round measurements up or down?
Round the width down and the height up, both to the nearest one-eighth inch. Width errors leave the blind unable to fit; height errors just leave a little extra to shorten.
Can I install blinds without drilling?
Some lightweight shades offer tension or adhesive brackets that work in shallow recesses, but they hold far less weight and can fail in humidity. For horizontal blinds with any real mass, screws are the reliable answer.
Do I need a center support bracket?
Yes for anything wider than roughly 36 to 48 inches, depending on the manufacturer. It prevents the headrail from sagging and keeps the lift and tilt working smoothly.
What if my window is not square?
Measure the diagonals. If they differ by more than a quarter inch, use an outside mount so the blind covers the discrepancy instead of revealing it. For window treatments that hide an awkward opening entirely, floor-length panels from a specialist retailer work well — the best online curtain stores carry made-to-measure drops for exactly this situation.
Final Thoughts
Inside mount blinds reward careful measurement more than skilled carpentry. Take three width readings and use the smallest, take three height readings and use the largest, check the diagonals for square, and confirm your recess depth before you order anything. From there the installation itself is a matter of setting both brackets at the same setback, keeping them level, drilling pilot holes, and testing the full range of motion before you shorten the drop. If you later want to soften the look, pair the blinds with drapery: our notes on choosing curtain rod length and picking curtain length and width explain how to size a rod that clears the headrail, and the roundup of the best ready-made curtains is a fast way to find panels in a standard drop that suits the window you just finished.









