
 Owen Bradley
 Wide windows are the single most common place where curtain rods go wrong. A rod that fits the window opening looks logical on paper and cramped in reality — the panels stack over the glass, the room loses light, and the window somehow looks smaller than it actually is. The fix is not a bigger curtain; it is a longer rod, hung wider and higher than instinct suggests, and supported properly across the middle so it does not sag under the weight of fabric that can easily exceed ten pounds. This guide walks through the measurements, the arithmetic, the support hardware, and the mounting sequence for getting curtain rod length right on picture windows, sliders, bays, and anything else too wide for a standard off-the-shelf rod.
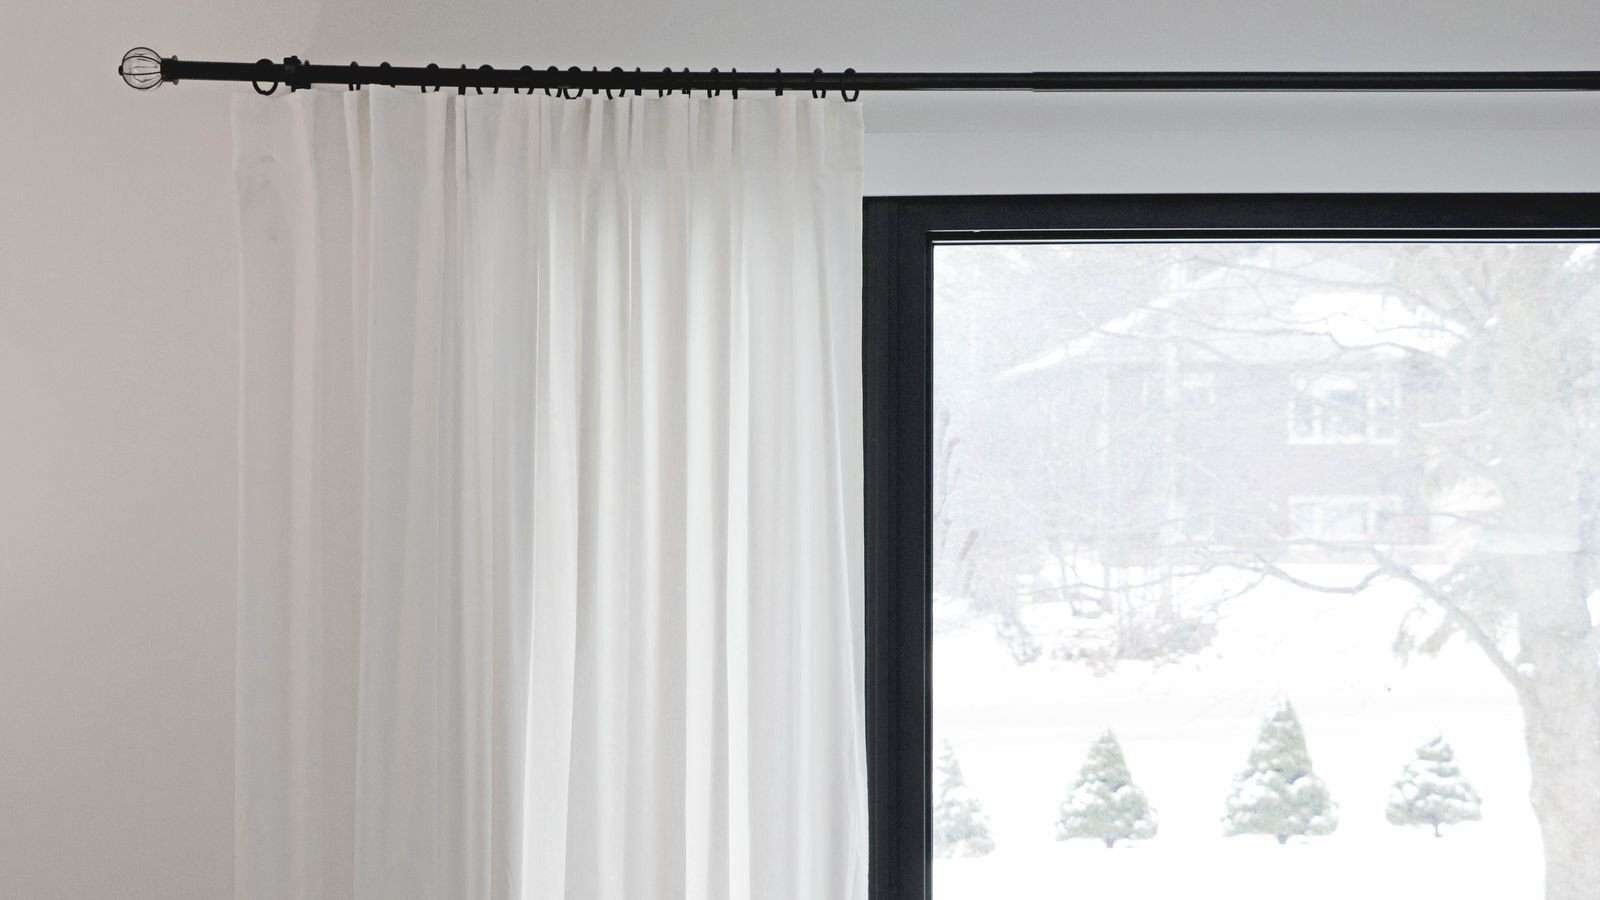
Why Rod Length Matters More Than Curtain Width
Curtains are only as good as the rod they hang from. On a wide window, the rod determines three things at once: how far the panels can travel off the glass when open, how much the window appears to grow visually, and whether the whole assembly stays level over time. Get the length wrong and no amount of expensive fabric rescues it.
The core principle is stackback — the horizontal space a fully opened curtain panel occupies when bunched at the side. Stackback is not optional; the fabric has to go somewhere. If the rod stops at the window frame, the stackback lands on the glass. Extending the rod past the frame moves that bunched fabric onto the wall instead, and the entire window opening stays clear. On a 96-inch window, proper rod extension can recover twenty inches or more of daylight.
Tools and Materials You Will Need
- Steel tape measure — at least 25 feet, and rigid enough to span the window without a helper if possible.
- Laser level or 4-foot spirit level — critical on wide spans, where a small angle becomes a visible slope.
- Stud finder — wide rods carrying heavy panels need real anchoring, not drywall alone.
- Drill, driver bits, and appropriate anchors — toggle bolts or self-drilling anchors rated well above the fabric weight.
- Pencil, painter’s tape, step ladder.
- The rod itself, plus a center support bracket for any span over 60 inches.
Step-by-Step: Measuring and Choosing the Length
- Measure the window opening width. Measure the outside edge of the trim, not the glass. Write it down — every later calculation starts here. On very wide windows, measure at the top, middle, and bottom; older houses are rarely square and you want the largest number.
- Add the extension on each side. The standard rule is 8 to 12 inches beyond the frame on each side. For wide windows carrying full-length panels, lean toward the upper end — 12 inches per side, or up to 18 inches if you have wall to spare and want maximum light. Total rod length = window width + (extension × 2).
- Check the wall actually has room. Walk the extension out with your tape. If a corner, a door casing, or a bookshelf intrudes, reduce that side and accept a slightly asymmetric layout rather than a rod that collides with something.
- Decide the mounting height. Hang the rod 4 to 6 inches above the window trim, or higher — up to halfway between the trim and the ceiling — for a taller, more generous look. On tall walls, mounting 2 to 4 inches below the ceiling line is a common designer move.
- Confirm the finial allowance. Decorative finials add length beyond the rod itself, often 2 to 4 inches per end. Manufacturers usually quote rod length excluding finials, so verify before assuming the rod clears a nearby wall.
- Calculate the panel width you need. Total finished panel width should be 2 to 2.5 times the rod length for proper fullness. A 120-inch rod wants roughly 240 to 300 inches of combined panel width — which for wide windows usually means three or four panels, not two.
- Verify the rod diameter suits the span. A 5/8-inch rod that is fine at 48 inches will bow visibly at 120 inches. For wide windows use 1-inch to 1 3/8-inch diameter, or a heavy-duty traverse track.
Handling Spans Over 96 Inches
Once you pass roughly eight feet, single-piece rods become impractical to ship, awkward to carry, and prone to deflection. Three approaches solve it:
- Telescoping or splice-joint rods with an inline connector, hidden beneath a center bracket so the joint never shows.
- Two rods meeting at a center support, each carrying its own panel set — visually seamless if the bracket matches the finish.
- Commercial-grade traverse track, which handles very wide spans with a draw cord or motorized carrier and stays perfectly straight.
Whichever route you take, add one center support bracket for every 48 inches of unsupported span. That is the single most-skipped step and the reason so many wide rods develop a permanent droop in the middle within a season.

Special Cases: Bays, Corners, and Sliding Doors
A bay window is really three windows, and the cleanest treatment is either a bendable rod that follows the angles or three separate rods with the extension rules applied to each segment. Corner windows need an inside-corner connector and enough clearance for panels to stack without fighting each other. Sliding patio doors deserve the most generous extension of all — typically 12 to 18 inches on the operating side — because the panels must clear the door handle and the traffic path completely.
Mounting the Rod Correctly
- Mark the center point of the window and work outward symmetrically rather than measuring from one wall.
- Mark all bracket positions, then run a level line across the full span before drilling a single hole.
- Locate studs and plan anchors. End brackets often land in the framing around the window; center brackets usually do not. Use toggle bolts there.
- Drill pilot holes and mount end brackets first, then hang the rod loosely and level it before setting the center brackets to match.
- Load the panels and re-check level. Fabric weight reveals sag that an empty rod hides.
Picking Hardware That Will Not Sag
Weight capacity is the specification to check, not appearance. Hollow aluminum rods are light and cheap and are the usual culprit behind bowing on long spans; steel or solid-core rods cost more and stay straight. Brackets should be metal with at least two screw points each. The same logic applies in the bathroom, where humidity and daily tugging punish weak hardware — if you are shopping for that room too, the roundups of best shower curtain rods cover tension versus fixed-mount designs and the load each style genuinely handles.
For the panels themselves, matching fabric weight to rod capacity avoids most problems. Lightweight sheers let you use slimmer hardware across wide spans, while blackout and lined velvet demand the heaviest rod you can find. Comparing options among best ready made curtains is a practical way to see standard panel widths and weights before committing to a rod diameter, and browsing the best online curtain stores helps when a wide window needs custom widths that big-box sizing simply does not offer.
Common Mistakes to Avoid
- Buying a rod sized to the window. The most frequent error by a wide margin. The rod is always longer than the opening.
- Skipping the center support. Sag is not a manufacturing defect; it is missing hardware.
- Using only two panels on a wide window. The result is thin, flat-looking fabric with no fold depth.
- Mounting at the top of the trim. This shortens the wall visually and wastes the ceiling height you already have.
- Forgetting finial clearance. Measure to the outermost point of the assembled rod, not the bare tube.
- Anchoring into drywall alone at the ends. End brackets carry the most leverage and pull out first.
Frequently Asked Questions
How much longer than the window should a curtain rod be?
Add 8 to 12 inches on each side of the window trim, so total rod length is window width plus 16 to 24 inches. For wide windows where maximizing daylight matters, extending 15 to 18 inches per side is entirely reasonable if wall space allows.
How many center supports does a wide curtain rod need?
Roughly one for every 48 inches of span. A 120-inch rod should have two intermediate brackets in addition to the two end brackets, spaced evenly.
Can I use two rods instead of one long one?
Yes, and on spans beyond about 144 inches it is often the better answer. Butt them at a shared center bracket in the same finish, and the transition is essentially invisible once panels are hung.
How high above the window should the rod go?
Four to six inches above the trim is the safe default. Going higher — up to two-thirds of the way to the ceiling — makes the window read as larger, which is usually the goal on a wide wall.
Do I need a heavier rod for blackout curtains?
Almost always. Lined blackout panels can weigh several times what sheers weigh. Choose a 1-inch or larger diameter steel rod, and add an extra center support beyond the minimum spacing.
Final Thoughts
Curtain rod length on a wide window comes down to one honest measurement and one deliberate decision: measure the trim, then choose to extend well past it. Everything else — diameter, supports, anchors, panel count — follows from that. Spend the extra few minutes marking a level line and locating studs before drilling, buy a rod rated for more weight than you think you need, and add the center supports even when the rod feels rigid in your hands. Done once, correctly, the result is a window that opens fully to daylight, closes to a clean full drape, and stays perfectly straight for years without a single adjustment.









