
 Owen Bradley
 One of the cheapest ways to make a room feel bigger is to stop hanging your curtains where the window ends. Most people mount the rod directly on the window casing, which visually chops the wall in half and makes an eight-foot ceiling feel like seven. Designers do the opposite: they hang curtains higher and wider than the opening so the eye travels upward and the window reads as far larger than it is. The trick costs nothing extra beyond ordering longer panels, and it works in rentals, older homes, and new builds alike. This guide walks through exactly where to place the rod, how wide to extend it, what panel length and width to order, and how to fix the common problems that show up halfway through the job.
Why Hanging Curtains Higher Works
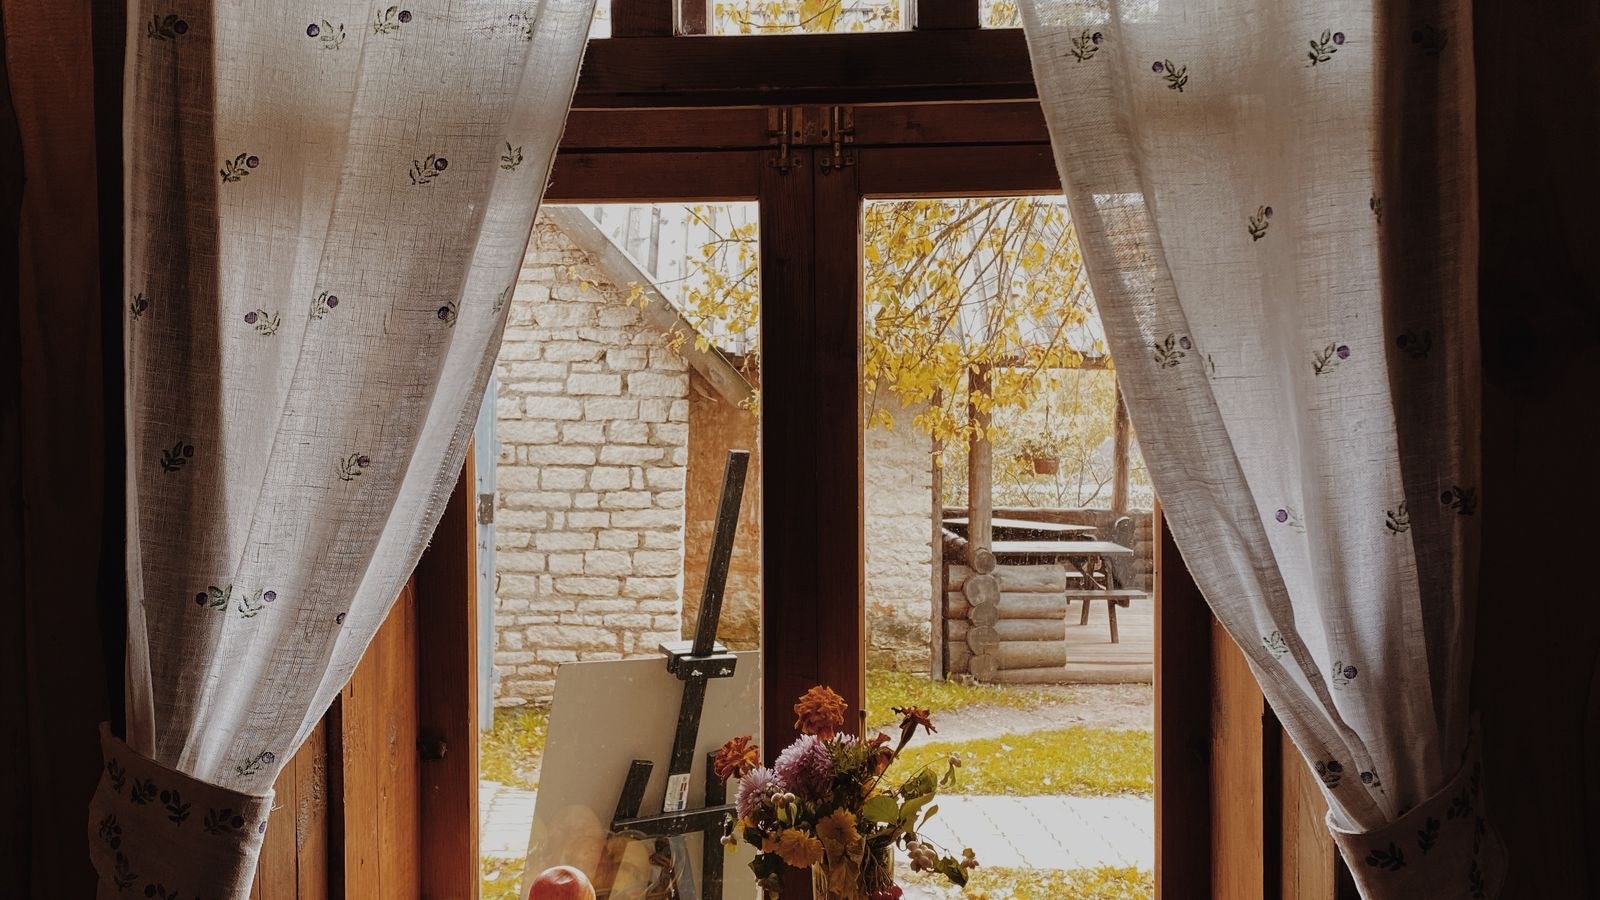
Your eye reads a room by following its strongest vertical lines. When a curtain starts at the top of the window frame, the fabric line stops short and the wall above it becomes dead space that flattens the whole elevation. Move the rod up toward the ceiling and that same panel becomes an unbroken vertical stripe running from near the ceiling to the floor, and the brain interprets the extra length as extra height.
Width does the same job horizontally. Extending the rod several inches past each side of the window frame lets the stacked panels rest on the wall rather than on the glass. That does two useful things at once: it makes the window opening look wider, and it stops the fabric from blocking daylight when the curtains are open. The combination of higher and wider is what produces the dramatic before-and-after effect, and skipping either half leaves most of the benefit on the table.
Tools and Materials You Will Need
- Tape measure and a pencil for marking bracket positions.
- Level — a 24-inch spirit level or a laser level. Do not trust the window frame to be square.
- Stud finder to locate framing, especially near the ceiling where blocking may be sparse.
- Drill with a bit sized for your anchors, plus a driver bit for the bracket screws.
- Drywall anchors rated well above the loaded weight of your rod and panels.
- Step ladder tall enough that you are not reaching overhead at full stretch.
- Curtain rod long enough to extend past the frame, plus a center support bracket for spans over about 60 inches.
- Curtain panels in the correct length and total width for your finished rod height.
If you are still choosing hardware and fabric, our complete curtain buying guide covers header styles, opacity levels, and lining choices, and the roundup of the best ready-made curtains is useful when you need a specific drop length off the shelf rather than waiting on custom panels.
Step-by-Step: Hanging Curtains Higher and Wider
- Decide the rod height first. The standard rule is to place the rod halfway between the top of the window casing and the ceiling. If that gap is less than 12 inches, go all the way up and mount roughly 4 inches below the ceiling or just under the crown molding. Never let the rod sit lower than 4 inches above the casing, because a small lift looks like a mistake rather than a choice.
- Measure the drop before you buy panels. Measure from the point where the curtain will actually hang — the top of the rod for rod-pocket panels, or the top of the ring clip for ring-hung panels — straight down to the floor. Order panels that reach the floor with about half an inch of clearance, or add 1 to 2 inches if you want a soft break where the hem just kisses the floor.
- Set the rod width. Extend the rod 8 to 12 inches past each side of the window frame where wall space allows, or at minimum 4 inches. This gives the open panels somewhere to stack off the glass.
- Mark the first bracket. Measure down from the ceiling rather than up from the window, since ceilings are usually more consistent than window placement. Mark the screw hole with a pencil, then hold the bracket in place and mark the remaining holes.
- Level across to the second bracket. Transfer the height using your level, not a second measurement from the window casing. Window frames are frequently out of square, and copying that error is the fastest way to end up with a visibly tilted rod.
- Locate studs or install anchors. Run the stud finder across both marks. If you hit framing, drive directly into it. If not, drill for toggle or self-drilling drywall anchors rated for at least three times the combined weight of the rod and wet-cleaned panels, which are heavier than you expect.
- Drill pilot holes and mount the brackets. Keep the drill perpendicular to the wall so the anchor seats flush. Snug the screws down firmly but stop before you crush the drywall face.
- Add a center support if the span is long. Any rod over about 60 inches will sag under lined panels. Mount the center bracket level with the ends, using the same measure-down-from-the-ceiling method.
- Hang the panels and check the rod. Thread rings or the rod pocket, seat the rod in the brackets, and step back. Look at the hem line across the floor rather than the rod itself, since a sloping floor can reveal problems a level will not.
- Train the folds. Run your hand down each pleat to set the fabric, then loosely tie the panels with fabric strips for two or three days. This is what makes ready-made curtains hang in clean vertical columns instead of drooping outward.
Choosing the Right Panel Length
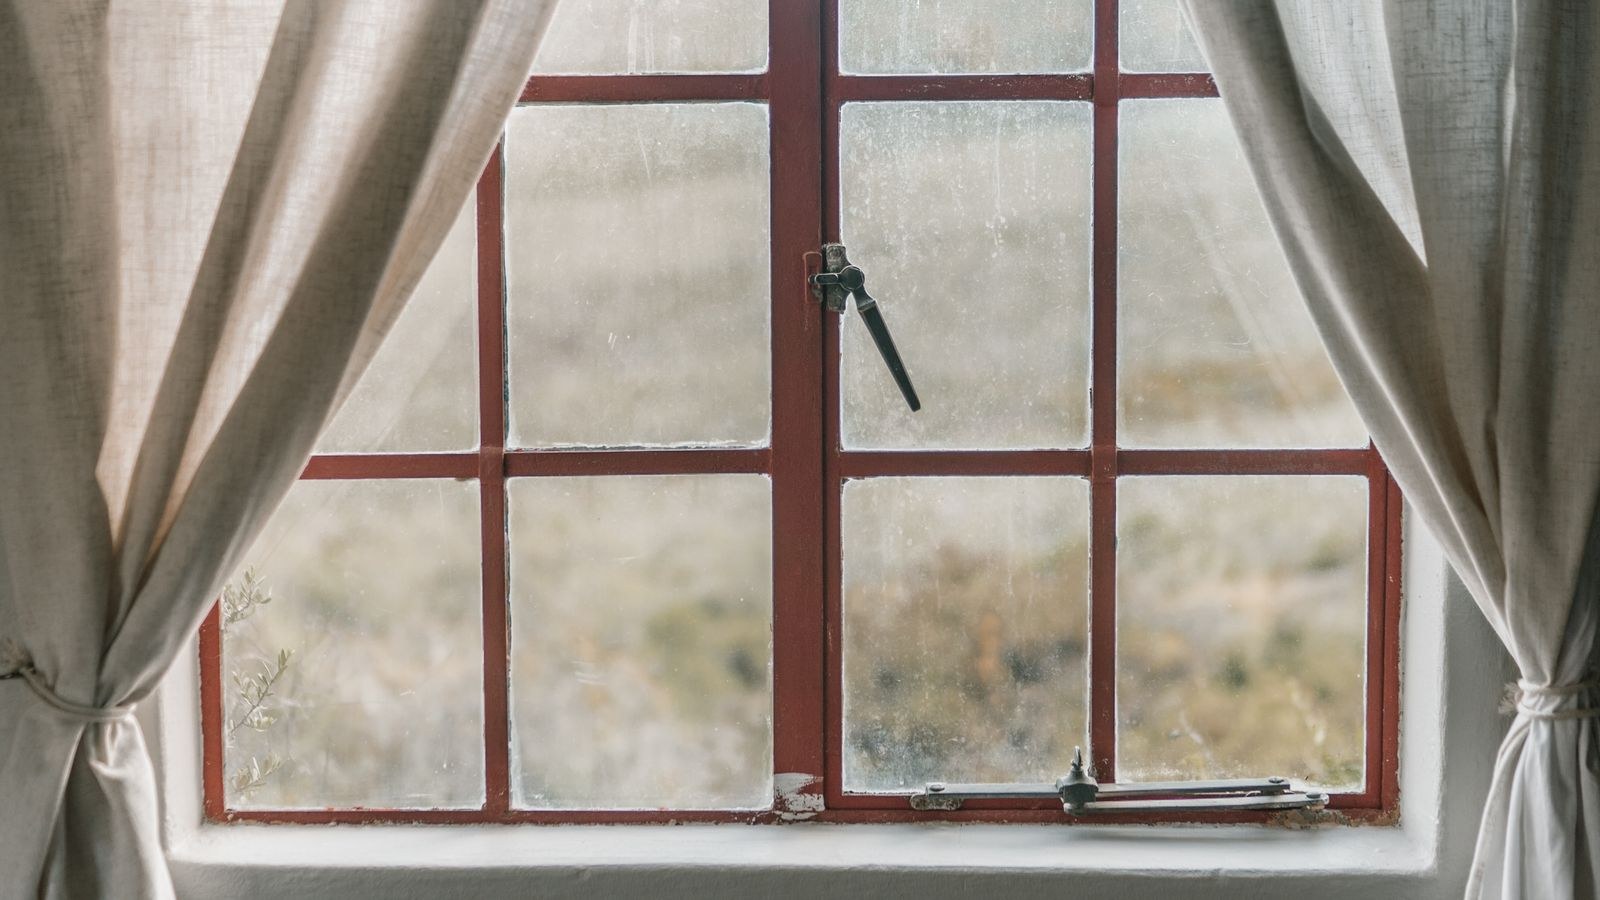
Raising the rod changes your length requirement, so measure after you have chosen the height rather than before. Ready-made panels typically come in 84, 96, 108, and 120-inch drops. With a rod near the ceiling in an eight-foot room, 96 inches is usually the right call; nine-foot ceilings generally need 108, and ten-foot ceilings need 120.
You have three finishing options at the floor. A float leaves about half an inch of clearance and is the most practical choice for panels you open and close daily or for homes with pets. A kiss has the hem just touching the floor and looks the most tailored. A puddle adds 2 to 6 inches of extra fabric pooling on the floor, which reads as luxurious but collects dust and is not worth the maintenance in a high-traffic room. What you should never do is stop the hem partway up the wall, since a short curtain undoes every bit of height you just gained. If the exact drop you need is not on the shelf, our walkthrough on how to choose curtain length and width explains hemming options and how much to add for different header styles.
Getting the Fullness Right
Height alone does not sell the effect if the panels look skimpy. Aim for a total panel width of 2 to 2.5 times the width of the area the rod covers. So a 72-inch rod span wants roughly 144 to 180 inches of combined panel width — usually two 54-inch panels at minimum, or four panels for a properly generous look. Thin, flat curtains stretched tight across a window will always look cheap no matter how high you hang them.
Picking a Rod That Can Take the Height
Longer rods carry more leverage, and a high mount means the load is often in drywall rather than window framing. Choose a rod diameter of at least 1 inch for spans over 60 inches, and prefer steel over hollow aluminum for heavy lined or blackout panels. Check that the finials will clear any adjacent wall, corner, or door casing once you extend past the frame.
Bracket projection matters too. If you are layering sheers behind blackout panels, or if the window has blinds or a deep sill, you need brackets that hold the rod far enough off the wall that the fabric hangs clear. Our guide to choosing the right curtain rod length covers how to calculate extension, stack-back allowance, and center support spacing. For long or unusual drops, the best online curtain stores often carry made-to-measure options at a fraction of what a local workroom charges.
Common Mistakes to Avoid
- Raising the rod but keeping short panels. This is the single most common error, and it leaves a gap of bare wall at the bottom that looks worse than the original setup.
- Leveling from the window casing. Frames are rarely true. Always measure down from the ceiling and level between brackets.
- Skipping the center support. A sagging rod is immediately visible and ruins the clean horizontal line you need for the height illusion to work.
- Using undersized anchors. Curtains get tugged, and a high bracket pulling out of drywall takes a chunk of wall with it.
- Not extending wide enough. If the open panels still cover glass, you lose daylight and the window looks narrower rather than wider.
- Ignoring fullness. Two flat panels on a wide rod always look thin. Buy more width than feels necessary.
Troubleshooting
If the hem drags unevenly, the floor is out of level rather than the rod. Measure the drop at both ends and hem to the shorter side, or accept a slightly higher float. If the panels bow outward at the bottom, they need training with ties, or the header is too tightly gathered. If the rod droops in the middle, add or reposition the center bracket rather than tightening the end brackets harder.
Frequently Asked Questions
How high above the window should curtains be hung?
Halfway between the top of the casing and the ceiling is the reliable default. If that gap is under 12 inches, mount about 4 inches below the ceiling instead. Anything less than 4 inches above the casing looks accidental.
Should curtains touch the floor?
Yes, or come within about half an inch of it. A curtain that stops above the floor cancels the height you gained by raising the rod. Choose a float for practicality or a kiss for a tailored look.
How far past the window should the rod extend?
Eight to twelve inches on each side is ideal, with 4 inches as the minimum when wall space is tight. This lets the open panels stack on the wall instead of over the glass.
Do I need to hit a stud?
Not necessarily, but you do need properly rated anchors. Toggle anchors in drywall hold heavy lined panels reliably when installed correctly and sized with a generous safety margin.
Final Thoughts
Hanging curtains higher is one of the rare decorating moves that costs almost nothing and changes how an entire room reads. The whole job comes down to three decisions made in the right order: set the rod height near the ceiling, extend the rod well past the frame on both sides, and buy panels long enough and full enough to follow through on that height. Measure down from the ceiling, level between brackets rather than off the window, anchor properly, and train the folds once everything is up. Do that and even a modest window in a standard-height room will read as tall, generous, and deliberately designed rather than builder-standard.









