
 Owen Bradley
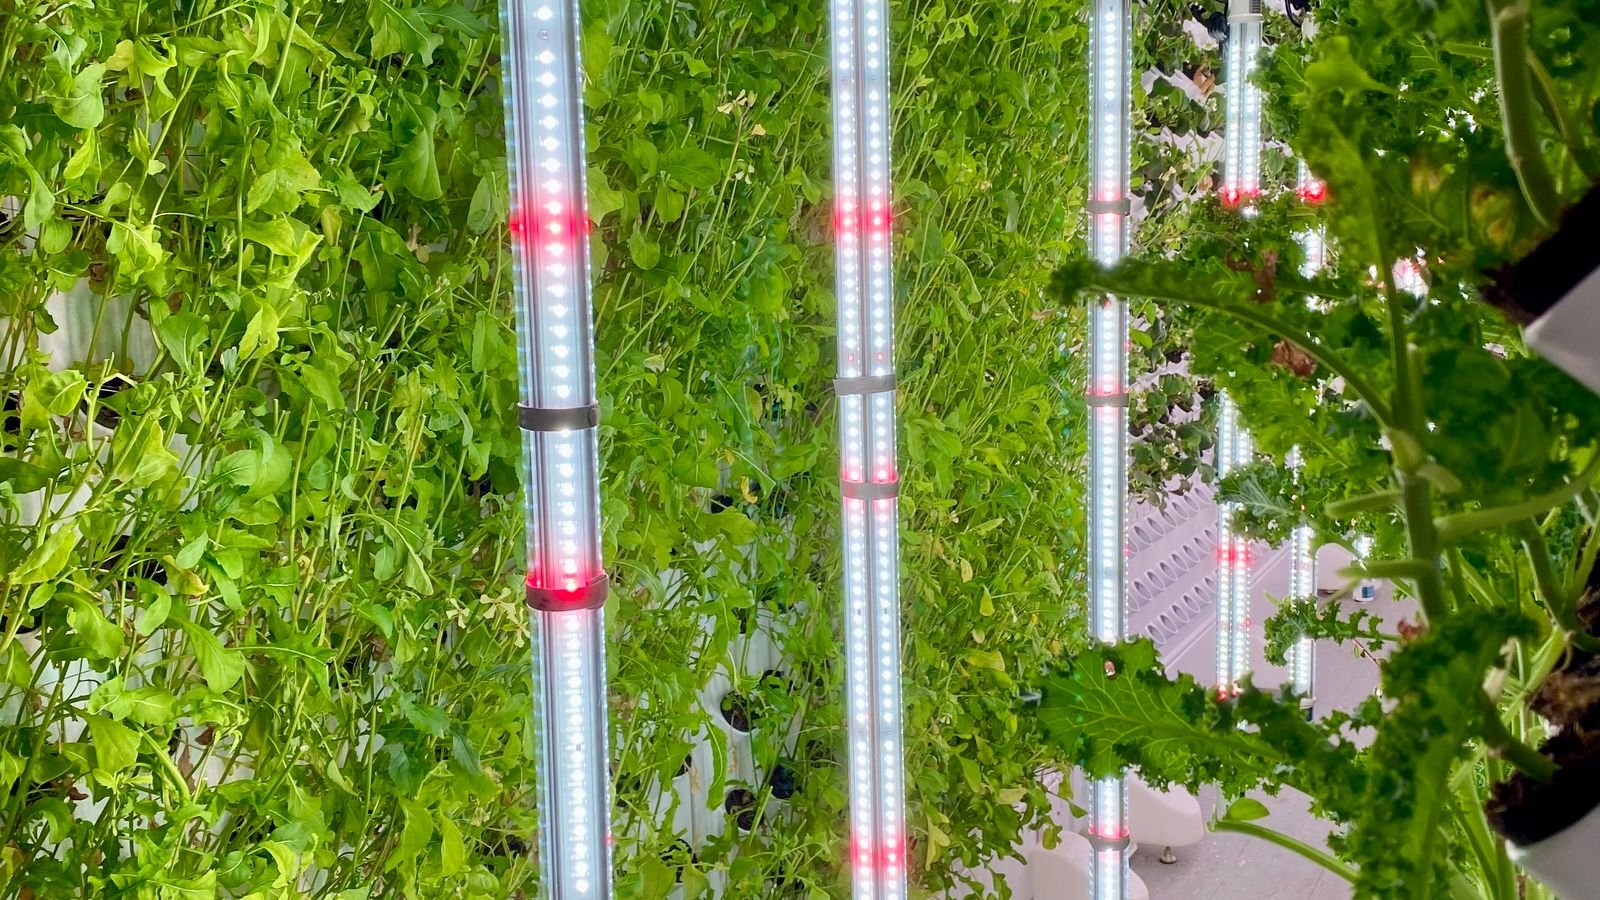
 Plants do not respond to how much light you give them so much as to how consistently you give it. Photoperiod — the length of the daily light cycle and, just as importantly, the length of the uninterrupted dark period — governs germination, vegetative growth, flowering, and dormancy. Doing that by hand is a losing game, because the one evening you forget is the one that sets a crop back weeks. A timer removes the human element entirely. This guide explains the timer types available, the electrical specifications that actually matter for grow lights, and how to set up schedules that suit different stages of plant growth.
Why Photoperiod Consistency Matters
Plants track day length using photoreceptors that measure the length of the dark period rather than the light period. This is why a brief interruption during the night — someone flipping the room light on for a minute — can be enough to disrupt flowering in photoperiod-sensitive species. It also means that a schedule which drifts by twenty minutes each day is worse than a shorter but perfectly regular one.
A reliable timer therefore does two jobs: it delivers the correct number of light hours, and it protects the dark period from interruption. Both are essential, and the second is the one growers most often overlook.
Mechanical Timers: Simple and Nearly Unbreakable
A mechanical timer is a small synchronous motor turning a dial with pins or segments you push down to set on periods. There is no software, no memory to lose, and nothing to reconfigure after a power cut — the dial simply resumes from wherever it stopped, which shifts your schedule by the length of the outage but never erases it.
The limitations are resolution and noise. Most dials resolve to 15 or 30 minute segments, which is fine for a 12/12 or 18/6 cycle but useless for anything finer. They also emit a faint continuous ticking, which matters if the grow area is near a bedroom. Their relays are usually rated generously, though, and they handle inductive loads better than many cheap electronic units.
For a single fixture on a fixed cycle, a mechanical timer is genuinely hard to beat on reliability per dollar.
Digital Timers: Precision and Multiple Programs
Digital timers replace the dial with a clock chip and a display, offering minute-level precision, several independent on/off programs per day, and often different schedules for different days of the week. That flexibility matters for seedlings under long photoperiods, for split-cycle lighting that gives a midday dark period, and for anyone running multiple crop stages in one space.
The weak point is backup power. A digital timer without a battery or supercapacitor loses its clock during an outage and may resume in an unpredictable state — the worst possible outcome for a flowering cycle. Check explicitly for backup retention before buying. Guides to the best digital timers generally flag which models hold their program through a power interruption.
Also check the countdown and random modes are disabled. Some general-purpose outlet timers ship with a security “random” setting that is excellent for holiday lighting and disastrous for plants.
Smart Timers and App-Controlled Plugs
A connected plug adds remote monitoring, sunrise-referenced scheduling, energy tracking, and the ability to log whether the light actually came on. For a grower who travels, being able to confirm the cycle ran is worth real money.
The risk is dependency. A cloud-controlled plug that loses its internet connection may fail to execute a schedule, and firmware updates occasionally reset settings. The mitigation is to choose a model that stores its schedule locally on the device and continues running it without the cloud — a feature worth verifying rather than assuming. Roundups of the best timers for grow lights highlight models designed with this fallback in mind, which is the single most important attribute for horticultural use.
General-purpose smart plugs can work well too, provided they hold local schedules and are rated for the load.
Load Ratings, Inrush Current, and Relay Life
This is where inexpensive timers fail. Grow lights are not simple resistive loads. LED drivers and ballasts contain capacitors that draw a large inrush current at switch-on — often many times the running current, for a few milliseconds. A relay sized only for the running load will pit and eventually weld its contacts, leaving the light permanently on.
Three practical rules. First, check the timer’s rating in amps and derate it: aim to run at no more than about 70 percent of the stated maximum. Second, look for an explicit inrush or LED-load rating rather than a generic figure. Third, if you are switching several fixtures together, use a contactor or a relay module driven by the timer rather than passing the whole load through a small plug-in device.
Heat is the related concern. A timer running warm to the touch is being asked to do too much, and a hot relay in a humid grow space is a fire risk, not merely a reliability problem.
Choosing Schedules for Different Growth Stages
Exact requirements vary enormously by species, so treat these as common starting points rather than rules:
- Seedlings and cuttings: Long photoperiods, often 16 to 18 hours, at low intensity. The goal is steady growth without stress.
- Vegetative growth: Commonly 18 hours on, 6 off, which suppresses flowering in photoperiod-sensitive plants while maximising growth.
- Flowering and fruiting: Typically 12 on, 12 off, with the dark period protected absolutely.
- Houseplants and herbs: 12 to 14 hours is usually plenty, and consistency matters more than duration.
- Winter supplementation: A few hours before dawn and after dusk to extend a short natural day.
Set the on period to begin at a time when your electricity is cheapest if you have variable tariffs, and consider running lights overnight in hot climates so the fixtures add heat when the room is coolest.
Multiple Zones and Staggered Start Times
If you run more than one fixture, do not start them all on the same minute. Staggering start times by two or three minutes spreads the inrush current, reduces stress on the circuit, and avoids the momentary voltage dip that can trip a sensitive breaker.
Separate zones also let you run different photoperiods for different crops in one room, though this requires genuine light isolation between areas — a blackout divider, not just distance. Digital and connected timers make multi-zone scheduling straightforward; mechanical timers do it by simply using one per zone, which is often the cheaper and more robust answer. Comparison guides to indoor light timers cover both approaches.
Environmental Considerations in a Grow Space
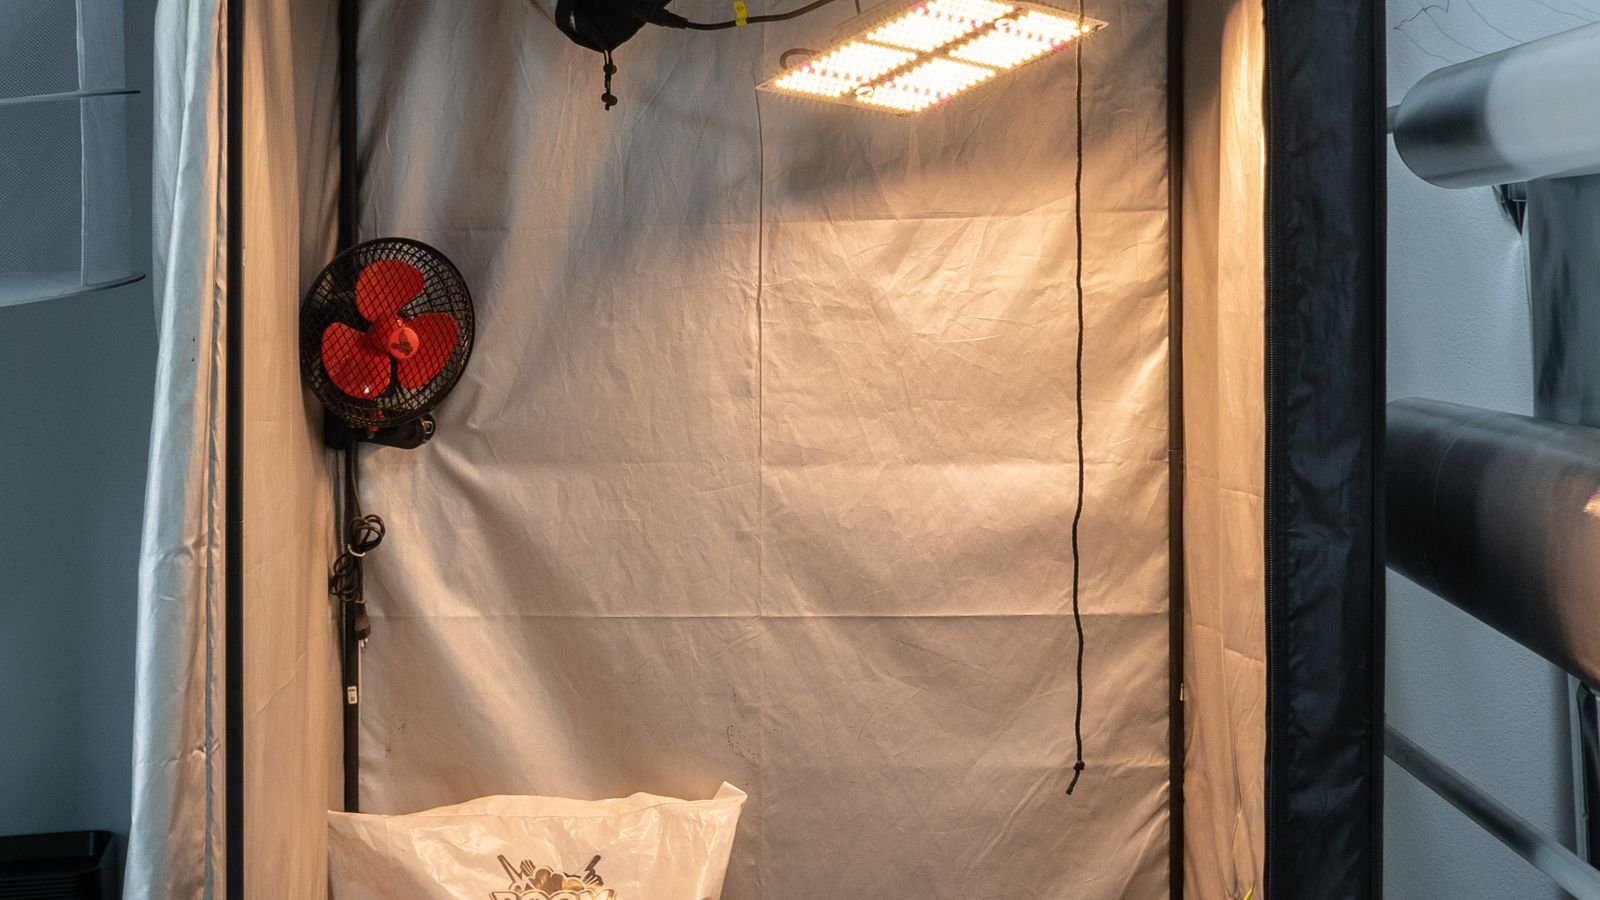
Grow areas are humid, warm, and sometimes wet. A timer designed for a living room may not tolerate that. Mount timers outside the tent or canopy where possible, keep them above any potential water level, and never let condensation form on a device carrying mains current.
Use a drip loop on cables entering the timer so water runs off rather than into the socket. If the timer must sit inside a humid enclosure, choose a sealed unit with a stated ingress rating. And ensure the circuit feeding the grow area has appropriate protection — residual current protection is strongly advisable anywhere water and electricity share a room.
Budget Tiers
- Entry level: A single mechanical dial timer with a generous amp rating. Reliable, immune to power cuts, and adequate for one fixture on a fixed cycle.
- Mid range: A digital timer with battery backup, minute-level precision, multiple daily programs, and a stated LED or inrush rating. This suits most serious hobby setups.
- Premium: A connected controller with local schedule storage, energy logging, and remote verification, driving a properly rated contactor for larger fixture banks. Heavy-duty timer plugs sit at the top of this range.
Common Mistakes to Avoid
- Running a fixture bank at or near the timer’s maximum rating.
- Choosing a digital timer with no battery backup for a flowering cycle.
- Leaving a random or countdown mode enabled by accident.
- Interrupting the dark period by entering the room and switching the ceiling light on.
- Starting every fixture on the same minute and tripping the breaker.
- Placing the timer inside the humid canopy where condensation can reach it.
Frequently Asked Questions
Do I really need a timer for grow lights?
Yes, if the plants are photoperiod-sensitive or if you value consistent results. Manual switching drifts, and one forgotten evening can undo weeks of progress. A basic mechanical timer costs little and removes the problem permanently.
Mechanical or digital — which is better?
Mechanical is more robust and unaffected by power cuts, but coarse and limited to one repeating cycle. Digital offers precision and multiple programs but needs battery backup to survive an outage. Many growers use mechanical for simple fixed cycles and digital where flexibility is required.
Can one timer run several grow lights?
Only if the combined running current sits comfortably below the timer’s rating with margin for inrush. For larger banks, use the timer to drive a contactor rated for the full load rather than passing all the current through a plug-in device.
What happens after a power cut?
A mechanical timer resumes from where it stopped, shifting the schedule by the outage duration. A digital timer with backup resumes correctly; one without may lose its program entirely. Check the behaviour of your specific model and re-verify the schedule after any outage.
Should lights run during the day or at night?
Either works biologically, since plants respond to the cycle rather than the clock. Running at night can reduce peak electricity costs and shift heat output to the coolest part of the day, which helps in warm climates.
Final Thoughts
Choose the timer around three things: a load rating with genuine headroom, a documented response to power interruption, and a schedule resolution that matches what your plants need. Everything else is convenience. Get those right, protect the dark period, and stagger your start times, and the timer becomes the piece of equipment you never think about again — which for an indoor garden started in 2026 is exactly the goal.









