
 Owen Bradley
 A noisy PC fan rarely fails all at once. It starts as a faint tick you only hear late at night, becomes a rattle when the machine wakes from sleep, and eventually turns into a grinding drone that makes the whole desk buzz. The good news is that almost every case of a noisy PC fan traces back to one of four causes: dust loading, a worn bearing, a cable or cover touching the blades, or resonance passing through the chassis. This tutorial walks through diagnosing which fan is actually guilty, applying the fixes that work, and recognising the point where replacement beats another hour of tinkering.
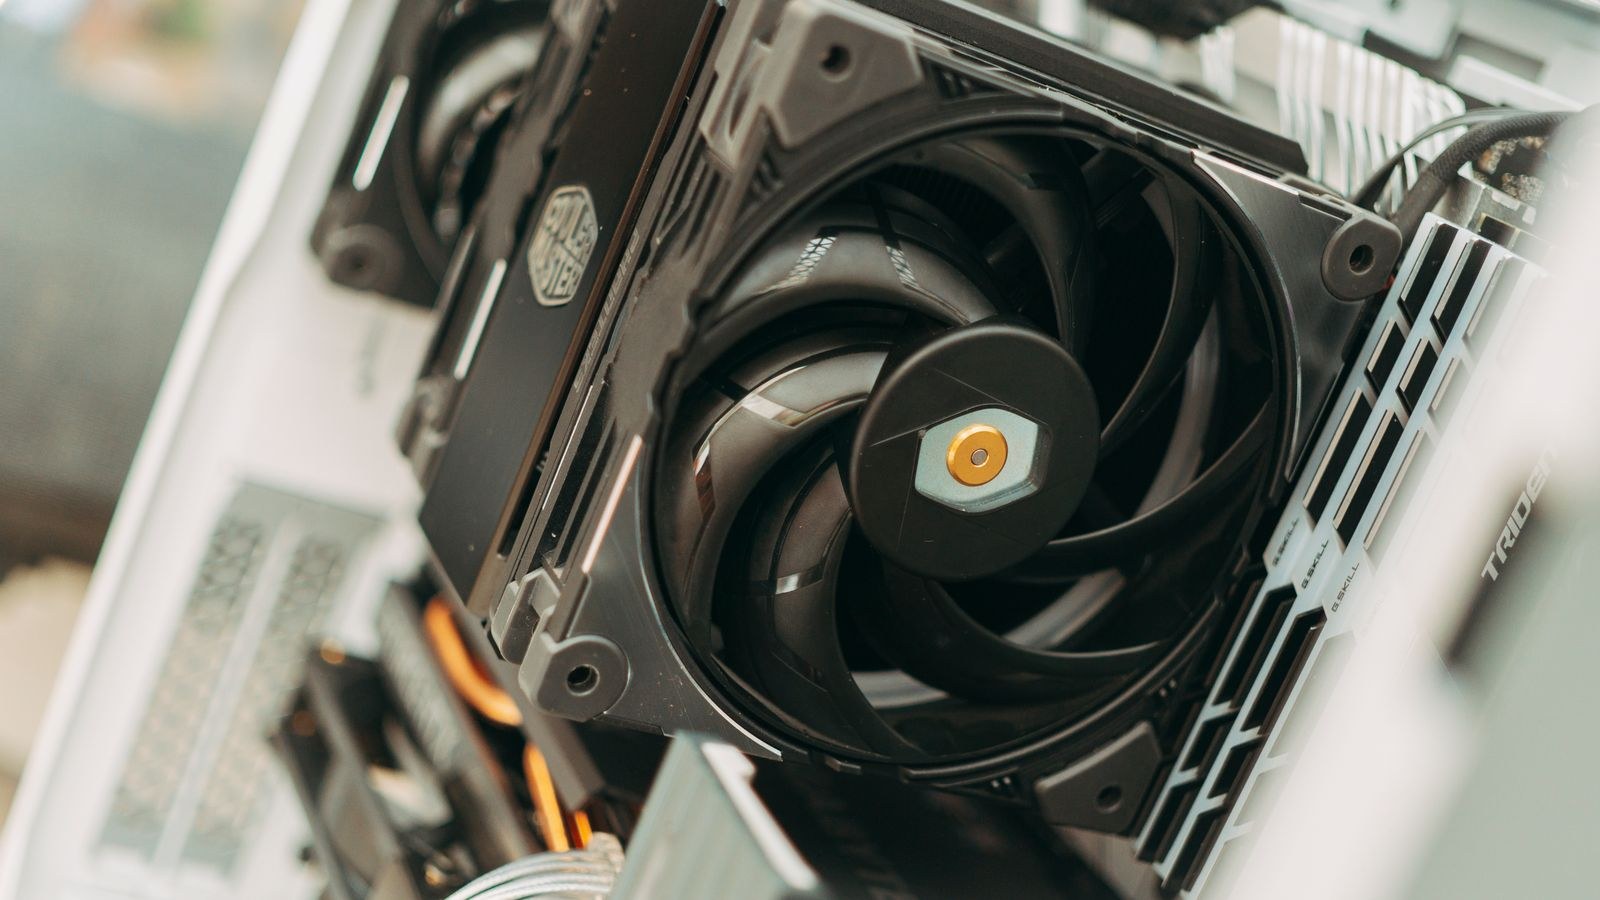
What Rattling and Grinding Actually Mean
Different noises point to different faults, so listen before you open anything. A rattle is usually mechanical contact or looseness: a screw backed out, a cable tie brushing a blade, or a fan hanging on rubber mounts that have gone slack. A grinding or scraping sound almost always means the bearing has worn, letting the rotor wobble slightly on its axis. A ticking once per revolution is something touching the blade tips exactly once per turn. A low hum or drone that you feel more than hear is resonance, where fan vibration is transmitted into the case panels and amplified.
Noise level also matters. A fan that is simply loud under load may be perfectly healthy and just spinning fast because temperatures are high. That is a fan curve problem, not a hardware fault, and it is fixed in software rather than with a screwdriver.
Tools and Preparation
- A Phillips screwdriver, ideally magnetic, for case and fan screws.
- Cans of compressed air or a manual air blower. Avoid household vacuums, which can generate static.
- Microfibre cloths and cotton swabs for blade and frame cleaning.
- Spare zip ties or velcro straps to reroute cables away from blades.
- A drinking straw or a rolled paper tube to use as a listening stethoscope.
- Optional: replacement rubber fan mounts, and a fan controller or software such as your motherboard utility.
Before you begin, shut the PC down, switch off the power supply at its rear rocker, and pull the mains cable. Press the case power button once to bleed residual charge. Work on a hard surface rather than carpet, and touch the bare metal chassis periodically to discharge static.
Step-by-Step: Find and Fix the Noisy Fan
- Reproduce the noise deliberately. Boot the machine with the side panel off and let it idle. If the rattle only appears under load, run a game or a stress test for a few minutes so the fans ramp up. You cannot fix a noise you cannot hear on demand.
- Isolate the source with a paper tube. Hold one end near your ear and move the other end slowly around each fan: front intakes, rear exhaust, top exhaust, CPU cooler, GPU, and the power supply. The noise will get sharply louder within a couple of centimetres of the culprit.
- Confirm by stopping fans one at a time. Using a wooden pencil or a plastic cable tie, gently stop one fan for a second or two. If the noise vanishes, you have found it. Never use a finger or anything metal, and never stall the CPU or GPU fan for more than a moment.
- Clean the fan thoroughly. Uneven dust build-up on blades throws the rotor off balance and produces exactly the wobbling rattle people describe. Hold the blades still with one hand so compressed air cannot spin them, then blow out from both sides. Wipe each blade individually with a barely damp cloth and let it dry fully.
- Check for physical interference. Look for a stray SATA cable, an unused power lead, a dust filter tab, or a loose sticker touching the blade path. Reroute cables behind the motherboard tray and secure them with zip ties so they cannot drift back.
- Tighten the mounting. Retighten all four fan screws in a cross pattern, snug but not forced. Overtightening warps the frame and creates its own buzz. If the fan uses rubber anti-vibration pins, check none have torn or slipped out of a corner.
- Test for resonance. With the machine running, press gently on each case panel in turn. If the drone drops away while you press, the panel is resonating. Add rubber washers between fan and chassis, fit anti-vibration mounts, or place a strip of dense foam along the inside of the offending panel.
- Adjust the fan curve. In the BIOS or your motherboard software, set a gentler ramp so fans stay quiet below roughly 60C and only climb once temperatures justify it. Avoid on-off cycling curves, which sound worse than a steady moderate speed because your ear tracks the changes.
- Reseat or reroute the fan header cable. A cable pulled tight can transmit vibration into the board and put lateral strain on the hub. Leave a small service loop and clip the cable to the case, not to another fan.
- Retest, then close up. Run the machine for ten minutes at load with the panel off. If it is quiet, refit the panel and retest, because reattaching a panel sometimes reintroduces resonance you then damp with foam.
When the Bearing Has Failed
If cleaning and remounting change nothing and the fan grinds even when spun by hand with the power off, the bearing is worn out. Sleeve bearings dry out over a few years, especially when mounted horizontally, and once the lubricant is gone the shaft scores its own housing. Some enthusiasts peel back the hub sticker and add a drop of light machine oil, which can buy several quiet months, but it is a delay rather than a cure and it is not worth the effort on a fan that costs little to replace.
Choosing a Quieter Replacement
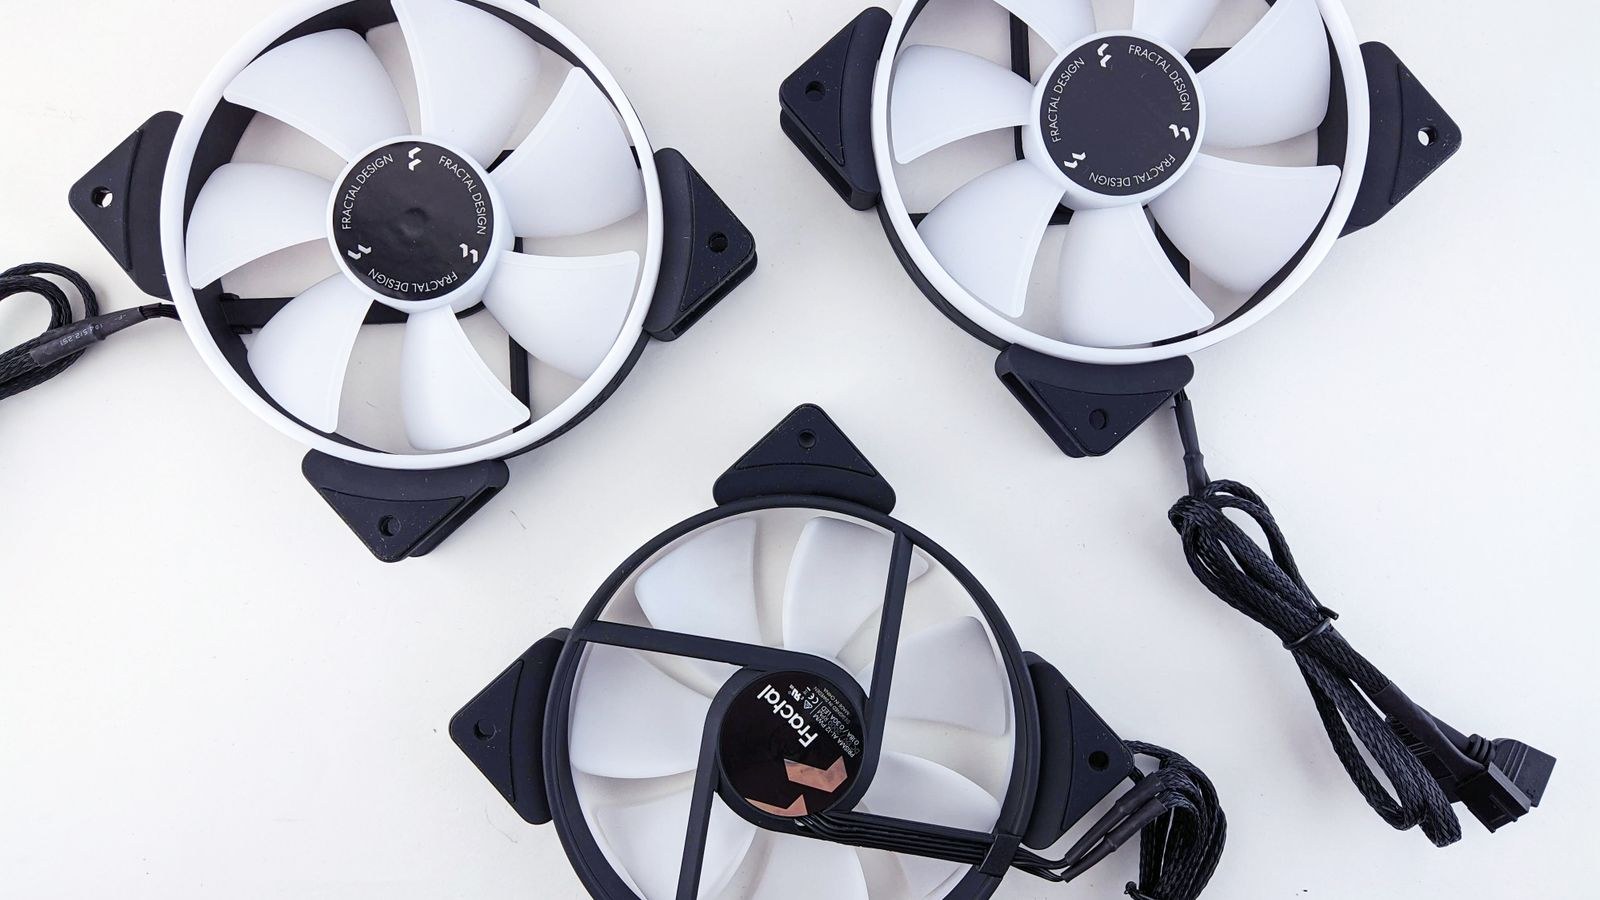
When you do replace a fan, match the physical size and the connector type. A 120mm fan will not bolt into a 140mm mount, and a three-pin fan plugged into a four-pin header will usually run at full speed unless the board is set to voltage control. Look at the noise rating in decibels alongside airflow in CFM and static pressure in mmH2O: high static pressure suits radiators and restrictive filters, while high airflow suits open case positions. Fluid dynamic and magnetic levitation bearings last far longer and stay quieter than basic sleeve designs.
If you are refreshing several positions at once, our roundup of the best cooling fans for PCs compares airflow and noise across common sizes. For the fan sitting on your processor, the best CPU coolers for low noise covers designs built around quiet operation, while the best CPU coolers with PWM fans focuses on models that throttle smoothly instead of running flat out.
Fixing the Case, Not Just the Fan
Sometimes the fan is fine and the enclosure is the problem. Thin steel panels ring like a drum, unfilled drive bays leave nothing to absorb vibration, and mesh fronts let every bit of motor noise straight out. Sound-damped cases with foam-lined panels, rubber-isolated drive mounts, and thicker steel cut perceived noise significantly without touching cooling performance. Our guide to the best quiet PC cases explains which damping features genuinely help. For a broader set of tuning tactics beyond hardware swaps, see our walkthrough on how to reduce fan noise on a gaming PC.
Safety Notes
Never open a power supply to clean or service its fan. PSU capacitors store a dangerous charge long after the unit is unplugged, and there is no user-serviceable part inside. If the PSU fan is the noisy one, blow dust through the vents from outside and replace the unit if the noise persists. Keep compressed air cans upright so liquid propellant does not spray onto components, and never let a fan spin freely under air pressure, as the back-driven motor can generate voltage that damages the header. Finally, do not run the machine with the CPU or GPU fan disconnected while you experiment.
Common Mistakes to Avoid
- Oiling a fan that is simply dirty. Clean first and retest before touching the hub.
- Vacuuming inside the case. Household vacuums build static and can pull small components loose.
- Cranking every fan to maximum for safety. Excess airflow adds noise without lowering temperatures much beyond a point.
- Ignoring intake and exhaust balance. Slight positive pressure keeps dust out of unfiltered gaps and reduces how often you have to clean.
- Mounting fans upside down. Check the arrows on the frame for airflow and rotation before screwing anything in.
- Blaming the case fans when the GPU is at fault. Graphics card fans often start rattling first because they cycle on and off constantly.
Troubleshooting a Noise That Comes Back
If the rattle returns weeks later, look at dust intervals first. A machine on carpet or beside a pet bed can reload filters in a month, and the resulting imbalance recreates the same symptom. If the fan is clean and the noise reappears only when the room is cold, you may be hearing a bearing that only settles once warm, which is a classic sign of imminent failure. A noise that appears only in games but not in stress tests usually points to the graphics card, since GPU fan curves are far more aggressive than case fan curves.
Frequently Asked Questions
Is a rattling fan dangerous to keep using?
It will not damage other parts directly, but a failing fan eventually stops spinning. If it is cooling the CPU, GPU, or power supply, that can cause throttling or shutdowns, so replace it rather than living with the noise indefinitely.
Why is my fan loud only right after startup?
Many boards spin every fan to full speed briefly during power-on self test. If the noise settles within a few seconds it is normal. If it grinds for the first minute in a cold room and then quietens, the bearing lubricant is degrading.
Can I just unplug a noisy case fan?
You can temporarily, but airflow suffers and internal temperatures rise. It is a diagnostic step, not a fix. Replace the fan or leave the position empty only if your case has plenty of other intake and exhaust.
Should I fix the fan or replace it?
Clean and remount first, since that solves most rattles for free. If the grinding survives a proper clean, replace it. Fans are among the cheapest parts in a PC and the least worth nursing along.
Final Thoughts
Diagnosing a noisy PC fan is a process of elimination rather than guesswork. Reproduce the noise, isolate the fan with a listening tube, then work through cleaning, cable clearance, mounting, and resonance before you reach for a replacement. Most rattles disappear at the cleaning stage, and most of the rest come from a cable or a slack screw. When the bearing really has gone, swapping in a quality fan with a fluid dynamic bearing and a sensible fan curve will make the machine quieter than it was when new, and that upgrade takes ten minutes and costs less than almost any other improvement you can make in 2026.









