Owen Bradley
 Recessed lighting used to mean cutting a large hole, wrestling a metal housing into a joist bay, and hoping your attic insulation clearance was adequate. Then canless downlights arrived — a thin LED disc with an integrated driver in a small junction box, pushed into a hole and held by spring clips — and the calculation changed completely. For a homeowner adding six lights to a living room ceiling, the difference between the two approaches is measured in hours of work, not minutes. But canless is not automatically the better choice, and there are real situations where a traditional can still wins. This guide explains how both systems work, where each excels, and how to decide which belongs in your ceiling in 2026.
How Traditional Recessed Lighting Works
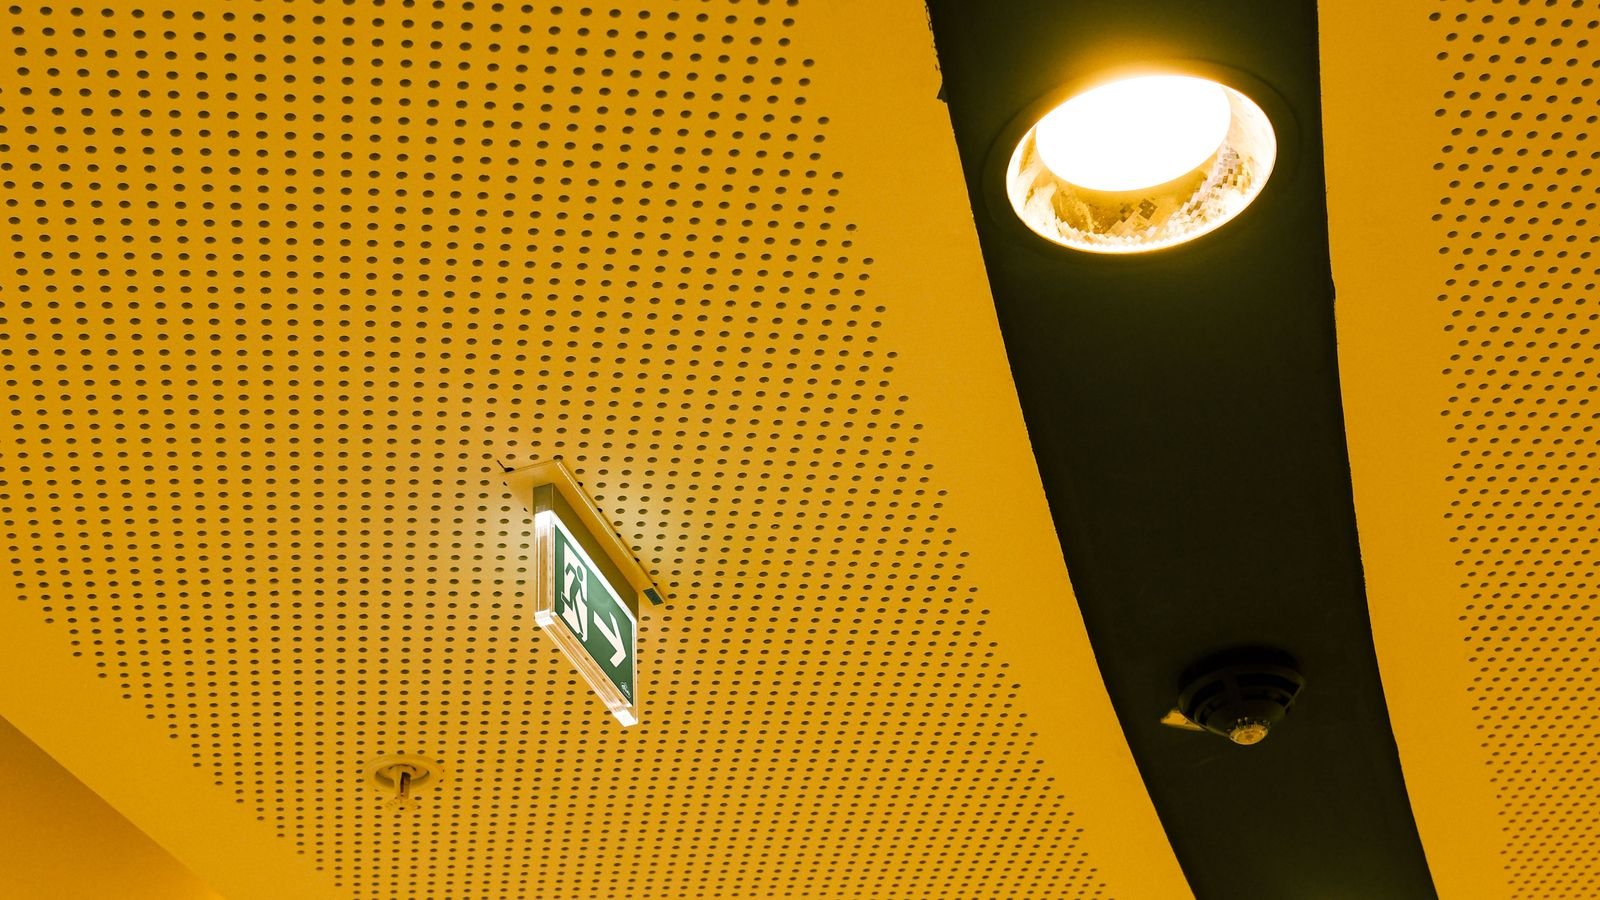
A traditional recessed light is a three-part system. A metal housing — the “can” — mounts to the ceiling framing, either nailed to joists during construction (new construction housings) or clipped into an existing ceiling through the hole (remodel housings). A trim then finishes the opening and shapes the beam, and finally a bulb screws into the socket inside.
The separation of these parts is the system’s defining strength. The housing is permanent infrastructure, but the trim and bulb are consumables you can swap freely. Want a different beam angle, a change from white to black trim, an eyeball trim to highlight art, or a shift from 3000K to 2700K? Change the trim or the bulb and leave the ceiling untouched.
The trade-offs are equally clear. The housing is bulky, typically requiring 7 to 8 inches of ceiling depth, which rules it out in shallow joist bays, under HVAC ducts, or in ceilings with limited plenum space. Installation takes longer, and older non-IC-rated housings must be kept away from insulation, which creates an air-leakage path and a thermal weak spot in every hole.
How Canless Downlights Work
A canless downlight is an integrated unit: LED array, diffuser, and trim in a single thin disc, connected by a short cable to a small junction box. You cut the hole, connect the wiring inside the ceiling to the junction box, fold in the spring clips, and push the disc up until it sits flush.
The advantages follow directly from that design. Depth requirement drops to about 2 to 3 inches, so the lights fit almost anywhere. Installation is dramatically faster — many people install a canless light in ten minutes where a remodel can would take forty. Most are IC-rated and airtight from the factory, so they can be buried in insulation without a fire risk or an air-leak penalty. And the total cost is often lower once you account for not buying separate housings, trims, and bulbs.
The significant downside is that everything is integrated. When the LED array or driver fails, you replace the entire unit rather than swapping a bulb. Practically this matters less than it sounds, since quality units are rated for 25,000 to 50,000 hours, but it does mean a failure is a ladder job rather than a bulb change. Comparison roundups of the best canless recessed lighting are the fastest way to see how build quality and driver reliability differ across the category.
Side-by-Side Comparison
- Ceiling depth needed — canless needs 2 to 3 inches; traditional needs 7 to 8. Canless wins decisively in tight ceilings.
- Installation time — canless is roughly three to four times faster per fixture.
- Insulation contact — most canless units are IC-rated and airtight as standard; traditional requires you to select the correct IC-rated housing.
- Serviceability — traditional wins. Bulbs and trims are replaceable independently.
- Aesthetic flexibility — traditional wins, thanks to the huge trim ecosystem including eyeball, gimbal, baffle, and reflector options.
- Beam control — traditional wins for accent lighting and art, where a tight adjustable beam matters.
- Upfront cost — canless typically wins on total installed cost.
- Longevity of the installation — traditional wins over decades, since the housing outlives several generations of bulbs.
Which One Should You Choose?
Choose canless when you are retrofitting an existing ceiling, when joist depth or ductwork limits your space, when you are doing the work yourself, when the lights are for general ambient illumination, or when insulation contact is a factor in an attic ceiling. This describes the majority of homeowner projects.
Choose traditional cans when you are building new and the framing is open anyway, when you want directional accent lighting on artwork or a fireplace, when you want the freedom to change trim styles as your decor evolves, or when the ceiling is very high and replacing an entire integrated fixture would mean scaffolding rather than a stepladder. In that last case, being able to change only a bulb is genuinely valuable. Guides to the best LED can lights cover housing and trim combinations for these situations.
Sizing and Spacing Your Layout
Whichever system you pick, layout determines whether the result looks professional or scattered.
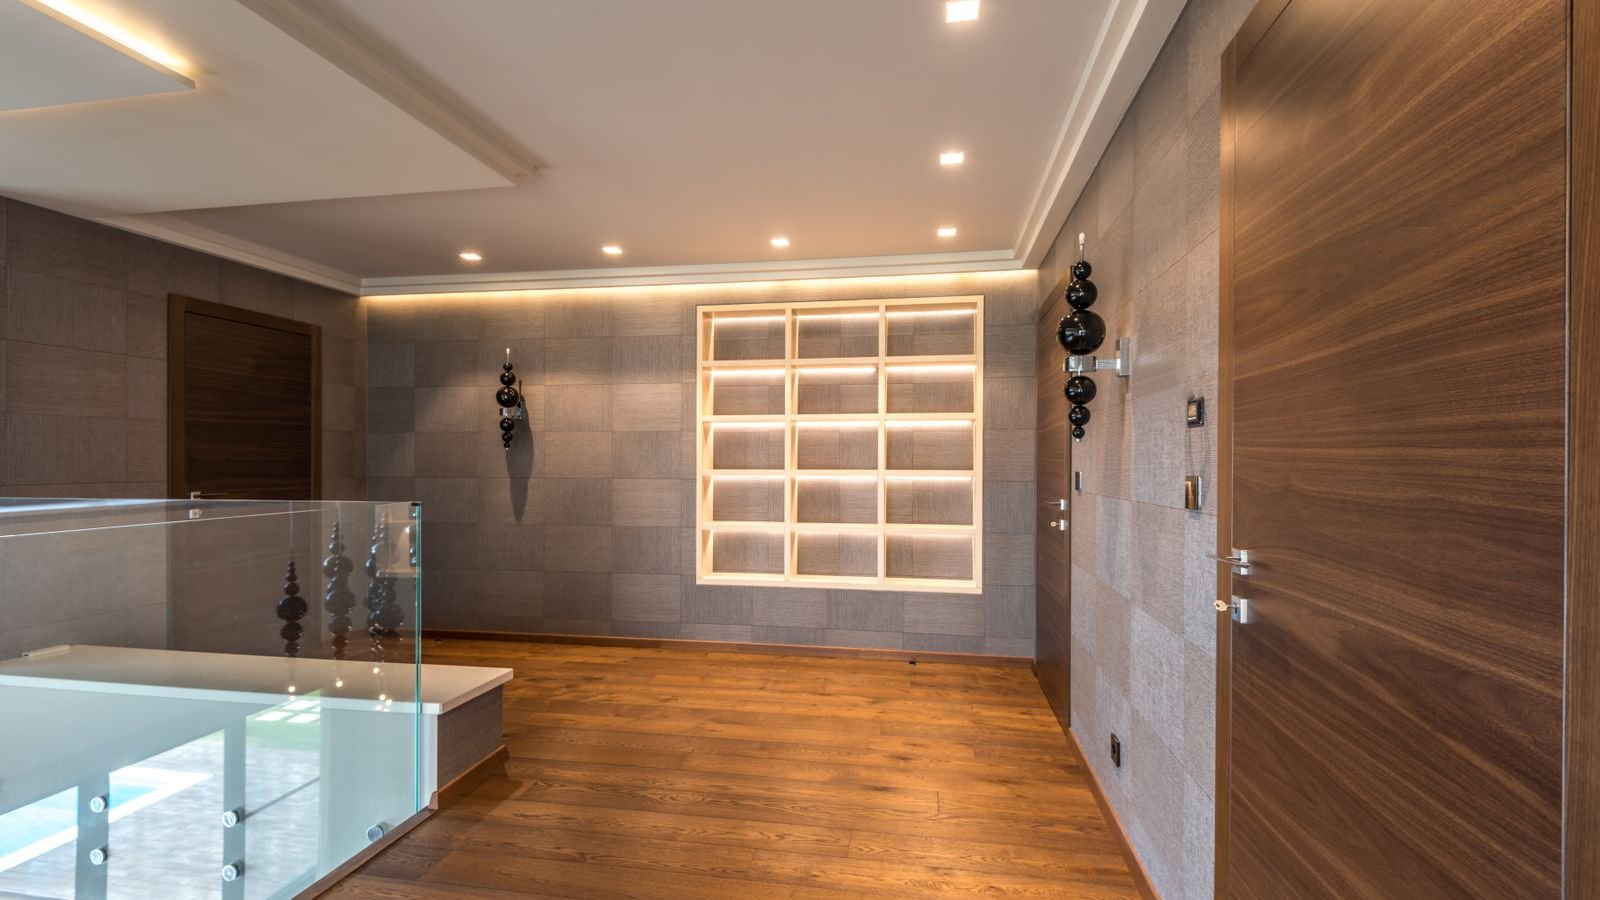
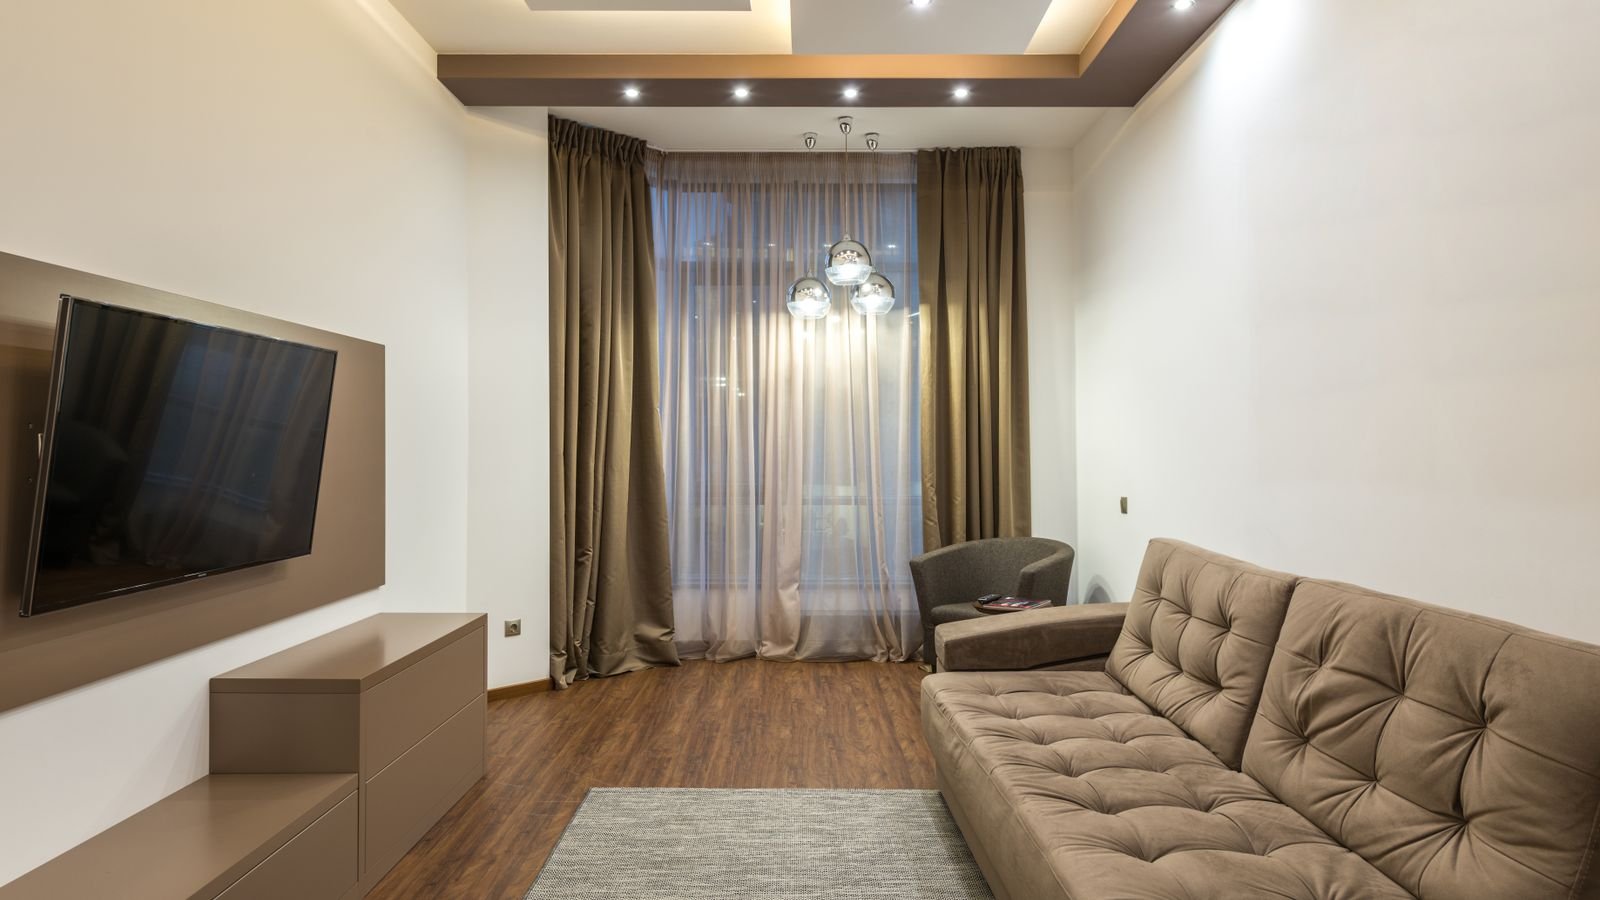
The common rule of thumb is to divide the ceiling height by two to get the spacing between fixtures. An 8-foot ceiling suggests roughly 4 feet between lights; a 10-foot ceiling suggests 5 feet. Keep the first row 2 to 3 feet from the walls so light washes down the wall rather than lighting only the middle of the floor.
On size, 4-inch fixtures suit hallways, small bathrooms, accent lighting, and closely spaced layouts. 6-inch fixtures are the general-purpose default for living areas and kitchens. 5-inch is a useful middle ground. Larger 8-inch units suit high ceilings where the extra spread compensates for the distance.
Avoid the most common layout error: placing lights in a symmetrical grid that ignores what is below. Lights should relate to the room’s function — over the counter edge in a kitchen rather than over the center of the floor, and slightly in front of a sofa rather than behind it where they will cast your own shadow onto your book.
Color Temperature and Selectable CCT
Recessed lighting is often the primary source in a room, so color temperature has an outsized effect on how the space feels. Living rooms and bedrooms want 2700K to 3000K. Kitchens and bathrooms work well at 3000K to 4000K. Garages, workshops, and laundry rooms suit 4000K to 5000K.
Most modern canless downlights include a selectable CCT switch on the housing, letting you pick from typically five temperatures at install time. This feature removes almost all the risk from the decision — if the room feels too cool once furnished, flip the switch rather than buying new fixtures. Some models go further with tunable white controlled from an app, and the wider field of smart recessed lighting adds scheduling and scene control.
Also check CRI. Aim for 90 or above in kitchens, bathrooms, and anywhere you display art or judge color; 80 is acceptable in utility spaces. Cheap fixtures often sit at CRI 80 or below, and the difference is visible on skin tones and food.
Dimming, Wet Ratings, and Other Specs
Nearly all recessed LEDs are dimmable, but dimmer compatibility varies. Check the manufacturer’s compatibility list before buying a dimmer, since a mismatch produces flicker, buzzing, or a dead zone at the bottom of the range. Older leading-edge dimmers designed for incandescent loads are the usual culprit.
Wet and damp ratings matter in specific rooms. A damp rating covers bathrooms outside the shower enclosure and covered porches. A wet rating is required directly above a shower or tub, or anywhere exposed to direct water. Do not economize here; a non-rated fixture in a shower is a genuine hazard.
Finally, check whether the fixture is airtight if it will sit under an insulated attic. Non-airtight fixtures leak conditioned air continuously, and six of them add up to a meaningful hole in your building envelope. If you are lighting a specific space like a bathroom or basement, dedicated guidance on the best recessed lighting for bathrooms covers the rating requirements that apply there.
Installation Considerations
- Turn off the circuit at the breaker and verify with a non-contact tester before cutting anything.
- Use a stud finder and, ideally, an inspection camera to check for joists, wiring, and ductwork before you cut. Cutting blind into a ceiling is how people find plumbing.
- Mark the hole using the template supplied with the fixture, and cut with a drywall saw or hole saw sized exactly to spec — an oversized hole means the trim will not sit flush.
- Make wiring connections inside the junction box, not in open ceiling space, and secure the box per code.
- Fold the spring clips inward, push the fixture up, and let the clips grip the drywall. Do not force a fixture into an undersized hole.
- Test each fixture before installing the next one, so a wiring problem does not repeat six times.
If your project involves new circuits, panel work, or anything you are unsure about, hire an electrician. Replacing existing fixtures on an existing circuit is a reasonable DIY job; adding new circuits is not.
Budget Guidance
- $8–$15 per canless unit — basic integrated downlights, CRI 80, selectable CCT. Fine for closets, hallways, and utility spaces.
- $20–$40 per canless unit — the value tier: CRI 90+, smooth dimming, wet rating, reliable drivers, and long warranties. Right for living spaces.
- $25–$60 per traditional housing plus trim and bulb — higher total cost, but with full trim flexibility and independent bulb replacement.
- $50+ per unit — smart, tunable, and adjustable gimbal designs for accent work and integrated control systems.
Since a typical room needs four to eight fixtures, the per-unit difference multiplies quickly. Spend on the rooms you occupy and economize in storage areas.
Mistakes to Avoid
- Cutting holes before checking for joists, ducts, and wiring above the ceiling.
- Using a non-IC-rated traditional housing in contact with attic insulation.
- Spacing fixtures on a grid that ignores counters, seating, and traffic paths.
- Installing a non-wet-rated fixture above a shower.
- Pairing LED downlights with an incompatible older dimmer and blaming the fixtures for flickering.
- Choosing 5000K for a living room because it looked bright in the store display.
- Buying the cheapest units for a vaulted ceiling you will need scaffolding to service.
Frequently Asked Questions
Are canless recessed lights as good as traditional cans?
For general ambient lighting, yes — often better, because they are thinner, airtight, IC-rated, and far easier to install. Traditional cans retain the advantage where you need adjustable trims for accent lighting or the ability to replace only a bulb in a hard-to-reach ceiling.
Can I replace existing can lights with canless downlights?
Usually yes, and it is a popular upgrade. Most canless units are sized to fit standard 4-inch and 6-inch openings, and many can be installed into an existing can by wiring to the socket with an adapter. Removing the old housing entirely gives a cleaner result if you have attic access.
How many recessed lights do I need in a room?
Divide your ceiling height by two to get approximate spacing, then lay out a grid adjusted for furniture and work surfaces. A 12 by 14 foot living room with an 8-foot ceiling typically takes six fixtures. Aim for even coverage rather than maximum brightness.
Do canless lights work in a ceiling with insulation?
Most are IC-rated and airtight, meaning they can be in direct contact with insulation safely. Confirm the rating on the specific product before installing, since a small number of budget units are not rated for insulation contact.
Final Thoughts
The canless versus traditional decision comes down to your ceiling and your intentions. If you are retrofitting, working in a shallow or insulated ceiling, and want general illumination, canless is faster, cheaper, and better sealed — and for most homeowners that is the whole story. If you are building new, want directional accent trims, or need serviceability in a ceiling you cannot easily reach, traditional housings still earn their place. Whichever you choose, spend your attention on layout spacing, color temperature, CRI, and dimmer compatibility, because those four decisions determine how the room actually feels far more than the fixture format does. Get them right and recessed lighting disappears into the ceiling exactly as it should throughout 2026 and long after.