Owen Bradley
 Plugging a laptop into a bigger screen sounds like a one-cable job, and sometimes it is. Just as often you end up with a display that will not wake, text that looks slightly soft, a mouse that crosses to the wrong side, or a laptop that overheats the moment you shut the lid. Most of those problems come from the same few decisions: which port you used, which display mode you picked, and how the two screens’ resolutions and scaling interact. This guide covers how to use a laptop with an external monitor properly, from choosing between HDMI and USB-C through fixing blurry scaling and deciding whether closing the lid is a good idea.
Choosing the Right Connection
Your port choice determines resolution, refresh rate, and whether the cable can also charge the laptop and carry USB devices.
- HDMI. Universally available and reliable. HDMI 2.0 handles 4K at 60Hz; HDMI 2.1 pushes much higher refresh rates. Video and audio only, no power delivery.
- USB-C with DisplayPort Alt Mode. The most convenient option if both devices support it. One cable carries video, USB data, and up to 100 watts of power back to the laptop. Look for a small DisplayPort logo beside the port, since not every USB-C port supports video output.
- Thunderbolt. A superset of USB-C with far more bandwidth, enough to drive two 4K displays from a single connection. Marked with a lightning bolt icon.
- DisplayPort. Less common on thin laptops but the best choice for high refresh rate gaming when available.
- Adapters and hubs. Workable, but passive adapters often cap refresh rate and unpowered hubs cause dropouts. If you need one, choose a powered dock.
Match the cable to what you actually want. A cable rated only for 1080p60 will silently limit a 4K panel, and the symptom looks like a broken monitor rather than a cable problem. Single-cable setups that charge the laptop while driving the screen are the main appeal of the best USB-C monitors, and if you need to drive several displays or add wired networking, the docking options covered in the best graphics cards and docks guide handle that expansion.
Step-by-Step: Connecting and Configuring
- Power both devices on before connecting. Modern systems handle hot-plugging fine, and connecting live makes it obvious whether detection worked.
- Connect the cable directly, laptop port to monitor port. Skip hubs and adapters on the first attempt so you can confirm the basic link works before adding variables.
- Select the correct input on the monitor. Use the display’s own menu button. Auto-detect frequently fails or picks the wrong port, and this is the single most common cause of a “no signal” message.
- Open display settings. On Windows, press Windows key plus P for the quick mode switcher, or go to Settings, System, Display for the full page. On macOS, open System Settings and choose Displays.
- Choose a display mode. Extend gives you two independent workspaces and is right for most people. Duplicate mirrors the same image and is for presentations. Second screen only uses the external display alone and blanks the laptop panel.
- Arrange the displays to match reality. Drag the on-screen rectangles so their positions mirror how the monitors physically sit on your desk, including relative height. Get this wrong and your cursor will exit the wrong edge every time.
- Set the main display. Select the external monitor and tick the option to make it your primary display, so the taskbar, dock, and new windows open there rather than on the smaller laptop screen.
- Set native resolution and maximum refresh rate. Choose the monitor’s exact native resolution, then open advanced display settings and select the highest refresh rate offered. Windows frequently defaults new displays to 60Hz even on faster panels.
- Adjust scaling per display. Select each screen individually and set its own scale percentage. Laptop panels usually need higher scaling than a larger external monitor.
- Check audio output. Connecting over HDMI or USB-C often reroutes sound to the monitor’s speakers. Set your preferred output device in the sound settings if audio disappears.
Fixing Blurry Text and Scaling Problems
Blurry text on the external screen is almost always a scaling issue rather than a hardware fault. It happens because laptops commonly have high pixel density displays running at 150 percent or more scaling, while a typical external monitor wants 100 percent. When an application is dragged between the two, older software cannot redraw itself cleanly and gets stretched instead.
Work through these fixes in order. First, confirm the external monitor is running at its exact native resolution, since any other resolution guarantees soft text. Second, set scaling independently for each display rather than accepting one global value. Third, sign out and back in after changing scaling, because many applications only pick up the new value at launch. Fourth, for a specific stubborn program, right-click its executable, open Properties, Compatibility, Change high DPI settings, and let the system override the application’s own scaling behaviour.
Resolution mismatch is the deeper cause. Pairing a very sharp laptop panel with a 1080p external screen will always feel like a downgrade on the larger display. If your work is mostly on the external monitor, matching pixel density matters more than raw size, and general-purpose picks in the best monitors for home office cover that balance. If budget is the constraint and you sit at a normal distance from a 24 inch panel, the options in the best 1080p monitors remain perfectly readable.
Should You Close the Laptop Lid?
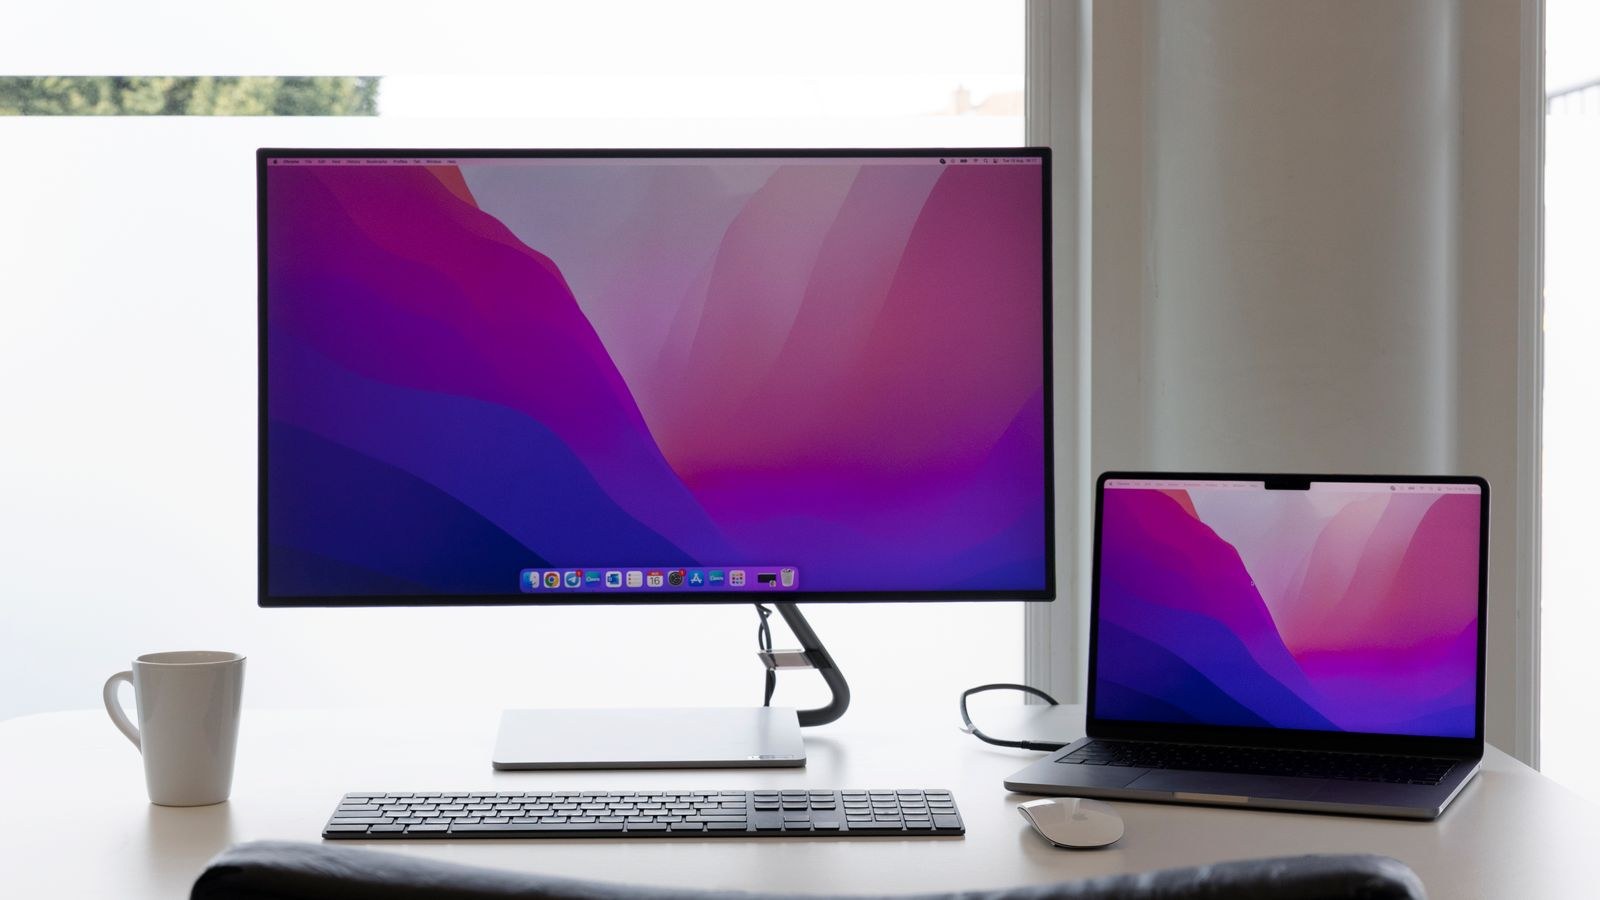
Closed-lid or clamshell operation gives you a clean desk and a single screen to focus on, but it comes with a real trade-off in cooling. Many laptops vent heat partly through the keyboard deck, and closing the lid traps it. Under sustained load that means higher temperatures and thermal throttling, which shows up as sluggish performance rather than an obvious warning.
The safer arrangement for demanding work is to keep the lid open and use the laptop screen as a secondary display, ideally raised on a stand so its top edge lines up with the external monitor. That preserves airflow, gives you extra screen space, and keeps the built-in webcam usable. If you do want clamshell mode, set it up correctly.
- Connect the laptop to power, since most systems refuse clamshell operation on battery.
- Connect the external monitor, keyboard, and mouse first, and confirm all three work.
- On Windows, open Control Panel, Power Options, Choose what closing the lid does, and set it to “Do nothing” while plugged in.
- On macOS, simply close the lid with power and peripherals attached; the system handles it automatically.
- Raise the laptop on a vertical stand so air can move freely around the chassis, and keep it off soft surfaces entirely.
Troubleshooting Common Problems
- No signal. Check the monitor input source first, then try the other end of the cable, then a different cable. Swap ports before assuming hardware failure.
- Display detected but black. Force detection with Windows key plus Ctrl plus Shift plus B to restart the graphics driver, or press Detect in display settings.
- Wrong maximum resolution offered. The cable or adapter is limiting bandwidth. This is the usual reason a 4K monitor only offers 1080p.
- Flickering or intermittent blackouts. Almost always a cable or bandwidth problem. Try a shorter, certified cable or step the refresh rate down one level.
- Display disconnects when the laptop sleeps. Disable USB selective suspend in power settings and turn off any deep sleep or Eco mode in the monitor’s own menu.
- Cursor exits the wrong screen edge. Rearrange the display rectangles in settings to match the physical layout.
- Laptop charges slowly over USB-C. Driving a display consumes power budget. Check the monitor’s power delivery rating covers your laptop’s requirement, or use the original charger alongside.
Getting the Ergonomics Right
Once the technical side works, spend five minutes on placement. Put the external monitor directly in front of you with its top edge at or just below eye level, roughly an arm’s length away. Position the laptop to one side on a riser so both screens sit at a similar height, and use an external keyboard and mouse so your arms are not reaching up to the laptop deck. Working on a raised laptop’s built-in keyboard is the fastest route to shoulder and wrist strain.
If you work away from the desk regularly, a second travel screen is worth considering. Lightweight USB-C powered panels give you a two-screen workflow in a hotel or cafe, and the options in the best portable monitors connect over the same single cable you already use at home.
Frequently Asked Questions
Can I use two external monitors with one laptop?
Usually yes, though it depends on the graphics hardware and available ports. Thunderbolt connections handle two 4K displays over a single cable; other laptops may need one monitor per port or a powered docking station.
Why is my external monitor stuck at 60Hz?
Either the cable lacks the bandwidth, or Windows simply defaulted to 60Hz. Check advanced display settings for a higher option first, then replace the cable if the option is missing.
Does using an external monitor drain the battery faster?
Yes, noticeably. Driving a second display increases graphics load and power draw, so keep the laptop plugged in for extended sessions.
Is HDMI or USB-C better for a laptop?
USB-C is more convenient because one cable carries video, data, and power. HDMI is more universally compatible and often the more reliable choice for high refresh rate gaming.
Can I close the laptop and still use it?
Yes, with power connected, external input devices attached, and the lid-close action set to do nothing. Just be aware that cooling suffers under heavy workloads.
Final Thoughts
A laptop plus external monitor setup works reliably once three things line up: a cable and port with enough bandwidth for the resolution and refresh rate you want, display settings that use the panel’s native resolution with per-display scaling, and a physical arrangement that matches what the software thinks it is. Connect directly before adding docks, select the input manually on the monitor, and make the external screen your primary display so windows open where you want them. Keep the lid open for heavy work, raise the laptop and add a separate keyboard, and you get the productivity of a desktop workspace without giving up portability.