Owen Bradley
 A prebuilt gaming PC is a great starting point, but it rarely stays ideal forever. Games get heavier, resolutions climb, and the part that felt fast at purchase becomes the bottleneck holding everything else back. The good news is that most modern prebuilts use standard components you can swap yourself. The catch is that some builders cut corners in places you cannot see, and those corners decide what you can realistically upgrade. This guide walks through how to upgrade a prebuilt gaming PC the smart way: audit first, buy second, and never assume a part fits until you have measured it.
What You Need Before You Start
Upgrades go smoothly when the prep work is done. Gather these before you order a single part:
- A Phillips #2 screwdriver, ideally magnetized, for case and expansion slot screws.
- An anti-static wrist strap or the habit of touching the bare metal case frame before handling parts.
- A tape measure or ruler for checking clearance in millimetres or inches.
- A flashlight or phone light to read labels on the power supply and motherboard.
- Free software that reports your hardware, so you know exactly what is inside without opening anything.
- A small bowl or tray for screws, and a clear table with room to lay the case on its side.
Set aside about an hour for the audit and another hour for the physical work. Rushing an upgrade is how connectors get bent and clips get snapped.
Understand the Three Limits of Any Prebuilt
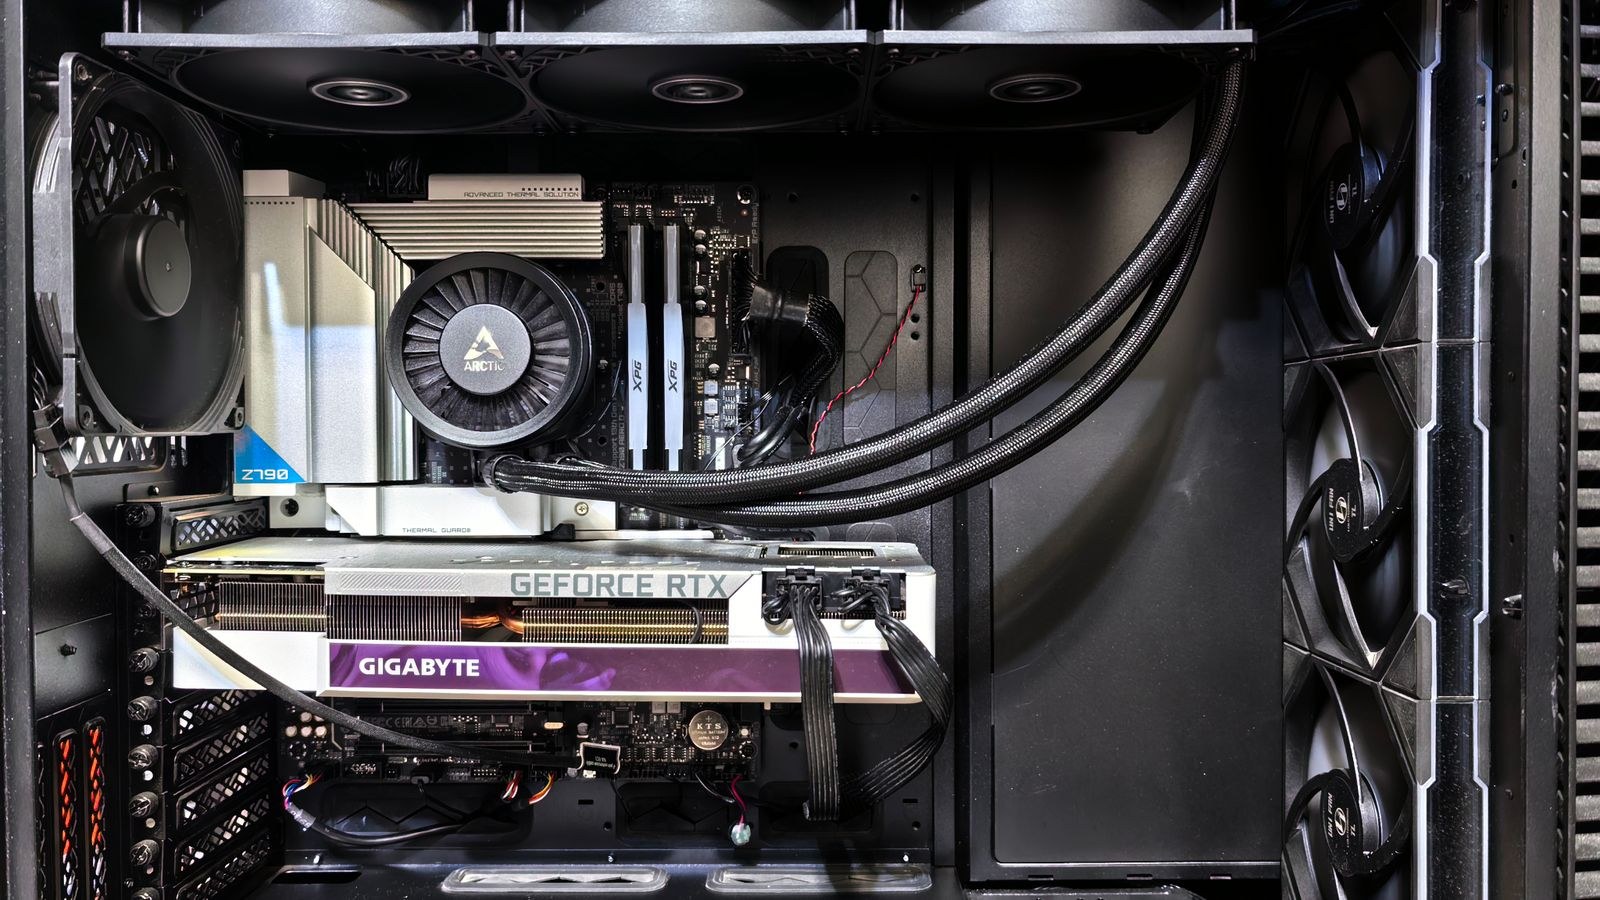
Almost every failed prebuilt upgrade traces back to one of three constraints. The power supply may be lower wattage than a retail build and may lack the connectors a newer graphics card needs. The case may be a compact or slim design with limited card length, cooler height, and airflow. The motherboard may be a proprietary board with a non-standard layout, locked firmware, or a limited number of memory and storage slots.
None of these are automatic dealbreakers. They simply mean you should confirm each limit before shopping. If you are still deciding whether upgrading is worth it versus starting fresh, our comparison of buying a prebuilt versus building a custom gaming PC lays out where each path makes financial sense.
Step-by-Step: Upgrading a Prebuilt Safely
- Inventory what you already have. Open a system information tool and note the exact CPU model, motherboard model, memory capacity and speed, storage drives, and graphics card. Write it all down. Guessing from the sales page is unreliable, because vendors often change parts mid-production.
- Find your real bottleneck. Run the games you actually play while watching CPU and GPU usage. If the GPU sits near 100 percent and the CPU is far lower, the graphics card is your limit. If the CPU pins high while the GPU idles, the processor or memory is holding you back. If both are moderate but the game stutters, suspect low memory or a slow hard drive.
- Read the power supply label. Power off, unplug, open the side panel, and shine a light on the PSU sticker. Record the total wattage, the efficiency rating, and count the spare PCIe power connectors. A quality unit with headroom is the foundation of every other upgrade; browse the best PSUs for gaming if yours is undersized or unbranded.
- Measure the case. With the panel off, measure the space from the rear slot bracket to the nearest obstruction such as a drive cage or front fan. That is your maximum card length. Measure from the CPU socket to the side panel for cooler height. Note the clearance and compare against the spec sheet of anything you plan to buy.
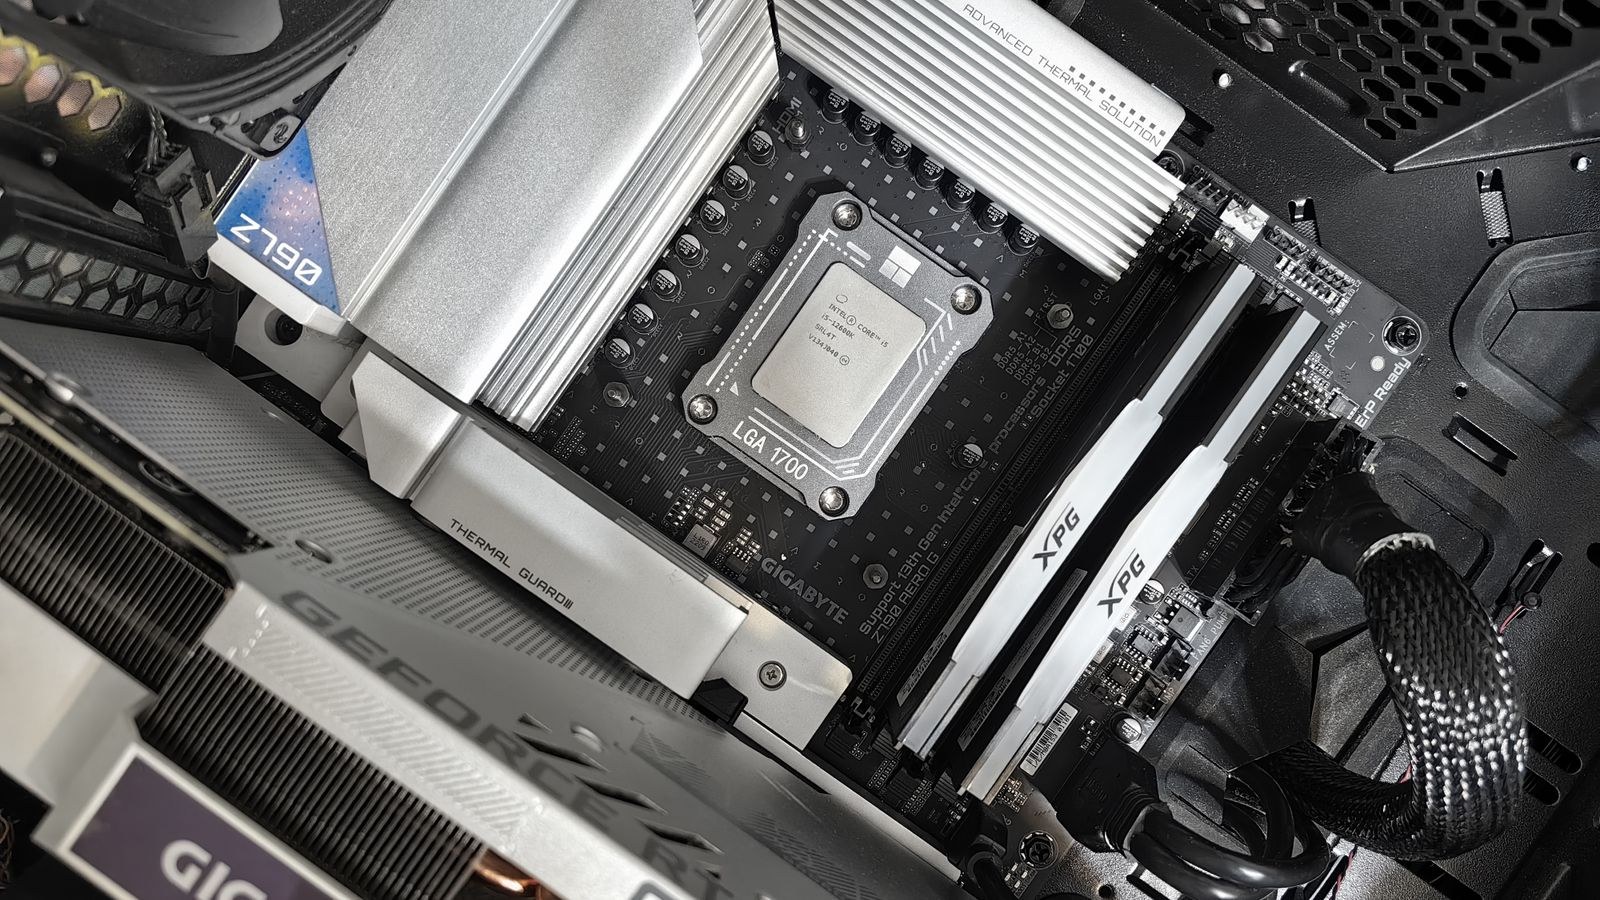
- Check memory slots and standard. Look at how many memory slots the board has and how many are filled. Two filled slots out of four means an easy capacity increase. Two out of two means you will replace what you have. Confirm whether the board takes DDR4 or DDR5, since the two are not interchangeable.
- Buy the parts that clear every constraint. Only after all four checks above should you order. Cross-reference each part’s length, height, wattage requirement, and connector type against your notes. Where the graphics card is the limit, the best GPUs under 500 cover the range that suits most prebuilt owners upgrading from an entry card.
- Update firmware and drivers first. Before physically installing anything, install the latest motherboard firmware and chipset drivers while the system still works. A newer CPU or faster memory kit often needs a firmware update to be recognised, and it is far easier to apply that update with the old, known-good parts installed.
- Ground yourself and remove the old part. Unplug the power cable, hold the power button for five seconds to drain residual charge, then touch the metal chassis. For a graphics card, unplug its power cables, release the slot retention clip, undo the bracket screws, and lift it straight out without twisting.
- Install the new component. Line the card up with the slot and press evenly until the retention clip audibly clicks. For memory, open the slot latches, align the notch, and press both ends down firmly until the latches close on their own. Never force any part into place; if it resists, the alignment is wrong.
- Reconnect power and cable manage. Attach the correct number of PCIe power connectors, using separate cables rather than daisy-chaining where possible. Route cables away from fan blades and make sure nothing blocks airflow to the intake.
- Boot and verify before closing up. Leave the side panel off for the first boot. Confirm the system posts, then check that the operating system reports the new capacity or model. Watch the fans spin and listen for anything rubbing.
- Stress test, then close the case. Run a demanding game or a stress tool for 20 to 30 minutes while monitoring temperatures. Once the system is stable and thermals look reasonable, refit the panel and tidy the cables.
Which Upgrade Delivers the Most Improvement
If your budget only stretches to one change, spend it where the measurement pointed. For gaming at 1080p or 1440p, a stronger graphics card is usually the single biggest jump, often adding far more frames per second than any other swap of similar cost.
Memory is the next most common win, especially on entry prebuilts shipped with a single stick. Moving from one stick to a matched pair enables dual-channel operation and can lift frame rates noticeably even without adding capacity. If you are choosing a kit, the best RAM for gaming guide explains how capacity, speed, and timings interact so you do not overspend on numbers your board cannot use.
A fast solid state drive is the cheapest quality-of-life upgrade if the system still boots from a mechanical hard drive.
When to Upgrade the Power Supply First
Treat the PSU as a prerequisite, not an afterthought. If your unit is unbranded, below the recommended wattage for your target card, or lacks the right connectors, replace it before the graphics card. Symptoms of an overloaded supply include sudden reboots under load, black screens during gameplay, and coil whine that appears only when the game starts. Note also that some compact prebuilts use a non-standard PSU size, so measure the existing unit and confirm the replacement uses the common ATX form factor before ordering.
Safety and Handling Notes
- Always unplug the power cable and flip the PSU switch off before opening the case. Sleep mode is not off.
- Handle boards and cards by their edges. Fingerprints on gold contacts and static discharge both cause faults that appear weeks later.
- Do not remove the small screws on a graphics card cooler or open the power supply. Neither is user serviceable and both void warranty.
- Check your warranty terms first. Many manufacturers permit memory and storage upgrades but consider a replaced power supply or motherboard grounds for voiding coverage.
- Keep the original parts and packaging until you have confirmed the new setup is stable for at least a week.
Troubleshooting a Failed Upgrade
The PC will not power on. Re-seat the 24-pin and 8-pin motherboard power cables, which are easy to knock loose while working. Confirm the front panel power switch header is still connected.
It powers on but there is no display. If you installed a graphics card, plug the monitor into the card rather than the motherboard port. Then re-seat the card fully and confirm the retention clip clicked.
Only part of the new memory is recognised. Re-seat both sticks, then confirm the board supports that capacity per slot. If the system boots with one stick but not the other, the second stick or its slot may be faulty.
Performance did not improve. Check that the memory profile is enabled in firmware and that the new card is actually being used rather than integrated graphics. Also confirm the CPU is not the limiting factor now that the GPU is faster.
Common Mistakes to Avoid
- Buying before measuring. The most expensive mistake is a card that is 30mm too long for the case.
- Ignoring the power supply. Pairing a strong card with a weak, unbranded unit causes instability that looks like a faulty card.
- Mixing mismatched memory. Adding a random stick to an existing one often forces both to run slower.
- Upgrading everything at once. Change one part, verify stability, then move on.
- Forgetting airflow. A more powerful card generates more heat, so temperatures across the whole system will rise.
Frequently Asked Questions
Can I upgrade any prebuilt gaming PC?
Most use standard parts, but slim and all-in-one designs frequently use proprietary boards, low-profile slots, or non-standard power supplies. Identify the case form factor and motherboard model first. If both are standard sizes, you have the same freedom as a custom build.
Does upgrading void my warranty?
It varies by manufacturer. Memory and storage upgrades are usually permitted, while replacing the power supply or motherboard often is not. Check the documentation before you open anything, and keep the original parts so the system can be restored if you need support.
Should I upgrade or just buy a new PC?
If the processor is still reasonably current and the power supply is decent, a graphics card and memory upgrade usually delivers better value than replacing everything. If the platform is several generations old and the PSU is weak, the cost of upgrading approaches the price of a capable new system. Our roundup of the best prebuilt gaming PCs under 1000 is a useful benchmark for that comparison.
How do I know what power supply wattage I need?
Add the manufacturer’s recommended system wattage for your intended graphics card, then leave roughly 20 percent headroom on top. Headroom keeps the unit running in its efficient range, reduces fan noise, and leaves room for a future upgrade.
Final Thoughts
Upgrading a prebuilt is less about picking exciting parts and more about respecting the limits the builder set. Audit the power supply, measure the case, confirm the board’s memory and slot support, and only then decide what to buy. Work one component at a time, verify stability before moving on, and keep the old parts until you are certain everything is solid. Approached that way, a prebuilt can stay competitive for years past its original spec, and you will spend your money on the change that actually shows up on screen rather than on a part that never fit in the first place.