Owen Bradley
 Most laptop cameras use a tiny sensor behind a plastic lens, which is why you look flat, noisy and slightly grey on every call. Meanwhile there is probably a mirrorless camera, an action camera or a phone within arm’s reach with a sensor many times larger and glass that actually resolves detail. Turning one of those into a webcam takes either a free utility, a USB cable, or a capture card, depending on what you own. This guide covers each route, explains which gives the best image, and walks through the power, heat and audio issues that catch people out on their first long call.
Why a Camera Beats a Built-In Webcam
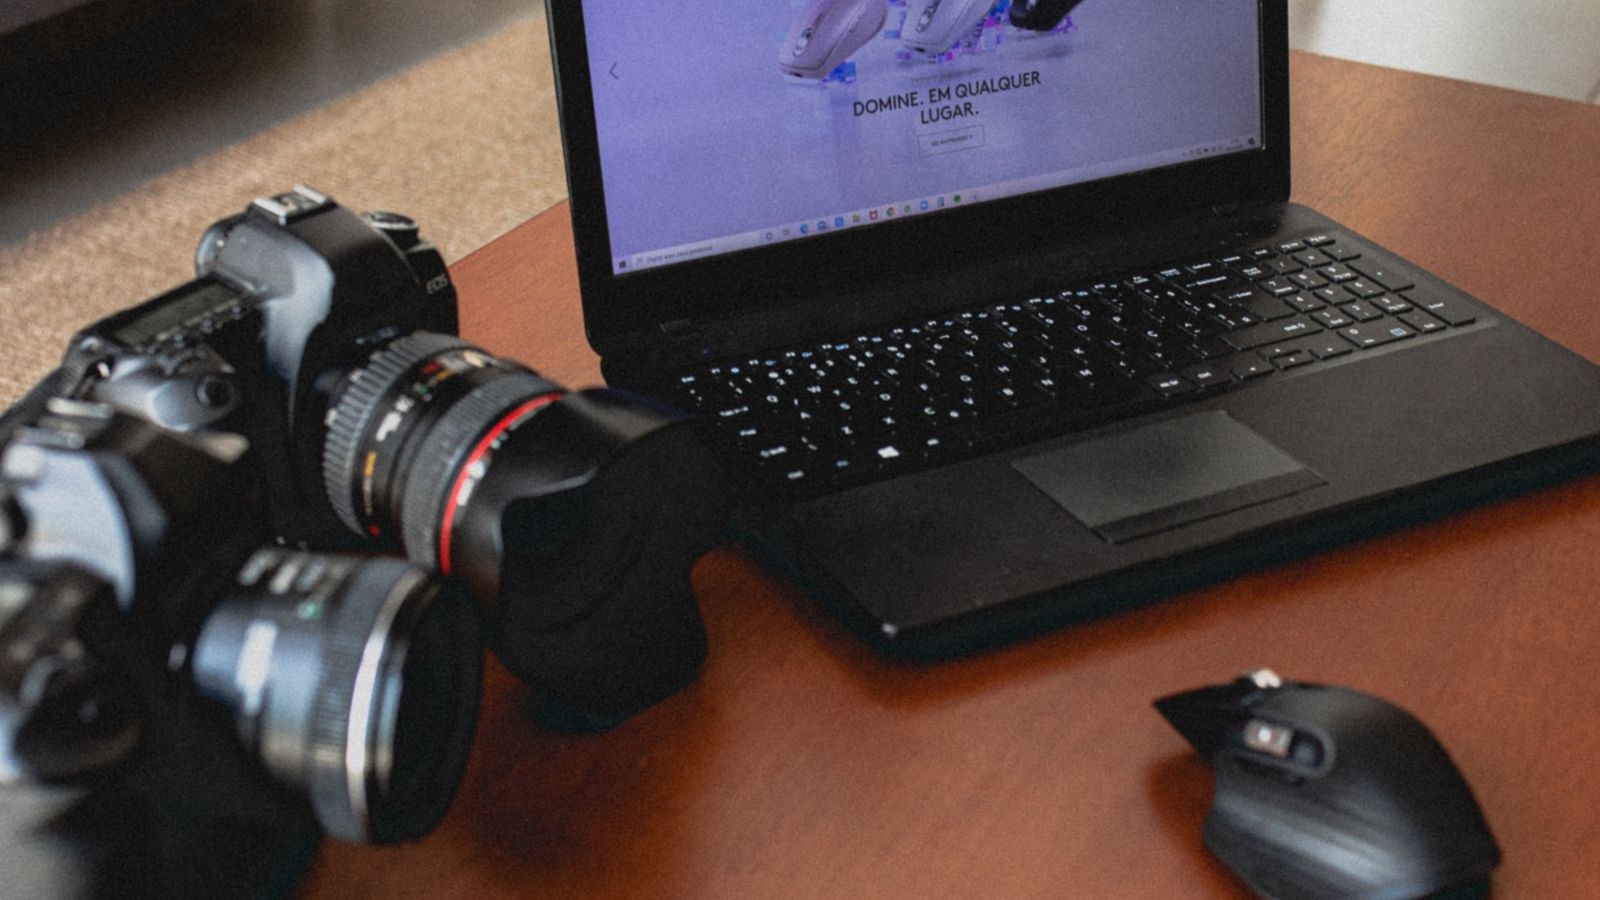
Three things separate a real camera from a laptop lid module. The first is sensor size: a larger sensor gathers far more light, so a dim home office produces a clean picture instead of a grainy one. The second is the lens, which controls sharpness and how much background blur you get naturally, without software guessing at the edges of your hair. The third is control, since a camera lets you set exposure, white balance and focus deliberately rather than letting an algorithm hunt every time a cloud passes the window.
The trade-off is convenience. A dedicated webcam plugs in and works. A camera needs power, a mount, sometimes extra software, and the habit of switching it on. For a handful of calls a week that friction may not be worth it; if you record video regularly, it is.
What You Will Need
- A camera with a clean HDMI output or official webcam software support, or a recent phone
- A USB data cable, or an HDMI cable plus a capture card
- A tripod, clamp arm or desk mount that puts the lens near eye level
- A mains power adapter or dummy battery, since internal batteries will not last a workday
- A separate microphone, because camera audio is rarely the best option available
Route One: The Manufacturer’s Webcam Utility
Every major camera brand now offers a free desktop utility that presents the camera to your computer as a standard video device over USB. This is the simplest path and needs no extra hardware beyond a cable.
- Check compatibility. Find your exact model on the manufacturer’s webcam software page. Support varies sharply between generations, and an unsupported body will simply appear as a storage device.
- Update the camera firmware. Many bodies gained this feature through a firmware release, so update before assuming it does not work.
- Install the utility and restart. The software installs a virtual camera driver that other applications can see, and a reboot registers it properly.
- Set the camera mode. Put the body into movie or video mode rather than stills, and disable auto power-off in the menu so it does not sleep between calls.
- Connect over USB. Use the cable supplied with the camera into a rear port. If the camera asks how to connect, choose the PC remote or webcam option rather than mass storage.
- Select it in your app. Open your meeting or recording software and pick the camera from the video device list, then check the preview.
Image quality here is good but usually capped, often at 1080p and a modest frame rate, because the utility compresses the feed over USB. It is more than enough for meetings. If you want to compare that against a purpose-built alternative, the best 4K webcams shows what a dedicated device delivers at higher resolutions.
Route Two: HDMI Out Into a Capture Card
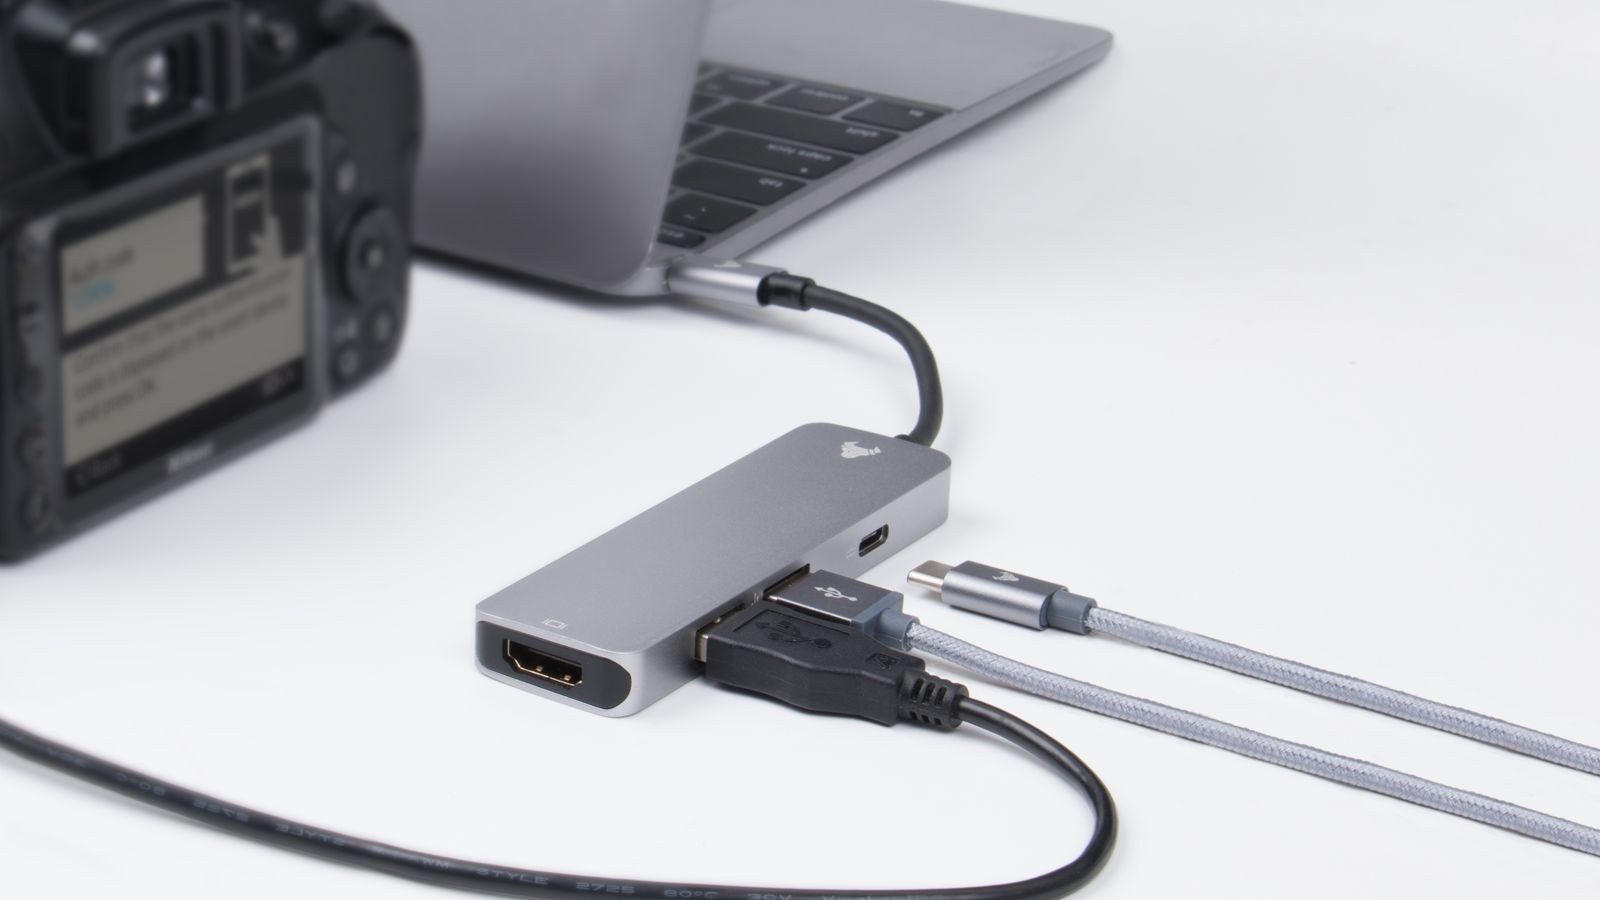
For the sharpest possible result, send the camera’s HDMI output into a USB capture card. The card presents itself to the PC as a webcam and passes through the full quality signal, uncompressed by any manufacturer utility.
- Enable clean output. In the camera menu, turn off display information on the HDMI output so overlays, focus boxes and battery icons do not appear on your video.
- Set the output resolution. Match the camera’s HDMI output to what the capture card accepts, commonly 1080p at 60fps or 4K at 30fps.
- Wire it up. Run HDMI from the camera to the card’s input, then USB from the card to a rear port on your computer.
- Power the camera from mains. Fit a dummy battery or the official adapter. A real battery will die partway through a long meeting.
- Select the capture card. In your software, choose the capture device rather than the camera itself, since the PC sees the card.
- Lock your exposure. Switch to manual exposure and manual white balance so the image stops shifting when you move or the light changes.
This route gives the best image by a wide margin and is what most video creators use. It is also the most equipment-heavy. Anyone building a permanent recording corner should look at the best webcams for content creation to judge whether a high-end dedicated camera would be simpler for their workflow.
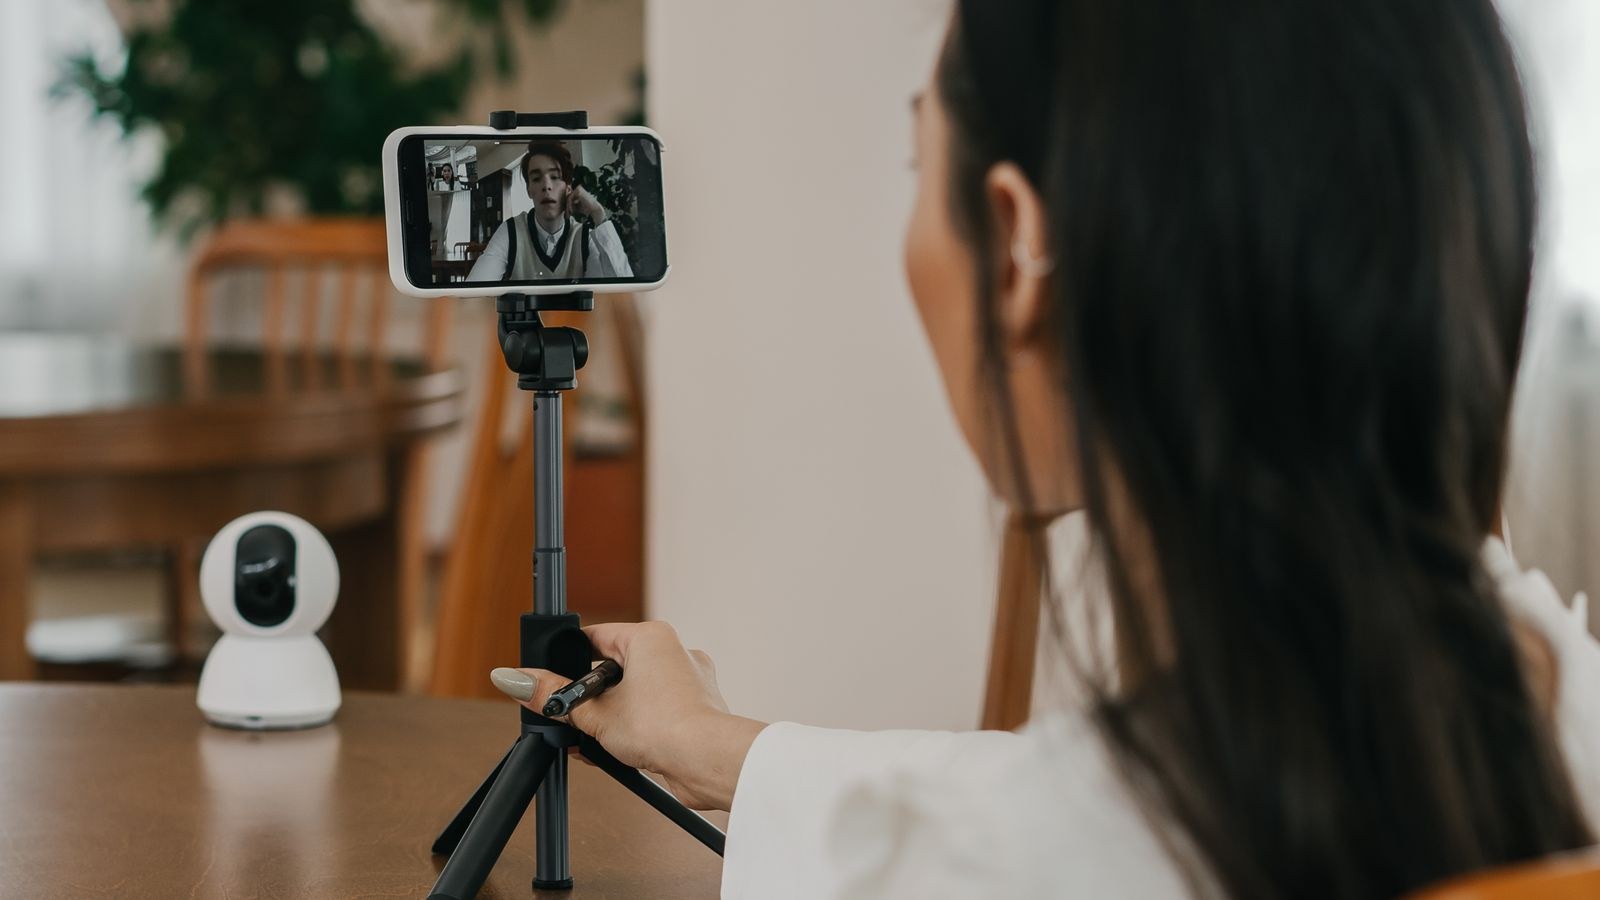
Route Three: Using Your Phone as a Webcam
A modern phone has a better camera than almost any webcam under a similar price, and its computational processing handles awkward lighting remarkably well. Both major mobile platforms now support this natively or through well-established apps.
- Choose the connection. A USB cable is more reliable and lower latency than wireless. Use wireless only if the cable is genuinely impractical, and keep both devices on the same network.
- Enable the feature. On a supported phone and computer combination, this is a single toggle in system settings. Otherwise install a reputable companion app on both devices.
- Mount the phone properly. Use a clamp or tripod adapter at eye level, in landscape orientation, and never balanced against a stack of books.
- Pick the rear camera. The main rear lens is far better than the selfie camera. Choose the standard wide lens, not the ultrawide, to avoid facial distortion.
- Keep it charged. Video encoding drains a battery fast and generates heat. Plug it in, and if your mount blocks the charging port, choose a different mount.
- Silence it. Enable do not disturb so a notification never interrupts your video feed mid-sentence.
Wireless phone connections are convenient but vulnerable to network congestion, which shows up as stutter or a sudden quality drop. If you need to be off the cable, the best wireless webcams covers devices designed for that from the start rather than adapted to it.
Getting the Picture Right
Better hardware only helps if you configure it. Start with position: the lens at seated eye level, roughly 60 to 100 cm away, with your head in the upper third of frame. Then set the exposure manually so the camera stops adjusting brightness every time you shift in your seat, and lock white balance so your skin tone stays consistent.
Focus deserves attention. Continuous autofocus on a large sensor hunts distractingly whenever you move, so set focus manually once at your seated position and leave it. For background blur, use a wider aperture and put real distance between yourself and the wall behind you.
Lighting still does the heaviest lifting. A single soft light in front of you, slightly above eye level and off to one side, transforms a picture more than any sensor upgrade. Avoid a bright window behind you, which silhouettes you whatever camera you use.
Power, Heat and Overheating Limits
This is where camera-as-webcam setups fail most often. Cameras were designed for short clips, not for running continuously, so problems appear on long calls. Batteries drain in well under an hour of video output, so use mains power. Many bodies also enforce recording limits or shut down on heat, which appears as the feed cutting out mid-meeting. Leave the body in open air, remove any case, and angle the rear screen away from the chassis to shed heat. Finally, disable auto power-off and screen sleep, since a camera that thinks it is idle will turn itself off.
Audio: Do Not Use the Camera Microphone
A camera’s built-in microphone points at the room and picks up every keystroke and every hum in your office. Even when the video looks cinematic, that audio makes you sound distant. Select a separate microphone as your audio input, whether a headset, a USB microphone or a desk unit. If you mix camera video with separate audio in recording software, watch for sync drift over long takes and correct it with a small offset. Viewers forgive a soft picture far more readily than poor sound.
Common Mistakes to Avoid
- Running on the internal battery. It will die mid-call, usually at the worst moment.
- Leaving display info on HDMI output. Your audience sees focus boxes and battery icons across the video.
- Using the phone’s selfie camera. The rear main lens is substantially better on every modern handset.
- Leaving everything on auto. Auto exposure and white balance shift constantly and look unstable on a call.
- Relying on camera audio. Almost any separate microphone sounds better.
- Ignoring the heat limit. A shutdown after forty minutes is a thermal problem, not a software fault.
Which Route Should You Choose?
If you already own a supported camera and take regular meetings, start with the manufacturer’s utility, since it costs nothing and takes ten minutes. If you record content and want the sharpest possible image with full manual control, the HDMI and capture card path is worth the extra hardware. If you own neither and want a large upgrade over a laptop camera for no money, your phone is the obvious answer and often matches mid-range dedicated devices. For anyone weighing that against simply buying a proper device, the best webcams for YouTube and the best webcams for streaming outline what a purpose-built camera offers with none of the power and heat management.
Frequently Asked Questions
Will any camera work as a webcam over USB?
No. It needs official webcam software support for your specific model, sometimes after a firmware update. Without it, the camera appears as a storage device and you will need a capture card instead.
Is a phone better than a dedicated webcam?
Often yes, particularly in difficult lighting, because of the larger sensor and heavy computational processing. The trade-offs are mounting, charging and heat rather than image quality.
Why does my camera shut off after about half an hour?
Usually heat or an auto power-off timer. Disable sleep settings, run on mains power, and improve airflow around the body by removing cases and angling the screen away from the chassis.
Do I need a capture card if I have webcam software?
Only if you need higher resolution or frame rates than the utility permits. For meetings, the free software route is sufficient.
Can I use the camera microphone for calls?
You can, but it will sound thin and roomy. Choose a separate microphone as your audio input in your meeting software for a noticeable improvement.
Final Thoughts
Using a camera or phone as a webcam is less about the gear and more about removing the failure points. Pick the simplest route your hardware supports, get the lens to eye level, run everything from mains power, and switch exposure, white balance and focus to manual so the image stops drifting. Then take your audio from a proper microphone rather than the camera. Do those five things and the picture you present in meetings will look markedly better than what a built-in laptop camera can produce, using equipment you already own.