Owen Bradley
 A vertical mouse looks like an obvious answer to wrist pain, and for many people it is. But plenty of buyers try one for three days, decide it feels awkward and slow, and quietly return it. The device is not the problem. A vertical mouse changes which muscles do the work, and that transition needs the right height, the right sensitivity, the right desk position, and a deliberate adjustment period. Get those four things right and most users report noticeably less strain within a fortnight. This guide covers how to choose the correct size, set it up properly, and get through the first week without giving up.
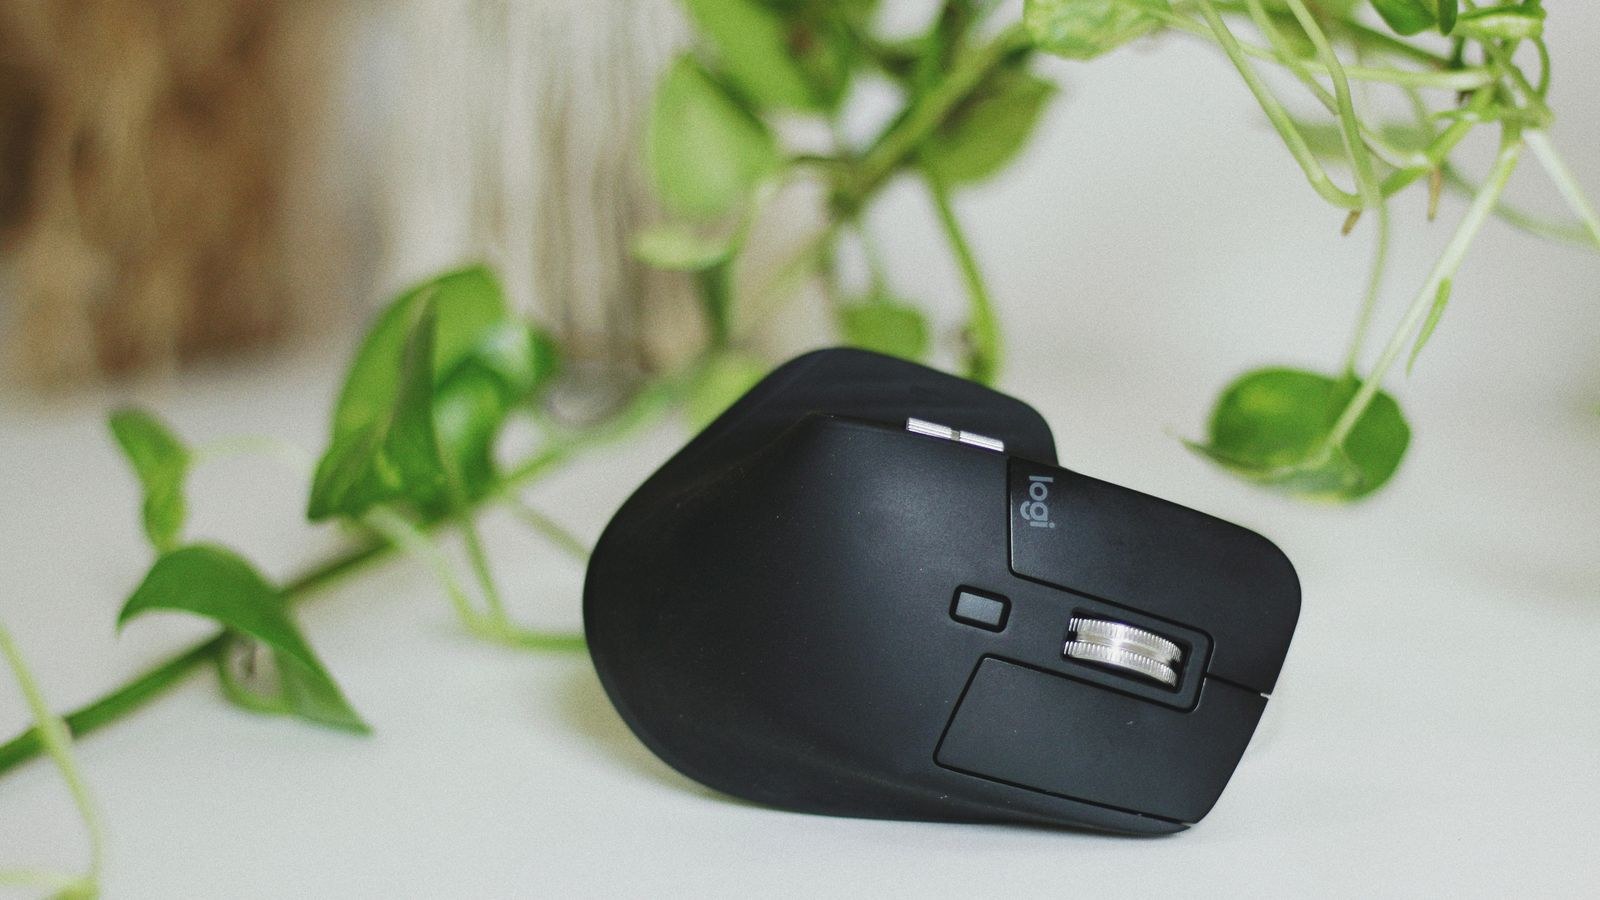
Why a Vertical Mouse Helps
Hold your arm out and let it hang naturally. Your palm faces inward, toward your body. That is the neutral position of the forearm, where the radius and ulna bones lie parallel and the muscles between them are relaxed. Using a conventional mouse forces you to rotate the forearm roughly 90 degrees so the palm faces down, a movement called pronation. Holding pronation for eight hours a day keeps those forearm muscles under constant low-level tension.
A vertical mouse lets you keep the hand in a handshake position, typically at 55 to 90 degrees rather than flat. That reduces pronation strain, opens the carpal tunnel slightly, and usually encourages movement from the shoulder and elbow rather than small, repetitive wrist flicks. It is those small repeated wrist movements under a compressed tunnel that drive most computer-related discomfort.
What It Will Not Fix
Be realistic. A vertical mouse addresses forearm rotation and some wrist compression. It does not correct a desk that is too high, a chair with no arm support, a monitor that makes you hunch, or the simple fact of not taking breaks. If your pain has been severe or persistent, see a medical professional rather than treating a peripheral as a cure. Many people need the mouse plus a workstation fix to feel real relief.
Choosing the Right One Before You Start
- Size matters more than any other spec. Vertical mice come in small, medium, and large shells, and a mouse too large forces your fingers to stretch, reintroducing the strain you are trying to escape. Measure your hand from wrist crease to the tip of the middle finger and match it to the manufacturer’s sizing chart.
- Angle preference varies. Full 90-degree designs give the most neutral forearm position but the least stability. A 55 to 70 degree angle is a gentler transition and suits most people better for a first vertical mouse.
- Thumb rest or not. A supported thumb shelf prevents the thumb doing the work of holding the mouse up, which is a common source of new discomfort.
- Weight. Heavier vertical mice are harder to lift and reposition, which matters because you will lift more often at low sensitivity.
If you are still comparing options, our roundup of the best vertical mouse models breaks them down by hand size and angle, while the wider best ergonomic mouse guide covers alternatives if a vertical shape is not the right shape for you.
Step-by-Step: Setting Up Your Vertical Mouse
- Fix your chair and desk height first. Sit with feet flat and elbows at roughly 90 degrees. Your desk surface should sit at or just below elbow height. If the desk is too high you will shrug your shoulder to reach the mouse, and no peripheral will fix that. Adjust the chair, then add a footrest if your feet no longer reach the floor.
- Set your armrests to support the forearm. Armrests should carry the weight of the forearm without pushing the shoulder up. This matters more with a vertical mouse because you will be moving from the elbow and shoulder rather than the wrist.
- Position the mouse close to the keyboard. Reaching out to the right stretches the shoulder and undoes the benefit. If your keyboard has a number pad you rarely use, a compact keyboard lets the mouse sit far closer to your body midline.
- Rest, do not grip. Place your hand on the mouse as if shaking hands, letting the shell carry the weight. Your fingers should curl naturally onto the buttons without stretching, and the thumb should rest on its shelf rather than clamping. If you are squeezing to keep control, the mouse is too large or too heavy.
- Keep the wrist straight. Looking down from above, your hand, wrist, and forearm should form a straight line. Any sideways bend, called ulnar or radial deviation, is a strain point that a vertical shape does not automatically correct.
- Lower your DPI deliberately. This is the step most people skip. High sensitivity encourages the tiny wrist flicks you are trying to eliminate. Drop DPI to a moderate value, around 800 to 1200, so you move the whole forearm across the pad. It feels slow at first and is central to the ergonomic benefit.
- Remap buttons to reduce repetition. Most vertical mice have side buttons. Assigning copy, paste, back, and forward removes hundreds of keyboard reaches and click repetitions per day. Small savings compound over a working week.
- Give yourself surface room. Lower sensitivity needs more pad. A wide desk mat means you can make long, relaxed arm movements instead of repeatedly lifting and repositioning.

Surviving the First Week
Expect to be slower for several days. Precision tasks such as photo editing, CAD work, or detailed spreadsheet selection will feel clumsy because your fine motor control has been trained on a flat mouse. This resolves, but only if you give it time.
- Days one to three: use the vertical mouse for general browsing, email, and reading only. Keep your old mouse available for anything requiring precision, and switch back when you need to work quickly rather than fighting through it.
- Days four to seven: extend to most of your day. You will notice new muscles complaining, particularly in the upper forearm and shoulder. Mild fatigue here is normal adaptation; sharp pain is not, and means something in your setup is wrong.
- Week two: commit fully and put the old mouse away. Switching back and forth beyond this point prevents either grip from becoming automatic.
- Week three onward: reassess. Most people are at or above their previous speed by now. If discomfort has not improved at all, the shell size or your desk height is likely the issue rather than the concept.
Throughout the transition, take a genuine break every 30 to 45 minutes. Stand, let the arm hang, and open and close the hand a few times. No mouse shape substitutes for changing position regularly.
Common Mistakes That Cause New Pain
The most common error is buying the wrong size, and it produces a distinctive symptom: aching in the fingers and the base of the thumb from stretching to reach buttons. If that describes your first week, exchange the mouse for a smaller shell rather than persevering.
The second is keeping high DPI. Users who carry over a 3200 DPI habit continue flicking from the wrist on a shape that gives the wrist less freedom, which can genuinely make things worse. The third is gripping too tightly, usually because the mouse is heavy or the desk surface is slippery. The fourth is placing the mouse too far right, so the shoulder does the reaching. Finally, many people ignore the keyboard entirely, which is odd, given that most office workers type far more than they mouse. If your wrists hurt, addressing both halves of the setup with something from our best ergonomic keyboards guide usually produces a bigger improvement than either change alone.
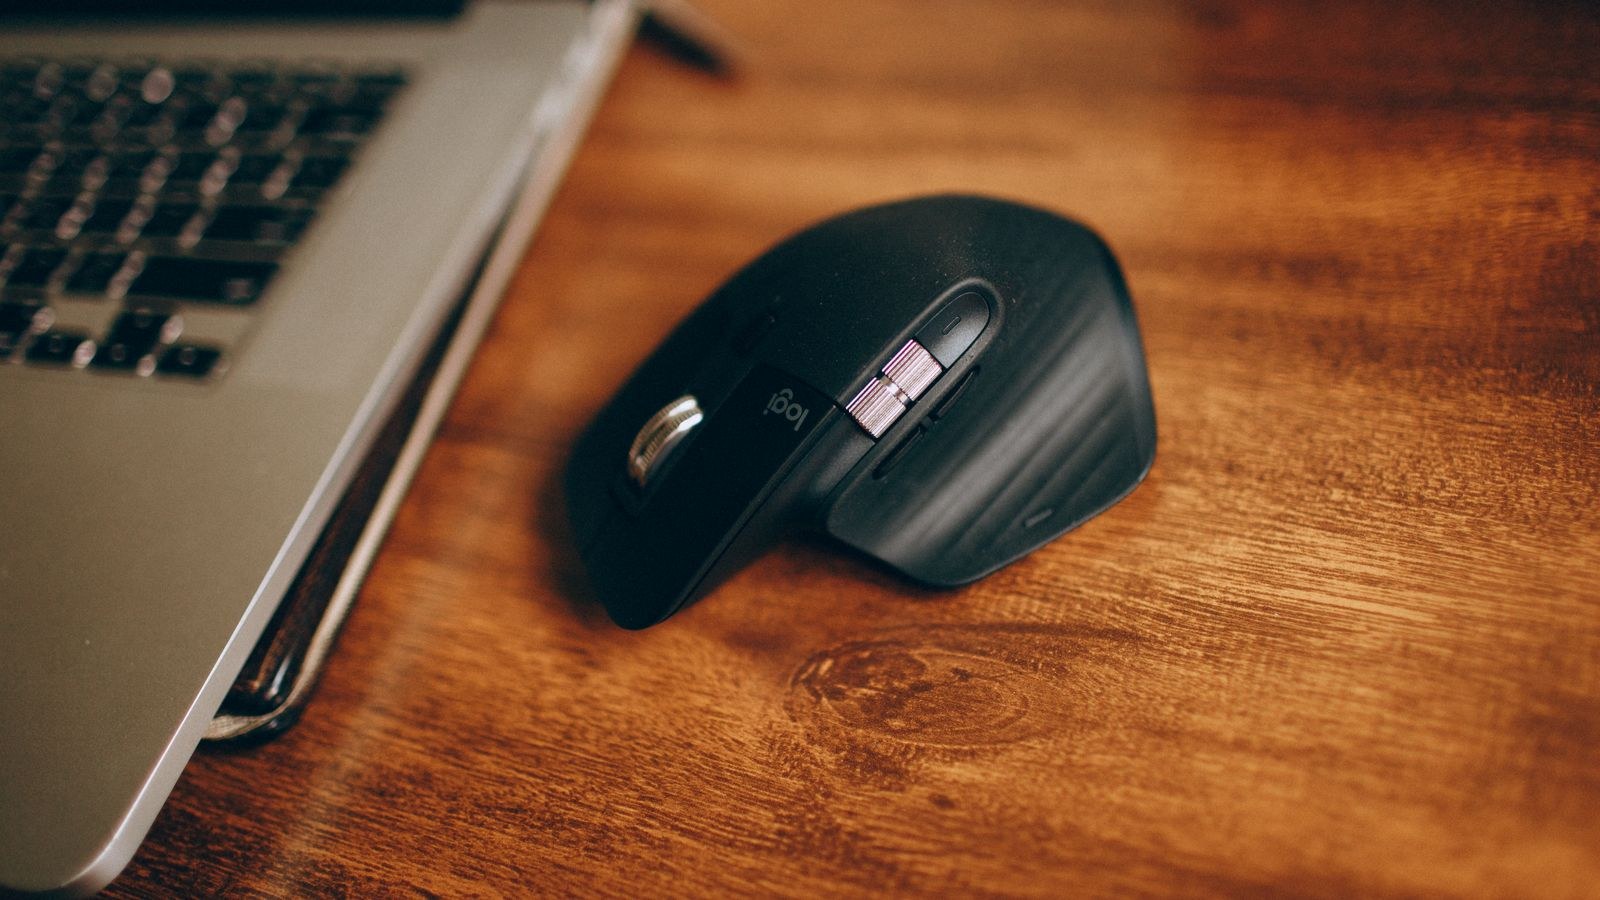
If a Vertical Mouse Does Not Suit You
Vertical is one solution, not the only one. A trackball keeps the hand almost stationary and moves the cursor with the thumb or fingers, which suits people with shoulder problems or very limited desk space, and the options in our best trackball mouse list are worth trying if arm movement itself is painful. Sculpted low-profile ergonomic mice offer a partial angle, around 30 degrees, as a middle ground for those who find full vertical too unstable.
Some people benefit most from simply alternating: a vertical mouse on the right hand, a second mouse on the left, swapping every few days so neither side accumulates strain. Learning left-handed mousing takes a couple of weeks but halves the repetitive load permanently. For a home setup where comfort over long hours is the priority, our best mouse for home office picks cover several of these approaches side by side.
Frequently Asked Questions
How long until a vertical mouse feels normal?
Most people are comfortable within one to two weeks and back to full speed by week three. Precision-heavy work can take a little longer.
Can I game with a vertical mouse?
For slower genres, strategy games, and MMOs, yes. For fast competitive shooters, the shape limits rapid, precise flicks, and most players keep a conventional mouse for those titles.
Is a 90-degree angle better than 57 degrees?
A full 90 degrees is the most neutral forearm position but offers less lateral stability and a steeper learning curve. Most first-time users adapt more comfortably to a shallower angle.
Do I still need a wrist rest?
Usually not, and a badly placed one can press on the underside of the wrist. Better to support the forearm on an armrest and let the hand float.
Will it cure carpal tunnel syndrome?
No. It can reduce the aggravating posture, but diagnosed conditions need medical assessment and often treatment beyond equipment changes.
Final Thoughts
Switching to a vertical mouse for wrist pain works when you treat it as a change in technique rather than a purchase. Match the shell to your hand size, sort your desk and chair height first, keep the wrist straight and the grip relaxed, lower your sensitivity so the forearm does the moving, and give yourself two full weeks before judging. Pair it with an ergonomic keyboard and regular breaks, and the setup you build in 2026 should be one you can work at comfortably for years rather than one you abandon in week one.