Owen Bradley
 A backyard movie night looks effortless in photographs and turns into a scramble in practice. The projector washes out because the neighbour’s porch light is on, the sound disappears three rows back, the screen billows in the breeze, and someone trips over an extension cord in the dark. None of those problems are hard to solve, but all of them need solving before guests arrive rather than during the opening credits. This guide walks through the whole setup in order: choosing a screen, placing the projector, getting sound to carry outdoors, running power safely, and managing the small comforts that decide whether people stay for the whole film or drift inside after twenty minutes.
What You Need Before You Start
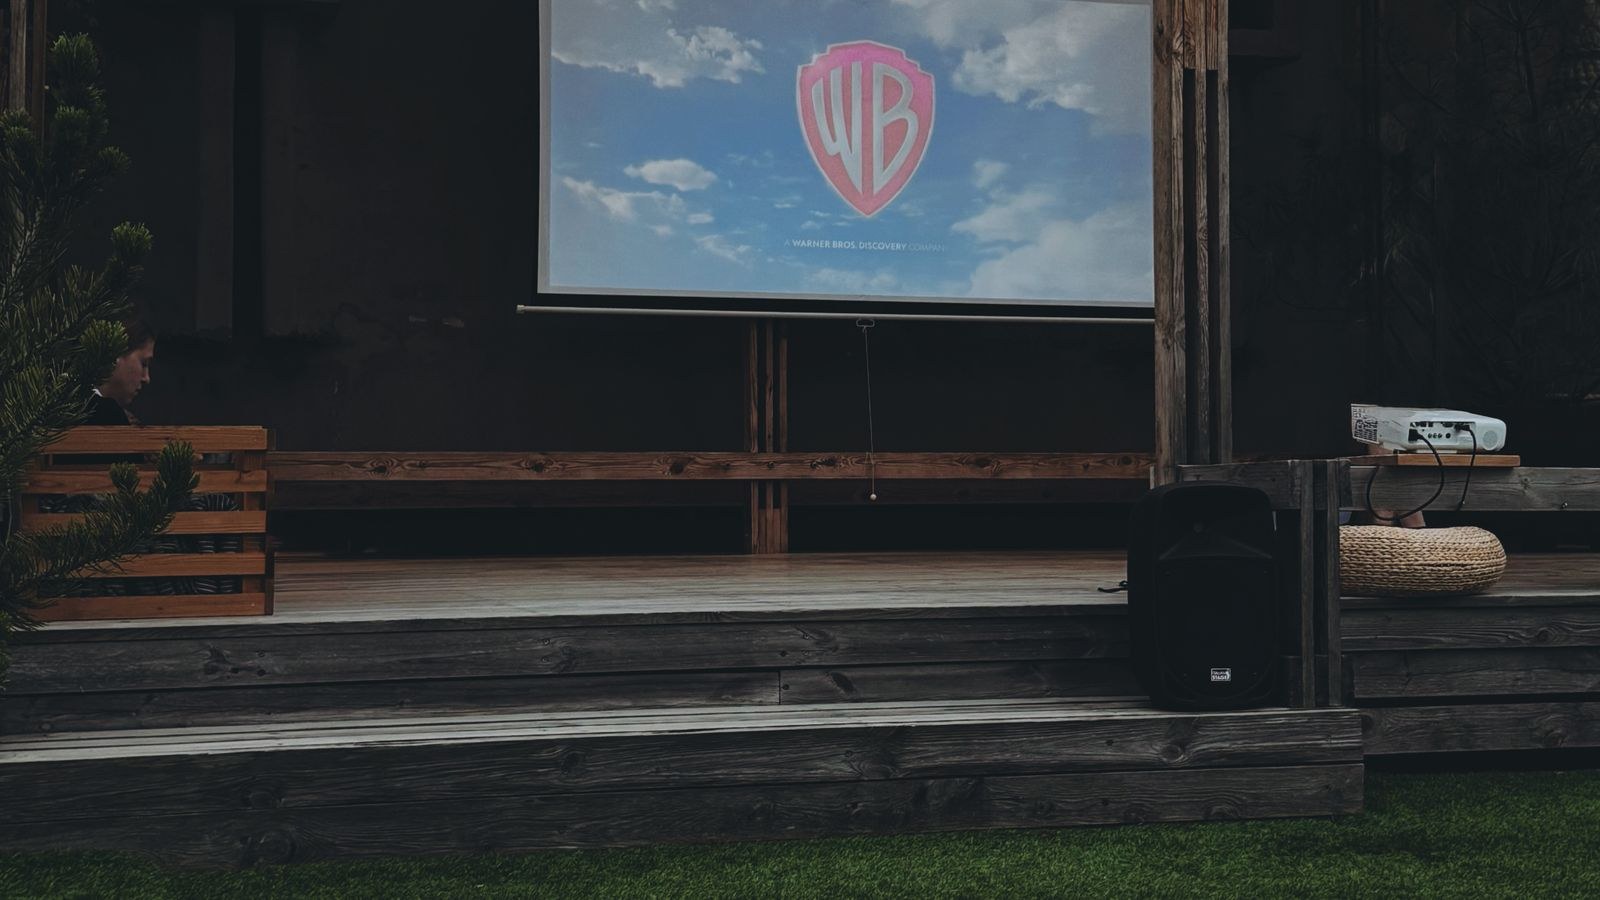
- A projector with enough brightness for your yard, plus its remote and a way to feed it video.
- A screen surface: inflatable, framed fabric, a tensioned sheet, or a flat pale wall.
- Outdoor-capable speakers and a source device, since projector speakers do not carry outdoors.
- Weather-rated extension cord and an outdoor outlet protected by a GFCI or RCD device.
- Seating: chairs, blankets, cushions, or a mix, arranged for sightlines.
- Guy ropes, tent pegs and clamps for anything that can catch wind.
- Low-level lighting for paths, plus insect control and a few spare blankets.
Step 1: Pick the Right Night and the Right Corner of the Yard
Start with darkness, not with equipment. Check what time full dark falls where you live, then set your start time at least twenty minutes after that. Civil twilight lingers longer than most people expect in summer, and a projector fighting a bright sky loses every time.
Next, walk the yard after dark and look for light pollution. A neighbour’s security floodlight, a streetlamp over the fence, or your own porch light will flatten contrast far more than moonlight will. Position the screen so those sources are behind it or blocked by a fence, hedge, or the house itself. Choose the flattest patch of ground you can, and note where the wind usually comes from, because that decides which way your screen should face.
Step 2: Choose and Anchor a Screen
- Decide the format. Inflatable screens set up fastest and pack away small. Framed screens with a tensioned surface give the flattest, sharpest picture. A pale rendered wall or garage door needs no hardware at all if you have one.
- Size it to the seating. A comfortable viewing distance is roughly 1.5 to 2 times the screen width. A 100 inch diagonal screen suits a group sitting 11 to 15 feet back.
- Tension the surface. Wrinkles in fabric show as bright and dark bands once the projector is on. Pull the material tight at every corner and mid-point.
- Anchor for wind. Peg guy ropes at a wide angle and add sandbags or water weights to the feet. A screen is a sail, and even a light gust will fold an unpegged one flat.
- Raise the bottom edge. Lifting the image so the lower third clears seated heads keeps people at the back from watching the back of someone’s hair.
Step 3: Position the Projector
Find your projector’s throw ratio in the manual, then multiply it by your screen width to get the lens distance. A 1.5:1 throw ratio and an 87 inch wide screen puts the projector roughly 11 feet back. Place it on a stable table rather than the ground, since grass-level placement throws dust and dew into the intake and forces heavy keystone correction.
Align the projector square to the screen: centred left to right and as close to level as possible, with only the small amount of vertical offset the lens is designed for. Use zoom and lens shift to fine-tune rather than relying on digital keystone, which softens the image. Put the projector behind the seating rather than in the middle of it, so nobody walks through the beam on the way to the snack table.
Brightness is the specification that decides whether your evening works. Even after dark, an outdoor image has no walls or ceiling to bounce light back, so a unit that looks fine in a blacked-out lounge can look thin outdoors. If you are still shopping, our comparison of the best projectors for light rooms is a useful proxy, because the same high-brightness models that beat daylight indoors are the ones that hold up in a garden with ambient street light.
Step 4: Get the Sound Right
Outdoor audio is the single biggest quality gap between a good backyard screening and a bad one. Indoors, walls and ceilings reinforce sound. Outdoors there are no reflections at all, so volume falls away quickly and dialogue is the first thing to disappear. A projector’s built-in driver is hopeless past the first row.
The fix is placement as much as power. Put two speakers at the front, flanking the screen at roughly the width of the seating area, angled slightly inward and raised to about seated ear height. That gives everyone a similar balance instead of one loud side. Keep the volume moderate and let coverage do the work; cranking a single speaker only distorts it and annoys the neighbours.
For a permanently installed patio setup, weatherproof enclosures that live outside year-round are the tidiest answer. Our roundup of the best outdoor speakers covers wall-mounted and landscape models built for that job, while the best patio speakers list focuses on compact options sized for a deck or terrace. If you only screen films occasionally and want something you can carry out and put away, a pair of rugged portable units is simpler; the best outdoor Bluetooth speakers guide covers models with the battery life and water resistance a full evening demands.
One warning about wireless audio: Bluetooth introduces latency, and even a modest delay makes lips fall out of sync with dialogue. If you go wireless, use a projector or source device with an audio delay setting and adjust it until speech matches mouths, or pair a speaker with a low-latency codec. A wired 3.5mm or optical connection sidesteps the problem entirely.
Step 5: Run Power Safely
- Use an outdoor-rated extension cord with a suitable gauge for its length. Indoor cords degrade in damp and are not built for it.
- Plug into a GFCI or RCD-protected outlet. This is not optional outdoors; it is the device that trips before a fault becomes a shock.
- Keep connections off wet ground. Hang or elevate the junction between cord and equipment, and use a weatherproof in-use cover on the outlet.
- Tape or cover cable runs across walkways with gaffer tape or a rubber cord protector so nobody trips in the dark.
- Do not daisy-chain power strips. Total up the wattage of your projector, speakers and lighting and stay well inside the circuit rating.
If you host outdoors often, a proper weatherproof receptacle near the patio is a worthwhile permanent upgrade over a cord snaking out of a window. Our guide to the best outdoor outlets covers in-use covers, weather ratings and GFCI options suitable for garden installation.
Step 6: Seating, Comfort and Small Details
Arrange seating in a shallow arc rather than straight rows, so the outer seats still face the screen. Mix heights deliberately: blankets and cushions at the front, low chairs in the middle, standard chairs at the back. That keeps sightlines clear without needing a raked lawn.
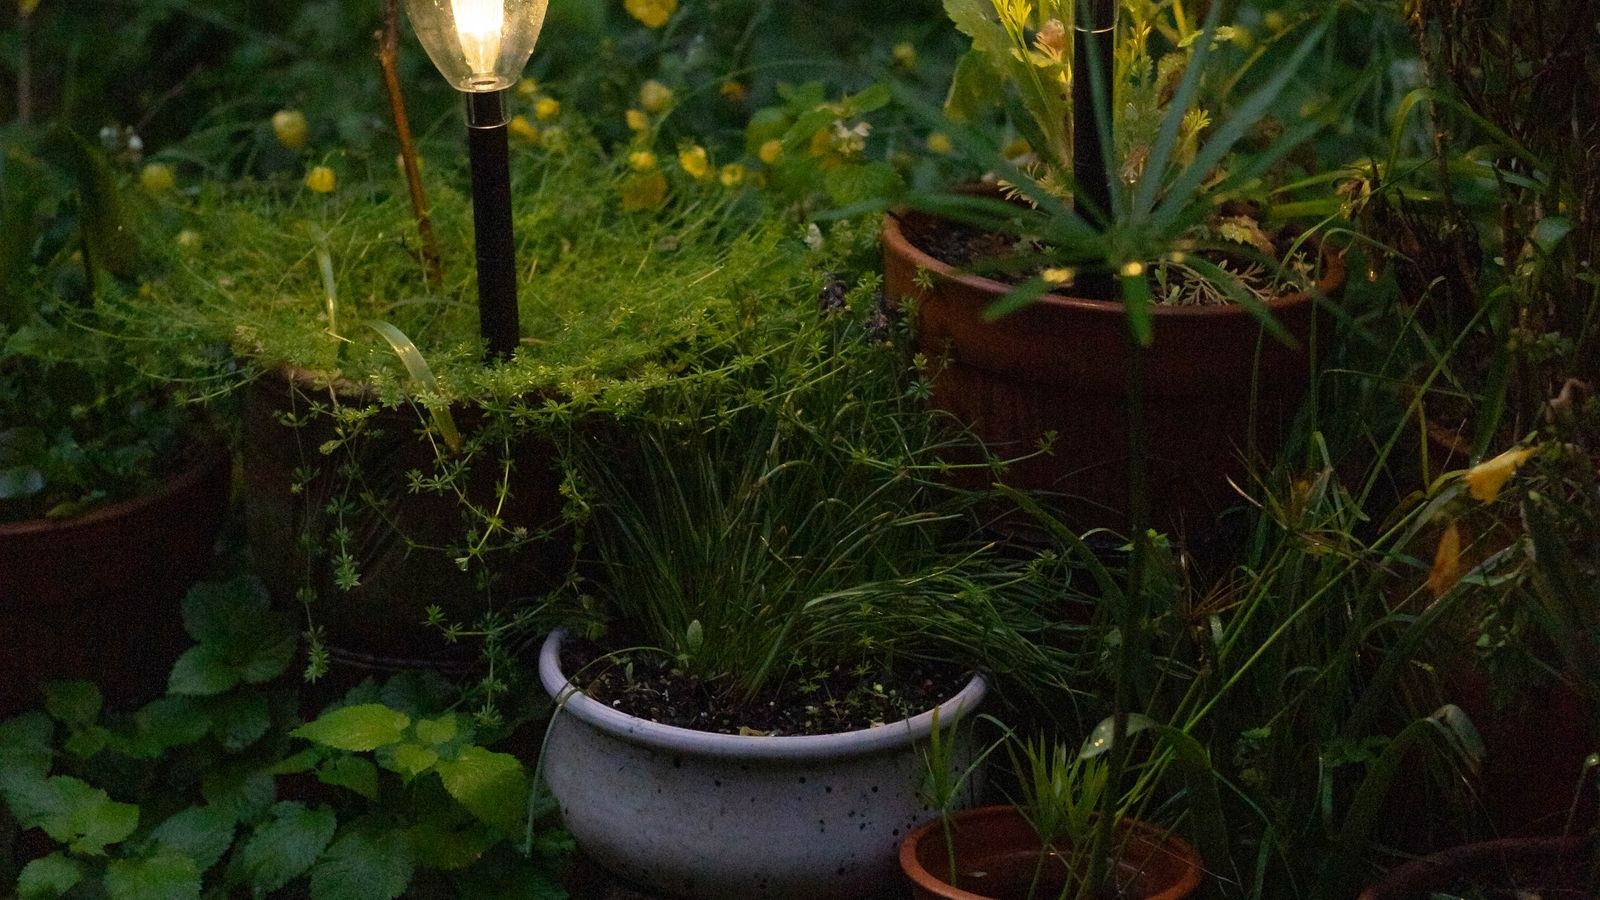
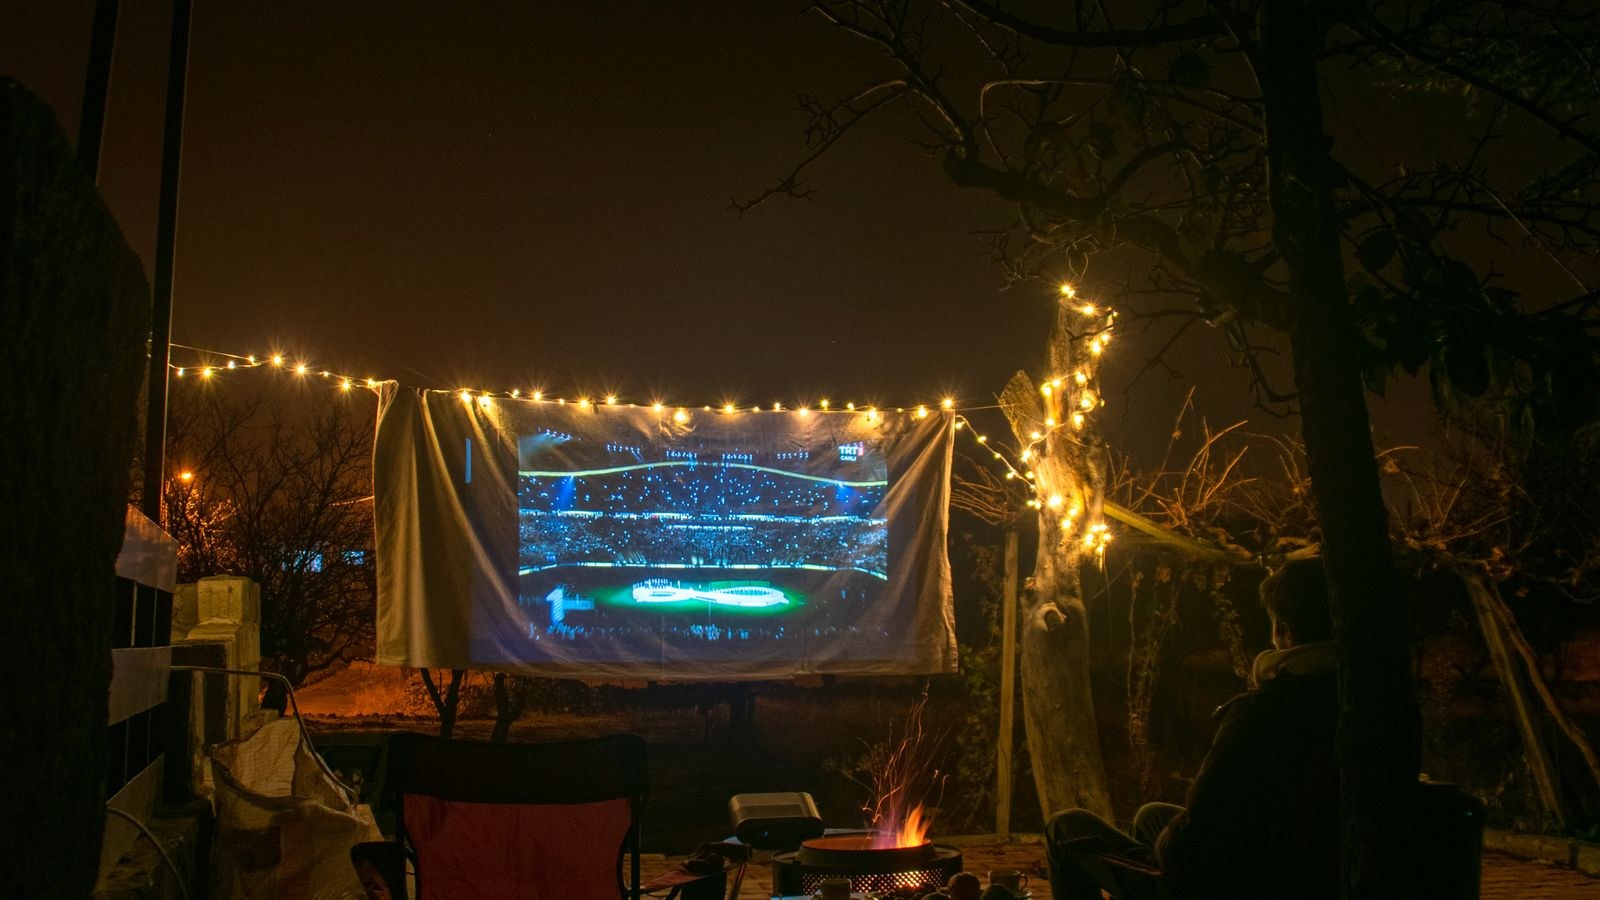
Ground gets cold and damp faster than people expect, so put a tarp or picnic blanket under floor cushions and keep a stack of spare throws nearby. Mark paths to the house and the bathroom with low-level solar lights or lanterns placed at ankle height, where they light the ground without shining toward the screen. Deal with insects early using citronella, a fan on the seating area, or a simple bug-repelling candle at the perimeter, since a swarm around a bright screen ends an evening quickly.
Step 7: Do a Full Rehearsal Before Guests Arrive
- Set everything up the evening before, or at least two hours ahead, and run it exactly as you will on the night.
- Play a few minutes of the actual film, not a test pattern, and check dialogue clarity from the furthest seat.
- Walk to each seating position and look for hotspots, keystone distortion, or a head in the beam.
- Confirm your source device is fully charged or plugged in, and download the film in advance rather than relying on the garden edge of your Wi-Fi.
- Check the weather forecast for wind and dew, and have a plan for packing electronics away quickly if it turns.
Troubleshooting Common Problems
- Washed-out picture. Ambient light, not projector failure. Kill nearby lights, wait for full dark, or reposition the screen.
- Audio out of sync. Bluetooth latency. Use the source device’s audio delay setting or switch to a wired connection.
- Screen rippling. Insufficient tension or an unanchored frame. Re-peg and add weights.
- Sound fine at the front, thin at the back. Speakers too close together or too low. Widen and raise them rather than turning up volume.
- Projector shutting off. Overheating from blocked intakes or a tripping circuit from overload. Clear airflow and reduce the load.
- Condensation on the lens. Common on cool, damp evenings. Let the unit warm up before starting and avoid placing it on wet ground.
Mistakes to Avoid
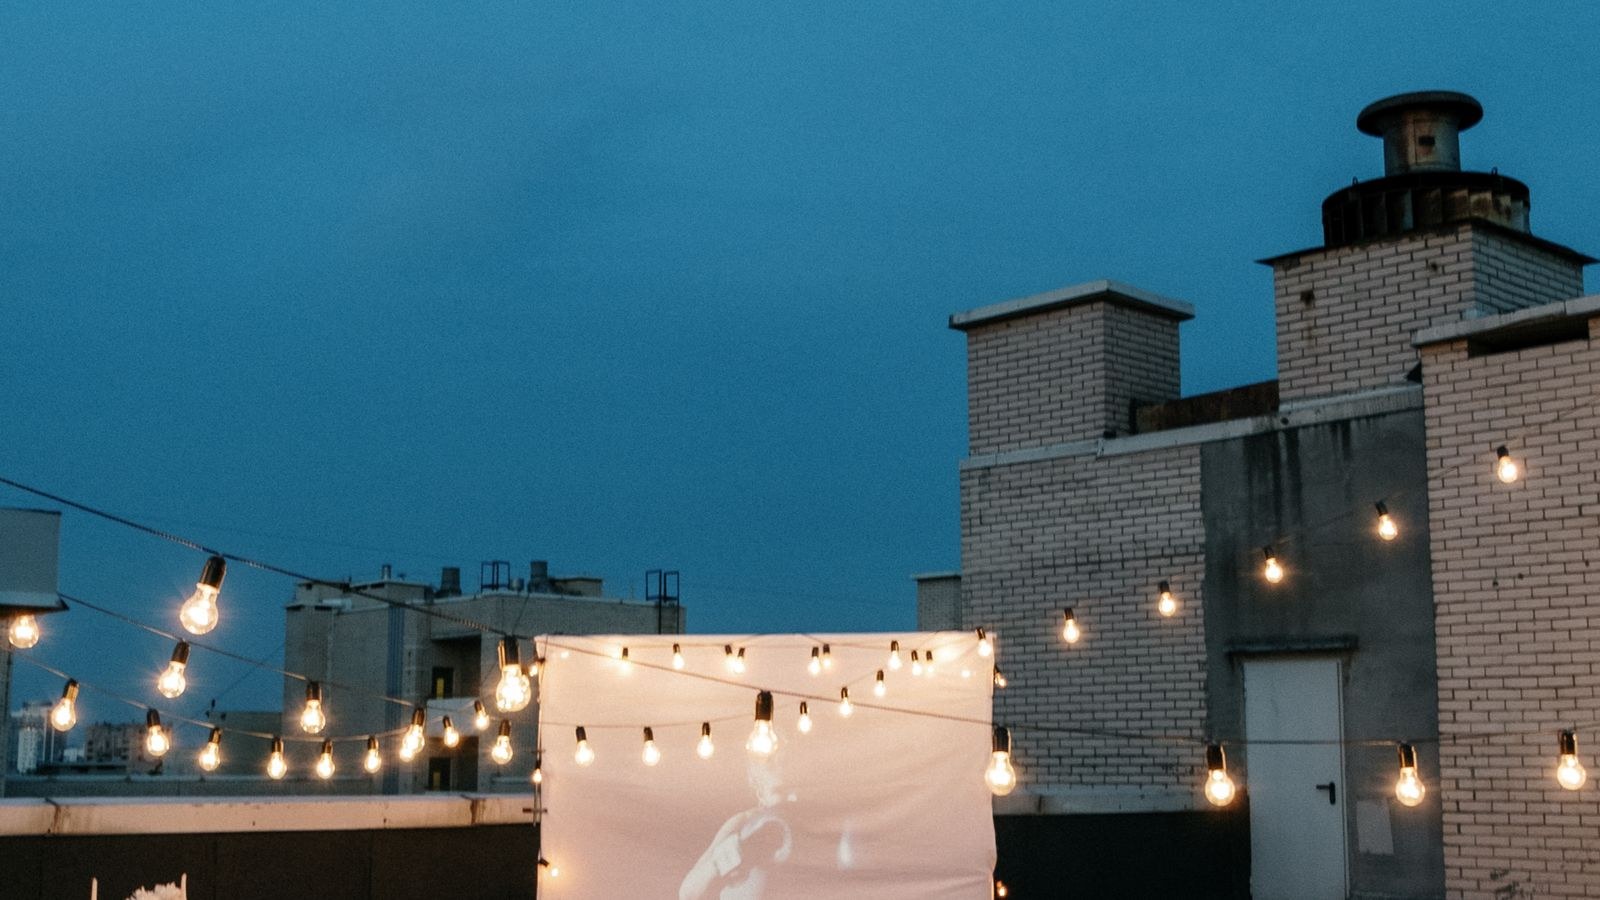
The most common error is treating sound as an afterthought, then discovering at the halfway point that nobody past the second row can follow the dialogue. The second is starting too early because the sky still looks dark enough, which it never is. The third is skipping wind anchoring on a calm evening; conditions change, and a screen collapsing onto a projector is an expensive lesson. Finally, resist the urge to add decorative string lights facing the seating area. They look wonderful in photographs and quietly ruin the contrast of every scene.
Frequently Asked Questions
How dark does it need to be?
Fully dark. Start at least twenty minutes after sunset has finished, and switch off any nearby porch, security or landscape lighting that faces the screen.
Can I project onto a bedsheet?
Yes, if it is white, opaque and pulled genuinely tight. Double it up so light does not pass through, and expect slightly softer detail than a proper screen surface.
Do I need a battery projector?
Not if you can run a safe outdoor extension cord. Mains power gives more brightness and removes the risk of the battery dying in the third act.
How loud should I set the volume?
Loud enough for clear dialogue at the furthest seat and no louder. Good speaker placement lets you stay at a neighbour-friendly level while everyone still hears every line.
Final Thoughts
A backyard movie night comes down to five decisions made in the right order: wait for genuine darkness, anchor a tensioned screen out of the wind and away from stray light, set the projector square at its proper throw distance, spread real speakers across the front instead of relying on a built-in driver, and run power on an outdoor-rated cord through GFCI protection. Add blankets, low path lighting and a bug plan, then rehearse the whole thing before anyone arrives. Do that once and you will have a repeatable routine you can set up in half an hour for every screening you host in 2026.