Owen Bradley
 The power supply is the one component that can take the rest of your machine down with it, and it is also one of the easiest parts to swap once you understand the order of operations. Whether you are replacing a unit that has started clicking, upgrading to feed a hungrier graphics card, or moving to a modular design to clean up your cable runs, the job is mostly patience and labelling rather than technical skill. This guide walks through how to replace a PC power supply from the first shutdown to the first successful boot, including the discharge steps, the wattage maths, and the mistakes that quietly fry components when people reuse the wrong cables.
Tools and Parts You Need Before Starting
A power supply swap needs very little equipment, but having it all on the desk before you open the case saves you from wandering around mid-job with an open chassis.
- A #2 Phillips screwdriver, ideally magnetised, since PSU screws sit at the back of the case where dropped hardware disappears.
- An anti-static wrist strap or, at minimum, a habit of touching bare metal on the case before handling anything.
- Zip ties or reusable velcro straps for routing the new cables cleanly behind the motherboard tray.
- A phone camera to photograph every connector before you unplug it. This is the single most useful tool in the list.
- Labels or masking tape if your build has many drives and fan headers sharing power.
- A torch or headlamp, because the PSU shroud is the darkest corner of most cases.
You also need the replacement unit itself. Do not assume the new one uses the same modular cables as the old one, even from the same brand. Set the old cable set aside completely and use only the bundle that shipped in the new box.
Choosing the Right Replacement Wattage and Standard
Before you buy, add up what your system actually draws. Take the graphics card’s rated board power, add the processor’s peak package power, then add roughly 75W for the motherboard, drives, fans and peripherals. Multiply that total by about 1.5 to give yourself headroom for transient spikes and for the efficiency sweet spot, which sits near half load on most units. A build pulling 400W under gaming load is comfortable on a 650W to 750W supply and miserable on a 500W one.
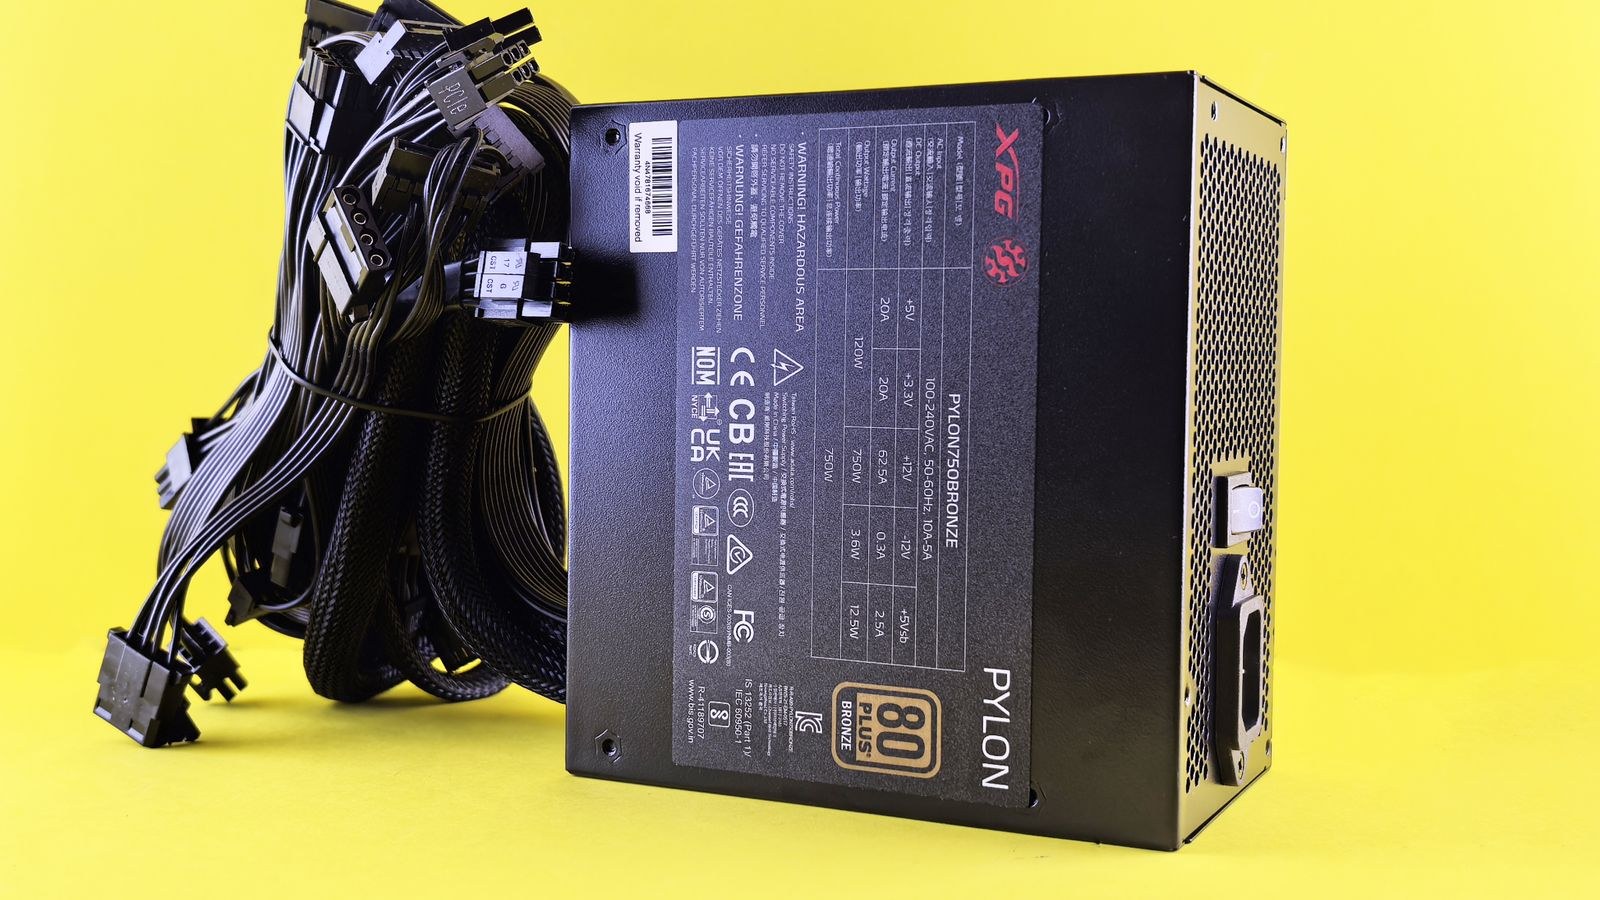
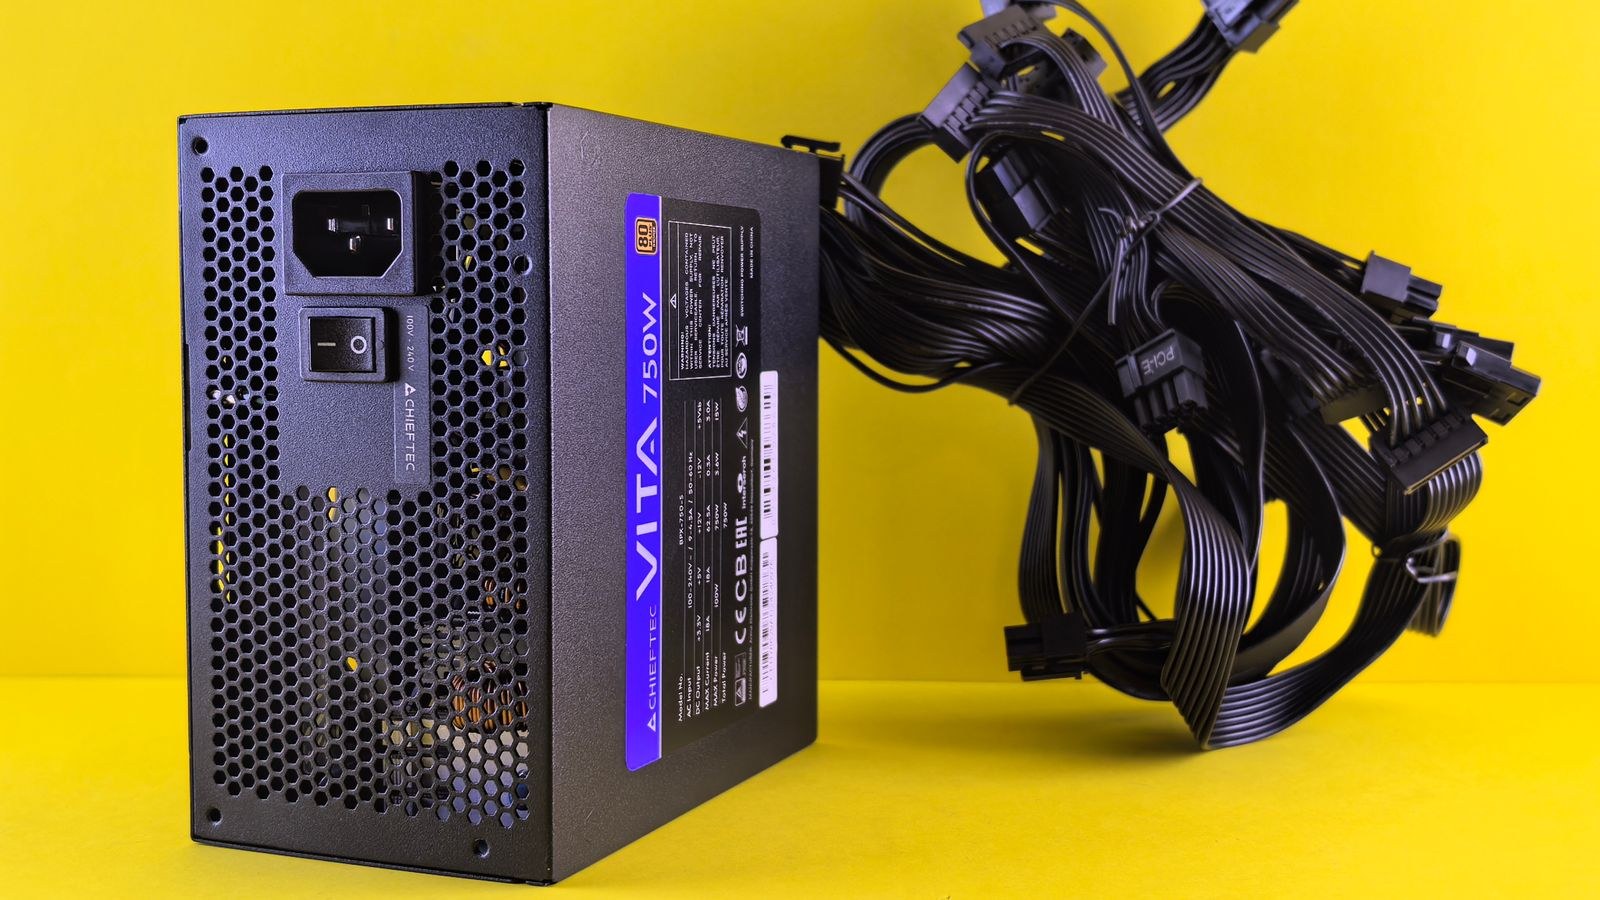
Check three other things. First, the form factor: most desktops use ATX, but small form factor cases often need SFX or SFX-L, and the two are not interchangeable without a bracket. Second, the connector set, especially whether your graphics card uses traditional 8-pin PCIe plugs or the newer 12-pin style. Third, the efficiency rating, which determines how much power is wasted as heat inside your case. If you are shopping rather than reusing a spare, our roundups of the best PSUs for gaming and the best 750W PSUs group units by the builds they realistically suit, while the best 80 Plus Gold PSUs list focuses on efficiency without stepping into flagship pricing.
Modular, Semi-Modular or Fixed Cables
A fixed-cable unit is cheapest but forces you to hide every unused lead somewhere in the case. Semi-modular units hard-wire the essentials and let you detach the rest. Fully modular units let you install only the cables you need, which makes a real difference to airflow in compact builds and makes future swaps far less painful. If cable management is the reason you are doing this job at all, the best fully modular PSUs are worth the small premium. For standard tower builds, the best ATX PSUs cover the mainstream sizes that fit almost any mid-tower chassis.
How to Replace a PC Power Supply Step by Step
- Shut down properly and cut mains power. Close everything, shut the operating system down normally, then flip the switch on the back of the PSU to the off position and unplug the mains cable from the wall. Never work on a unit that is still connected, even when the machine is off, because the standby rail stays live.
- Discharge residual charge. With the mains cable removed, press and hold the case power button for about ten seconds. This drains the capacitors on the motherboard and the supply. You will sometimes see fans twitch or a light flicker briefly, which is normal and confirms the charge is being bled off.
- Move the case somewhere you can work. Put the tower on a table with the side panels accessible. Remove both side panels, not just the window side, since almost all the cable routing lives behind the motherboard tray.
- Photograph everything before touching a connector. Take clear shots of the motherboard’s 24-pin area, the CPU power connectors at the top of the board, every PCIe connector on the graphics card, and each SATA power chain. If you are unsure later, these photos will resolve the question in seconds.
- Disconnect the load side first. Unplug the graphics card power leads, then the CPU 8-pin, then the 24-pin main connector. All of these have retention clips. Squeeze the clip fully before pulling, and pull on the plastic housing rather than the wires. Work the 24-pin loose gently by rocking it along its long axis; forcing it straight up can crack the socket.
- Disconnect storage and accessories. Unplug SATA power from drives, Molex from any fan controllers or pumps, and any leads feeding an RGB hub or front panel accessory. Pull each cable back out through its routing channel rather than yanking it across the board.
- Remove the old unit. Support the PSU with one hand, undo the four screws on the rear panel with the other, and slide it out. Some cases use a removable bracket that screws to the PSU first; if so, unscrew it and transfer it to the new unit in the same orientation.
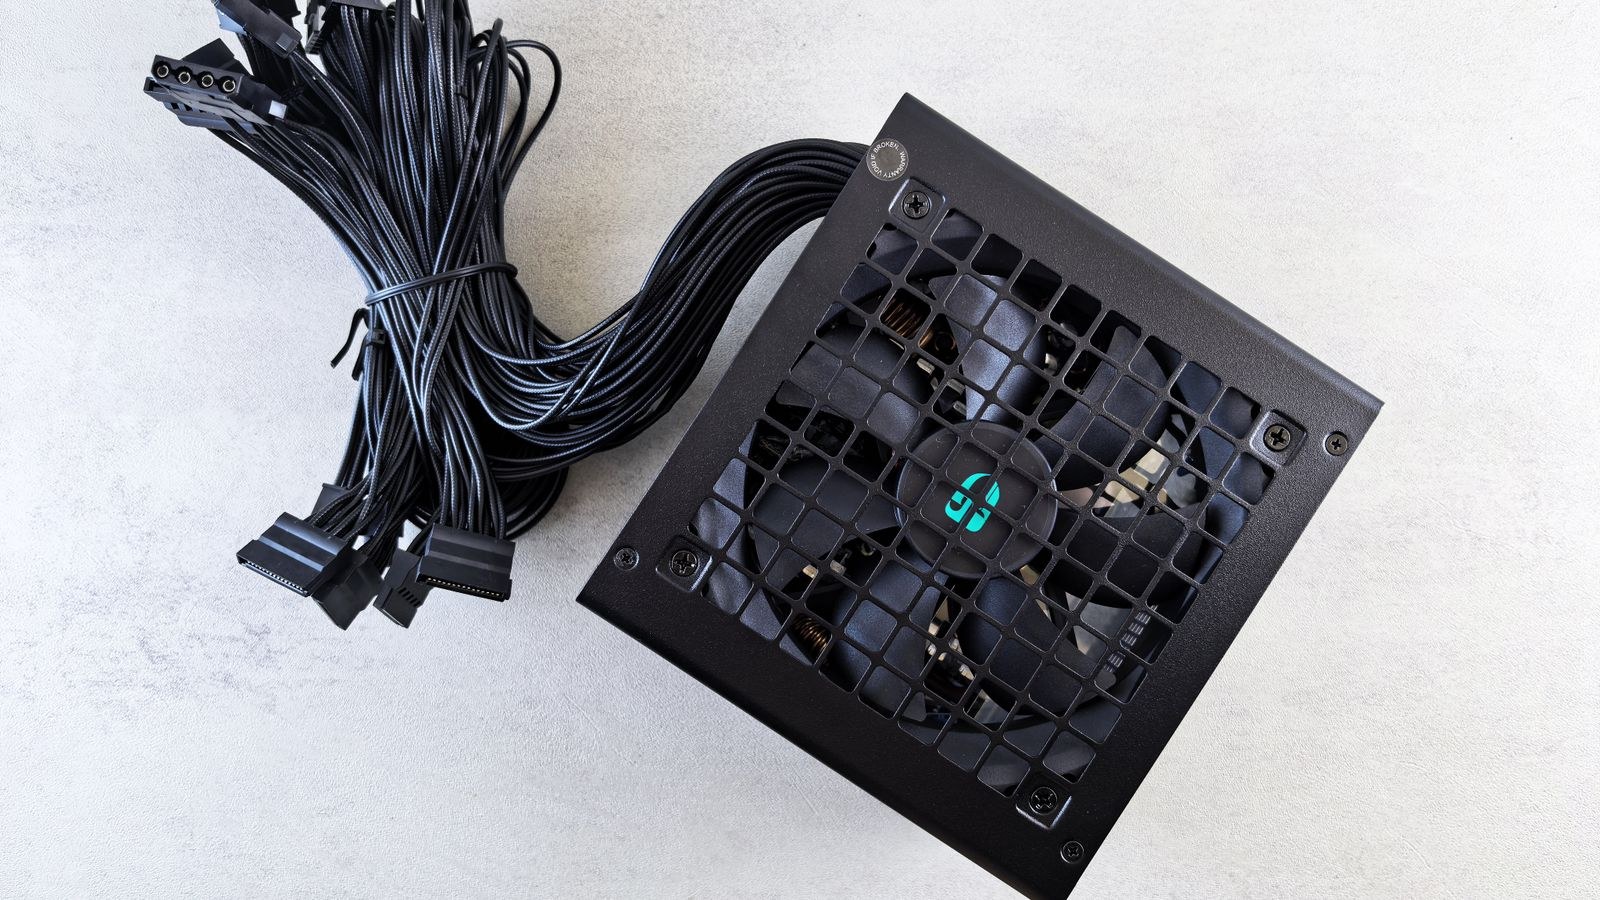
- Fit the new supply in the correct orientation. If your case has a vent in the bottom panel with a dust filter, mount the PSU fan facing down so it draws cool outside air. If the floor is solid or the machine sits on carpet, mount the fan facing up into the case. Get this right before you screw it in, because reversing it later means undoing all the cabling.
- Secure it and attach only new cables. Drive the four rear screws in until snug, not forced. Then plug the modular leads into the new unit, matching the printed labels on the PSU sockets. Never reuse a modular cable from a different power supply, even if the plug physically fits, because pinouts differ between brands and models and a mismatch can send 12V into a 5V line.
- Route cables before connecting them. Feed the 24-pin, the CPU cable and the PCIe leads through the case’s grommets and behind the tray first, then plug them in. Doing it in this order gives you slack where you need it and avoids a tangle across the middle of the build.
- Reconnect in reverse order. Motherboard 24-pin, CPU power at the top of the board, then graphics card PCIe connectors, then storage and accessories. Push each connector until the clip audibly clicks. A half-seated CPU cable is the most common cause of a build that fails to post after a swap.
- Do a final visual sweep, then power up. Check nothing rests against a fan blade, tie off the slack, and confirm the case is clear of loose screws. Reconnect the mains cable, switch the PSU on, and boot. Enter the firmware first and check the fan speeds and voltage readings before loading the operating system.
Safety Rules That Actually Matter
Two hazards deserve real respect. The first is the mains side of the supply itself: never open the PSU housing. The capacitors inside can hold a dangerous charge long after the unit is unplugged, and there is nothing user-serviceable behind that shell. If the unit is dead, replace it rather than investigating it.
The second is static discharge. You will not feel the voltage that kills a memory module or a controller chip. Ground yourself on the bare metal of the case before each stage, work on a hard surface rather than carpet, and ignore the outdated advice about leaving the machine plugged in “for the ground”, which keeps standby power live.
Troubleshooting a PC That Will Not Boot Afterwards
If nothing happens when you press the button, start with the obvious: the switch on the back of the PSU, the wall socket, and the front panel power header, which is easy to knock loose while working nearby. If fans spin but there is no display, the CPU power connector is the prime suspect, followed by a graphics card that has been nudged out of its slot.
If the system posts but shuts down under load, check that every PCIe connector on the graphics card uses a separate cable where the card requires it. Daisy-chaining two plugs from one lead causes shutdowns on power-hungry cards.
Common Mistakes to Avoid
- Reusing old modular cables. The most expensive error in this entire job. Different pinouts, same connectors, dead components.
- Buying on wattage alone. A poorly built high-wattage unit is worse than a well-built modest one. Look at the rating and the reviews, not just the number.
- Mounting the fan the wrong way. Facing down over a solid floor starves the unit of air and shortens its life considerably.
- Forgetting the second CPU connector. Many boards have an extra 4-pin or 8-pin for high-draw processors. Leaving it empty causes instability under sustained load.
- Skipping the photos. Ten seconds of camera work saves an hour of guessing which SATA chain fed which drive.
Frequently Asked Questions
How long does replacing a power supply take?
A first-timer working carefully should budget about an hour, most of which is cable routing rather than the swap itself. Someone who has done it before can finish a modular unit in twenty to thirty minutes.
Do I need to reinstall Windows after a PSU swap?
No. The power supply is not a component the operating system tracks, so nothing changes in software. You will not need to reactivate or reinstall anything.
Can I use a higher wattage supply than my system needs?
Yes, and it is generally a good idea. A supply only delivers the power the components request, so extra capacity simply means running at a cooler, quieter, more efficient point on the curve with room for a future upgrade.
Is it safe to leave unused modular cables disconnected?
Completely safe, and preferable. Only install the leads your build actually uses, and keep the rest in the bag that came with the unit so they stay matched to that specific supply.
Final Thoughts
Replacing a power supply rewards preparation far more than speed. Cut the mains, drain the capacitors, photograph every connector, and remove the load side before you touch a screw. Choose a replacement with genuine headroom over your peak draw, in the right form factor, with the connectors your graphics card actually needs. Then install only the cables that shipped in that box, route them before you plug them in, and check the firmware readings before you trust the machine with a workload. Handled in that order, a PSU swap is one of the safest upgrades you can perform in 2026 and one that quietly improves the stability of everything else in the case.