Owen Bradley
 A 5.1 system remains the most sensible surround layout for an ordinary living room. Five speakers and one subwoofer cover every channel a film soundtrack actually carries, they fit around normal furniture, and the whole thing can be wired in an afternoon. What separates a great 5.1 install from a disappointing one is not the price of the speakers but the angles, the wiring discipline, and about fifteen minutes of receiver setup that most people rush. This guide walks through the layout geometry, the order to connect everything, and the receiver settings that decide whether each channel plays the content it was meant to play.
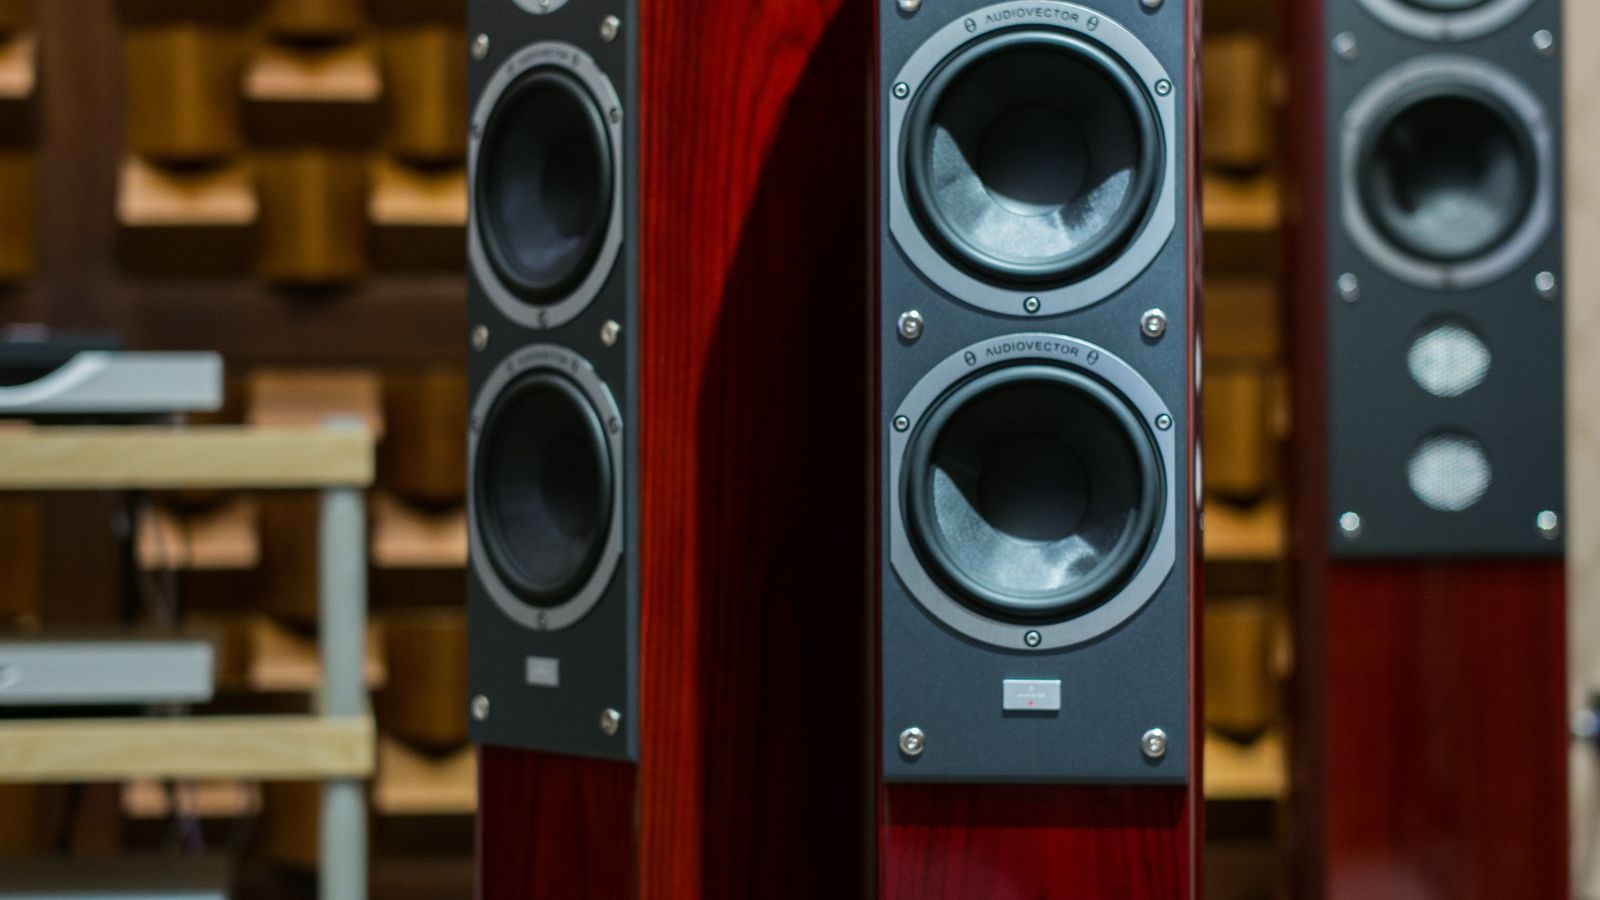
What the Six Channels Actually Do
Understanding the job of each speaker makes the placement rules obvious rather than arbitrary.
- Front left and right carry music, effects, and the width of the soundstage. These do the most work after the centre.
- Centre channel carries the large majority of dialogue. It is the single most important speaker for intelligibility and deserves the most care.
- Surround left and right carry ambience, reflections, and directional effects. They should be felt more than located.
- Subwoofer (the .1) carries the low-frequency effects track plus everything the other five speakers cannot reproduce below the crossover.
Because dialogue lives in the centre, buying a weak centre to save money undermines the whole system. Matching timbre across the front three matters more than raw size — mismatched cabinets make voices shift character as sounds pan across the screen. The comparisons among the best center channel speakers are a useful place to see what tonal matching looks like in practice.
Tools and Parts You Need
- An AV receiver with at least five amplified channels and a subwoofer pre-out.
- Speaker wire, 16 AWG for runs under about 50 feet and 14 AWG beyond that.
- Banana plugs or spade connectors, plus a wire stripper and a small screwdriver.
- An RCA subwoofer cable, long enough to reach without tension.
- A tape measure and a protractor or phone angle app for setting speaker angles.
- Cable clips, conduit, or floor cord covers for surround runs that cross walkways.
Step 1: Fix the Listening Position First
Every angle in a 5.1 layout is measured from the main seat, so decide where that seat is before you place a single speaker. Two guidelines help. Avoid pushing the sofa hard against the rear wall, since that position usually sits in a bass peak and blurs the surround field; six to twelve inches of gap makes an audible difference. And avoid the exact midpoint of the room’s length, which is where the deepest bass null typically forms.
With the seat set, mark the centre line of the room running from the screen to the seat. All left and right positions mirror across that line. Symmetry matters more than any individual measurement.
Step 2: Place the Front Three Speakers
- Front left and right go at 22 to 30 degrees off the centre line from the seat. Equal distance from the seat, equal distance from the side walls, tweeters at seated ear height (typically 36 to 42 inches).
- Toe them inward so each one aims roughly at the listening seat, or just outside your shoulders. Toe-in tightens the centre image and reduces side-wall reflection.
- Centre channel goes directly above or below the screen, on the centre line, as close to ear height as the display allows. If it must sit low, tilt it upward toward ear level.
- Keep the front three in a shallow arc — the centre should not sit far behind the plane of the left and right, or dialogue will lag the effects slightly.
- Pull all three at least six inches from the front wall if they are rear-ported, more if the bass sounds thick.
If you are still assembling the front stage, the shortlists of the best home theater speakers and the dedicated best 5.1 speakers packages show which combinations are designed as timbre-matched sets from the start.
Step 3: Position the Surround Speakers
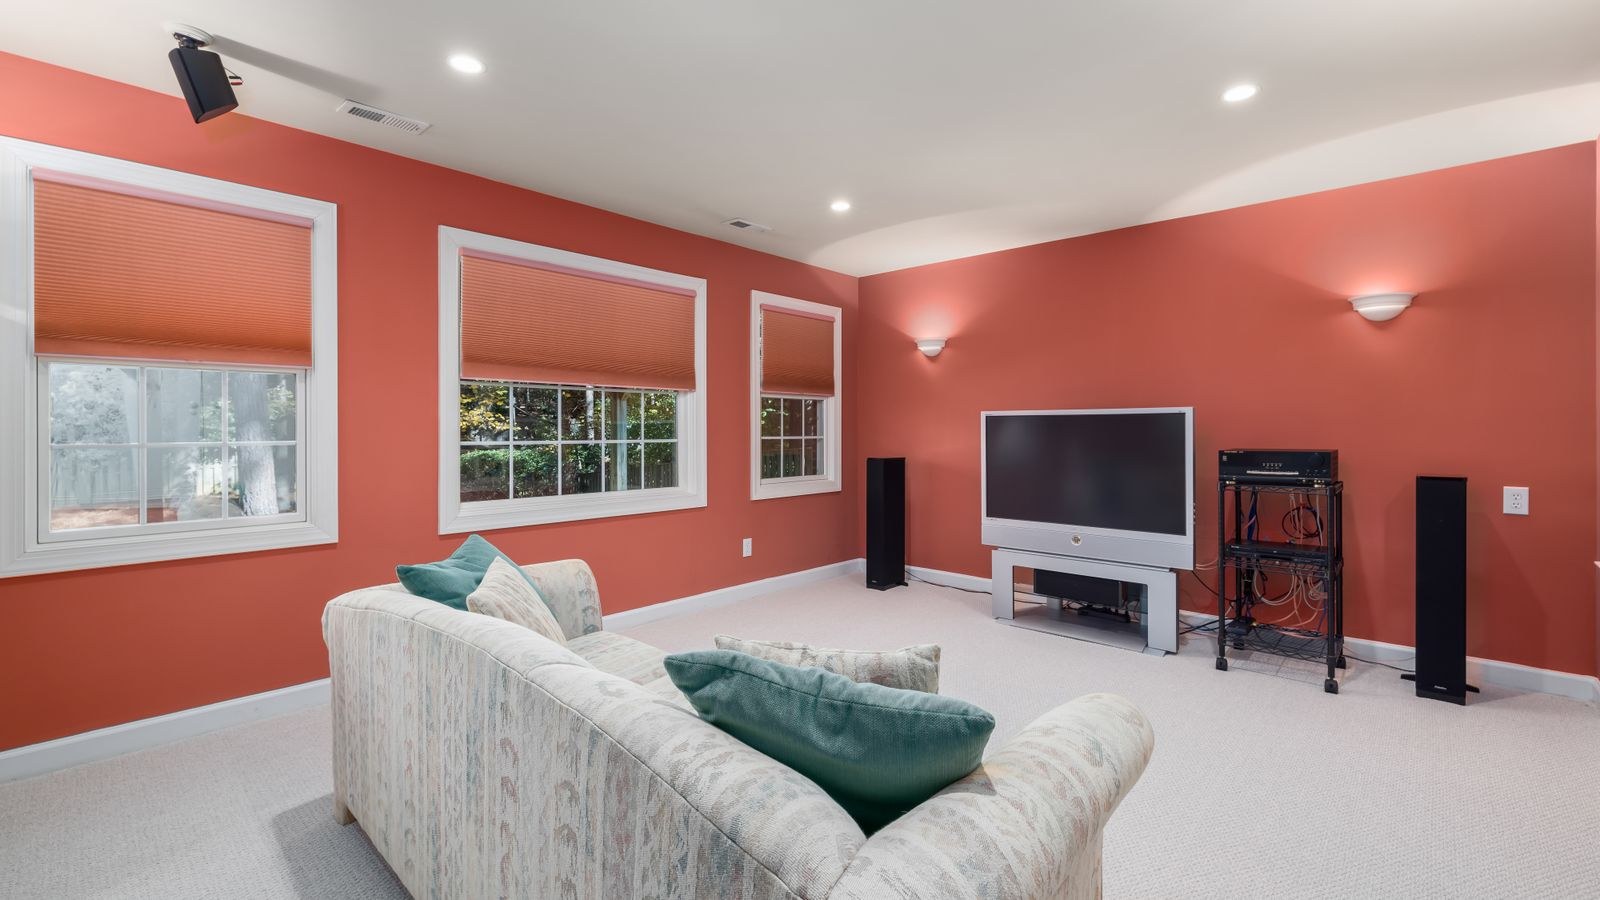
Surrounds cause more confusion than any other channel, mostly because people assume they belong behind the seat. In a 5.1 layout they belong to the sides, slightly behind — 90 to 110 degrees off the centre line from the listening position. That is roughly beside your ears or just past them, not on the rear wall.
Mount them two to three feet above seated ear height, around 60 to 72 inches from the floor, and angle them down toward the seating area rather than straight across the room. Elevation and slight diffusion are deliberate here: surrounds should create a sense of space, and pointing them directly at your ear makes ambient effects jump out as obvious point sources.
When room layout makes side placement impossible — a sofa against a side wall, or an open plan with no wall at all — mount the surrounds on the rear wall as high as practical and toed inward. It is a compromise but a workable one. The options covered among the best surround sound speakers include compact and bracket-friendly designs that make awkward rooms easier to solve.
Step 4: Place the Subwoofer
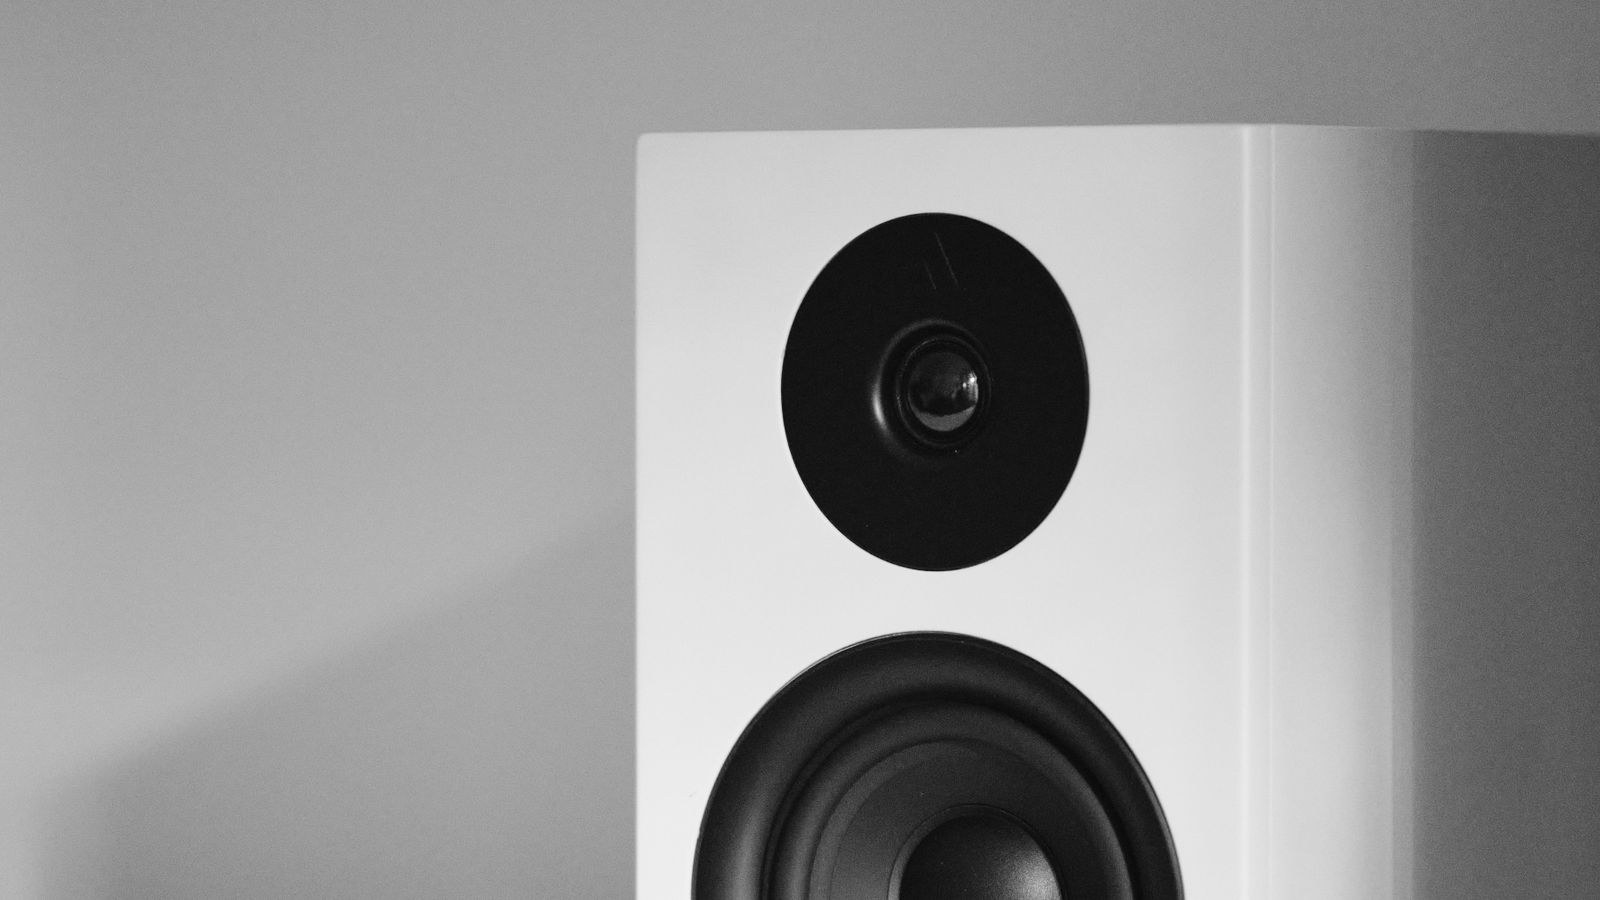
Bass placement is a room problem, not a geometry problem, so measure rather than guess. Put the subwoofer on the listening seat, play continuous bass, and crawl the perimeter of the room at floor level listening for the position where bass is even and defined rather than simply loudest. Move the sub to that spot.
Corners give the most output but excite room modes hardest, producing boomy one-note bass. A position along a wall, roughly a quarter to a third of the way along its length and pulled six to twelve inches out, is usually the better balance. Systems built around a matched sub, like the pairings highlighted among the best speakers with subwoofer, still depend entirely on getting this position right.
Step 5: Wire Everything in the Right Order
- Unplug the receiver from the wall before touching any speaker terminal. Amplifier outputs can be damaged by a stray strand shorting across terminals.
- Strip about half an inch of insulation from each conductor and twist the strands tightly. A single loose strand bridging positive and negative is the classic cause of a channel that cuts out under load.
- Keep polarity consistent: the marked or striped conductor to the red positive terminal, the plain one to the black negative, at both the speaker and the receiver. One reversed speaker cancels bass and hollows out the image.
- Label both ends of every run with tape before you route it. Untangling five unlabelled cables behind a rack is a miserable job.
- Connect the front left and right first, then centre, then the two surrounds, matching each to its labelled terminal block on the receiver.
- Run the RCA cable from the receiver’s SUBWOOFER PRE OUT to the subwoofer’s LFE input. Use the LFE input, not the stereo line inputs, so the sub’s internal crossover is bypassed.
- Route surround cables safely — along baseboards, under carpet edges, or through cord covers. Never leave wire loose across a doorway.
- Connect sources to the receiver’s HDMI inputs and run a single HDMI from the receiver’s OUT (eARC/ARC) to the TV.
Step 6: Configure the Receiver
Correct wiring with default settings still gives you a mediocre system. Work through the speaker menu deliberately.
- Set the speaker configuration to 5.1 so the receiver knows no rear or height channels exist.
- Set every speaker to Small, not Large, even floorstanders. Small routes bass below the crossover to the subwoofer, which handles it far better than most main speakers.
- Set the crossover to 80 Hz for all channels as a starting point. Raise it to 100 or 120 Hz only for very small satellites.
- Enter the distance from each speaker to the listening seat, measured with a tape. This sets the delays that keep all channels arriving together.
- Run the auto-calibration routine with the supplied microphone on a tripod at seated ear height, room quiet, then review its results rather than accepting them blindly.
- Confirm the surround mode is set to decode the incoming format automatically rather than forcing stereo or a fixed matrix mode.
Finish with the receiver’s built-in test tone sweep. Each channel should announce itself from the correct physical speaker at roughly equal volume. If the sound comes from the wrong box, two cables are swapped at the receiver — an easy fix now and a maddening one later.
Safety Notes
Wall-mounted surrounds must anchor into studs or rated anchors sized well above the speaker’s weight. Keep the receiver in open air with several inches of clearance above, since these units run hot. Never run speaker wire inside a wall unless it is rated for in-wall use, and keep it separated from mains wiring to avoid hum.
Troubleshooting a New 5.1 System
Dialogue is quiet or unclear. Check that the centre is set to Small with an 80 Hz crossover, then raise its trim two or three decibels above the calibrated level. Auto-calibration routinely sets centres slightly low for real-world taste.
Surrounds seem silent. Often they are working correctly — many soundtracks use them sparingly. Verify with the test tone. If the tone plays but films do not, the source is sending stereo, so set the player and TV audio output to Bitstream.
Bass is boomy or missing at the seat. Re-run the subwoofer crawl, then check phase by flipping the switch between 0 and 180 while playing steady bass and keeping the fuller-sounding setting.
A channel cuts out when loud. Almost always a stray wire strand shorting at a terminal. Power down, re-strip, and re-terminate that run.
Frequently Asked Questions
Should surrounds go beside or behind the sofa?
Beside and slightly behind, at 90 to 110 degrees from the seat and raised above ear height. Rear-wall placement is a fallback for rooms where side mounting is impossible, not the intended layout.
Do all five speakers need to match?
The front three should match in tone as closely as possible, since sounds pan constantly between them. Surrounds can differ somewhat without obvious penalty, though a matched set from one family is always the safer route.
Is 80 Hz always the right crossover?
It is the best default because it is below where most voices sit and above where direction becomes easy to hear. Very small satellite speakers may need 100 to 120 Hz to avoid a hole in the response.
Can I add more speakers later?
Yes. A well-placed 5.1 layout is the foundation for expanding to seven channels or adding height speakers later, provided your receiver has the amplifier channels available.
Final Thoughts
Building a 5.1 system well is a sequence, not a shopping decision. Fix the seat, set the front three in a symmetrical arc at ear height, put the surrounds beside and above you rather than behind, find the subwoofer position by crawling the room, then wire carefully with consistent polarity and finish in the receiver menu with Small speakers, an 80 Hz crossover, and measured distances. Verify every channel with the test tone before you sit down to watch anything. Follow that order and a modest set of speakers will outperform an expensive system installed carelessly, and the layout you build in 2026 will still be the right foundation when you expand it.