
 Owen Bradley
 Swapping out a dated ceiling light is one of the few electrical jobs that genuinely sits within reach of a careful beginner. There are usually three wires, one mounting bracket, and no need to open a wall. What separates a clean job from a dangerous one is the preparation: proving the power is actually off rather than assuming it, checking that the ceiling box is rated for the weight and type of fixture you bought, and understanding what the wires you find in the ceiling are telling you. This walkthrough covers the whole process from switching off the breaker to testing the new light, plus the situations where you should stop and call an electrician instead of pressing on.
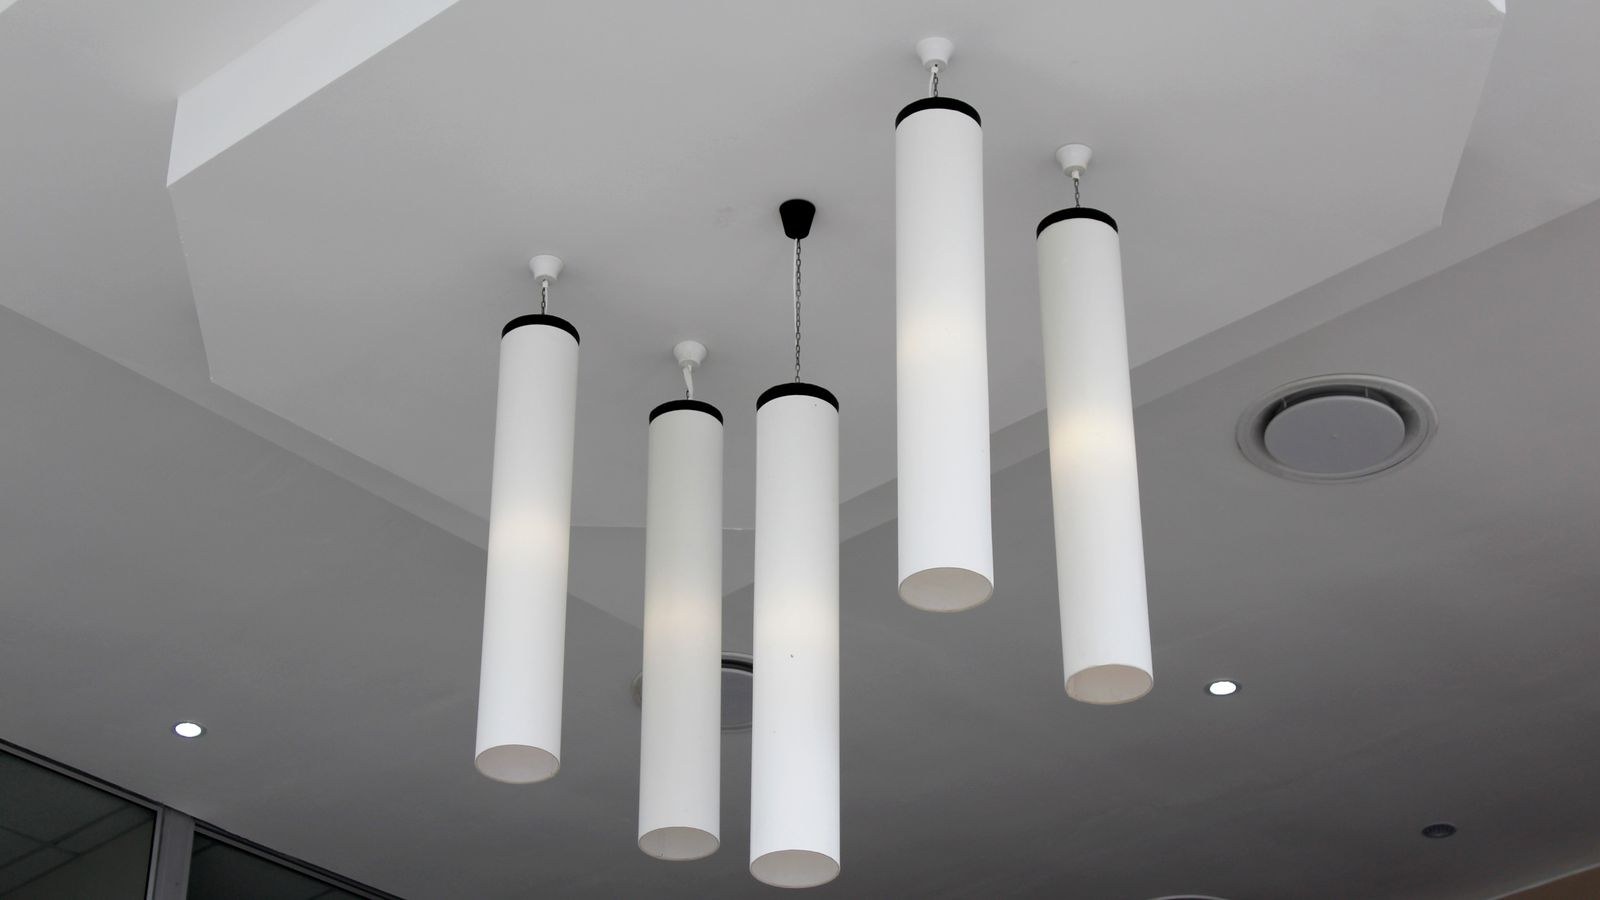
Tools and Materials You Need
- A non-contact voltage tester, and ideally a multimeter as a second check.
- Insulated screwdrivers, both flat and Phillips.
- Wire strippers and needle-nose pliers.
- Wire connectors in the correct sizes for your conductor gauge.
- Electrical tape and a small selection of green grounding screws or pigtails.
- A stable stepladder rated for your weight plus the fixture.
- Safety glasses, because ceiling work rains dust and old insulation into your eyes.
- A helper for anything heavier than a few pounds, or a length of wire to hang the fixture while you work.
Buy the fixture before you start and read its instructions fully. Mounting hardware varies more than the wiring does, and knowing whether yours uses a crossbar, a canopy plate, or a keyhole mount changes how you approach the ceiling box.
Safety First: Prove the Power Is Off
Turning off the wall switch is not enough. The wires in the ceiling box remain live with the switch off in many wiring configurations, and in older homes the switch may interrupt the neutral rather than the hot conductor, which leaves everything energised.
Switch off the breaker that feeds the circuit, then put a note or a lockout tag on the panel so nobody flips it back while you are on the ladder. Once the fixture is partly disassembled, hold a non-contact voltage tester against every conductor in the box, including any you do not intend to touch, and confirm silence on all of them. Test the tester on a known live outlet first so you know it is working. If a circuit is unlabelled, be prepared to switch off several breakers until the light goes dead.
Stop and call a licensed electrician if you find aluminium wiring, cloth-insulated conductors that crumble when moved, a box with no ground conductor and no metal conduit, scorch marks or melted insulation, or more cable runs in the box than you can account for. None of those are beginner territory.
Check the Ceiling Box Before You Buy
The box in the ceiling has a weight rating, and it matters. A standard box is typically rated for around 50 pounds for a light fixture, but a box that is only nailed to the side of a joist may support far less. Heavy chandeliers need a box rated for the specific load, and any fan-rated application requires a fan-rated box that is braced between joists.
Look for the rating stamped inside the box. Give it a firm push and pull; if it moves, it needs securing before anything hangs from it. Plastic boxes attached with a single nail are common in older builds and are the usual reason a fixture ends up sagging a year later. Replacing a wobbly box with a proper braced fan-rated box costs very little and takes half an hour with a ceiling access.
Step-by-Step Ceiling Light Replacement
- Switch off the breaker and confirm the light no longer responds to the wall switch. Tag the panel.
- Set up the ladder on a level surface and lay a drop cloth beneath. Have a container ready for screws so nothing rolls away.
- Remove the shade, diffuser, and bulbs. Set them aside somewhere they will not be stepped on. This also lightens the fixture considerably before you take its weight.
- Loosen the canopy. Undo the retaining nuts or screws holding the decorative plate against the ceiling and lower it gently. Support the fixture with one hand as it comes free.
- Test every wire again with the voltage tester now that the conductors are exposed. Do not skip this because you already tested at the breaker.
- Photograph the existing connections before disconnecting anything. If your new fixture wires differently, that photo is the fastest way to work out what went where.
- Disconnect the wires. Twist off the wire connectors and separate the conductors. Support the fixture the whole time, or hang it from the box with a hook of stiff wire so it is not dangling on the conductors.
- Remove the old mounting bracket. Most fixtures attach to a metal crossbar screwed into the box. Take it off, since the new fixture almost always comes with its own.
- Inspect and prepare the box. Check the rating, confirm it is solid, and clean out dust. Trim any damaged wire ends and strip about three quarters of an inch of fresh insulation on each conductor.
- Fit the new mounting bracket. Screw the supplied crossbar to the box, making sure the centre stud or screw holes line up with your new fixture’s canopy. Do not overtighten into a plastic box.
- Connect the ground first. Join the bare or green conductor from the fixture to the ground wire in the box and to the green screw on the bracket. If the box is metal with conduit and no ground wire, use a green screw into the box itself.
- Connect neutral to neutral. White to white, twisted together clockwise and capped with an appropriately sized connector. Tug each wire gently to confirm it is captured.
- Connect hot to hot. Black to black, or black to the coloured conductor your fixture uses for line. If the fixture has two hot leads for separate lamp banks, follow its instructions rather than guessing.
- Tuck the wires in neatly. Fold the connections into the box in an accordion pattern so nothing is pinched when the canopy rises. Pinched insulation is a genuine fire risk.
- Mount the canopy. Raise it against the ceiling and secure it with the supplied nuts or screws. Tighten evenly so the plate sits flat with no gap.
- Install bulbs and the shade. Use the bulb type and maximum wattage printed on the fixture label. Exceeding it overheats the socket and shortens the fixture’s life dramatically.
- Restore power and test. Switch the breaker back on, then operate the wall switch. Check for flicker, buzzing, or any smell of heat, and switch off immediately if you notice any of them.

Understanding the Wires You Find
In a standard installation black is the hot conductor, white is neutral, and bare copper or green is ground. Two complications come up regularly. The first is a white wire wrapped with black tape at both ends, which means it is being used as a switch leg and is hot despite its colour. Treat it as hot and re-tape it the same way when you reconnect.
The second is a red conductor, which usually indicates either a three-way switching arrangement or a second switched circuit, such as a fan and light on separate switches. If your new fixture only needs one hot lead, cap the unused conductor with a connector and tape rather than leaving it bare. When you cannot identify what a conductor does, stop and get it checked; guessing at this stage is how fixtures get wired permanently on or permanently dead.
Troubleshooting After Installation
If the light does not come on, check the bulbs first, then confirm the breaker is fully on rather than tripped to the middle position. Next, kill the power again and check that each wire connector actually grips both conductors; a wire that slipped out during the tuck-in is by far the most common cause.
Flickering usually means a loose connection or a dimmer that is not compatible with LED lamps. Older dimmers designed for incandescent bulbs frequently misbehave with LEDs, and swapping to an LED-rated dimmer fixes it. Buzzing points the same way. If the fixture works but the switch feels warm, switch it off and have the switch replaced.
If you are choosing what to install rather than fixing what you have, comparisons of the best LED ceiling lights and the best smart ceiling lights cover mounting styles and dimming compatibility, while the best lights for rooms guide helps match fixture output to room size.
Common Mistakes to Avoid
- Trusting the wall switch instead of the breaker. The ceiling box can stay live either way.
- Hanging the fixture from its wires while you work. It strains the connections and can pull a conductor out of its terminal.
- Ignoring the box weight rating. Heavy fixtures on unrated boxes come down eventually.
- Skipping the ground connection. It is the safety path that protects you if a fault develops.
- Overtightening the canopy. A cracked canopy or a distorted plastic box is an avoidable mess.
- Exceeding the maximum wattage. The rating is on the label for a reason.
Frequently Asked Questions
Can I replace a ceiling light myself?
In most cases yes, provided the wiring is modern, the box is sound and correctly rated, and you can prove the power is off. Call an electrician if you find aluminium or deteriorating cloth wiring, no ground path, or signs of overheating.
Do I need to turn off the breaker or just the switch?
Always the breaker. Switches interrupt only one conductor, and in some installations the ceiling box remains energised even with the light off.
What if my ceiling box has no ground wire?
If the box is metal and fed by conduit, you can ground the fixture with a green screw into the box. If it is a plastic box with no ground conductor at all, have an electrician assess the circuit before installing a fixture that requires one.
How heavy a fixture can a standard box hold?
Standard lighting boxes are commonly rated for about 50 pounds, but check the stamp inside yours. Anything heavier, or any fan installation, needs a braced fan-rated box.
Why does my new LED light flicker on a dimmer?
Older dimmers built for incandescent bulbs often will not drive LED loads smoothly. Fitting an LED-compatible dimmer usually resolves flicker and buzzing immediately.
Final Thoughts
Replacing a ceiling light is straightforward when you respect the order of operations: kill the breaker and prove it dead, check the box rating before anything hangs from it, photograph the old connections, then wire ground first, neutral second, hot last, and tuck the conductors in without pinching them. Match the bulb to the fixture label, test with the shade off so you can see any problem immediately, and stop the moment you find wiring you cannot identify. Done carefully the whole job takes under an hour and transforms a room more than almost any other change of the same cost. If you are still deciding on lamps to go in the new fixture, comparing the best light bulbs for living room is a sensible last step so the colour temperature suits the space.









