
 Owen Bradley
 A capture card is the bridge between a games console that has no idea it is being broadcast and a PC that can encode, overlay and upload the result. Get the wiring and settings right and it works invisibly for hours. Get them slightly wrong and you meet the classic symptoms: a black screen where the game should be, audio drifting behind the picture, or an encoder dropping frames until the stream turns to mush. This guide covers the whole process, from the HDMI loop to your broadcast software and the problems that show up most often.
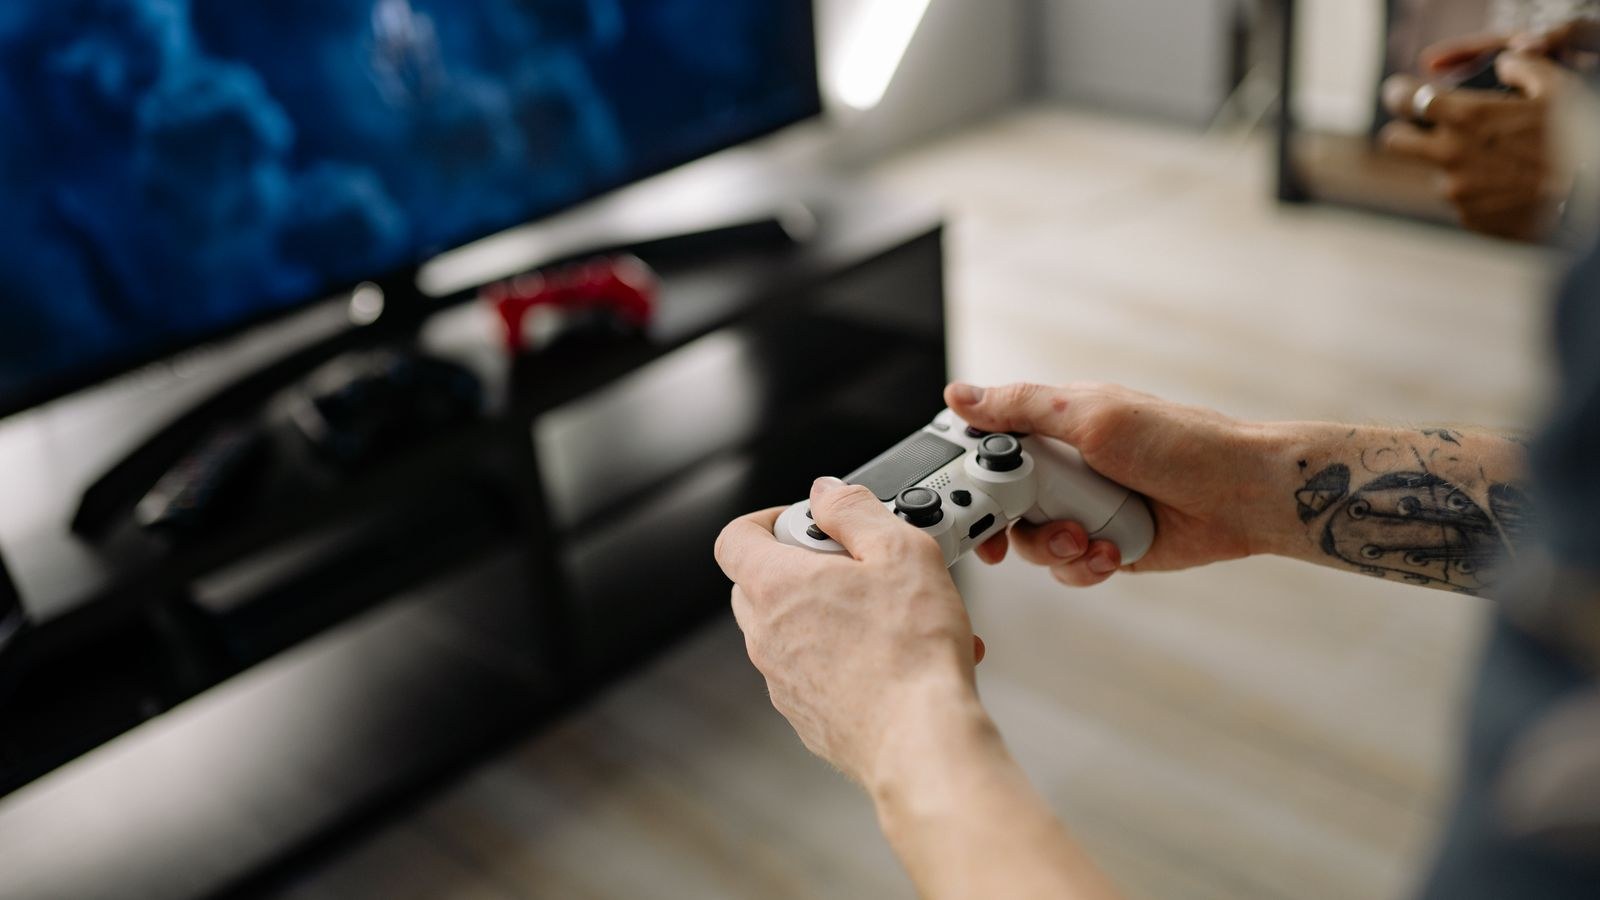
Understand What a Capture Card Actually Does
Your console outputs a plain HDMI video signal. A capture card takes that signal, converts it into a video stream your PC can read as if it were a webcam, and passes an identical copy straight back out to your television so you can still play with no added lag. That second job is called HDMI passthrough, and it is the feature that makes console streaming practical. Without it, you would be forced to play by watching a preview window on the PC, which always carries some delay.
Cards come in two shapes. Internal cards slot into a PCIe lane inside your desktop, keep the cable run short and free up USB bandwidth. External cards connect over USB and work with laptops or a second machine, at the cost of depending on a healthy USB controller. Both do the same job; the choice is mostly about what machine you already own.
What You Need Before Starting
- A capture card rated for the resolution and frame rate you want to broadcast
- Two good quality HDMI cables, ideally certified for high frame rate signals
- A USB cable and a spare rear USB port, or a free PCIe slot for an internal card
- Broadcast software such as OBS installed and updated on the PC
- A PC with enough headroom to encode while you play, plus your console and display
Encoding is the part that quietly decides whether your stream looks clean, so a machine with capable hardware encoding matters more than raw core count. If you are building or upgrading, the roundup of the best GPUs for streaming explains which encoders handle a live broadcast without eating into game performance.
Wiring the Console, Card and Display
Almost every capture problem traces back to a cable in the wrong socket, so take this slowly. Power everything down first.
- Console to card IN. Run your first HDMI cable from the console output to the port labelled IN or SOURCE on the capture card. This is the signal being recorded.
- Card OUT to display. Run the second HDMI cable from the port labelled OUT or PASSTHROUGH to the television or monitor you play on. Never plug the console straight into the TV and expect capture to work.
- Card to PC. Connect the external card to a rear USB port on the motherboard, not a front panel header or an unpowered hub. For an internal card, seat it fully in the PCIe slot and screw down the bracket.
- Power up in order. Bring up the PC first, then the capture card if it has its own supply, then the display, and the console last. This lets the card negotiate a clean handshake.
- Confirm passthrough. Before touching any software, check the game appears on your TV. If it does not, the problem is purely hardware and no software setting will rescue it.
- Install drivers. Fit the manufacturer’s driver or utility, then reboot so the device registers properly as a video source.
The display you play on matters too. A passthrough path only preserves the refresh rate the card supports, so pairing a fast panel with a modest card wastes the panel. Comparing the best monitors for streaming is worthwhile if you plan to play on the same desk you broadcast from.
Resolution, Frame Rate and the HDCP Problem
Two specs describe every capture card, and confusing them causes a lot of frustration. Capture resolution is what the card can send to your PC. Passthrough resolution is what it can hand on to your screen, and it is often higher. A card might pass 4K at 60fps to your TV while capturing 1080p at 60fps for the stream, which is a perfectly sensible arrangement since most viewers watch at 1080p anyway.
Decide what you actually need. Broadcasting 1080p at 60fps looks excellent for fast action and keeps upload requirements and encoder load reasonable. Capturing at 1440p or 4K raises quality for recorded video but demands far more from your encoder and your connection.
HDCP and the Black Screen
If your console shows fine on the TV but the capture preview is black, the usual culprit is HDCP, the copy protection built into HDMI. Consoles apply it to protect video apps, and capture cards will refuse to pass a protected signal to your PC. The fix is straightforward: open your console’s system settings and turn off the HDCP option, which most platforms expose specifically so that capture works. Games then capture normally, while streaming apps like video services will stay blocked, which is the intended behaviour.
Adding the Capture Card in OBS
- Create a scene. In the Scenes panel, add a new scene named for the console so you can switch layouts quickly later.
- Add a Video Capture Device source. Click the plus icon in Sources, choose Video Capture Device, and give it a clear name.
- Select the card. Pick your capture card from the Device list. The gameplay should appear in the preview within a second or two.
- Set the resolution manually. Change Resolution/FPS Type to Custom and select the exact resolution and frame rate the card outputs, rather than leaving it on Device Default, which often picks a lower mode.
- Choose the right video format. Many cards look best on a format such as NV12 or YUY2. If your preview stutters or the CPU load spikes, try the alternative option, as a mismatched format forces a costly conversion.
- Handle the audio. Most cards deliver game audio embedded in the HDMI signal. Leave the audio output mode set to capture it, then confirm the meters move when the game makes noise.
- Fit the frame. Right click the source, choose Transform, and fit to screen so the gameplay fills your canvas without stretching.
- Test record. Record two minutes locally, then play it back to check for dropped frames, tearing or audio drift before you go live.
Encoder Settings That Stop Dropped Frames
Dropped frames come from two very different places, and treating them the same wastes hours. Encoding lag means your PC cannot compress the video quickly enough, and the fix is to switch to hardware encoding on your graphics card, lower the output resolution, or reduce the encoder preset. Network dropped frames mean your connection cannot deliver the bitrate you chose, and the fix is to lower the bitrate or move from wireless to a wired connection.
Set output resolution and bitrate together. A 1080p60 broadcast is comfortable around 6000 kbps, while 720p60 works well much lower. Leave real headroom below your measured upload speed, because a connection running at its ceiling stutters the moment anything else on the network wakes up. Keep the console output, OBS canvas and output scaling consistent so the picture is never resized twice.
Thermals, Cable Management and Case Choice
An internal capture card sits in the airflow path of your graphics card and adds its own heat, while long sessions keep every component under sustained load. Give the card a slot with breathing room and avoid burying it against the GPU backplate. External cards suffer differently: one sitting on a warm desk with a coiled USB lead can throttle or drop out entirely. If you are planning a dedicated streaming build, the best PC cases for streaming covers chassis with the slot spacing and airflow this kind of load needs.
Common Mistakes to Avoid
- Swapping IN and OUT. The single most common wiring error, and it produces a working TV picture with a dead capture preview or the reverse.
- Leaving HDCP enabled. Guarantees a black or flickering capture window no matter what OBS says.
- Using a front panel USB port. Shared bandwidth and longer internal wiring cause intermittent disconnects mid-session.
- Leaving Device Default resolution. Often silently captures a lower mode than your card supports.
- Capturing both HDMI audio and a duplicate desktop source. Produces a hollow echo from the two copies fighting each other.
- Maxing the bitrate. Setting it near your upload ceiling looks great for five minutes and then drops frames constantly.
Troubleshooting Checklist
If the preview is black, check HDCP first, then reseat both HDMI cables and restart the console with the PC already running. If audio drifts behind the video, set a small sync offset on the audio source in OBS. If the picture is choppy in OBS but smooth on the TV, lower the capture resolution or switch the video format. If the card vanishes mid-session, move it to a different rear USB port and swap the cable. And if colours look washed out, check whether the card and console disagree on video range.
Adding a Face Camera
Once gameplay is stable, a face camera is the natural next layer. Add it as a second Video Capture Device source in the same scene, place it clear of health bars and minimaps, and match its frame rate to your output so it does not judder. The best webcams for streaming covers models suited to long live sessions, and the wider guide on how to optimize a PC setup for live streaming ties the encoder, network and capture chain together.
Frequently Asked Questions
Do I need two PCs to stream from a console?
No. A single modern PC can capture and encode at once, especially using hardware encoding. A second machine only helps at very high resolutions or with heavy overlays.
Why is my capture preview black but the TV works?
Almost always HDCP. Disable it in your console’s system settings, then restart the console. If it persists, swap the HDMI cable between the console and the card.
Does a capture card add input lag?
Passthrough adds no meaningful delay, which is why you play from the TV rather than the OBS preview. The preview itself always lags slightly and should never be used to play.
Should I capture at 4K or stream at 1080p?
Stream at 1080p60 for most audiences. Capture higher only if you also produce recorded video, and confirm your encoder handles the load.
Internal or external card?
Internal if you have a desktop with a free slot and want the most reliable bandwidth. External if you use a laptop or want to move the card between machines.
Final Thoughts
Setting up a capture card is a sequence, not a puzzle. Wire the console into IN and the display into OUT, confirm the game still appears on your TV before opening any software, disable HDCP, then add the card in OBS with the resolution and frame rate set manually rather than left on default. From there, tune the encoder and bitrate to what your PC and connection can genuinely sustain, and test with a short local recording before going live. Do it in that order and the setup that felt intimidating becomes something you can rebuild in ten minutes on any machine.









