
 Owen Bradley
 Neck ache that shows up around mid-afternoon is rarely caused by stress alone. More often it comes from a screen that sits a few inches too low, too high, or too close, forcing your head into the same subtle tilt for hours at a time. Getting monitor height and distance right is one of the cheapest ergonomic fixes available, because it usually costs nothing more than a stack of books and ten minutes of patience. This guide walks through the measurements that matter, how to apply them to a single screen or a dual setup, and how to tell within a day whether your adjustment actually worked.
Why Screen Position Matters More Than You Think
The human head weighs roughly ten to twelve pounds. Held upright and balanced over the spine, that weight is supported almost entirely by bone, which costs your muscles very little. Tilt the head forward by fifteen degrees to look down at a low screen and the effective load on the neck and upper back roughly doubles. Tilt it further and the load climbs again. The strain accumulates quietly and only announces itself once the tissue is tired.
Distance works on the same principle but affects the eyes instead of the spine. A screen placed too close forces the eye muscles into sustained convergence and focus, which produces the dry, gritty, headachy feeling most people label as eye strain. Too far away and you unconsciously lean forward to read, which drags your whole posture out of alignment and undoes any chair adjustment you made. Height and distance are therefore not two separate problems but one geometry problem with two axes.
Before You Start: Fix the Chair and Desk First
Monitor position is measured from your seated eye level, so that eye level has to be stable before anything else makes sense. Adjusting the screen while sitting in a badly set chair simply bakes the chair’s error into the screen height.
Sit fully back in your chair with your feet flat on the floor or on a footrest, thighs roughly parallel to the ground, and knees at approximately ninety degrees. Set the seat height so your forearms rest level with the desk surface when your upper arms hang naturally at your sides. If your desk is fixed and too tall, raise the chair and add a footrest rather than perching. Once you are properly seated, do not adjust the chair again during this process. If you want a complete walkthrough of the surrounding setup, our guide to building an ergonomic home office covers chair, desk, and lighting together.
Tools You Will Need
- A tape measure or ruler.
- Something to raise the screen: a monitor stand, a riser, sturdy hardback books, or reams of paper.
- A phone camera for a side-on photo of you working.
- A hex key or screwdriver if your monitor stand or arm needs unlocking.
Step by Step: Setting Monitor Height and Distance
- Sit down and settle into your normal working posture. Do not consciously straighten up. You want to measure the position you actually adopt, not the one you perform for five seconds when someone is watching.
- Close your eyes, then open them looking straight ahead. The point your gaze lands on is your natural horizontal eye line. Have a helper mark that spot on the wall or the screen with a sticky note.
- Raise or lower the monitor until the top edge of the visible screen area sits at or just below that mark. Aim for the top bezel to land within an inch or two of eye level. Your eyes should travel slightly downward to reach the centre of the screen, never upward.
- Measure the distance from your eyes to the screen surface. Extend one arm straight out. Your fingertips should just brush the display. For most people that lands somewhere between 20 and 30 inches, which is the range that keeps text readable without forcing convergence.
- Adjust for screen size. A 24 inch panel is comfortable near arm’s length. A 27 inch panel usually wants a few extra inches. A 32 inch or ultrawide display often needs to sit 30 to 36 inches back so you are not sweeping your head side to side to read the edges.
- Tilt the screen back by roughly ten to twenty degrees. The display surface should be perpendicular to your line of sight, not vertical. This small tilt keeps the top and bottom of the screen at a similar focal distance and reduces glare from overhead lights.
- Centre the monitor directly in front of your body. Line the middle of the screen up with your nose and your keyboard, not with the middle of the desk. Any persistent sideways twist puts asymmetric load on one side of the neck.
- Check for glare, then work for a full day. Turn on your usual lighting and look for reflections. Adjust tilt or reposition the desk lamp rather than compensating by moving your head. Then live with the setup for a day before judging it.
Adjusting the Rules for Glasses and Bifocals
The standard eye-line rule assumes you look through the centre of your lenses. Bifocal and progressive lens wearers do not: they read through the lower portion, which means a screen at eye level forces them to tip the head back to find the reading zone. That is the single most common cause of stubborn neck pain in office workers over forty.
If you wear progressives, lower the monitor considerably, often so the top edge sits four to six inches below eye level, and increase the tilt so the screen face angles up toward you. The better long-term answer is a dedicated pair of single-vision computer glasses set to your working distance, which lets you return the screen to the standard height.
Laptops Are Always Too Low
A laptop cannot satisfy both rules at once, because the screen and keyboard are fixed together. Raising the screen to eye level lifts the keyboard out of reach; keeping the keyboard usable drops the screen far below eye level. The only real fix is to separate them: put the laptop on a stand at the correct screen height and add an external keyboard and mouse at the correct hand height. If you are shopping for a permanent solution, a desk with an integrated shelf works well, and our roundup of the best desks with a monitor stand compares built-in riser options.
Dual Monitor and Ultrawide Setups
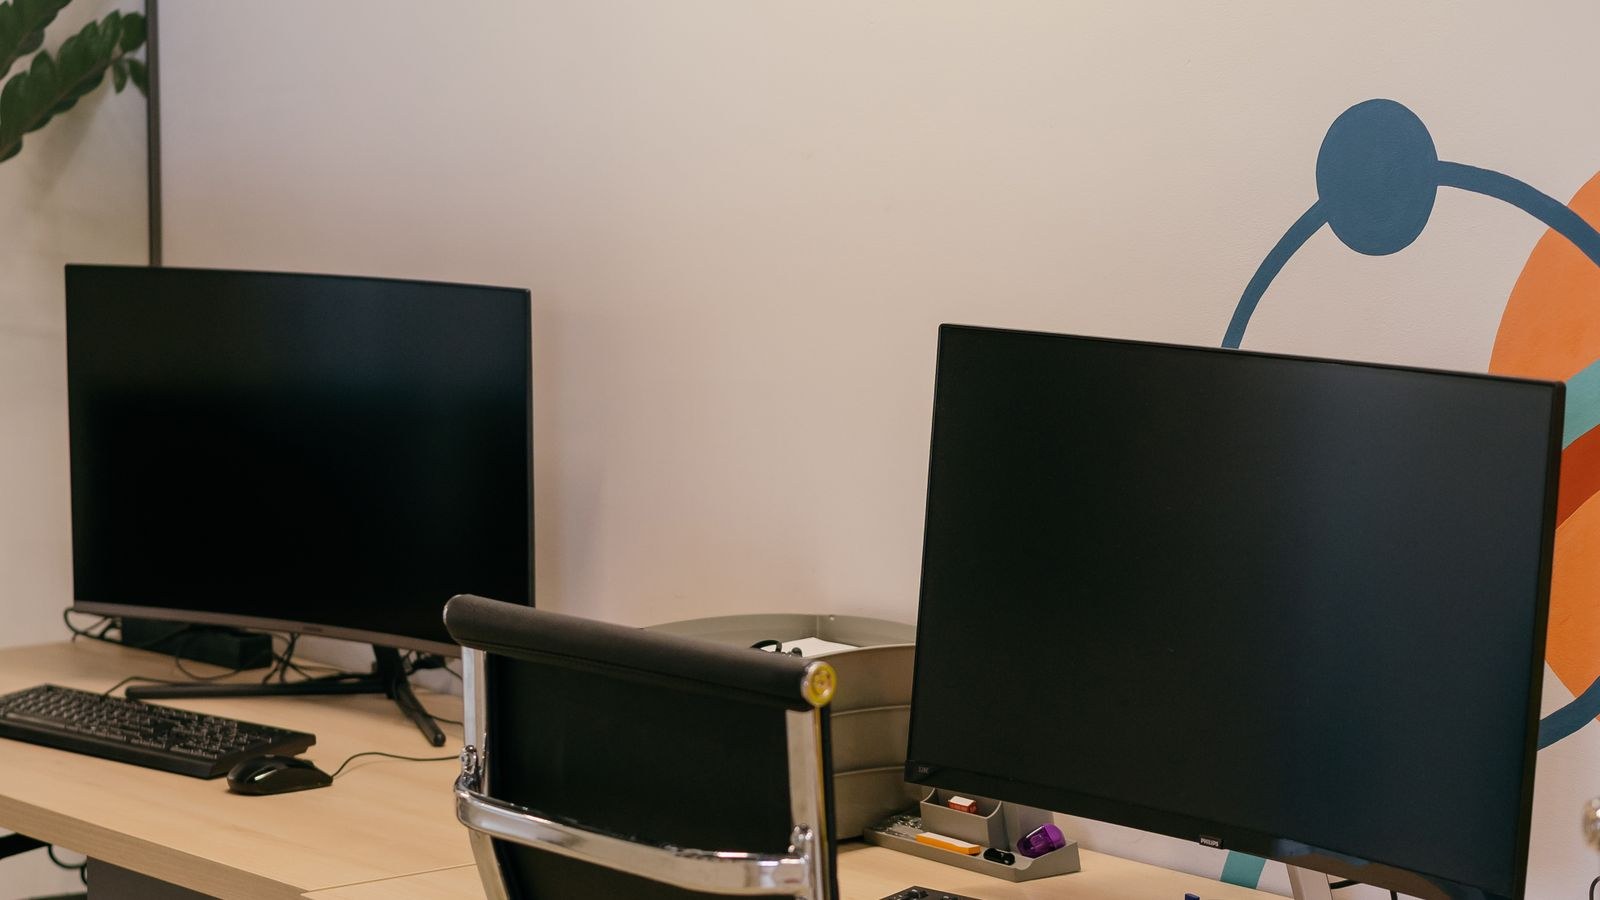
Two screens complicate the centring rule, and the right answer depends on how you use them. If you split your attention roughly evenly between both, place them symmetrically with the inner edges meeting directly in front of your nose, and angle each one inward so they form a shallow arc. Your head then turns the same small amount in either direction.
If one screen carries the bulk of your work and the other is a reference panel, treat the primary as your single monitor: centre it on your body and place the secondary off to one side, angled in. Match the heights so the top bezels are level, otherwise you nod up and down every time you switch. An ultrawide behaves like a wide single screen, so push it slightly further back and rely on window management to keep active content near the centre. For panels that suit these arrangements, our list of the best desktop computer monitors is a useful starting point, and budget-conscious multi-screen builders often pair up options from the best 1080p monitors.
When You Need a Monitor Arm Instead
Fixed stands often have a narrow height range, and stacked books are a poor answer for a screen you want to reposition. A clamp-on arm gives you continuous adjustment across height, depth, tilt, and swivel, frees up the desk surface underneath, and makes it trivial to reset the position after switching between sitting and standing. Standing desk users benefit most, because the correct screen height changes noticeably between postures. Our walkthrough on how to mount a standing desk monitor arm covers clamp types, desk thickness limits, and cable routing.
Common Mistakes to Avoid
- Setting the centre of the screen at eye level. This puts the top third above your gaze and encourages a chin-up posture. The top edge, not the middle, is the reference point.
- Adjusting the screen to fix a chair problem. If your feet dangle or your shoulders shrug, no screen position will rescue the setup.
- Leaving one screen higher than the other. Mismatched dual monitor heights cause repeated vertical head movement all day.
- Ignoring text size. If you lean in to read, the answer is a larger system font, not a closer screen.
Troubleshooting: Reading the Symptoms
Your body reports errors fairly precisely if you know how to interpret them. Aching at the base of the skull and across the upper trapezius usually means the screen is too low and you are looking down for long stretches. Soreness at the front of the neck or a tight jaw more often means the screen is too high and you have been tipping your chin up, a pattern common among progressive lens wearers.
Burning, dry, or blurry eyes late in the day point to distance or text size rather than height. Move the screen back a few inches and increase scaling. Pain concentrated in one shoulder almost always means the screen is off-centre.
Frequently Asked Questions
Should the top of the monitor be exactly at eye level?
At or slightly below is the target. A gentle downward gaze of ten to fifteen degrees to the screen centre is the most relaxed position for both the neck and the eyelids. Above eye level is the position to avoid.
How far should a 27 inch monitor be from my eyes?
Roughly 24 to 30 inches for most people. Start at arm’s length, then adjust until you can read body text comfortably without leaning in or squinting. Larger and higher-resolution panels generally want the upper end of that range.
Does a curved monitor change the rules?
Only slightly. Curved panels are designed so the edges sit at a similar distance from your eyes as the centre, which suits wide screens at a fixed viewing position. Height and centring rules are unchanged, though a deep curve rewards sitting close to the screen’s designed focal point.
Is it fine to stack books under my monitor?
Yes, provided the stack is stable, level, and wide enough to fully support the base. A proper riser or arm is tidier and easier to fine-tune, but a solid book stack at the correct height beats an adjustable stand set wrong.
Final Thoughts
Correct monitor height and distance come down to two checks you can perform in under a minute: the top edge of the screen at or just below your relaxed eye line, and the screen surface roughly at arm’s length. Everything else in this guide is an adjustment to those two anchors for your glasses, your screen size, or the number of displays you run. Fix the chair first so your eye level is stable, make the change, then give it a full working day before deciding. Most people notice the difference in their neck long before they notice it in their eyes, and once the geometry is right it stays right with only occasional rechecks.









