Owen Bradley
 A wall sconce beside the bed does something no table lamp can: it frees the nightstand entirely, puts light exactly where a book needs it, and lets one person read while the other sleeps. The catch is that a sconce is fixed. Mount it four inches too high or too far from the headboard and you cannot nudge it later the way you would slide a lamp. This guide covers both routes, hardwired and plug-in, with the measurements that make a bedside sconce genuinely useful and the wiring steps to install one safely in 2026.
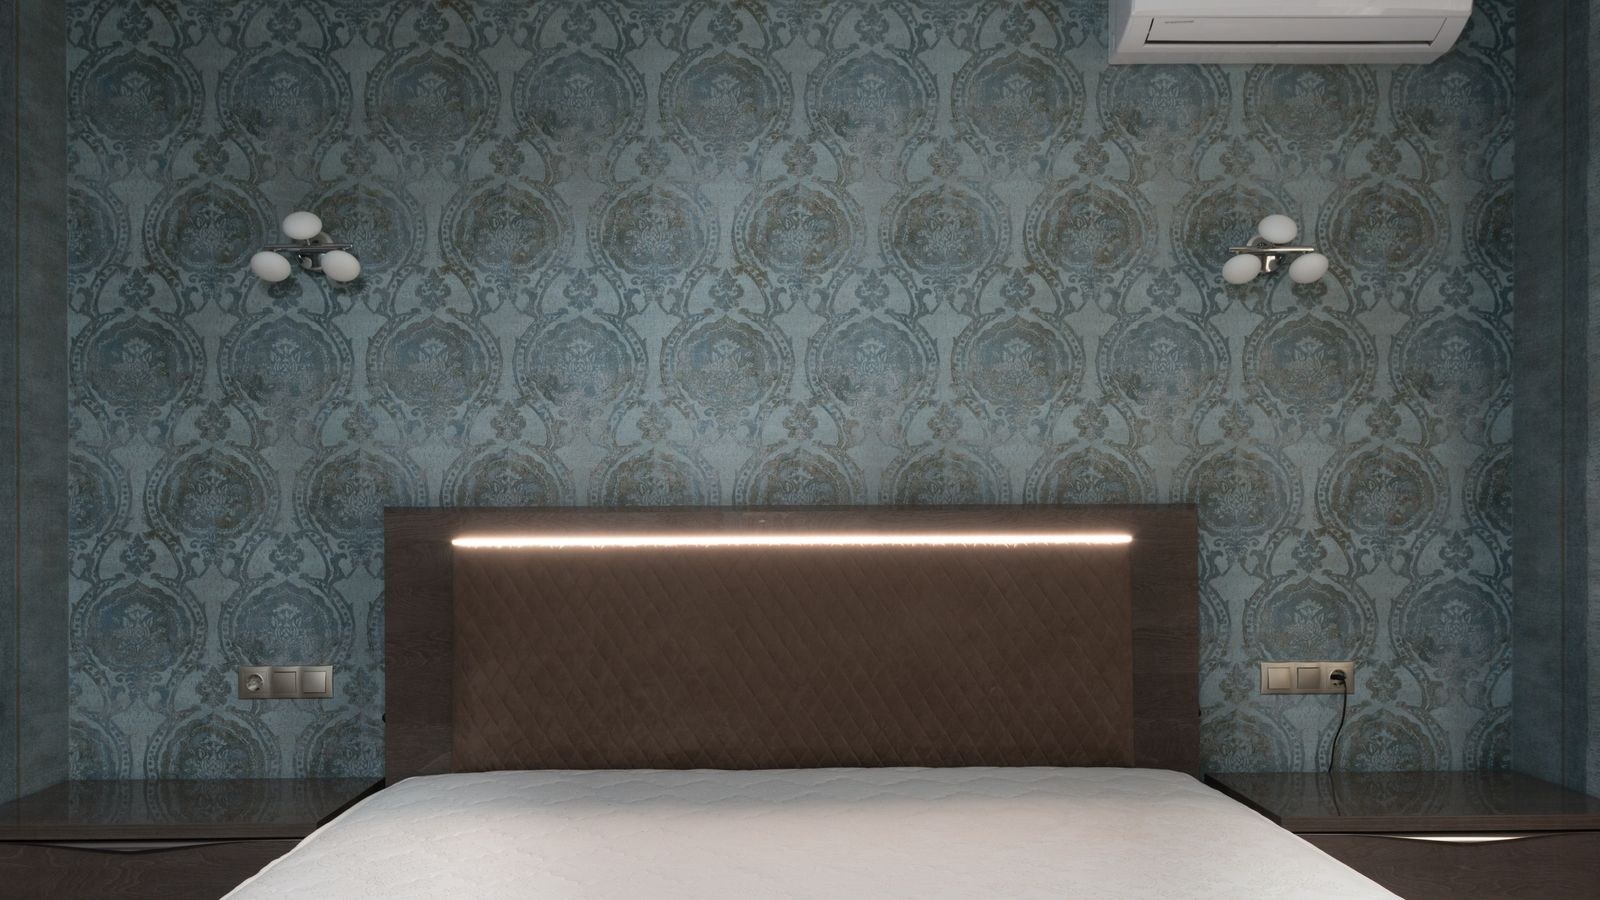
Choose Your Route: Hardwired or Plug-In
A hardwired sconce connects to household wiring inside a wall box and looks seamless, with no visible cord. It requires either an existing junction box in the right spot or running new cable, and in most places any new circuit work must meet local electrical code. If you are not comfortable working in a wall box with the breaker off, this is the point to call an electrician.
A plug-in sconce mounts the same way but ends in a cord that runs to an outlet. It is the practical choice for renters, for plaster walls you do not want to open, and for anyone testing a position before committing. Many plug-in models include a cord cover or a fabric-wrapped cord meant to be seen. You can also run the cord behind the headboard, which hides it almost completely.
Tools and Materials
- Stud finder and a pencil.
- Tape measure and a small spirit level.
- Drill with bits sized for your anchors, plus a drywall saw if you are cutting for a box.
- Voltage tester, non-contact type, for any hardwired work.
- Wire strippers, wire connectors and electrical tape.
- Old-work electrical box if none exists, or a mounting bracket for plug-in units.
- Drywall anchors or toggle bolts rated well above the sconce weight.
- The bulbs you intend to use, so you can test the beam before final tightening.
Getting the Height and Position Right
Position is the part people get wrong, so settle it before you drill a single hole. Sit up in bed with your back against the headboard and hold a book where you would read it. Now have someone hold the sconce at various points and switch on a flashlight from that spot.
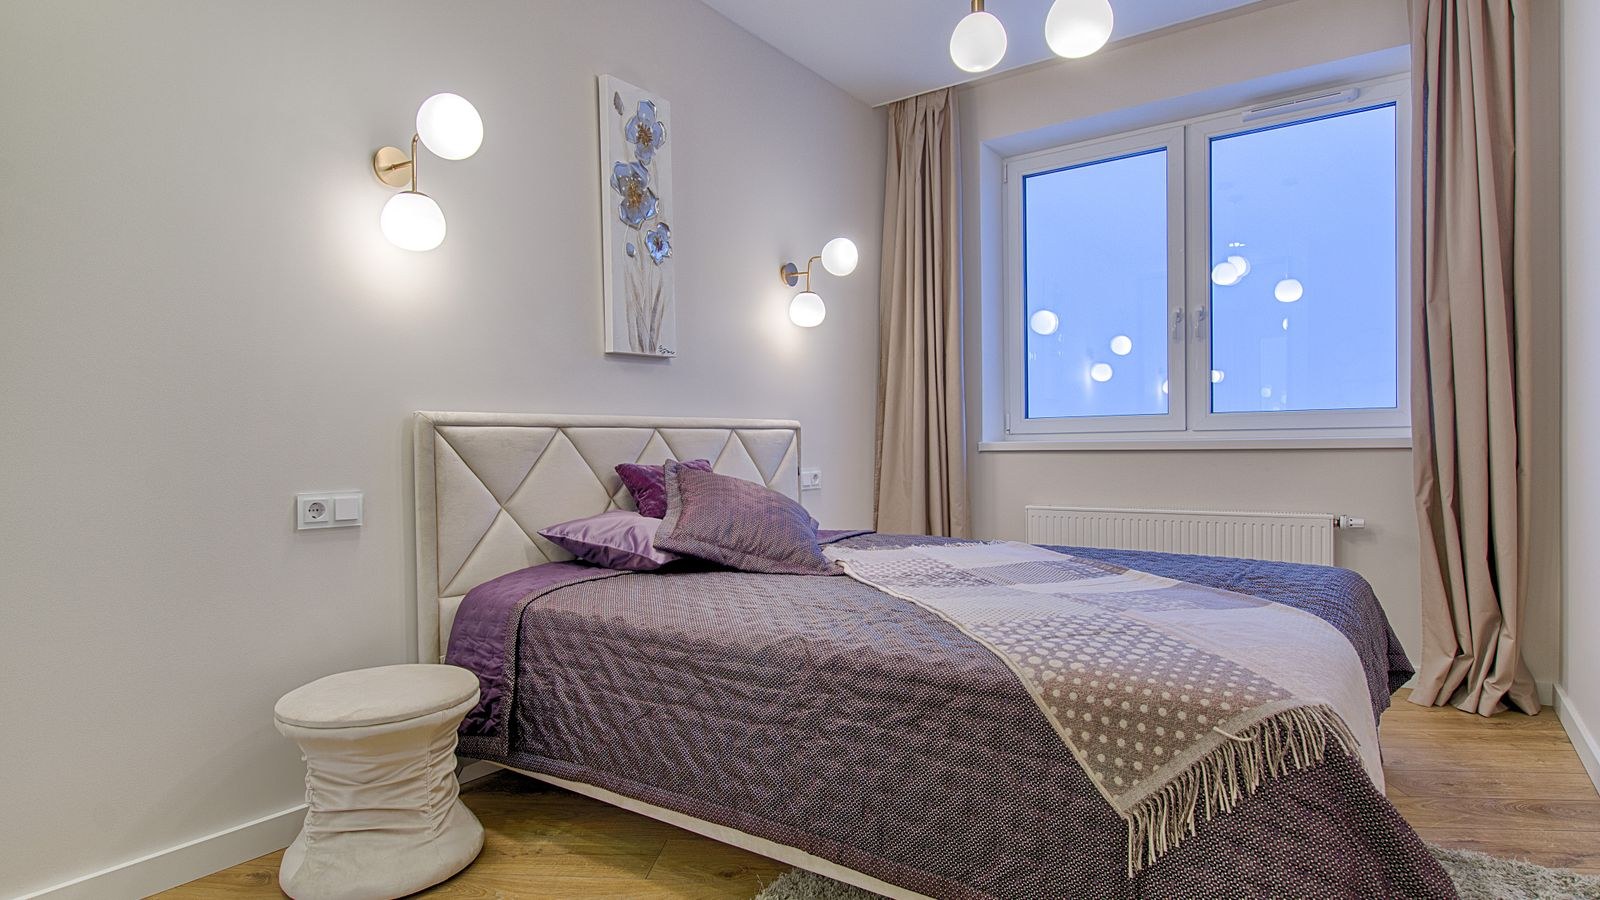
As baseline numbers: mount the sconce so its light source sits roughly 40 to 46 inches above the top of the mattress for a seated reader, which usually lands around 58 to 62 inches from the floor. Set it 24 to 30 inches out from the centre line of the bed, or roughly 6 to 10 inches beyond the outer edge of the pillow, so it clears your shoulder rather than sitting over your head. For an adjustable swing-arm sconce, mount slightly lower and let the arm bring the head forward when needed.
Two more checks: the sconce must not collide with an open closet or bedroom door, and its lowest point must clear a nightstand lamp or picture frame you plan to keep. If you have wall art above the bed, keep at least 4 inches of visual breathing room.
Step-by-Step: Installing the Sconce
- Mark and verify the location. With the bed in place, mark the mounting centre in pencil on both sides so the pair is symmetrical. Measure from the floor rather than from the mattress top, since mattresses compress. Check both marks with a level or a long straightedge across the headboard.
- Scan the wall. Run a stud finder across each mark. You want to know where studs, and ideally any existing cable or pipe, sit before cutting. Sconces are light, so a stud is helpful but anchors are usually sufficient.
- Kill the power at the breaker for hardwired work. Switch off the circuit, then confirm with a non-contact voltage tester at the nearest outlet or existing box. Test the tester on a known live outlet first so you know it is working.
- Cut and fit the electrical box. Trace the old-work box outline, cut carefully with a drywall saw, feed the cable through the box knockout, insert the box, and tighten its wings until the flanges pull snug against the drywall. For plug-in sconces, skip this and simply mark and drill anchor holes.
- Install anchors or fasten to the stud. Drill pilot holes, tap in toggle or self-drilling anchors, and mount the fixture bracket or crossbar. Check level again with the bracket attached, because a bracket rotated one degree is visible on a lit sconce.
- Make the connections. Join black to black for hot, white to white for neutral, and bare or green to the ground screw or ground wire. Twist each pair clockwise, cap with a properly sized connector, and give a gentle tug on each to confirm it holds. Tuck the wires neatly into the box with the ground folded to the back so nothing is pinched by the canopy.
- Mount the fixture body. Bring the sconce up to the bracket without pulling on the wires, then thread the mounting screws or cap nut. Snug them evenly. Do not overtighten a decorative canopy against drywall or you will dimple the surface.
- Fit the bulb and shade. Use a bulb within the fixture’s stated wattage limit. Enclosed shades trap heat, so an LED rated for enclosed fixtures is the safe pick.
- Restore power and test. Switch the breaker back on. Confirm the sconce lights, that the switch or pull chain feels solid, and that nothing flickers. Let it run for fifteen minutes and check that the canopy is only mildly warm.
- Sit in bed and aim. Adjust any swing arm or tiltable head so the beam lands on the page and not on your partner’s pillow. Mark the final arm position mentally, then repeat everything on the other side.

Choosing Bulbs and Controls
Bedside light should be warm and directional. Aim for 2200K to 2700K colour temperature so the light does not suppress melatonin the way cooler daylight bulbs can, and target roughly 400 to 700 lumens for reading. A narrower beam angle around 40 degrees keeps the pool of light on your side of the bed. If you are picking bulbs, the guide to the best light bulbs for bedroom lamps compares warm options that dim smoothly rather than flickering at low output.
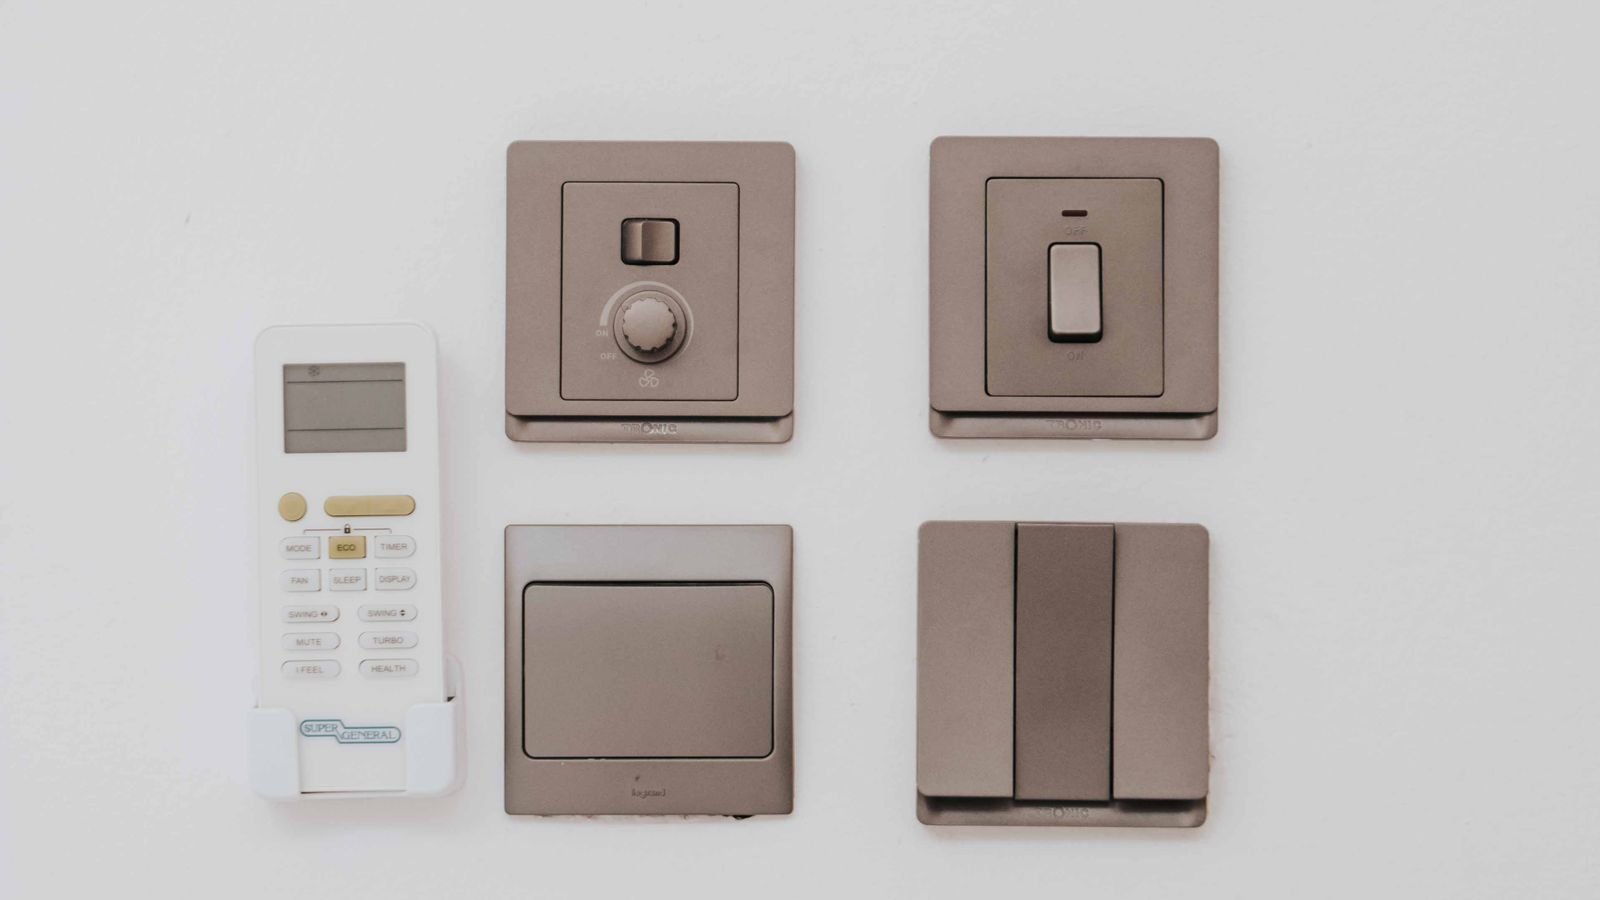
Controls matter as much as the fixture. An integral switch or pull chain on the sconce means you never reach across the bed. A wall dimmer near the headboard is better still if the wiring supports it. Smart bulbs give you scheduled dimming without new wiring, which suits plug-in installs. For layout ideas and fixture styles, the roundups of the best bedside lighting and the best bedside reading lights are useful starting points, and focused clip and wall models appear in the list of the best reading lights for bedrooms.
Safety Notes
- Breaker off, then verify. A switch on the wall is not proof the box is dead; other circuits can share a box.
- Do not exceed the wattage label. The number on the fixture accounts for heat inside the shade, not just the socket rating.
- Support the weight properly. Use anchors rated for at least three times the fixture weight, especially in older plaster.
- Keep fabric clear. Curtains, canopy drapes and throw blankets must not touch a lit shade.
- Never bury a junction. Every wire connection must sit inside an accessible box, never inside a wall cavity.
- Check local rules. Some jurisdictions require a permit or licensed work for new bedroom circuits.
Troubleshooting
If the sconce will not light, check the bulb elsewhere first, then confirm the breaker is on and the connections are seated. A sconce that works intermittently almost always has a loose wire nut or a bulb not fully screwed in. Flicker on a dimmer usually means a non-dimmable LED or a dimmer not rated for LED loads; swapping to a compatible dimmer solves it.
A canopy that will not sit flat against the wall generally means too much wire crammed into the box. Fold the conductors in an accordion rather than a coil and they will tuck away. If the fixture sags over time, the anchor has pulled; move to a toggle bolt or relocate to a stud.
Common Mistakes to Avoid
The biggest error is mounting too high. A sconce placed at picture height looks balanced on an empty wall but shines into your eyes when you sit up and lights the wall instead of the book. Measure from a seated reading position, not from the doorway. The second mistake is mounting too close to the bed centre, which puts the fixture behind your head and casts your own shadow onto the page.
Other frequent problems include forgetting the door swing, choosing a fixture with an upward-only shade when you actually need downward task light, and installing a pair at different heights because each was measured from its own nightstand rather than from the floor. Finally, many people install before deciding on bulbs and end up with a cold, glaring light in a room meant for winding down.
Frequently Asked Questions
How high should a bedside sconce be mounted?
Roughly 58 to 62 inches from the floor for a standard bed, which puts the light source about 40 to 46 inches above the mattress top. Sit up in bed and check before drilling, since headboard height changes the answer.
Can I install a sconce without an electrician?
A plug-in sconce is a straightforward DIY job requiring only anchors and a drill. Hardwiring into an existing box is manageable for a confident DIYer with the breaker off, but running a new circuit is electrician territory in most regions.
How far apart should a pair of sconces be?
Mount each one 24 to 30 inches from the bed’s centre line, giving 48 to 60 inches between them on a queen or king. They should sit just outside the pillows, not above them.
Should the sconce swing or stay fixed?
A swing arm is far more useful for reading because you can pull the light over the page and push it back out of the way. Fixed sconces suit ambient or accent lighting where precision matters less.
What if I cannot hide the cord on a plug-in model?
Run it straight down behind the headboard, or use a paintable cord channel matched to the wall colour. Many designer plug-in sconces use a fabric cord meant to be visible, which sidesteps the problem entirely.
Final Thoughts
A bedside sconce succeeds or fails on measurement. Get the height right for a seated reader, set it far enough outboard to clear your shoulder, pick a warm directional bulb, and give it a switch you can reach without sitting up. Handle the wiring with the breaker off and every connection inside a box, or take the plug-in route and skip that entirely. Done carefully, the result is a clear nightstand, better sleep hygiene and reading light that stays exactly where you put it.