
 Owen Bradley
 A fire extinguisher is the rare piece of safety equipment that sits untouched for years and then has to work perfectly on its first and only attempt. Pressure bleeds away slowly, dry chemical powder settles into a solid cake, pins get bumped loose, and hoses crack in dry air, all without any outward sign that anything has changed. That is why fire codes require a monthly visual inspection, and why the same routine makes sense in a home even where no inspector will ever check. The good news is that it takes under two minutes once you know what you are looking at. This guide walks through how to inspect a fire extinguisher every month, what each finding means, and when a problem moves the unit from serviceable to replace immediately.
What You Need Before You Start
Almost nothing, which is part of the point. A clean rag for wiping dust off the gauge and label, a flashlight if the extinguisher lives in a dim garage or basement corner, and somewhere to record the date. A tag hanging from the neck is traditional and works well; a note in a phone reminder or a household maintenance list works just as well at home. What matters is that the record exists, because an inspection you cannot prove happened is indistinguishable from one that did not.
Do the whole house in one pass. Walking from unit to unit on the same day makes it far more likely you will actually finish, and it surfaces the extinguisher that quietly went missing from the garage months ago.
The Monthly Inspection, Step by Step
- Confirm it is where it belongs. The extinguisher should be in its designated bracket or cabinet, visible, and reachable without moving anything. Boxes stacked in front of it, a coat hung over it, or a unit that has migrated to the back of a closet all count as failures. Mounting height matters too: it should be low enough to lift comfortably but off the floor, where damp and knocks do damage.
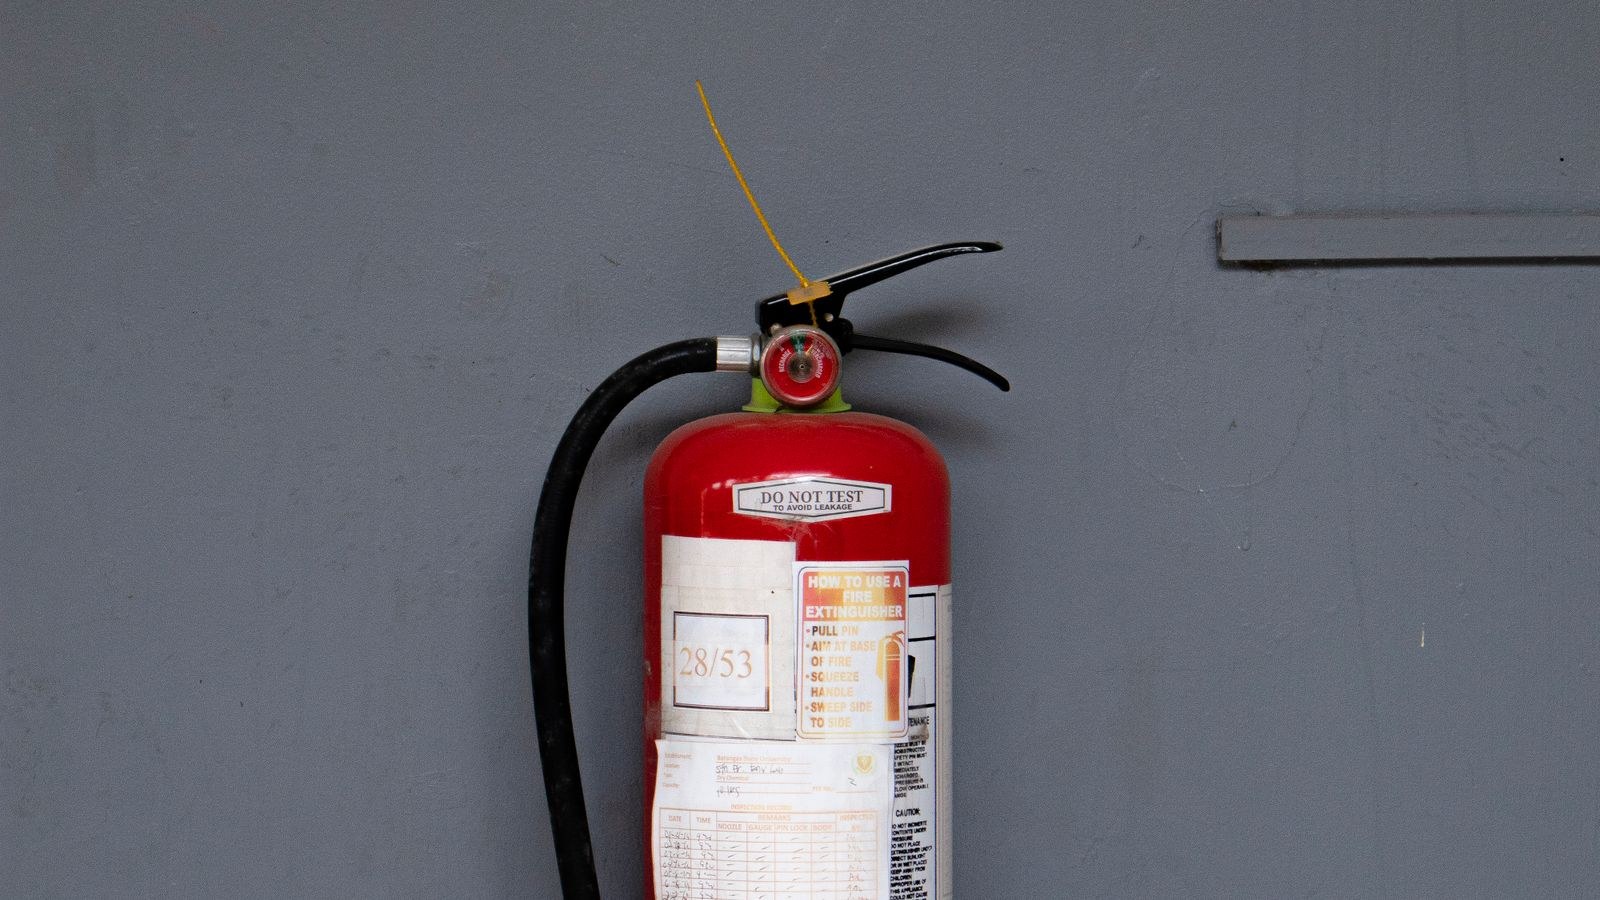
- Check the pressure gauge. The needle must sit inside the green band. Left of green means it has lost charge and will not discharge properly. Right of green means overpressure, which is less common but equally disqualifying. Tap the gauge face gently; a needle that jumps to a different position was sticking, and a sticking gauge is not a gauge you can trust.
- Inspect the pin and tamper seal. The pull pin should be fully seated and held by an intact plastic tamper seal. A broken or missing seal means the unit has been handled, discharged, or partially triggered, and it must be treated as used until a professional confirms otherwise. Never pull the pin to test it.
- Examine the hose and nozzle. Look for cracks, splits, stiffness, and anything blocking the opening: insects, dust plugs, dried powder, or a cap someone left on. Flex the hose gently along its length. Rubber that has gone hard and shows fine cracking will split under discharge pressure, which is exactly the wrong moment to find out.
- Look over the cylinder. Run your eye and your hand around the whole body, including the bottom. You are checking for dents, deep scratches, corrosion, rust, pitting, and any bulging. Surface rust on paint is cosmetic; rust that has pitted the metal, or any dent to the cylinder wall or the base ring, compromises a pressure vessel and retires the unit.
- Check the handle and lever. Both the carrying handle and the discharge lever should be firmly attached, undeformed, and free of cracks. A bent lever can jam against the valve body and prevent discharge entirely.
- Read the label. The label must be present, legible, and facing outward so anyone can read the operating instructions in a hurry. It also tells you the class rating, which matters because a kitchen unit and a garage unit are frequently not interchangeable. A label that has faded to illegibility is a genuine failure, not a cosmetic one.
- Check the dates. Look for the manufacture date stamped on the cylinder or printed on the label, plus any inspection or service tag. Small disposable home units typically have a service life measured in years and are not rechargeable; larger rechargeable units require professional maintenance on a set interval and hydrostatic testing at longer intervals. An expired unit is inspected only to confirm it needs replacing.
- Shake and invert dry chemical units. Turn a dry chemical extinguisher upside down and give it a few firm shakes to break up powder that has compacted at the bottom. Caked powder will not flow, and this simple step is the most commonly skipped part of the whole routine. Do not do this with carbon dioxide or water-based units, which do not need it.
- Weigh it if you can. Carbon dioxide extinguishers in particular lose charge without moving the gauge, because many have no gauge at all. Compare the weight against the figure stamped on the valve or label. A meaningful shortfall means it needs recharging regardless of how it looks.
- Wipe it down and record the check. Clean off dust, grease, and cobwebs so the gauge and label stay readable, then note the date and your initials. Thirty seconds of record keeping is what turns a habit into a documented one.
What Each Failure Actually Means
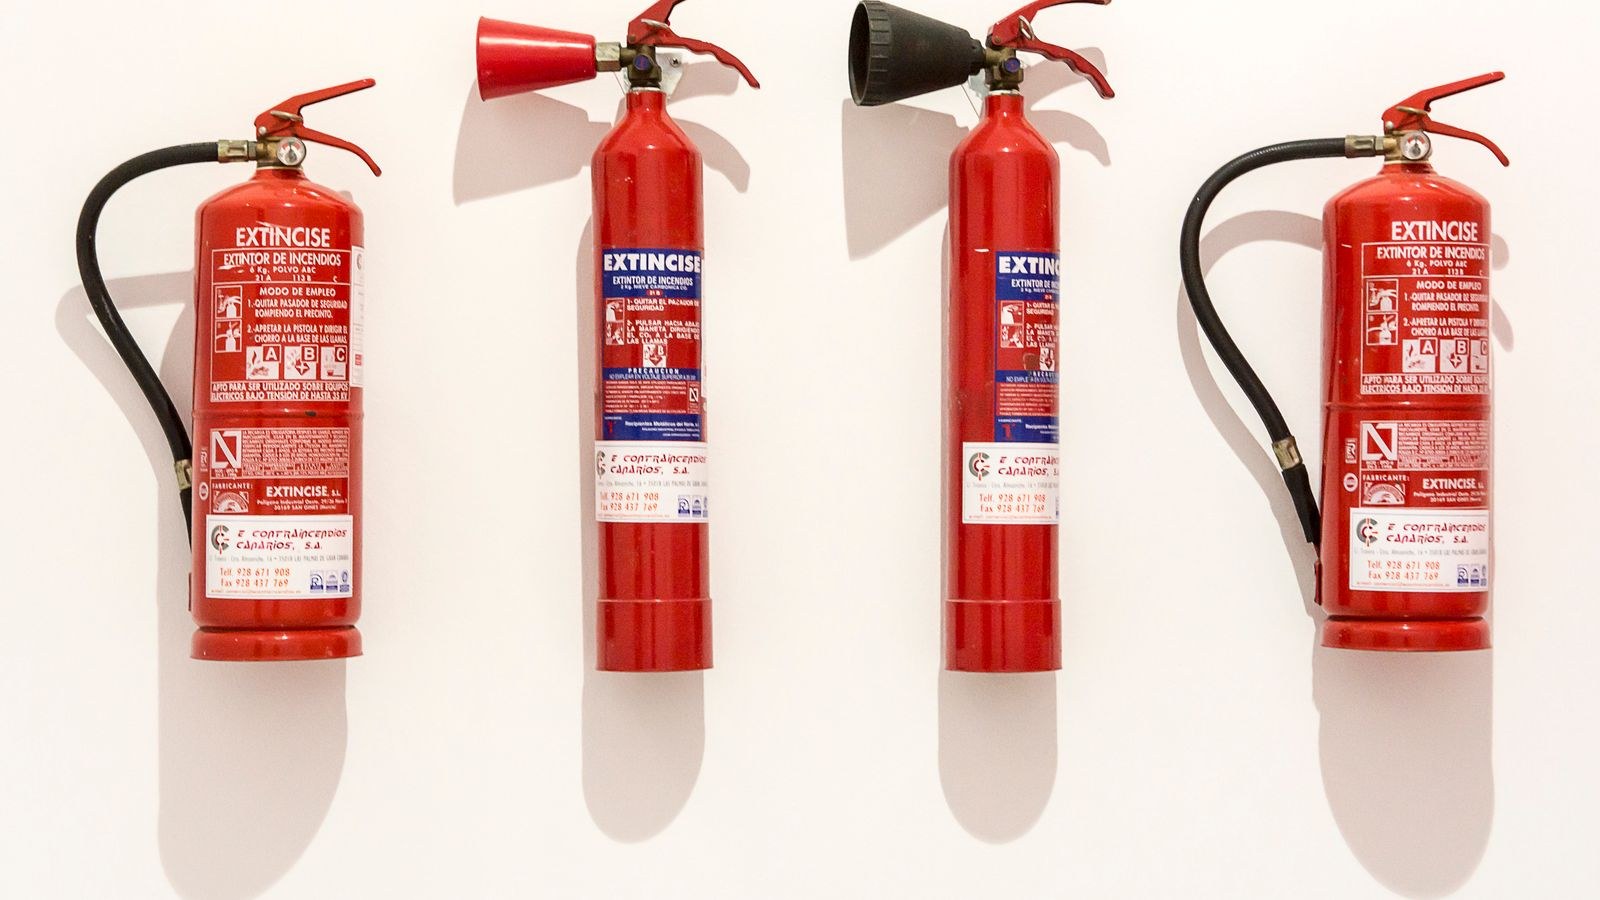
Not every defect is equal. Low pressure on a rechargeable unit is fixable at a service company; on a disposable home unit it means replacement. A broken tamper seal with the pin still in place is often just a bump, but there is no way to confirm the charge is intact without professional verification, so treat it as out of service. Any corrosion pitting, dent, or bulge is immediately fatal to the unit, because a compromised cylinder under pressure is a hazard in its own right.
Blocked or cracked hoses can sometimes be replaced on larger commercial units but rarely on small household ones. A missing or unreadable label is worth taking seriously; in an emergency, nobody reads instructions they cannot see. If the same extinguisher fails two months running for different reasons, stop patching it and replace it.
Choosing a Replacement When One Fails
An inspection that ends in replacement is a successful inspection, not a wasted one. When you shop, match the class rating to the room rather than buying identical units everywhere: kitchens face cooking oil and electrical fires, garages and workshops face flammable liquids, and living areas mostly face ordinary combustibles. Comparing the best fire extinguishers by class rating is the fastest way to see which multipurpose models actually cover the situations in your home.
Size is the other decision people get wrong. A unit too heavy to lift and aim one-handed is worse than a smaller one you can control, especially for the person most likely to be home when something happens. Roundups of home fire extinguishers and fire extinguishers for home use group models by weight and discharge time, which is more useful than headline capacity. For a broader view of how many units a house needs and where they belong, our home fire extinguisher guide covers coverage planning, and the notes on how to store a fire extinguisher explain the mounting and temperature conditions that prevent half these failures.
Conditions That Age an Extinguisher Faster
Where a unit lives determines how often it fails an inspection. Unheated garages and sheds cycle through wide temperature swings that stress seals and let moisture condense inside the valve, which is the usual cause of slow pressure loss. Damp basements attack the base ring first, so always tip the cylinder and check underneath rather than trusting the painted front. Units mounted in direct sunlight fade their labels within a couple of years, and units kept in a vehicle endure constant vibration that compacts powder far faster than a wall bracket ever would.
Kitchens create their own problem. Grease aerosol settles on everything nearby, and a greasy film on the gauge and label makes both unreadable while attracting dust. Mount kitchen units away from the cooking surface, near an exit path rather than beside the range, and wipe them down as part of the monthly check. If you find that one particular extinguisher fails repeatedly while others pass, the location is usually the culprit rather than the hardware.
Common Mistakes
The most frequent error is checking only the gauge. A green needle tells you the unit holds pressure; it says nothing about caked powder, a cracked hose, a corroded base, or an expiry date that passed years ago. The second is inspecting only the extinguisher you walk past every day and forgetting the one in the basement, the car, or the boat.
A third mistake is discharging a small amount to test it. Once the valve seat has been disturbed, most units bleed down over the following weeks, so a test discharge effectively spends the extinguisher. Never test that way. Finally, many people skip the record entirely, then cannot remember whether they checked in March or last autumn. Pick a fixed date, tie it to something you already do monthly, and the routine sticks.
Frequently Asked Questions
How long does a monthly inspection actually take?
About ninety seconds per unit once you know the sequence. A typical home with three or four extinguishers is done in five minutes, including writing down the date.
Does a monthly check replace professional servicing?
No. The monthly visual inspection catches obvious faults between professional maintenance intervals. Rechargeable units still need periodic service by a qualified technician and hydrostatic pressure testing at longer intervals.
The gauge is green but the extinguisher is old. Is it fine?
Not necessarily. Gauges measure pressure, not the condition of the powder or the valve seals. Once a unit passes its stated service life, replace or have it professionally serviced regardless of what the needle shows.
Can I recharge a disposable home extinguisher myself?
No. Small units with plastic valve assemblies are not designed to be refilled, and there is no safe home method for repressurizing any extinguisher. Replace disposables and send rechargeable units to a service company.
Final Thoughts
Monthly inspection is the cheapest fire safety measure available, and the one most often skipped because nothing ever appears to change. Gauge, pin, hose, cylinder, label, date, then a shake for dry chemical units covers everything that realistically goes wrong. Do all the extinguishers in the house on the same day each month, write it down, and replace anything that fails rather than telling yourself it will probably still work. The whole point of the routine is that you never have to wonder.









