Owen Bradley
 A fully assembled office chair is one of the most awkward things in a home to move. It is bulky, it will not stack, the casters roll off the tail lift, and the wide five-star base gouges walls and doorframes on the way out. Break it down and the same chair becomes four flat pieces that slide neatly into the gaps around your boxes. This guide explains how to disassemble an office chair safely for moving day, including the one component — the gas cylinder — that genuinely deserves respect, and how to pack and label everything so reassembly at the other end takes twenty minutes instead of an evening.

Should You Take the Chair Apart at All?
Not every chair needs stripping. If you are moving a short distance in a van with plenty of space, removing just the casters and the backrest may be enough to make it manageable. Full disassembly earns its time in three situations: when the chair has to go into a car boot, when it is travelling in a packed container or storage unit where flat items stack better, or when it must go up or down narrow stairs.
There is one important caveat. Some mechanisms — particularly the tapered joint between the gas cylinder and the seat mechanism — are designed to be assembled once and are stubborn to separate. If your chair is inexpensive and already worn, it may be more sensible to donate or recycle it and buy fresh at the new address than to risk damaging parts that are hard to source.
Tools and Packing Supplies
- Allen key set, metric, typically 4 mm to 6 mm
- Adjustable spanner or a socket set
- Phillips screwdriver
- Rubber mallet and a block of scrap wood
- Penetrating oil for seized bolts and a stuck cylinder
- Pipe wrench or large slip-joint pliers for a stubborn cylinder taper
- Resealable bags and a permanent marker for hardware
- Bubble wrap, old blankets and packing tape
- Your phone, for photographs at every stage
Step-by-Step: Breaking the Chair Down
- Photograph the chair from every angle first. Take shots of the underside, the armrest mounts, the backrest bracket and the mechanism orientation. Ten seconds of photography now saves a long argument with yourself in a new flat surrounded by identical black bolts.
- Clean it before you start. Vacuum the upholstery and wipe the plastics. Dust and hair that survive the move settle into a new carpet, and you will never have easier access to the underside of the seat than when the chair is in pieces.
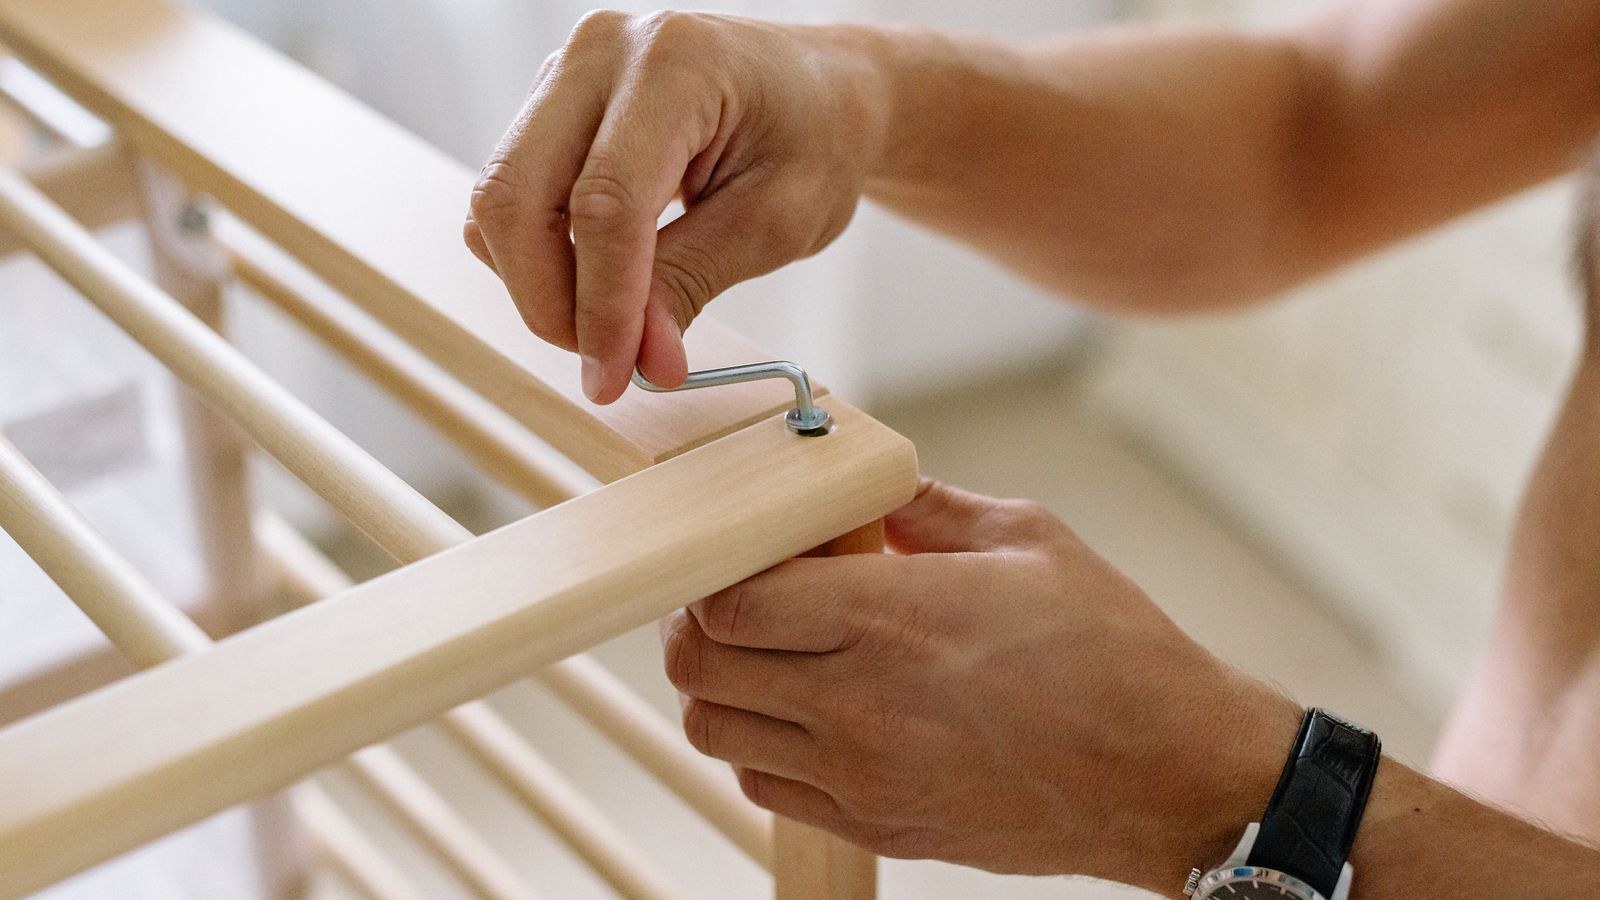
- Remove the armrests. These usually bolt through the seat pan from underneath and sometimes into the backrest as well. Take them off first because they stick out furthest and get knocked in transit. Bag their bolts and label them.
- Detach the backrest. Unbolt the backrest from its support bar, then unbolt the support bar from the seat pan or mechanism. Support the weight with one hand as you free the last fastener so the panel does not drop onto the floor or onto your fingers.
- Pull off the casters. Lay the chair on its side and pull each wheel straight out of its socket. Most are friction-fit and come out with a firm tug; if one resists, lever gently underneath the caster hub with a flat bar and a wood block for protection. Bag all five together.
- Separate the seat from the gas cylinder. Turn the chair upside down. The cylinder is held in the mechanism by a tapered friction joint, so there is nothing to unscrew. Grip the cylinder tube, place a wood block against the mechanism housing, and tap firmly with the mallet to break the taper. Work around the joint rather than hammering one spot, and apply penetrating oil if it will not shift on the first attempt.
- Separate the cylinder from the base. The same tapered fit joins the cylinder to the five-star base. Support the base on two blocks so the cylinder can drop through, then tap the cylinder down through the hub. A pipe wrench gripping the cylinder tube gives you twisting leverage that often breaks a stubborn taper more easily than force alone.
- Unbolt the mechanism from the seat if you need it flatter. Four bolts release the tilt mechanism from the seat pan. This is optional — skipping it saves reassembly time — but it makes the seat genuinely flat and easier to stack.
- Bag and label every piece of hardware. One bag per stage, marked clearly: armrest bolts, backrest bolts, mechanism bolts, casters. Tape each bag to the part it belongs to rather than pooling them all in one container that ends up in a different vehicle.
- Wrap the parts for transit. Bubble wrap the seat and backrest to protect the upholstery, blanket-wrap the base so its arms cannot scratch anything, and tape the cylinder to a length of cardboard so it cannot roll around loose in the van.
Handling the Gas Cylinder Safely
The gas lift is the only genuinely hazardous part of the chair. It is a sealed steel tube holding compressed nitrogen at high pressure, and it is perfectly safe when treated as a sealed unit. Problems only occur when people try to open one.
- Never drill, cut, saw or puncture the cylinder. The internal pressure can launch the piston with serious force.
- Never apply heat. Do not use a blowtorch to free a stuck taper, and do not leave the cylinder in a hot car for long periods.
- Do not dismantle it to make it shorter. There is no user-serviceable part inside.
- Transport it horizontally and secured. A loose steel tube in a moving van is a projectile.
- Dispose of it at a metal recycling point, not in general household waste, and tell the site it is a pressurised unit.
If the cylinder simply will not separate from the base after repeated attempts, leave them joined. A base with a cylinder still attached is only slightly more awkward to pack and vastly preferable to a damaged part or an injury.
Common Mistakes to Avoid
- Losing the hardware. The single most common problem. Bolts are chair-specific in length and thread, and a hardware shop rarely has an exact match.
- Forgetting the cylinder shroud. The two-piece plastic cover must go back on before the seat is refitted. Keep both halves taped together.
- Hammering directly on metal. Always use a wood block or a rubber mallet, or you will mushroom the end of the cylinder and it will never seat cleanly again.
- Stripping bolt heads with a worn Allen key. Push the key fully into the socket and keep it square. Rounded heads turn a ten-minute job into a drilling exercise.
- Stacking heavy boxes on the wrapped seat. Foam takes a permanent set under sustained load, especially in a warm van.
- Skipping the photos. Backrest brackets and armrests are easy to refit mirrored or upside down without a reference shot.
Reassembling at the New Address
Rebuild in the reverse order and it goes together quickly. Push the casters into the base first, stand the base up and check it does not rock, then slide the cylinder in with the narrow taper down. Fit the plastic shroud before anything else goes on, because it cannot be added later. Bolt the mechanism to the seat if you removed it, attach the backrest support and then the backrest, leaving all fasteners finger-tight until the panels are aligned, then tighten in a diagonal pattern.
Finally, lower the seat assembly onto the cylinder and sit on it — your body weight seats the taper properly, which no amount of hammering will achieve. Give every bolt a final check after a week of use, since fasteners settle once the chair is being loaded again.
When Moving Is the Right Time to Replace
A move is a natural audit point. If the foam has flattened, the gas lift sinks under you, the base is cracked or the upholstery is peeling, the transport effort is better spent on something you actually want in the new office. Measure the new room before you decide, because a large executive chair that suited a spare bedroom can overwhelm a compact corner desk.
When you are shopping, the best office chairs and best desk chairs roundups cover the full range of sizes and price points. For a padded high-back with a more traditional look, the best executive chairs guide is the right place to start, while long gaming sessions are better served by the models in the best gaming chairs comparison. If the priority is spending eight hours a day without back pain, the best ergonomic chairs guide focuses on adjustability and lumbar support above all else.
Frequently Asked Questions
How long does disassembly take?
Twenty to forty minutes for a typical chair, assuming the cylinder tapers cooperate. A seized cylinder can add half an hour on its own.
Do I have to remove the gas cylinder?
No. If space allows, leaving the cylinder in the base is completely fine and saves the hardest step. Removing the seat, backrest, armrests and casters already reduces the bulk dramatically.
Can I lay the chair parts flat under boxes?
Base, cylinder and hardware yes. Keep the seat and backrest cushions on top of the load, because compressed foam under weight in a warm vehicle can take a permanent dent.
What if a bolt is seized solid?
Apply penetrating oil and leave it for fifteen minutes, then try again with steady pressure rather than sudden force. If the head rounds off, move that part in one piece rather than drilling it out on moving day.
Final Thoughts
Disassembling an office chair for a move is straightforward when you work in the right order and take the gas cylinder seriously. Photograph everything, strip the armrests and backrest, pull the casters, then break the two tapered joints with a mallet and a wood block. Bag and tape the hardware to the parts it belongs to, wrap the upholstery, and secure the cylinder so it cannot roll. Done properly, a chair that would have dominated half your van becomes a flat stack you can slide down the side, and it goes back together at the other end in less time than it took to take apart.