Owen Bradley
 The box arrives, you open it, and there are eighteen pieces, a bag of bolts and an instruction sheet drawn by someone who has never met a human being. Assembly looks like a two-person job, but almost every desk chair is designed to go together single-handed if you follow the right order. The trick is knowing which steps need gravity on your side and which need the chair upside down. This guide explains how to assemble an office chair by yourself from unboxing to the final adjustment, without stripping bolts, scratching the finish, or fitting the gas lift the wrong way round.
Set Up Your Workspace First
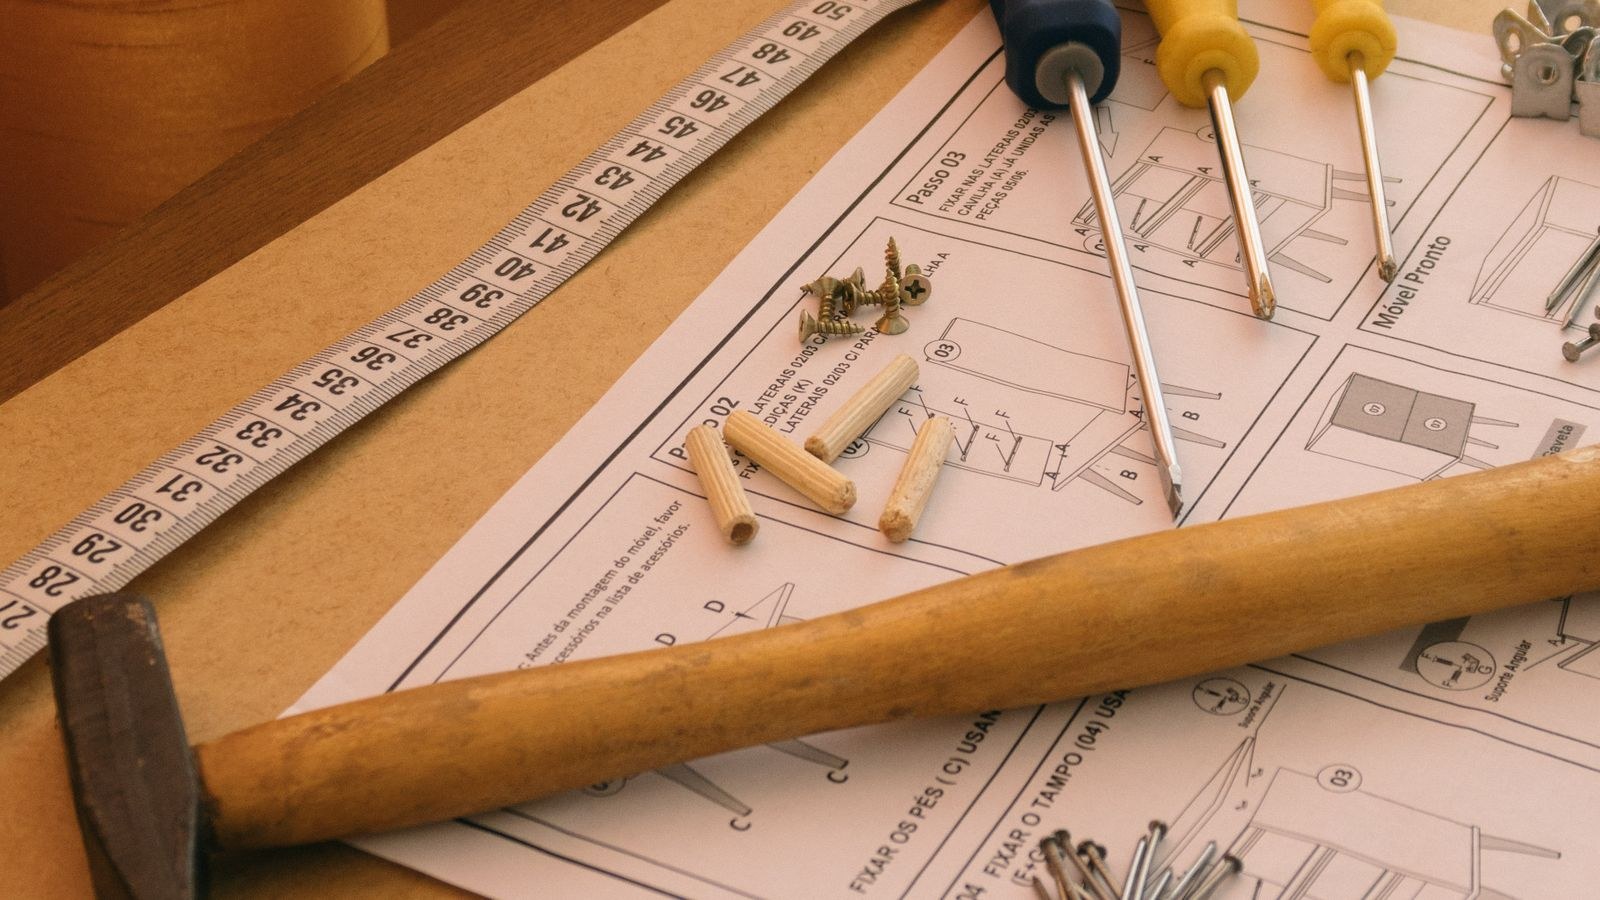
Give yourself a clear area roughly two metres square, ideally carpeted or covered with the flattened cardboard from the box. Hard floors scratch a chair base and let dropped bolts roll away under furniture. You will be working at floor level for most of the build, so kneepads or a folded towel under your knees is a small kindness.
Lay out every part and count it against the parts list before you touch a tool. Sort the hardware bag into small piles by size, on a tray or a plate so nothing escapes. Almost every assembly that goes wrong goes wrong because a bolt of the wrong length was used early on and only discovered three steps later.
Tools and Parts You Should Have
- The supplied Allen key — usable, but a proper Allen key set or a hex bit in a screwdriver handle saves your palms
- A Phillips screwdriver for cover plates and armrest trim
- A rubber mallet for seating the casters and cylinder
- A small torch for lining up hidden bolt holes
- A cloth to keep grease off the upholstery
The parts should include a five-star base, five casters, a gas cylinder, a telescopic cylinder cover in two halves, a seat pan, a backrest with its support bar, armrests if fitted, and a mechanism which is often pre-attached to the seat. If anything is missing, stop and contact the seller before you begin — half-assembling a chair makes a warranty claim much harder.
Step-by-Step: Assembling the Chair Alone
- Fit the casters into the base. Turn the five-star base upside down on the floor. Push each caster stem firmly into its socket until you feel it click. If a caster resists, a sharp tap with a rubber mallet on the wheel — never on the base arm — seats it. Do all five before flipping the base back over.
- Stand the base upright and check it is stable. Press down on each arm in turn. Any rocking now means a caster is not fully home, and it is far easier to fix at this stage than after the chair is built.
- Drop in the gas cylinder. Slide the cylinder, narrow tapered end down, into the hole at the centre of the base. It is a friction taper, not a threaded fitting, so there is nothing to tighten — it locks itself under the weight of the chair. Getting this upside down is the single most common assembly error, so check that the wide end with the release button faces up.
- Slide the two-piece cover over the cylinder. The telescopic plastic shroud goes on now and cannot be added later without dismantling everything. Snap the two halves together around the cylinder with the wider section at the bottom.
- Bolt the mechanism to the seat. Turn the seat pan upside down on the carpet. Line the tilt mechanism up with the four threaded holes, checking its orientation — the lever side must end up on your right, and the front of the mechanism matches the front of the seat. Start all four bolts by hand before tightening any of them, then tighten in a diagonal pattern so the plate pulls down evenly.
- Attach the backrest support to the seat. With the seat still inverted, bolt the back support bracket to the underside or the rear of the seat pan, again starting every bolt loosely first. Leaving them slightly loose gives you the wiggle room to align the backrest in the next step.
- Fit the backrest onto the support. Slide the backrest onto the bar and secure it with its bolts. Sight along the chair from the back to check the backrest is square with the seat, then go back and fully tighten both the support bracket bolts and the backrest bolts.
- Attach the armrests. Armrests usually bolt through the seat pan from underneath, sometimes with a second fixing into the backrest. Fit both sides loosely, confirm they sit level with each other, then tighten. Mismatched armrest heights almost always come from tightening one side fully before the other is even started.
- Join the seat assembly to the base. This is the step that feels like it needs a second person, and it does not. Lift the seat assembly, line the socket on the underside of the mechanism up with the top of the gas cylinder, and lower it straight down. Then sit on the chair — your body weight drives the taper together far more effectively than hammering ever will.
- Fit the covers and do a final tighten. Clip on any plastic cover plates, then go around every bolt once more with the Allen key. Fasteners settle during the first assembly, and a second pass catches the ones that no longer feel snug.
Handling the Awkward Moments Solo
Holding a Heavy Backrest While Starting Bolts
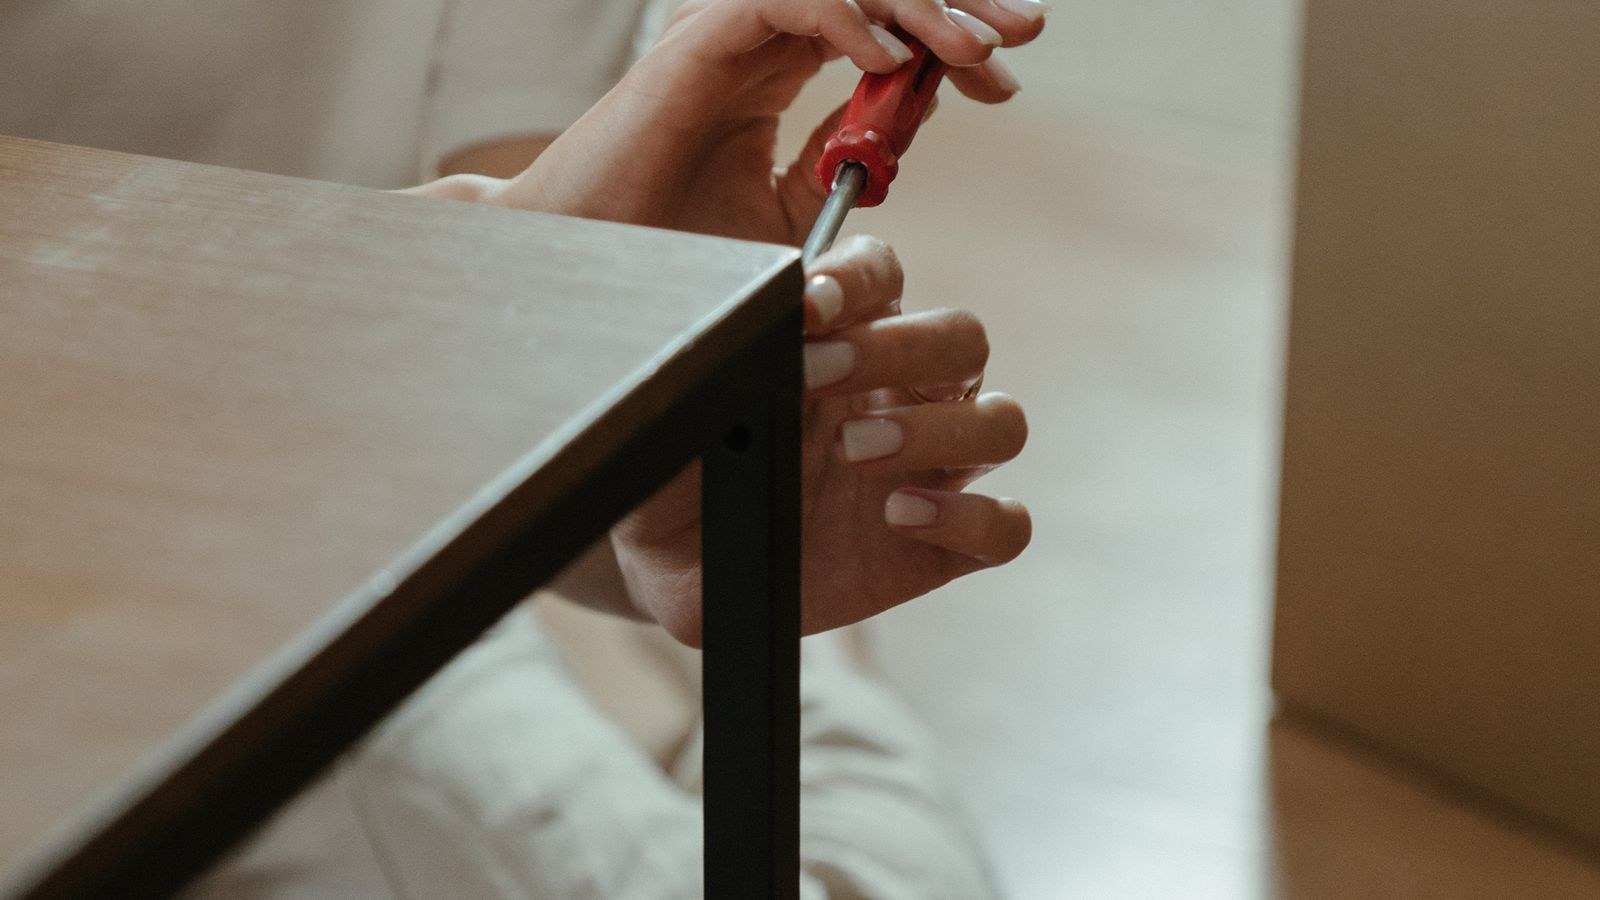
Rest the backrest against a wall or a sofa at roughly the right angle so it supports its own weight while you get the first bolt started. Once one bolt is finger-tight, the whole assembly stays put and your hands are free.
Bolt Holes That Refuse to Line Up
This is nearly always because another bolt has already been fully tightened, pulling the panel out of position. Back off the tight bolts by a turn or two and the parts will shift into alignment. Never force a bolt into a misaligned hole — you will cross-thread it and ruin the insert.
An Allen Key That Chews the Bolt Head
Cheap supplied keys round off hex sockets easily. Push the key fully into the head before applying force, keep it square rather than angled, and switch to a proper hex set for anything stiff. If a head is already rounded, a slightly oversized Torx bit tapped into the socket will usually grip well enough to remove it.
Safety Points Worth Taking Seriously
- Never disassemble a gas cylinder. It is a sealed pressurised unit. Do not drill it, cut it or apply heat under any circumstances.
- Do not hammer the cylinder into the mechanism. Your weight seats it correctly and safely; a mallet on the piston can damage the seal.
- Keep the small hardware away from children and pets. Bolts and plastic caps are choking hazards, and the plastic bags are a suffocation risk.
- Lift the seat assembly with your legs. A padded executive seat with armrests attached is heavier and more awkward than it looks.
- Test carefully before full use. Sit gently, then rock and swivel before committing your whole weight, so any missed fastener shows up while you are ready for it.
Setting the Chair Up Once It Is Built
Assembly is only half the job — a correctly built chair set to the wrong dimensions still hurts. Start with seat height: adjust so your feet rest flat on the floor with your knees at roughly ninety degrees and your thighs parallel to the ground. If your desk is too high to allow that, raise the seat anyway and add a footrest rather than dangling your feet.
Next set the seat depth if your chair has a slider, leaving two to three fingers of clearance between the front edge of the seat and the back of your knees. Position the lumbar support so it fills the natural inward curve of your lower back, then drop the armrests until your shoulders sit relaxed and your elbows rest at about ninety degrees without lifting. Finally, set the tilt tension so you can lean back with light pressure rather than fighting the spring, and leave the tilt unlocked for most of the day — gentle movement is better for your spine than being pinned upright.
Choosing a Chair That Is Easy to Build
Assembly difficulty varies enormously. Chairs with pre-attached mechanisms and moulded one-piece backs go together in fifteen minutes, while heavily bolstered gaming-style seats with separate side panels can take an hour. If you have not bought yet, the best office chairs and best desk chairs roundups note build complexity alongside comfort, and the best ergonomic office chairs guide covers the adjustment range that makes the setup step above actually possible. Shopping on a tighter budget? The best office chairs under 200 list highlights models that keep the part count low. If a standing desk is next on the list, the same principles apply — see the tutorial on how to assemble a standing desk frame yourself.
Frequently Asked Questions
How long does assembly take?
Between fifteen and forty-five minutes for most chairs working alone, depending on the number of separate panels and whether the mechanism arrives pre-fitted to the seat.
The gas cylinder feels loose in the base. Is that normal?
Yes, before it is loaded. The tapered joint only locks once weight compresses it. Sit on the chair and it will pull tight. If it still feels loose afterwards, the taper is dirty or the parts do not match.
Do I need to tighten the bolts again later?
Check them after the first couple of weeks and then every six months. Bolts settle as the chair flexes, and loose hardware is the leading cause of wobbles, creaks and uneven seats.
Can I reuse the box for storage?
Keep the box flat and the paperwork for the return window, then recycle it. Retain the spare hardware and the Allen key in a labelled bag — you will want them for future adjustments or when you move house.
Final Thoughts
Assembling an office chair by yourself comes down to sequence and patience. Fit the casters, drop in the cylinder the right way up, remember the shroud before it is too late, bolt the seat and back together with everything loose until it is aligned, then use your own weight to seat the final joint. Start every bolt by hand, tighten diagonally, and never force a fastener into a hole that does not line up. Follow that order and the chair will be built, square and quiet in well under an hour, ready for the adjustment session that turns a pile of parts into a seat you can actually work in all day.