Owen Bradley
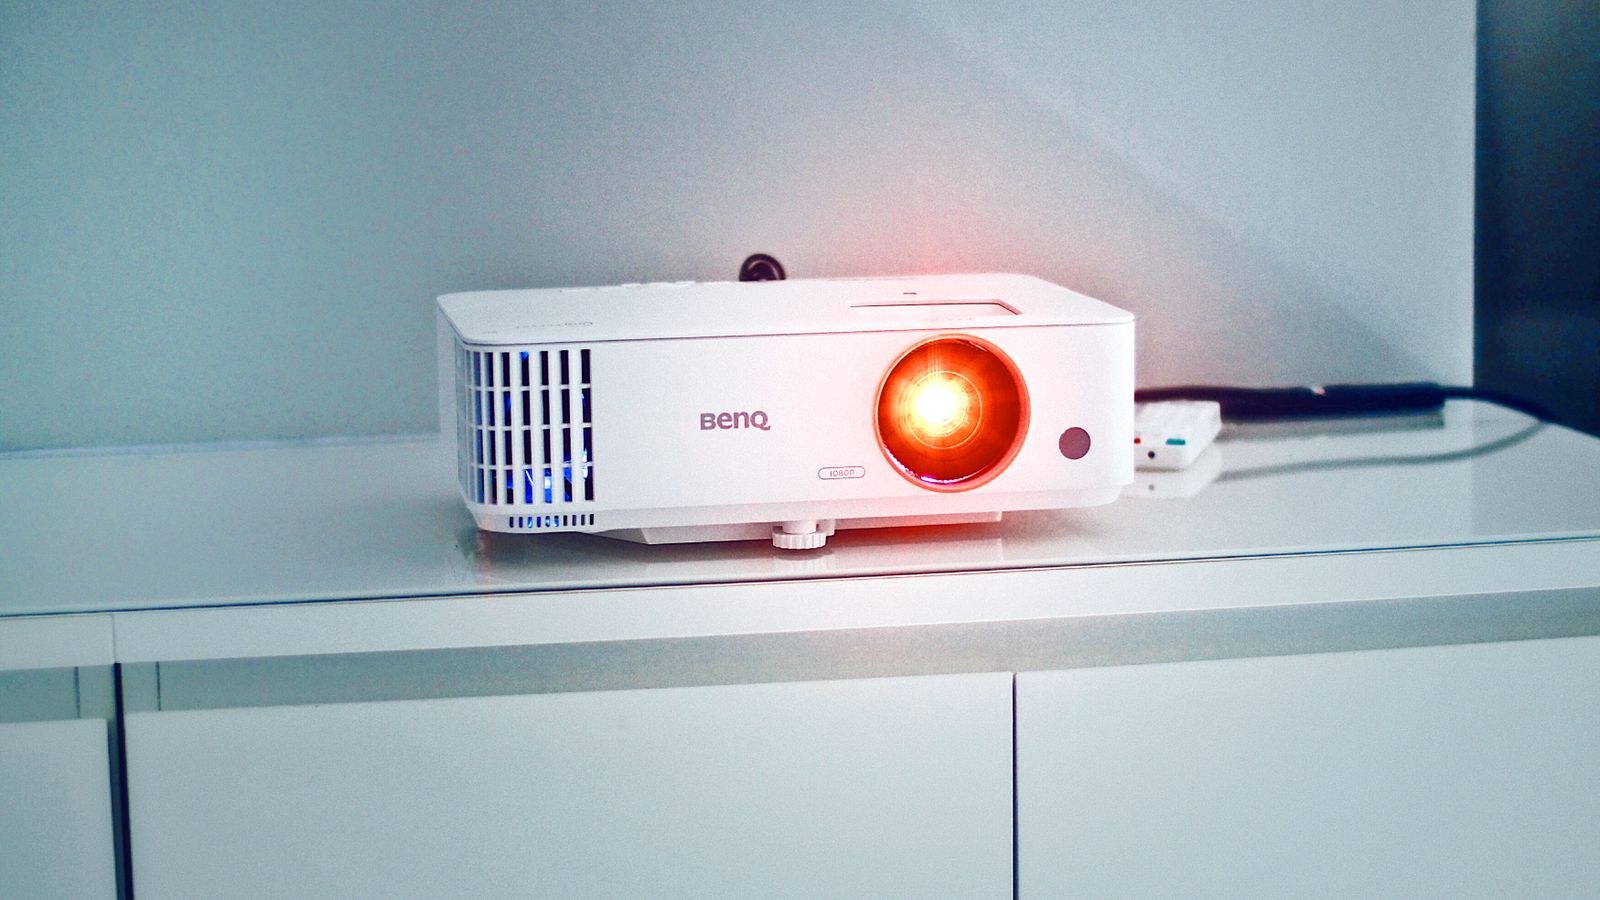
 A projector sitting on a coffee table is a temporary solution that never stops annoying you. Someone kicks it, the image tilts, and every movie night begins with ten minutes of realignment. Ceiling mounting solves all of that permanently, but only if you get three things right: the correct throw distance and lens offset for your screen, a mount anchored into real structure rather than drywall, and a cable path that carries video and power to the ceiling without a single wire dangling in view. This guide walks through the whole job in order, from measuring the room to hiding the last cable, so you end up with a clean ceiling, a perfectly square image, and no reason to touch the projector again for years.
Tools and Materials You Will Need
Gather everything before you climb a ladder. Stopping halfway through with a projector hanging from two of four bolts is how mistakes happen.
- Universal projector ceiling mount rated well above your projector’s weight, with a drop pole if your ceiling is high.
- Stud finder with deep-scan mode, plus a thin probe wire to confirm joist edges.
- Drill and driver with a set of wood bits, plus 1/4 inch lag bolts or the hardware supplied with the mount.
- Laser measure or tape, a long straightedge, and a spirit level.
- Fish tape or glow rod for pulling cable through wall and ceiling cavities.
- Drywall saw and two low-voltage mounting brackets for recessed cable plates.
- In-wall rated HDMI cable long enough for the full run plus 3 feet of slack at each end.
- Stepladder tall enough that you are never standing on the top step, and a second pair of hands.
Step 1: Work Out Throw Distance Before You Drill
Every projector has a throw ratio, printed in the manual as something like 1.4 to 2.2:1. Multiply that ratio by your desired screen width to get the distance from the lens to the screen surface. A 100 inch diagonal 16:9 screen is roughly 87 inches wide, so a 1.5:1 throw ratio puts the lens about 131 inches from the wall. If your projector has a zoom range, you get a window of acceptable positions rather than a single point, which gives you room to land the mount on a joist.
Step 2: Understand Lens Offset and Vertical Placement
This is the step most people get wrong. Home projectors have a vertical lens offset, meaning the image does not come out of the lens in a straight line but is projected upward or downward by a fixed percentage of image height. Ceiling mounted units are typically installed upside down, so an offset that normally throws the image up will now throw it down toward your screen. A 120 percent offset on a 49 inch tall image means the picture centre sits far below the lens centre line.
Practically, that means the lens usually needs to sit near or slightly above the top edge of the screen, not level with the middle of it. Check your manual’s placement diagram and calculate the exact figure. If your projector has vertical lens shift, you gain a few inches of adjustment either way, which is worth using to reach a joist instead of forcing a compromise.
Step 3: Find and Verify the Joist
- Run the stud finder across the ceiling perpendicular to the expected joist direction. In most homes joists run across the shorter span of the room at 16 or 24 inch centres.
- Mark both edges of the joist you find, then confirm the spacing by locating the neighbouring joists. Consistent 16 inch gaps confirm you have found real structure rather than a pipe or duct.
- Drill a small pilot hole at your intended centre point. Solid resistance and wood shavings on the bit confirm a joist. If the bit punches into empty space, patch the hole and shift your mark.
- If the ideal lens position lands between joists, use a mount plate that spans two joists, or add a length of timber blocking in the ceiling cavity from above if you have attic access.
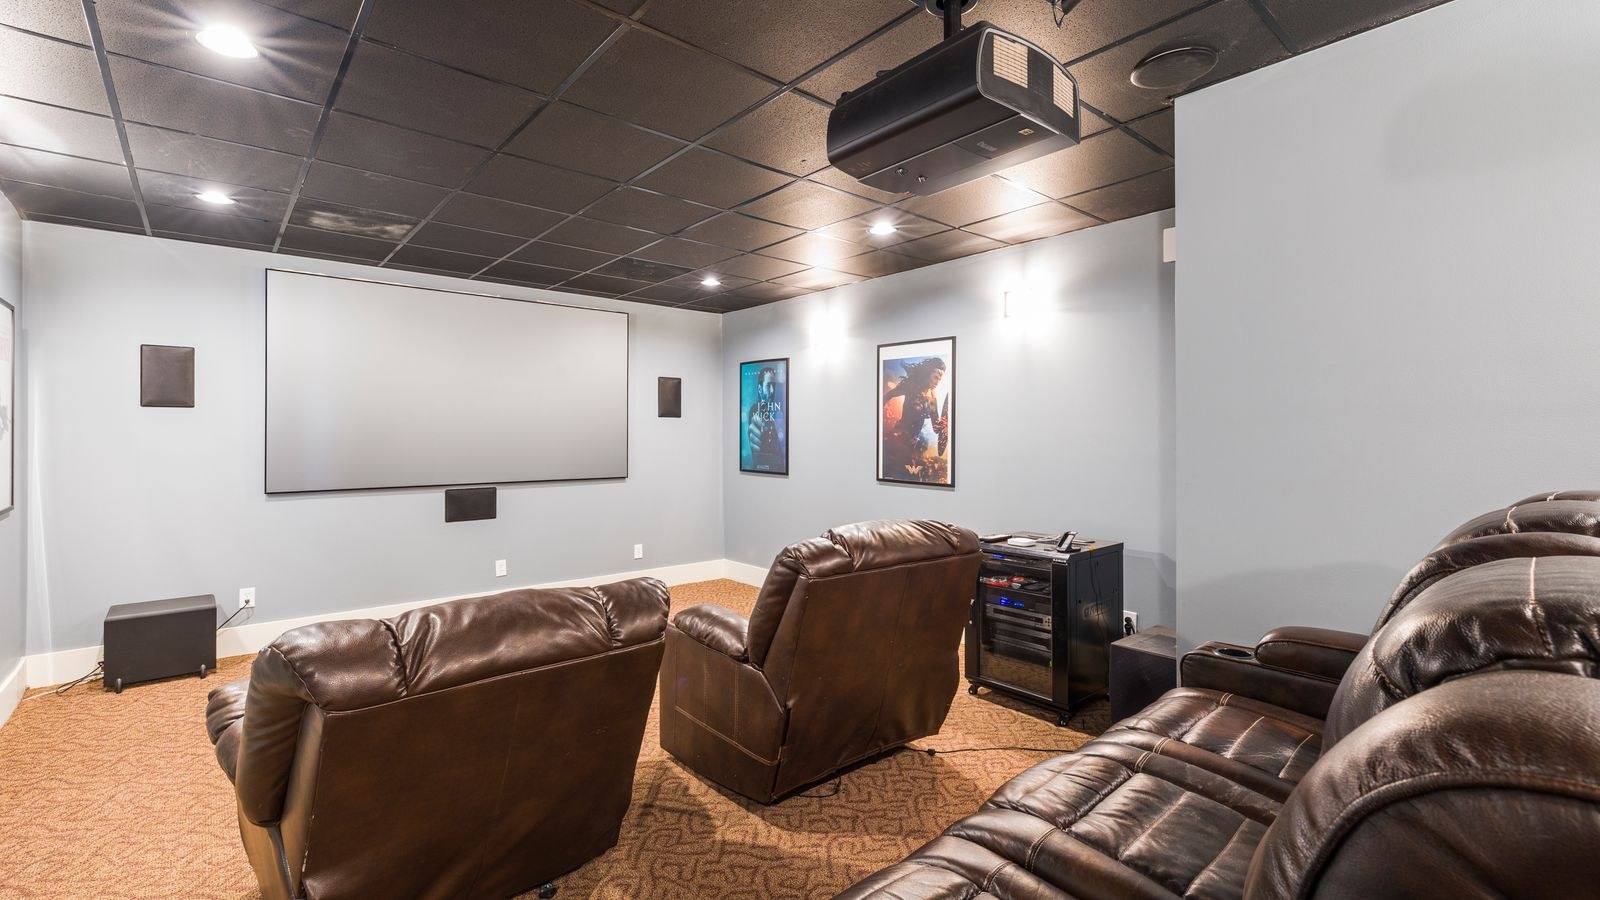
Step 4: Mount the Bracket and Hang the Projector
- Attach the projector-side spider arms to the threaded inserts on the base of the projector. Use the shortest screws that engage fully; over-length screws can bottom out against internal components.
- Fix the ceiling plate to the joist with lag bolts, drilling pilot holes first so you do not split the timber. Snug them evenly rather than fully tightening one at a time.
- Fit the drop pole if you need one, and orient the projector so the lens faces the screen and the connection panel faces the direction your cables will arrive from.
- With a helper supporting the weight, lift the projector and lock the spider arms into the ceiling plate. Do not release the unit until you hear or feel the locking collar seat.
- Leave every alignment screw finger-tight for now. You will square the image before the final tightening.
Step 5: Route the Cables Inside the Ceiling and Wall
Hidden wiring is what separates a professional-looking install from a projector with a snake of black cable trailing across the ceiling. The standard approach uses two recessed low-voltage plates: one in the ceiling beside the mount, one in the wall behind your equipment rack.
- Cut a bracket-sized opening in the ceiling within a few inches of the mount, staying inside a joist bay and clear of any wiring you found earlier.
- Cut a matching opening in the wall behind the media cabinet, at a height that lets your source devices reach it comfortably.
- Use a fish tape or glow rod to pull the in-wall rated HDMI cable up the wall cavity, across the joist bay, and out at the ceiling opening. Tape connectors tightly and lead with the smaller end.
- Fit the low-voltage brackets and pass-through plates, then connect the HDMI at both ends and leave a gentle service loop in the cavity so the cable is not under tension.
- Test the video signal before you close anything up. Chasing a bad cable after the plates are screwed on is miserable work.
Step 6: Handle Power the Right Way
Video cable can run freely inside a cavity; mains power cannot. Never run a projector’s factory power cord through a wall or ceiling as a hidden extension. The correct solution is to have a proper receptacle installed in the ceiling near the mount, so the projector plugs into a fixed outlet with a short cord. That is electrical work, and in most areas it belongs to a licensed electrician unless you are genuinely competent and permitted to do it yourself.
While you are planning circuits, think about the whole rack. Surge protection matters for a projector lamp or laser engine, and a well-placed set of outlets behind the cabinet removes the daisy-chained power strips that plague media walls. Our overview of the best power outlets covers surge-rated and USB-equipped options that suit a home theatre wall.
Step 7: Align the Image and Lock It Down
- Display the projector’s built-in test pattern or a full-white image so you can see the frame edges clearly.
- Adjust yaw first so the image is centred left to right, then pitch so the top and bottom edges are parallel with the screen, then roll so the image is not tilted.
- Use optical lens shift and zoom for the fine work. Only reach for digital keystone if you have exhausted the optics.
- Tighten each mount adjustment screw a little at a time in rotation, rechecking the image as you go, because tightening one axis often nudges another.
- Finish with focus, checking sharpness at the centre and at all four corners rather than the middle alone.
Sound: The Half of the Install People Forget
A ceiling projector is silent from the seating position only if the sound is coming from somewhere better than the projector’s tiny built-in driver. Since you already have the ceiling open and cable pulled, this is the cheapest moment you will ever have to add proper audio. Flush-mounted drivers keep the clean ceiling you just worked for, and our guide to the best ceiling speakers explains how to match them to room size and ceiling depth.
If you would rather build a conventional front stage with a centre channel below the screen, the best home theater speakers roundup groups options by room size and amplifier requirements. Either way, run the speaker cable while the cavities are open. Pulling wire later means opening the ceiling twice. Choose an appropriate gauge for your run length using our notes on the best wire for speakers, since long ceiling runs benefit from thicker conductors than a short bookshelf hookup.
Troubleshooting Common Problems
- Image is trapezoidal. The projector is not square to the screen. Fix it mechanically at the mount rather than digitally in the menu.
- Image sits too low or too high. Lens offset was miscalculated. Lens shift may recover it; otherwise the mount drop length needs changing.
- Corners soft while the centre is sharp. Usually a slight pitch error rather than a lens fault. Re-level and refocus.
- Intermittent signal dropouts. Long HDMI runs at high bandwidth can fail. Confirm the cable is certified for your resolution and frame rate, or fit an active or fibre HDMI cable.
- Washed out picture in daylight. Not a mounting fault. Ambient light is beating your brightness, which is a projector specification question covered in our list of the best projectors for light rooms.
Mistakes to Avoid
The most expensive mistake is drilling before measuring the offset, which leaves you with holes in the ceiling and an image that cannot be squared. The second is running mains cable inside a cavity to save the cost of an electrician. The third is choosing a mount rated at exactly your projector’s weight rather than well above it, leaving no margin for the leverage a drop pole applies.
Frequently Asked Questions
How high should the projector be mounted?
Determined by lens offset, not preference. For most ceiling-mounted home projectors the lens sits at or slightly above the top edge of the screen. Check your manual’s placement diagram and calculate from your actual screen height.
Do I need a special HDMI cable for a long run?
Yes. Use cable rated for in-wall installation, and for runs beyond roughly 25 feet at 4K, consider an active or fibre optic HDMI cable to avoid signal dropouts.
Final Thoughts
Ceiling mounting a projector is mostly a measuring job with a short burst of drilling in the middle. Calculate throw distance from your screen width, apply the vertical lens offset properly, land the mount on real structure, and pull video cable through the cavity with a service loop at each end while leaving mains power to a proper fixed outlet. Do those four things and the alignment step becomes a five minute adjustment rather than an evening of frustration. Take the opportunity to pull speaker cable at the same time, and by the time you close the ceiling in 2026 you will have a room where the picture is square, the sound is proper, and not one cable is visible from the sofa.