
 Owen Bradley
 Two homes can own identical spotlights and get completely different results, because aiming is the part of landscape lighting that nobody sells you. Beam angle, distance from the wall, tilt, and the height at which the light lands decide whether your house looks softly sculpted at night or looks like a used car lot. The physics is simple, and the adjustments are free. This guide covers how to aim landscape spotlights at your house so architecture reads clearly, textures come alive, and neither your neighbors nor your own living room windows suffer from glare when you switch everything on this 2026.
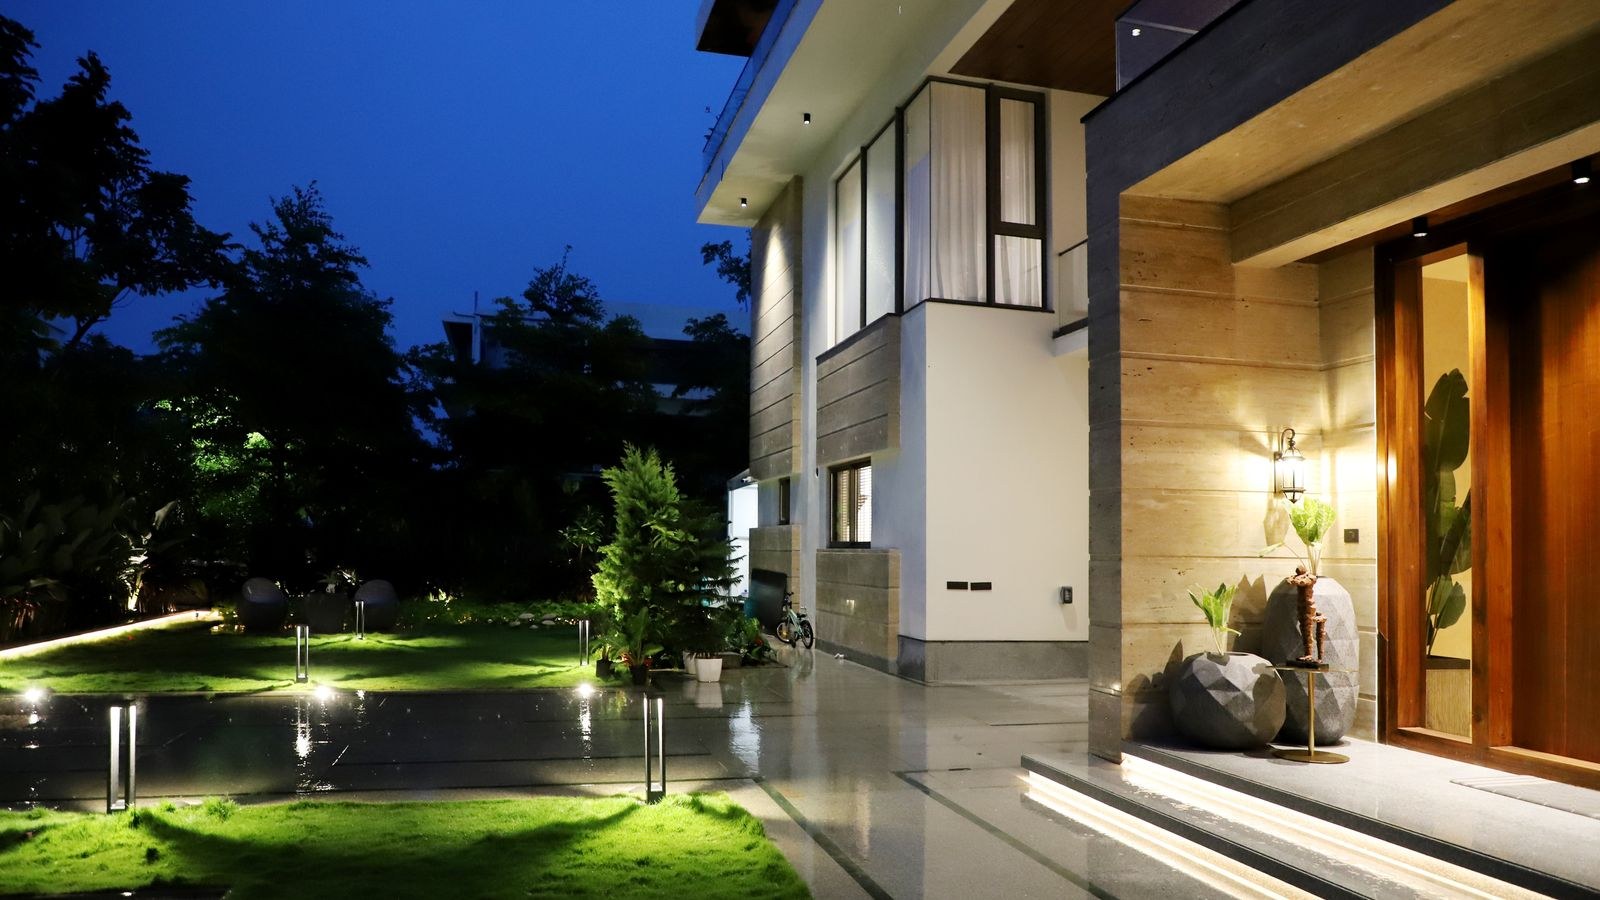
Understand What You Are Trying to Light
Before touching a fixture, decide what deserves attention. A house facade is not one surface; it is a collection of features with different values. Columns, gables, stone chimneys, entry doors, and specimen trees reward light. Blank stretches of siding, garage doors, and utility meters do not. Lighting everything equally flattens the whole elevation into a wall of brightness with no focal point.
Aim for contrast. A good night scene has bright accents, mid-tone washes, and genuine dark areas. That range is what makes the eye read depth. If your first instinct is to add another fixture, try instead removing one and re-aiming the rest.
Tools and Preparation
- An adjustable spotlight fixture with a knuckle or swivel joint that locks firmly.
- Beam angle options: narrow spot heads around 15 degrees and wide flood heads around 40 to 60 degrees.
- Glare shields, snoots, or hex louvers for fixtures aimed near sight lines.
- A helper to stand at the street while you adjust, or a phone on a tripod.
- A tape measure to set consistent setback distances.
- A headlamp so you can work hands-free after dark.
Do the aiming at night, with all other exterior lights off. Daylight aiming is guesswork, and porch lights or a bright street lamp will mislead you about how much output you actually need. Give your eyes ten minutes to adjust before you judge anything.
Step-by-Step: Aiming Spotlights at a House
- Turn everything on and walk the property first. Start from the sidewalk or driveway apron, the view most people actually see. Note which features disappear, which glare, and which pull attention they do not deserve. Take a photo from that spot as a baseline so you can compare later.
- Set the setback distance for each fixture. The distance from the wall controls how tall and wide the beam spreads. As a starting point, place a wall-wash fixture 12 to 24 inches out from the facade to graze texture, and 3 to 5 feet out to light a full wall evenly. Closer means a tighter, more dramatic cone; farther means a broader, softer wash.
- Match beam angle to the target’s shape. Use a narrow beam for tall, thin subjects such as columns, chimneys, and slender tree trunks. Use a wide flood for broad surfaces such as gable ends, garage walls, and hedges. Putting a narrow beam on a wide wall produces a spotlight circle; putting a flood on a column wastes most of the output on the siding beside it.
- Set the vertical tilt so light stops below the roofline. The most common aiming error is letting light spill past the eave into the sky. Tilt the head until the top of the beam lands just under the fascia or just below the gable peak. This single adjustment separates amateur installs from professional ones instantly.
- Overlap adjacent beams by about a third. When lighting a long wall with multiple fixtures, let each beam’s edge overlap its neighbor rather than butting them together. Overlap eliminates the scalloped dark gaps between pools of light and produces the even wash most facades want.
- Aim across the viewer’s line of sight, not toward it. Rotate fixtures so the beam travels away from where people stand or drive. Light aimed back at the street or toward a neighbor’s window creates glare that makes the whole scene look worse, no matter how good the fixture is.
- Hide the source. Tuck fixtures behind shrubs, in bed mulch, or in slight recesses so you see the effect and not the lamp. If the fixture cannot be hidden, add a glare shield or hex louver to cut the direct view of the diode while letting the beam through.
- Check the interior view. Walk inside and look out from the rooms you use at night. A spotlight that looks great from the curb can shine straight into a living room or bedroom window. Adjust tilt or add a shield until the fixture is invisible from every interior sight line.
- Balance brightness across the elevation. Step back to the street again and look for any single fixture that dominates. If one area reads noticeably hotter, either move it farther from the wall, swap to a wider beam that spreads the same output over more surface, or dim that zone if your system supports it.
- Lock every joint and re-check after a week. Tighten the knuckle firmly so wind, rain, and lawn maintenance do not shift the aim. Come back a week later at night; a surprising number of fixtures drift, and a two-minute correction keeps the scene looking intentional.
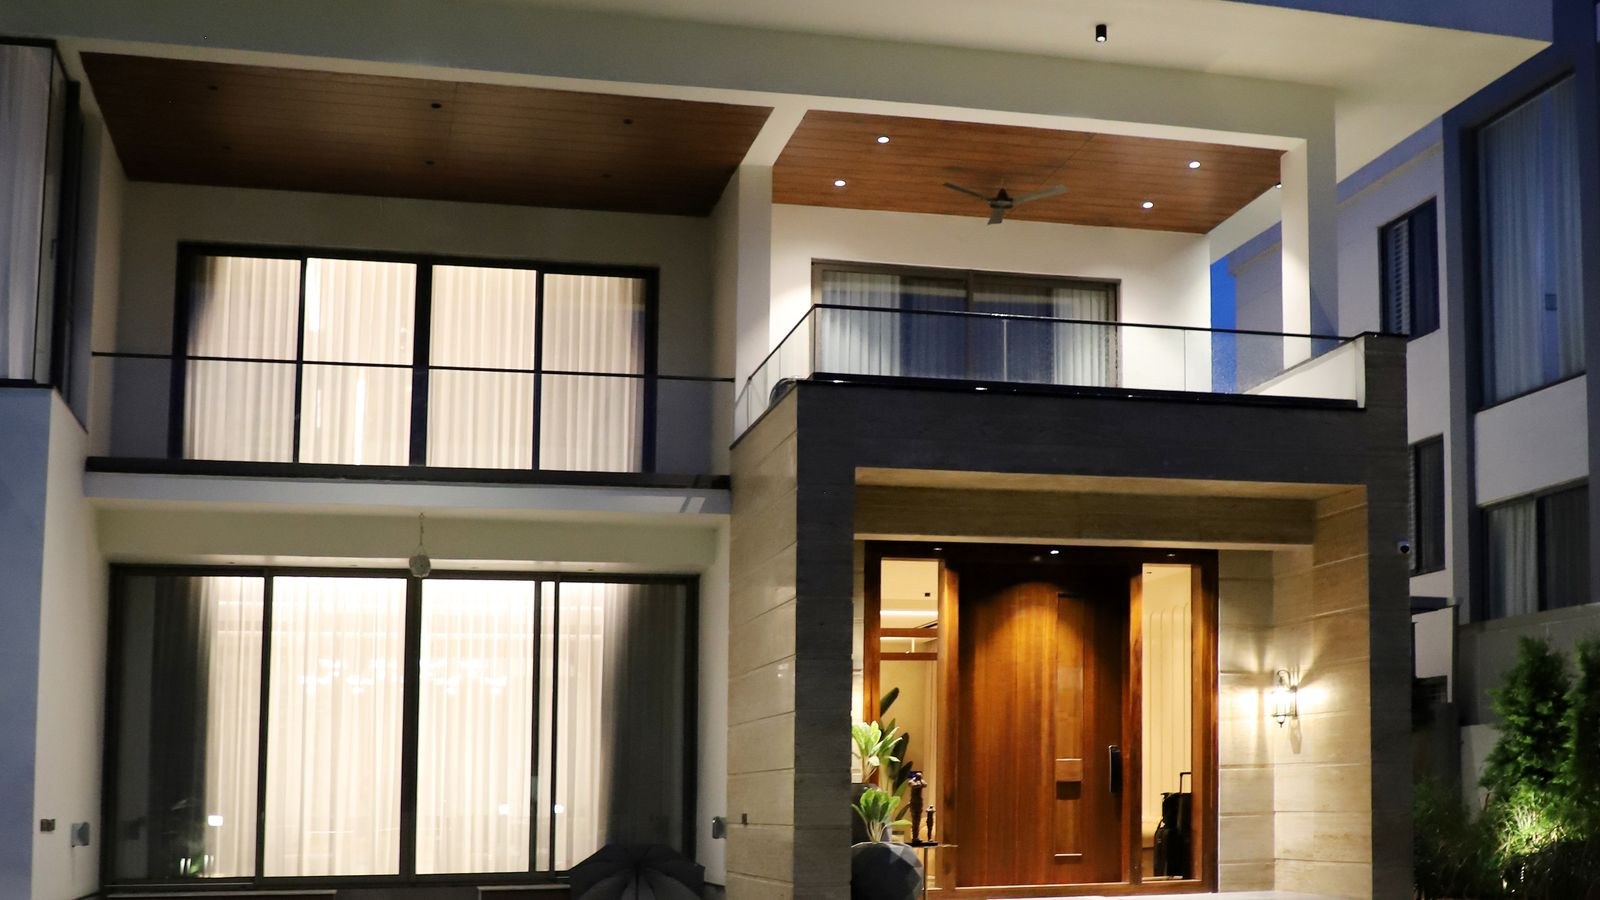
Wall Washing Versus Grazing
These two techniques cover most facade lighting, and choosing correctly matters more than fixture brand. Wall washing places the fixture farther from the surface and aims broadly, producing smooth, even illumination that flattens texture and emphasizes shape and color. It suits smooth stucco, flat siding, and painted surfaces you want to read as clean planes.
Grazing puts the fixture close to the wall and aims steeply upward, so light skims the surface at a shallow angle. Every bump casts a small shadow, which makes stone, brick, split-face block, and board-and-batten siding look dramatically textured. Graze a smooth wall and it looks streaky; wash a stone wall and it looks flat. Match the technique to the material.
Aiming for Specific Features
Columns and Pillars
Place a narrow-beam fixture 6 to 12 inches from the base, aimed straight up the shaft. On a covered porch, one fixture per column usually suffices. Keep the beam contained within the column width so you are not also lighting the ceiling above it.
Trees Near the House
Set two or three fixtures around the trunk at different distances, generally 2 to 4 feet out for a mature tree, and aim through the canopy rather than at it. The resulting light and shadow play on the facade behind the tree adds far more depth than a plain wall wash. Adjustable heads make this easy, which is why versatile landscape lighting fixtures with locking knuckles earn their keep.
Entry Doors and Address Numbers
The entry should be the brightest point on the elevation, because it is where the eye naturally seeks orientation. A modest wash from a low fixture on either side, or a downlight from the porch ceiling, gives welcoming light without the harsh shadows a single overhead source creates.
Gables and Peaks
Aim from farther back with a wide beam and tilt until light stops just below the peak. A gable lit all the way past the ridge into the sky reads as light pollution rather than architecture.
Working With Security and Flood Lighting
Accent spotlights and security lighting serve different jobs and should not be confused. Accent lights run at low output all evening to shape the house; security lighting delivers high output briefly on motion detection. Running a bright flood as a permanent accent produces glare and washes out every subtlety you worked to create.
If you want motion coverage over a driveway or side yard, use a dedicated fixture on its own control. Modern smart flood lights let you set separate schedules and trigger zones so security output never competes with the accent scene. For simple retrofits into existing eave cans, upgrading to LED flood light bulbs with a controlled beam angle cuts spill dramatically compared with older reflector lamps.
Where Solar Fixtures Fit
Solar fixtures rarely produce enough sustained output to uplight a two-story facade, but they are useful as low-level fill along beds and borders where running cable is impractical. Used that way, a set of solar yard lights adds a soft base layer that makes the wired accents read better by giving the eye something in the mid-tones.
Common Aiming Mistakes
Lighting the entire facade at equal brightness is the most frequent error, and it erases the depth that makes night lighting appealing. Letting beams overshoot the roofline into the sky is second, wasting light and annoying neighbors. Aiming toward the street produces glare that dominates the view from the one place people look from most.
Two subtler mistakes matter as well. Using the same beam angle everywhere means some targets get overlit and others underlit. And aiming in daylight, then never checking at night, leaves fixtures pointed at nothing in particular. All of these are corrected with a screwdriver and twenty minutes after dark.
Frequently Asked Questions
How far from the wall should I place a spotlight?
About 12 to 24 inches to graze texture, and roughly 3 to 5 feet to wash a wall evenly. Move the fixture and watch the beam rather than relying on a single fixed number.
How many spotlights does a house facade need?
Fewer than most people install. Light the features that deserve attention and leave gaps dark. A typical front elevation looks best with a handful of well-aimed fixtures rather than a continuous row.
What beam angle should I choose?
Narrow beams near 15 degrees for columns, chimneys, and tall trunks; wide beams of 40 to 60 degrees for broad walls and gables. Match the beam shape to the target’s shape.
How do I stop spotlights from shining into windows?
Lower the tilt so the beam stops below the sill, add a glare shield or hex louver, or move the fixture so the beam travels across the window plane instead of toward it. Always verify from inside.
Final Thoughts
Aiming is where an ordinary lighting kit becomes a designed night scene. Choose a few features worth highlighting, set the setback distance to control spread, match the beam angle to the shape of the target, and tilt until light stops just under the roofline. Overlap adjacent beams, hide every source, and check the result from the street and from inside the house. Then lock the joints and revisit in a week. Spend that hour after dark and the same fixtures you already own will make your home look considerably better than a yard full of poorly aimed hardware ever could.









