
 Owen Bradley
 A budget gaming PC under $800 is one of the best value propositions in computing right now, provided you spend the money in the right proportions. At this level there is no room for a part that does not earn its place, so every decision matters: which component gets the largest share, where a cheaper option costs you nothing in real gameplay, and which corners quietly ruin the build if you cut them. This guide lays out a part-by-part spend plan, walks through the assembly, and explains the reasoning behind each trade-off so you can adapt it as prices shift rather than following a fixed list.
Set the Performance Target First
Before allocating a single pound, decide what the machine has to achieve. A build aimed at high frame rates in competitive shooters at 1080p is a completely different allocation from one aimed at maximum settings in single-player titles at 1440p. Both are achievable near this budget, but not simultaneously.
For most builders at this level the sensible target is 1080p at high settings with frame rates comfortably above 60, with headroom to drop a few settings and chase higher refresh rates in lighter titles. Aiming at 1440p is possible but forces compromises elsewhere that usually are not worth it. Pick the target, then check every purchase against it. The question is never “is this part good” but “does this part move me toward my target better than the alternative at the same price”.
The Spend Plan
Here is a workable allocation. Treat the percentages as guidance rather than gospel, since sales on any single component shift the maths.
- Graphics card, roughly 35 to 40 percent. This is the part that determines your frame rate more than any other, so it gets the largest slice.
- Processor, roughly 20 percent. Enough to avoid bottlenecking the card without paying for cores that games will not use.
- Motherboard, roughly 12 percent. A solid entry chipset with the connectivity you need and a clear upgrade path.
- Memory, roughly 10 percent. A matched dual-channel kit, never a single stick.
- Storage, roughly 10 percent. One NVMe drive with enough capacity for the operating system and a real game library.
- Power supply, roughly 8 percent. Reputable, correctly sized, and never the cheapest available.
- Case, the remainder. Airflow first, appearance second.
Notice that the graphics card and processor together take well over half the budget. That is intentional, because they set the performance ceiling and are the parts you cannot compensate for later without replacing them outright.
Choosing Each Part
Graphics Card
At this budget you are looking at the entry to lower-mid tier of the current generation, or a well-priced card from the previous one. Prioritise video memory capacity alongside raw speed, since 8GB has become the practical minimum for modern titles at high texture settings and cards below that will force compromises sooner than the core itself would. Check independent benchmarks at 1080p specifically rather than trusting tier names across generations. The best GPUs under 300 roundup covers the cards that consistently deliver the most frames per pound at this level.
Processor
Six cores is the sweet spot for a build in this range, with strong single-core performance mattering more than a high core count for gaming specifically. Do not pair a budget card with an expensive processor: the card will run out of headroom long before the chip does. Equally, do not go too cheap, because a weak processor causes stuttering and poor minimum frame rates that a fast card cannot hide. Look at the best CPUs under 200 for chips that pair sensibly with mid-tier cards. If the chip includes a competent stock cooler, take it and save the money for elsewhere.
Motherboard
The board is the easiest place to overspend on features you will never use. What you actually need is the correct socket, a chipset that supports the memory speed you intend to run, at least one M.2 slot, enough rear ports for your peripherals, and power delivery adequate for your chosen processor. What you do not need is elaborate heatsinking, high-end audio, or extra network hardware. Pick a platform with a future upgrade path so a processor swap in a few years does not require a whole new board. The best motherboards under 150 selection covers boards that hit those requirements without padding.
Memory and Storage
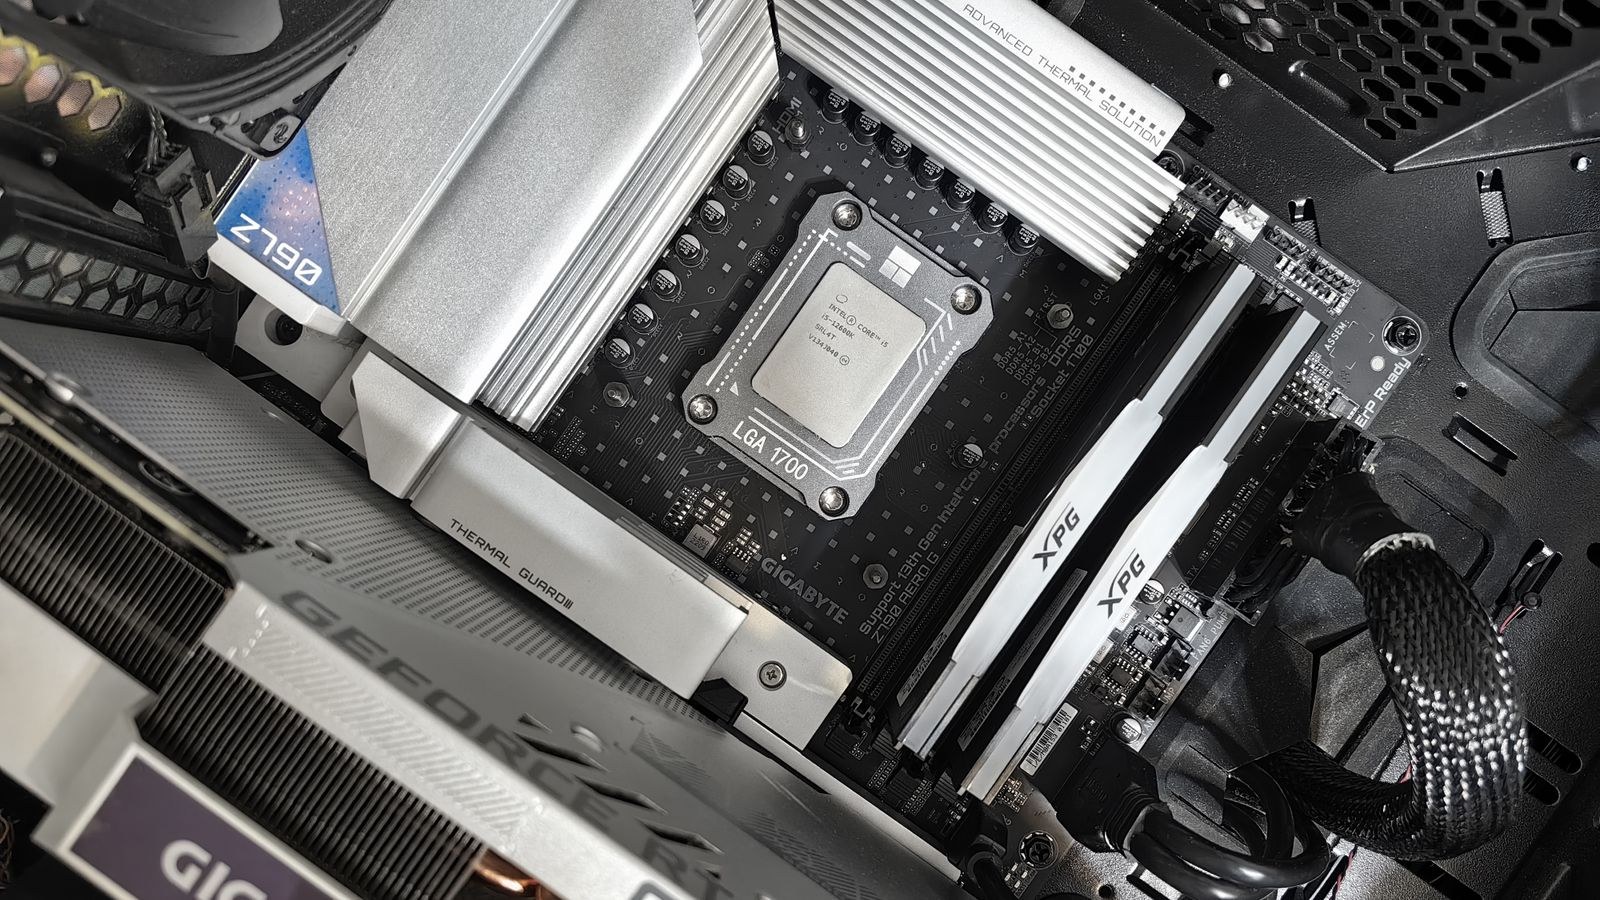
Buy 16GB as a matched pair, running in dual channel. A single 16GB stick costs about the same and performs measurably worse, so there is no argument for it beyond leaving a slot free. Chase a sensible speed for your platform rather than the fastest kit available, since returns diminish sharply and budget boards may not sustain aggressive profiles.
For storage, one NVMe drive of at least 1TB is the practical choice. Modern games are enormous, and a 500GB drive fills within a handful of installs, leaving you managing space instead of playing. Skip mechanical drives entirely unless you already own one, since the loading time difference is one of the most noticeable upgrades in day-to-day use.
Power Supply and Case
The power supply is the one part where cutting cost creates genuine risk. A poor unit can fail under load and take other components with it. Buy from a reputable maker, choose a wattage with real headroom above your card’s recommendation to cope with transient spikes, and prefer an efficiency rating that reflects decent internals. The best PSUs under 100 list covers units that meet that bar without paying for capacity you will not use.
For the case, airflow matters far more than looks. A mesh front panel with two intake fans included will keep temperatures lower and clocks higher than a sealed glass front at the same price. Check that it fits your card’s length and cooler’s height before ordering. The best PC cases under 100 selection favours chassis that breathe well and include usable fans out of the box.
Step-by-Step Build Process
- Prepare the space. Clear a large table, keep the board on its box, ground yourself against bare metal, and open each part’s manual before starting.
- Install the processor. Match the alignment triangle on the chip to the socket marking, lower it in without pressure, and close the retention mechanism firmly. It will feel like more force than expected, which is normal.
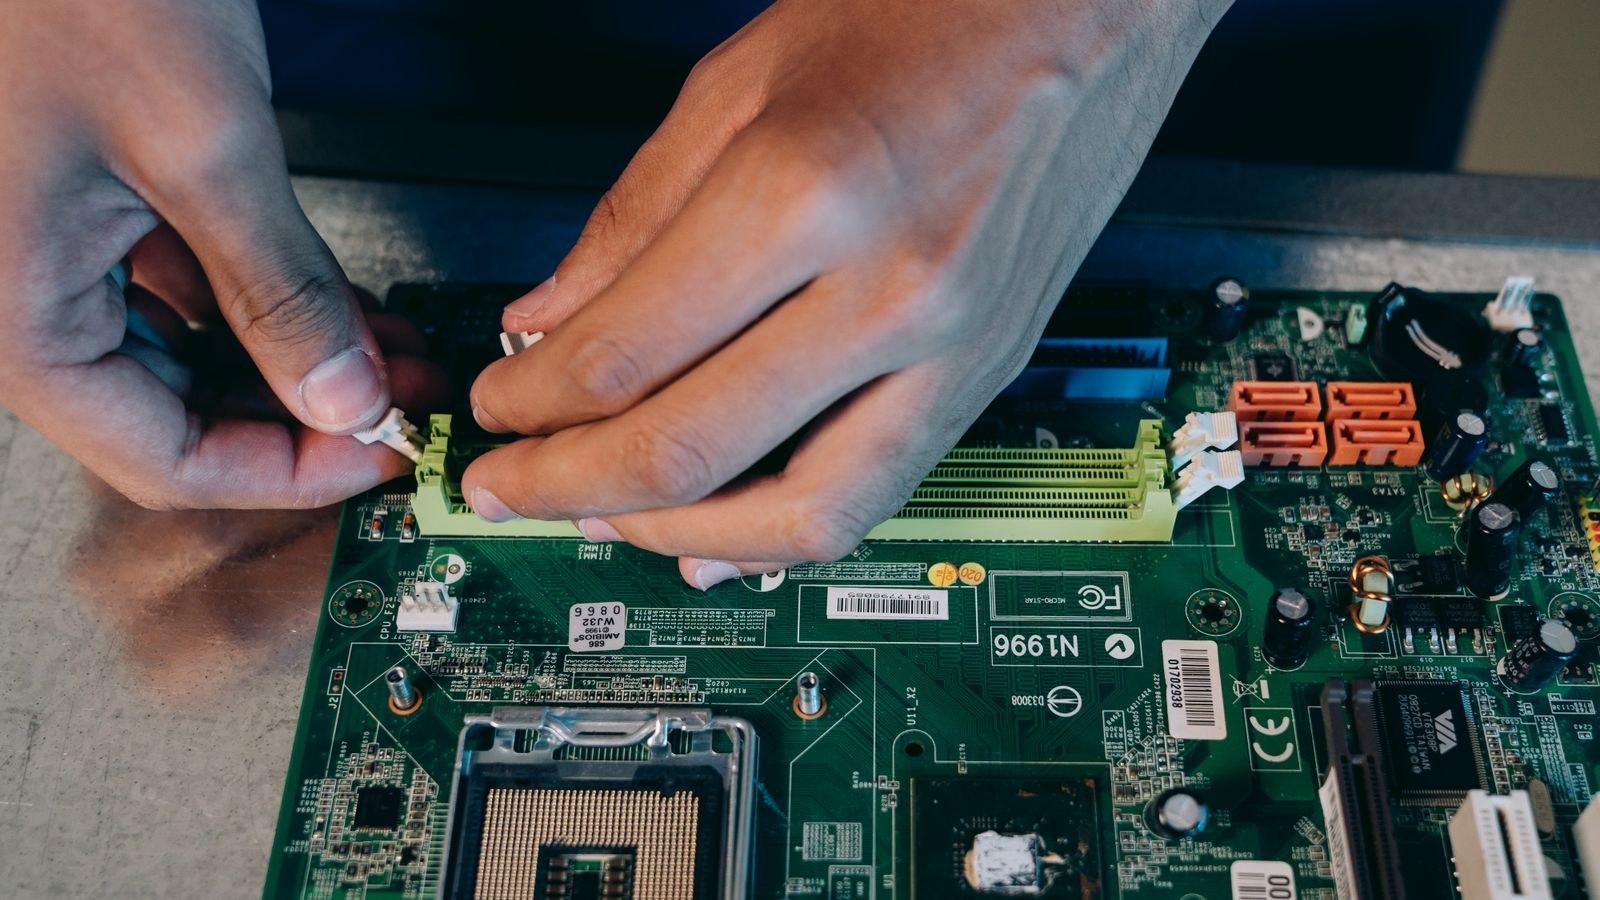
- Fit the memory. Check the manual for the correct pair of slots, then press each stick down evenly until both retention clips click upright by themselves.
- Install the NVMe drive. Slide it into the M.2 slot at a slight angle, press it flat, and secure it with the retention screw or latch before the cooler and card block access.
- Mount the CPU cooler. Apply thermal paste if none is pre-applied, then tighten the mounting screws diagonally a few turns at a time so pressure stays even across the chip.
- Install the board in the case. Fit the rear panel shield, confirm standoff positions match your board size, and tighten the screws snugly without forcing them.
- Install the power supply and route cables. Fit the unit with its fan facing an unrestricted vent, then run the main board, processor and PCIe cables behind the tray before plugging anything in.
- Install the graphics card. Release the slot latch, seat the card until it clicks, secure the bracket, and connect its power cables fully so the clips engage.
- Connect front panel headers. Follow the manual diagram for power switch, reset, USB and audio. This is the fiddliest part of any build, so use good light and take your time.
- First boot. With the side panel off, power on and check that fans spin and the board posts. Enter firmware, confirm memory and storage are recognised, enable the memory profile, and set a fan curve.
- Install the operating system and drivers. Install to the NVMe drive, then add chipset and graphics drivers directly from the manufacturers before anything else.
- Validate under load. Run a demanding game for half an hour while monitoring temperatures and clocks. Confirm nothing is throttling, then close the case.
Corners You Can Safely Cut
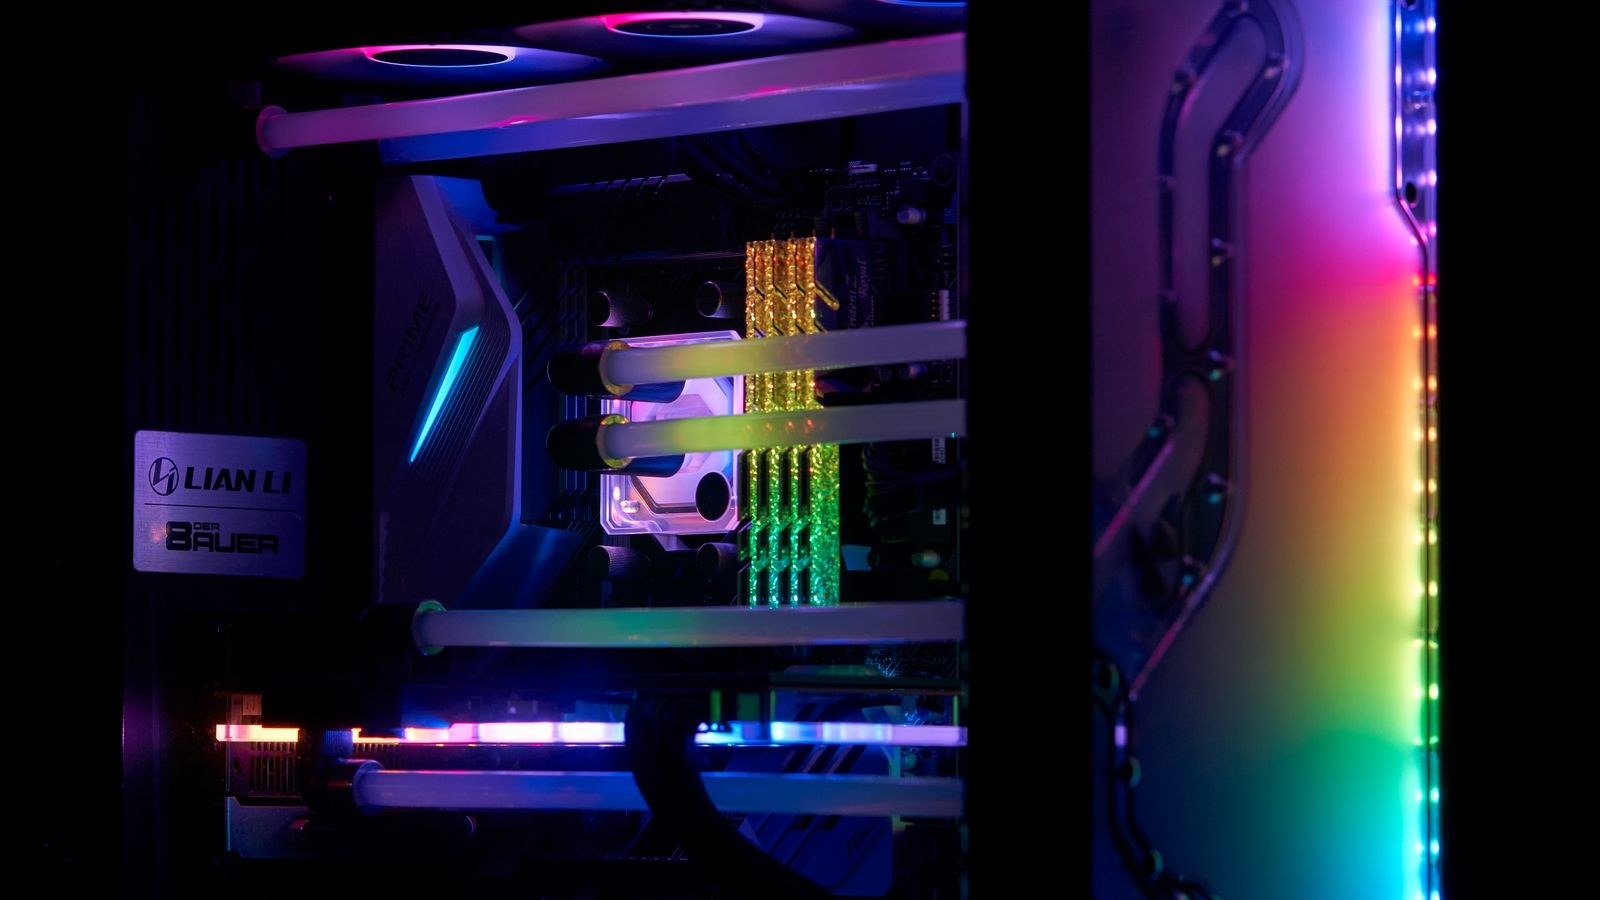
Several savings cost you nothing measurable. The stock cooler included with many budget processors is perfectly adequate for stock operation. Cheap case fans move air well enough for a build at this power level. Elaborate RGB lighting, tempered glass panels, and premium cable extensions are purely cosmetic. A basic board with fewer USB ports is fine if you count your peripherals honestly. Skipping a second storage drive at launch is sensible, since adding one later is trivial.
Corners That Will Cost You
Other savings come back to bite. A no-name power supply risks the entire build. A single memory stick sacrifices real performance for no saving. A 500GB drive forces constant uninstalling. A sealed-front case throttles your components on warm days. And buying a card with too little video memory means dropping texture settings in new releases within a year or two, which is precisely the visual quality most people notice first.
Frequently Asked Questions
Can a build at this price play modern games well?
Yes, at 1080p with high settings in most titles. You will adjust a few settings in the most demanding releases, but the experience is genuinely good rather than a compromise.
Should I buy a prebuilt instead?
Prebuilts sometimes win on component pricing but usually cut costs on the power supply, case airflow, and storage capacity. Building gives you control over exactly those parts.
Is a used graphics card a good idea?
It can stretch the budget significantly, but inspect it carefully, test it thoroughly on arrival, and factor in the lack of warranty when comparing against a new card.
How much does the case really matter?
More than most builders expect. A restrictive case can cost several degrees, and those degrees translate into lower sustained clock speeds during long sessions.
What should I upgrade first later on?
The graphics card, almost always. After that, memory capacity if you multitask heavily, then additional storage as your library grows.
Final Thoughts
Building well under $800 is about discipline rather than sacrifice. Set a clear performance target, weight the budget toward the graphics card and processor, refuse to economise on the power supply, memory configuration, or case airflow, and take the savings from features that are purely decorative. Assemble carefully, validate under real load, and you end up with a machine that plays everything at 1080p, stays quiet and cool, and has an obvious upgrade path when it eventually needs one. That is a far better outcome than a flashier build that runs hot and stutters where it counts.









