Owen Bradley
 Discovering that a bedroom, basement or converted loft has no smoke alarm is common in older homes, and the obvious solution feels expensive: cut open the ceiling, fish cable back to a junction box, patch and repaint. In practice, you almost never have to do that. Modern wireless interconnect and sealed ten-year battery alarms let you add full coverage to a finished ceiling with a drill, two screws and about twenty minutes of work per room. The important part is not the mounting, which is trivial, but choosing the right position and making sure the new alarm actually talks to the ones already installed. This guide covers both.
Where Code Says the Alarm Should Go
Placement rules are consistent across most residential codes and they exist because smoke behaves predictably. Fit an alarm inside every sleeping room, in the hallway or landing immediately outside each sleeping area, and on every storey of the home including basements and finished attics. A split-level home usually needs one on each level.
Within the room, the ceiling is the preferred surface because hot smoke rises and spreads across it. Mount the unit at least 4 inches from any wall, since air movement stalls in the corner where wall meets ceiling and creates a dead pocket. On a wall-mounted installation, keep the top of the alarm between 4 and 12 inches below the ceiling for the same reason. On a sloped or cathedral ceiling, place the alarm within 3 feet of the peak measured horizontally, but not in the apex itself where a similar dead space forms.
Where Not to Put It
Keep alarms at least 10 feet from a cooking appliance to avoid nuisance alarms from toast and frying, and at least 3 feet from a bathroom door where steam escapes. Avoid positions directly in front of HVAC supply registers or ceiling fan blades, because forced air can push smoke away from the sensor. Do not mount in unconditioned garages or damp crawl spaces unless the unit is specifically rated for that environment, and avoid locations above 100F or below 40F. Our smoke and CO detector coverage guide maps out room-by-room placement including the extra rules that apply to carbon monoxide alarms near fuel-burning appliances.
Choosing an Approach for a Finished Ceiling
You have three realistic options and the choice depends on what is already installed.
- Sealed battery alarm, standalone. Simplest possible install. Two screws into the ceiling, done. Suitable when the home has no interconnected system and you only need coverage in one or two rooms.
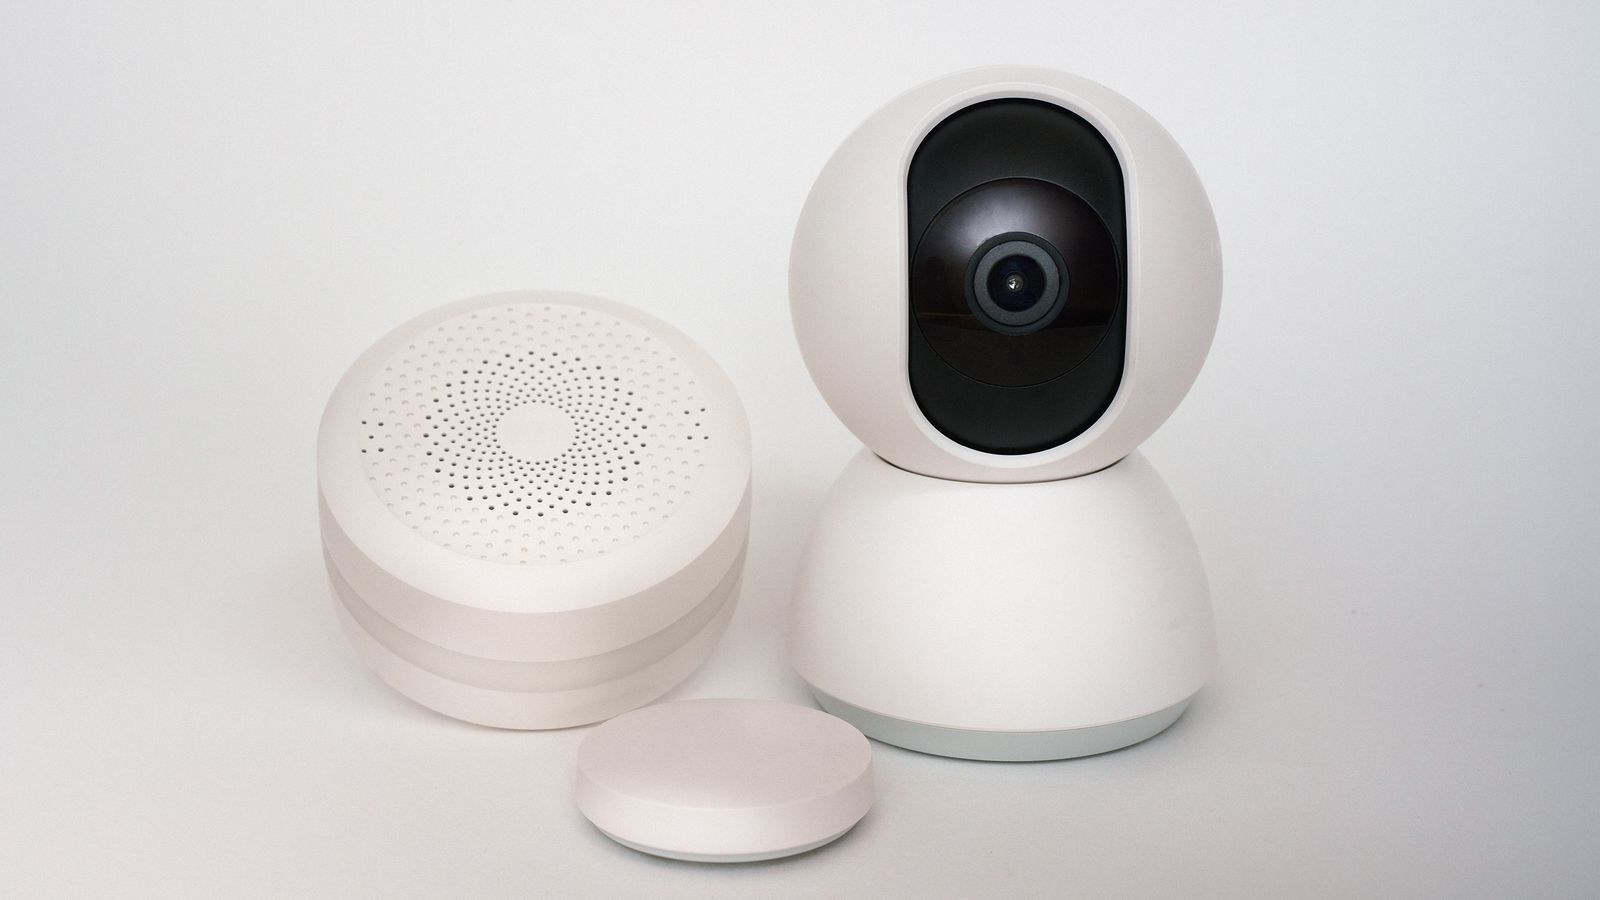
- Wireless interconnected battery alarm. The best answer for most retrofits. The new unit pairs by radio with others in the same family, so when one detects smoke every alarm in the house sounds. No cable, no drywall damage.
- Hardwired with a wireless bridge. If the home already has a hardwired interconnected loop and you want the new room on it, a compatible wireless-enabled unit can bridge the two. One bridging alarm replaces an existing hardwired unit and relays to the new wireless ones.
Whole-house sounding is worth the modest extra cost. An alarm that only sounds in the room where the fire starts is much less useful at night with doors closed. Comparing the best wireless interconnected smoke detectors is the right starting point for a retrofit, while the best battery smoke alarms list covers sealed ten-year standalone units for simpler cases.
Tools and Materials
- The alarm and its mounting bracket, with screws and drywall anchors
- Cordless drill with a small pilot bit and a driver bit
- Stud finder, ideally one that also detects live wiring
- Tape measure and pencil
- Step ladder rated for your weight
- Safety glasses, because ceiling drilling drops dust straight into your eyes
- A vacuum or damp cloth for the dust that will land on the floor
Step-by-Step Installation
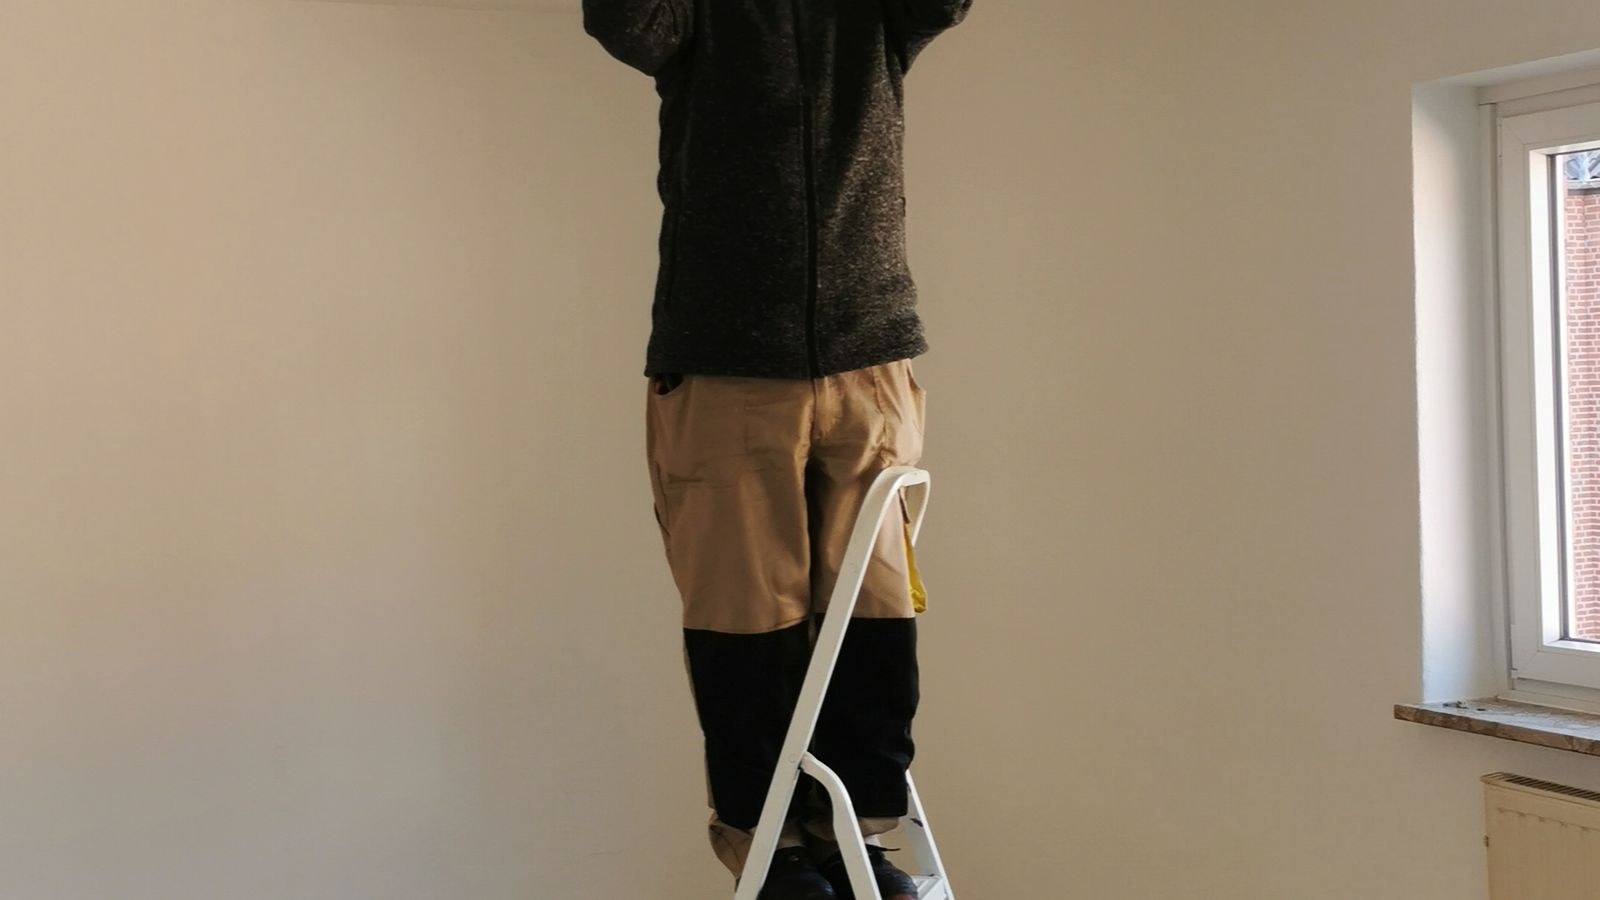
- Mark the position. Measure at least 4 inches in from every wall, and check the spot is clear of registers, fans and light fittings. On a sloped ceiling, measure within 3 feet of the peak horizontally. Pencil a small cross.
- Scan before you drill. Run the stud finder over the area to check for joists, cables and pipes. Ceilings often carry wiring for lights running perpendicular to the joists, and hitting one is the only genuinely dangerous mistake in this job.
- Adjust the position if needed. Fixing directly into a joist gives the strongest mount and avoids any chance of catching a cable. Shifting the alarm a few inches to land on a joist is always acceptable as long as you stay within the placement rules.
- Hold the bracket and mark the screw holes. Offer the mounting plate up to the ceiling, level it by eye, and mark through both fixing holes.
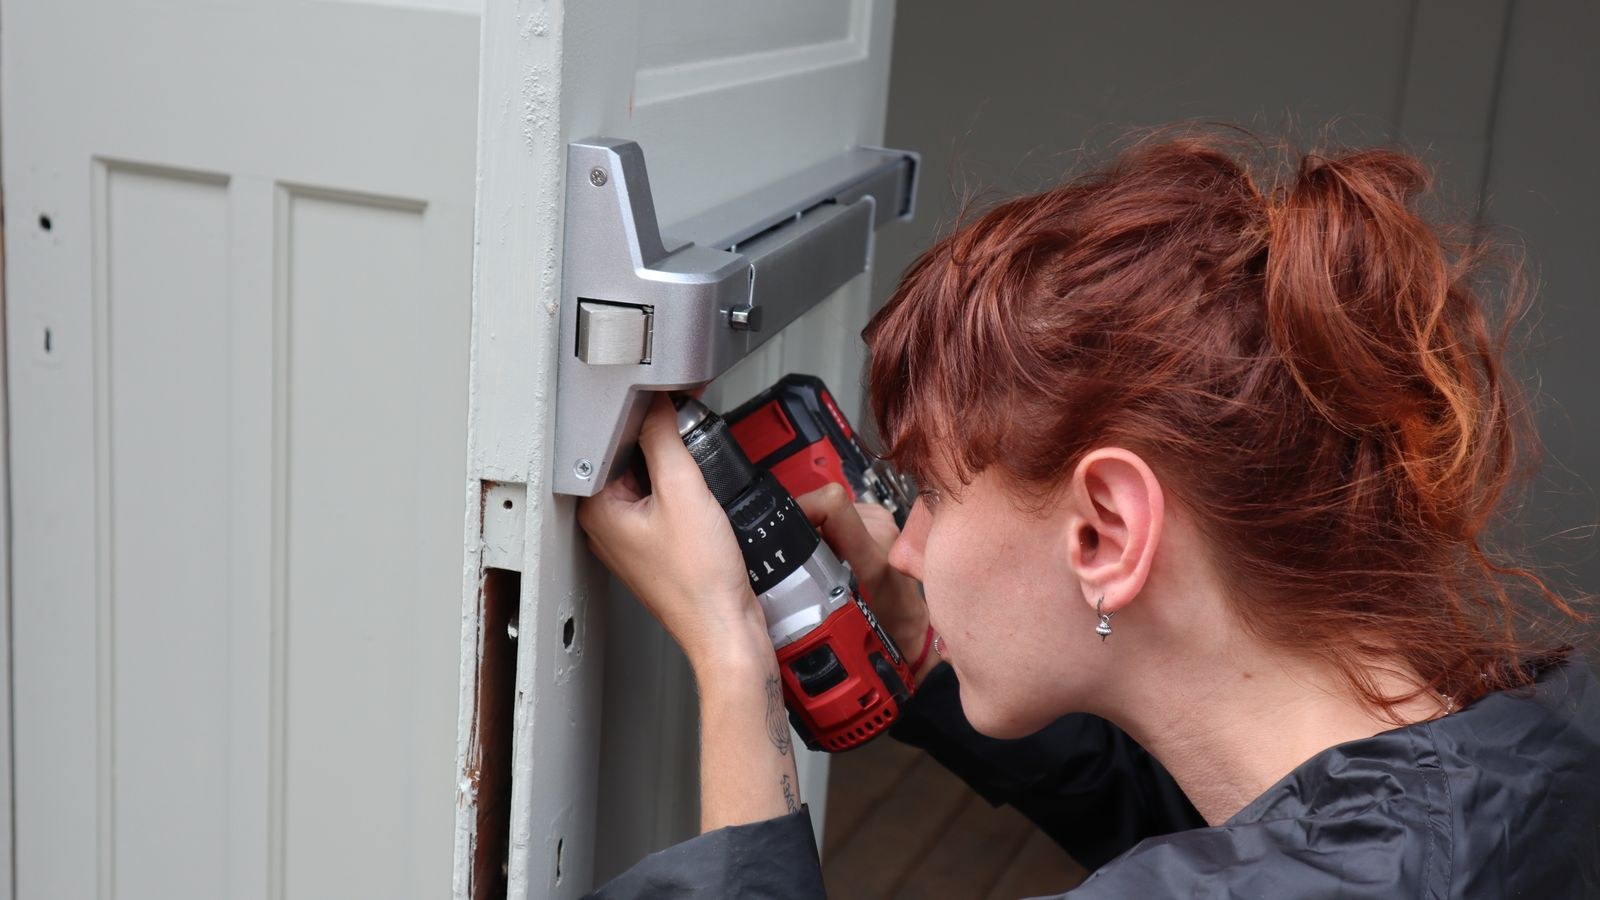
- Drill pilot holes. Use a bit sized for your anchors, or a smaller pilot if driving straight into a joist. Wear the safety glasses and keep the drill perpendicular to the ceiling.
- Insert anchors if you are in plasterboard. Push or screw the anchors flush. Toggle-style anchors hold far better than simple plastic plugs in a ceiling, where the load pulls straight out.
- Screw the mounting plate on. Tighten until snug. Overtightening crushes the plasterboard and leaves the plate loose, so stop as soon as it stops turning easily.
- Activate the battery. Pull the isolation tab on a sealed unit, or fit a fresh cell in a replaceable model and close the compartment until it clicks. Many alarms will not lock onto the base with the battery door open, which is a deliberate safeguard.
- Pair the wireless interconnect. Follow the manufacturer’s sequence, typically holding a learn or test button on an existing unit until it beeps, then doing the same on the new one within the pairing window. Every unit in the group must be paired to the same network.
- Mount the alarm to the base. Align the tabs and twist clockwise until it locks. Give it a gentle tug to confirm it is properly seated.
- Test the new alarm alone. Hold the test button until the horn sounds fully. This confirms the unit and battery are healthy.
- Test the interconnect. Hold the test button on the new alarm and confirm every other alarm in the house sounds within about ten seconds. Then test from a different unit to confirm the link works in both directions.
- Write the install date on the housing. A marker on the side saves you guessing in ten years when the label is against the ceiling.
Special Ceiling Situations
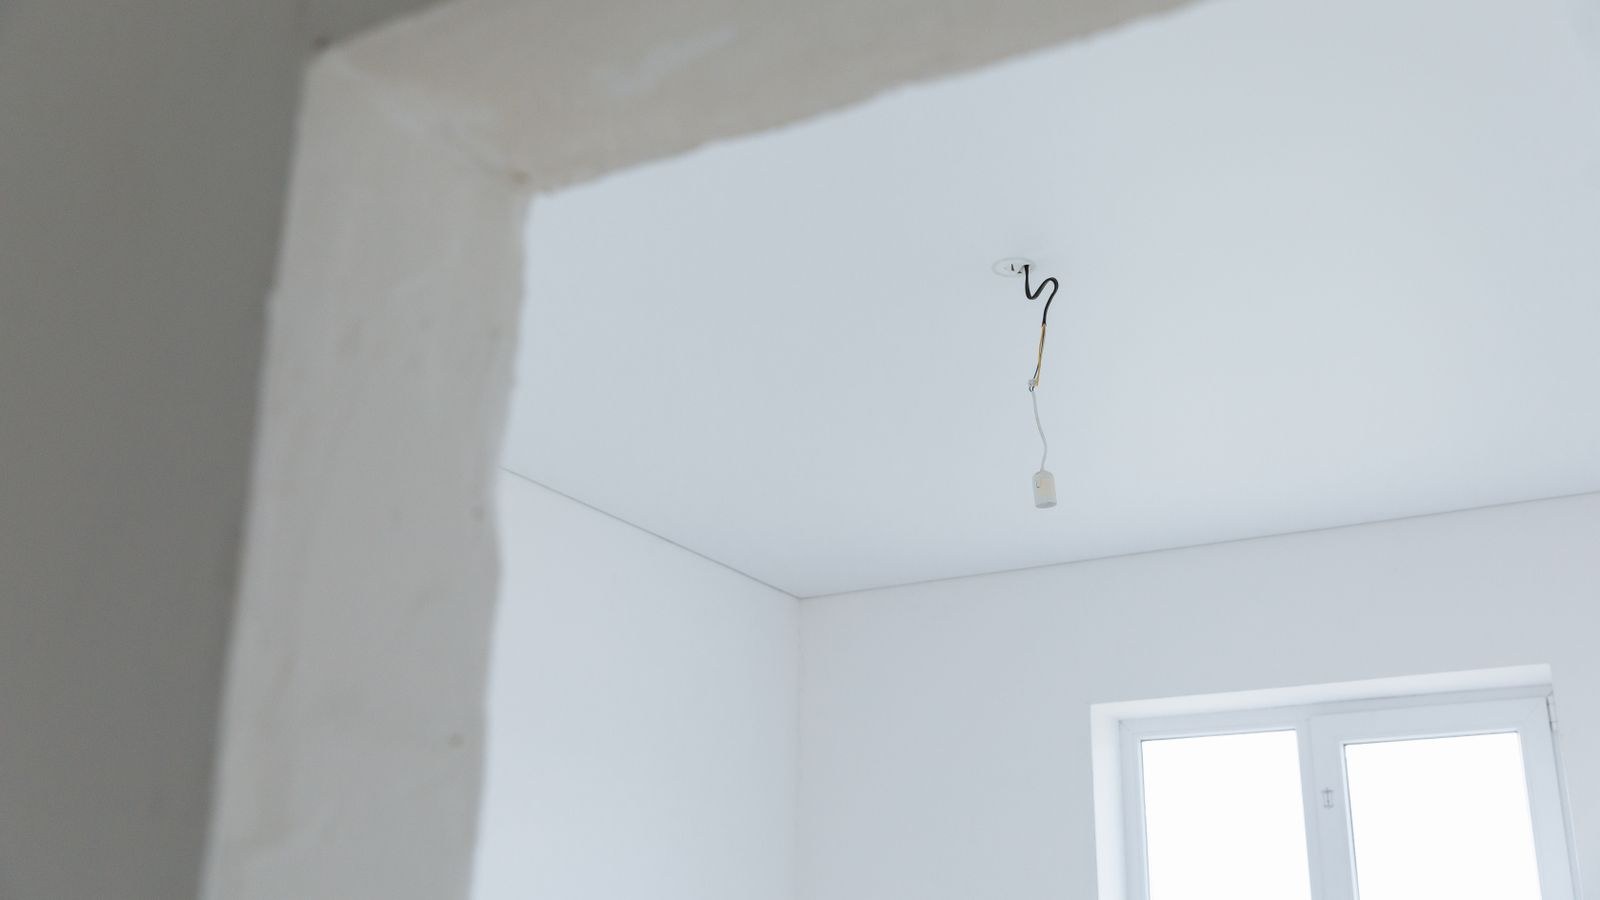
Concrete or masonry ceilings need a masonry bit and sleeve anchors rather than plasterboard fixings. Drill slowly, clear the dust from the hole, and tap the sleeve fully home before driving the screw.
Suspended or drop ceilings present a different problem: the tile itself will not hold a fixture reliably and smoke can pass into the void above. Fit the alarm to a proper backing plate spanning the grid, or mount to the structural deck above if the void is part of the same air space.
Very high ceilings in stairwells and open-plan spaces are worth thinking about carefully. An alarm 16 feet up is safe from nuisance triggers but effectively impossible to test or maintain without equipment. In those spaces, a wall-mounted position at a reachable height, within the 4 to 12 inch band below a lower adjacent ceiling, is usually the more practical choice.
Common Mistakes
Mounting too close to the wall is the most frequent placement error and it puts the sensor in the dead air pocket where smoke arrives late. Second is installing near a kitchen or bathroom, which produces nuisance alarms until somebody disables the unit. Third is skipping the interconnect test, or testing in only one direction, so a pairing failure goes unnoticed.
Another common issue is mixing incompatible wireless families. Radio interconnect protocols are proprietary and units from different manufacturers will not pair, even when both advertise wireless interconnect. Keep the whole group within one product family. The best interconnected smoke detectors roundup groups models by compatible family for exactly this reason.
Finally, do not paint the alarm or its base, and never cover it during decorating. Take the unit down and refit it the same day instead.
Frequently Asked Questions
Do I need to hardwire a new alarm in an existing home?
Usually not. Retrofit rules in most jurisdictions permit sealed ten-year battery alarms in existing dwellings, and only require hardwiring in new construction or major renovation. Check your local code, since requirements do vary.
Will a wireless alarm pair with my existing hardwired units?
Only if the manufacturer offers a bridging model in the same family. Replace one hardwired unit with the bridging version, then pair the new wireless alarms to it.
How far apart can wireless interconnected alarms be?
Typical range is 100 to 200 feet indoors, reduced by masonry walls and metal. In a large or multi-storey home, place units so each has a neighbour well within range and the signal relays through the chain.
Can I mount an alarm on the wall instead of the ceiling?
Yes, if the manufacturer permits it. Keep the top of the unit between 4 and 12 inches below the ceiling. Ceiling mounting still responds faster in most fire scenarios, so use walls only where a ceiling fixing is impractical.
How many alarms does a typical house need?
One per bedroom, one outside each sleeping area, and one per storey, which puts most family homes in the range covered by the best smoke alarms for homes multi-pack sets rather than single purchases.
Final Thoughts
Adding a smoke alarm to a finished ceiling is a drill-and-screw job once you have settled the two decisions that actually matter: where the unit goes, and how it will talk to the rest of the house. Keep it 4 inches clear of walls, away from cooking and steam, and out of the airflow from registers and fans. Choose a wireless interconnected family so the whole home sounds together, and test the link in both directions before you fold the ladder away. Fit the missing rooms this year and note the install date so the ten-year replacement after 2026 arrives as a plan rather than a chirp.