
 Owen Bradley
 The side door of a garage is the entry most households secure last and use most casually. It is the door you go through with muddy hands, the one the bins go out of, and the one everyone props open while working. It is also, quite often, the weakest point on the property, fitted with a builder’s basic lock and a strike plate held by half-inch screws. A keypad deadbolt install solves the practical problem, because nobody has to carry a key to take the recycling out, and it solves the security problem at the same time if you fit it properly. This walkthrough covers measuring, drilling if needed, aligning the strike, weatherproofing an exterior door, and programming the codes.
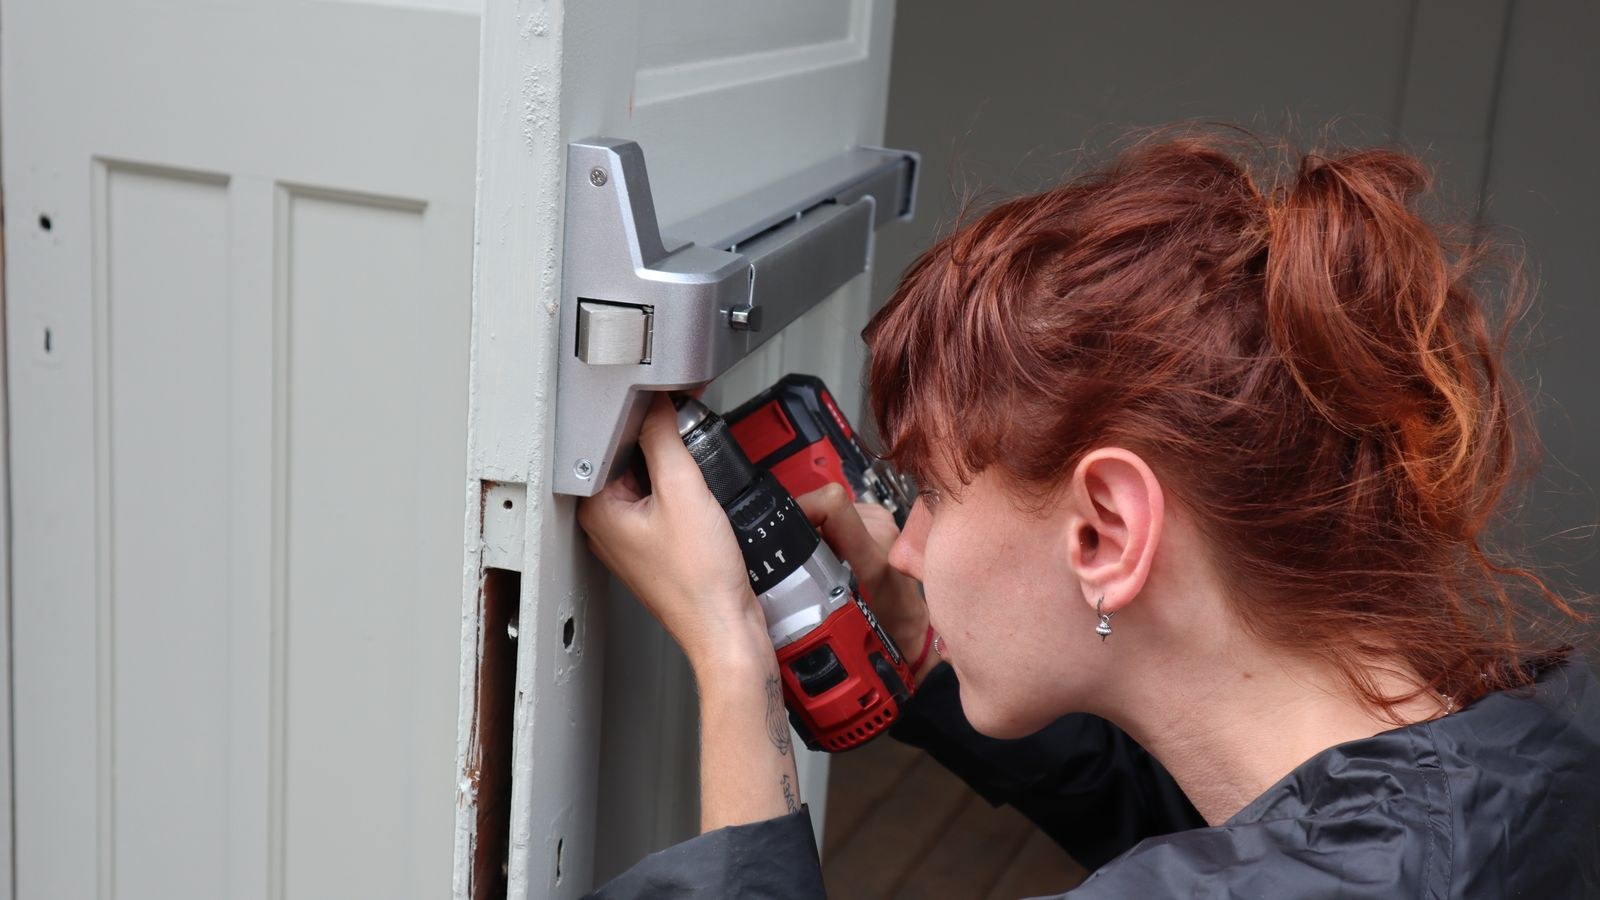
Check What You Are Working With
Garage side doors vary far more than front doors, and the material decides the whole job.
- Solid timber. The easiest case. Drills cleanly, holds screws well, accepts any standard deadbolt.
- Hollow-core. Common on cheap builds and unsuitable for a deadbolt without reinforcement, because there is nothing solid behind the face to hold the lock or resist a kick. Consider replacing the slab.
- Steel-faced with foam core. Very common. Drills fine with the right bit but needs slow speed and a sleeve reinforcement if the manufacturer supplies one.
- Fibreglass. Drills easily but chips at the surface, so score the finish first and use a sharp hole saw.
Check the frame too. Many garage side doors sit in a light timber jamb screwed to a masonry wall with nothing solid behind the strike. A deadbolt in a weak jamb is decorative, so plan to fit a reinforced strike plate with long screws into the framing behind.
Take the Three Measurements
- Backset. The distance from the door edge to the centre of the deadbolt hole, either 2-3/8 or 2-3/4 inches. If the door has no deadbolt yet, choose one and be consistent with the existing knob.
- Cross bore diameter. The hole through the face of the door, normally 2-1/8 inches on a standard prep.
- Door thickness. Usually between 1-3/8 and 1-3/4 inches. Anything thicker needs an extension kit, which not every lock offers.
Also measure the height. If a deadbolt already exists, work in the same holes. If you are drilling fresh, place the deadbolt roughly 6 inches above the existing knob, which keeps both within comfortable reach and puts the bolt into solid jamb material.
Tools and Materials
- Cordless drill, plus a corded one if the door is steel
- 2-1/8 inch hole saw and a 1 inch spade or auger bit
- The paper template supplied with the lock
- Sharp wood chisel and a mallet for mortising the faceplate
- Tape measure, combination square, pencil, and masking tape
- Phillips screwdriver, ideally hand-driven for final tightening
- 3 inch screws for the strike plate, and a reinforced strike if the jamb is weak
- Exterior-grade silicone sealant
- Safety glasses and a dust mask
If you are still choosing hardware, compare code capacity and weather ratings across the best keypads and the best digital deadbolts before you start, since the template and bore requirements differ slightly between models.
Installing the Deadbolt, Step by Step
- Tape and mark the template. Fold the paper template over the door edge, align it at your chosen height, and tape it down. Mark the centre of the cross bore on the face and the centre of the edge bore on the edge. Take your time here, because every later problem starts with a mark that was a few millimetres off.
- Drill a pilot through the face. Use a small bit and drill all the way through at the cross bore centre. This gives the hole saw a guide from both sides.
- Cut the cross bore from both sides. Drill with the hole saw until the pilot bit just breaks through the far face, then stop, move to the other side, and finish the cut from there. Cutting straight through in one pass blows out a ragged crater on the exit face.
- Drill the edge bore. Hold the drill level and square to the door edge and bore the 1 inch hole until it meets the cross bore. Check squareness with your combination square as you go, because a bore that wanders makes the latch bind permanently.
- Fit the latch and mark the faceplate. Slide the latch into the edge bore, set it square, and scribe around the faceplate with a sharp pencil.
- Mortise for the faceplate. Remove the latch, then chisel out the scribed area to the depth of the plate so it sits perfectly flush. Score the outline first with light taps, then pare the waste in thin slices. A proud faceplate stops the door closing properly.
- Install the latch. Fit it with the bolt facing the correct direction and drive the two faceplate screws, checking the plate sits flush.
- Mount the exterior keypad. Pass the tailpiece or cable through the cross bore, above or below the latch as the instructions specify, and hold the keypad square against the door. On steel doors, feed cables carefully so they are not pinched.
- Mount the interior body and tighten. Fit the interior assembly over the tailpiece, start both mounting screws by hand, and tighten them alternately a little at a time so the exterior unit stays square. Do the final turns by hand.
- Install the strike plate. Close the door, mark where the bolt meets the jamb, drill a bolt hole about half an inch deeper than the bolt travel, mortise for the plate, and fix it with 3 inch screws driven into the framing behind the jamb, not just the trim.
- Add the batteries and calibrate. Fit the cells, run any calibration routine the lock asks for with the door open, then repeat with it closed.
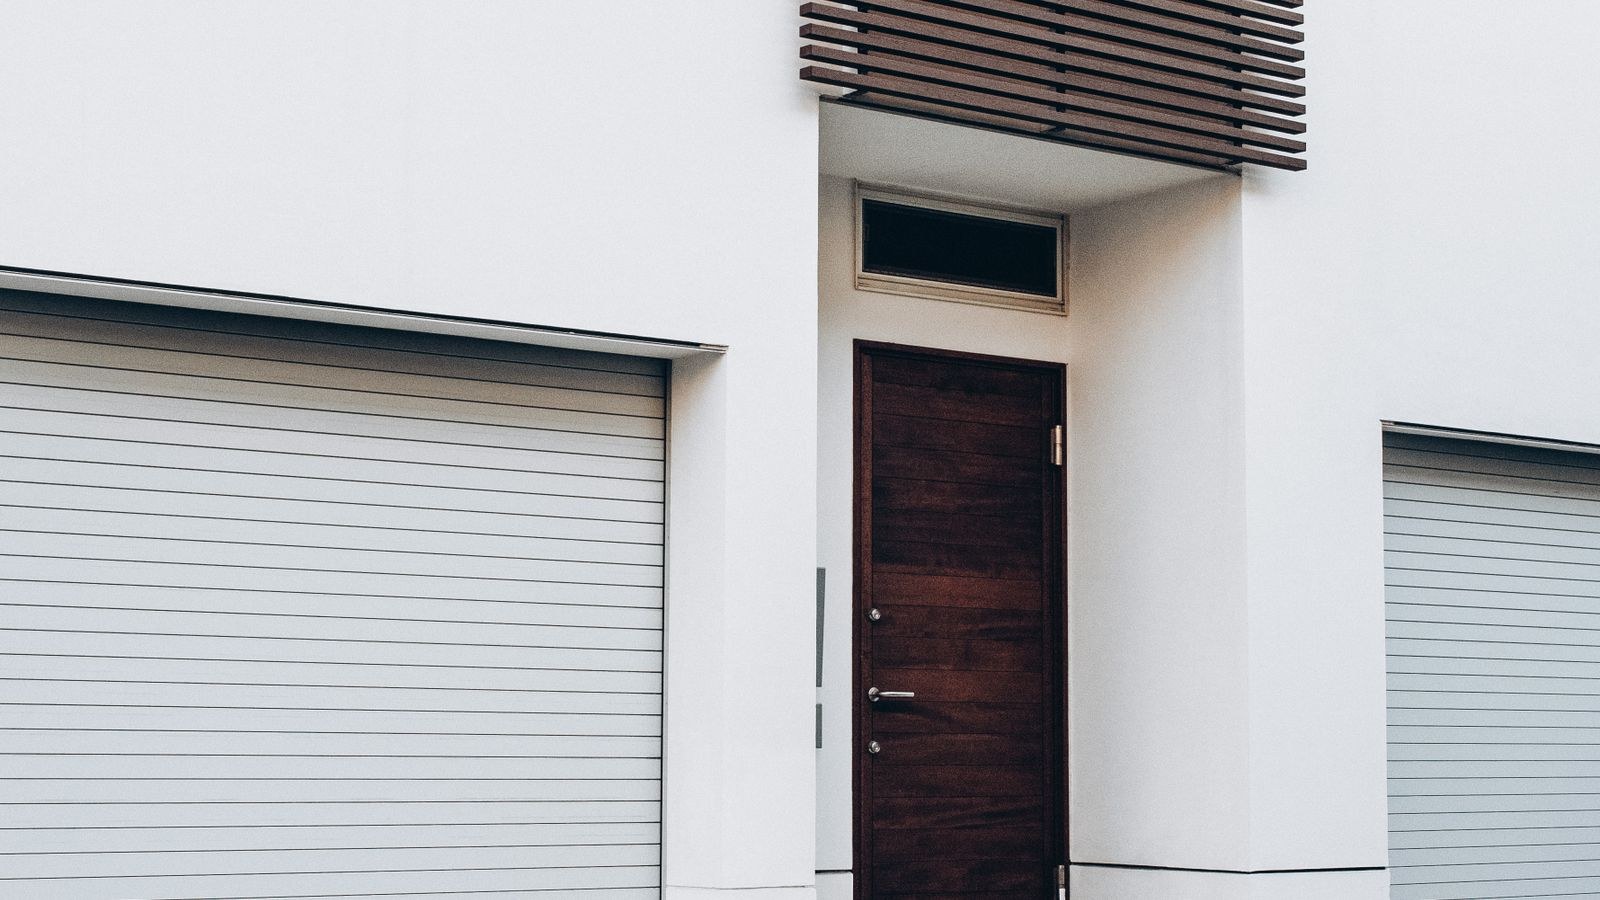
Getting the Strike Alignment Right
Alignment is where most installations succeed or quietly fail. Close the door and throw the bolt by hand. It should slide the full distance with no resistance at all. If you feel any drag, do not force it, because a keypad deadbolt drives that bolt with a small motor that will stall, drain batteries, and eventually report a jam.
To find the problem, coat the end of the bolt with a little pencil graphite or lipstick, close the door, and throw the bolt. The mark left on the strike shows exactly where it is hitting. Enlarge the strike hole in that direction with a round file, or reposition the plate a few millimetres. Garage side doors are especially prone to seasonal movement, so leave a small amount of clearance around the bolt rather than aiming for a perfect fit in summer that binds in winter.
Weatherproofing an Exterior Door
A garage side door usually gets less shelter than a front door, so the electronics need protecting.
- Check the ingress rating. Look for a weather-rated or outdoor-certified keypad. Indoor-rated units fail quickly on an exposed wall.
- Seal the perimeter, not the drain. Run a thin bead of exterior silicone around the top and sides of the exterior escutcheon, leaving the bottom edge open so any water that gets in can drain out. Sealing all four sides traps moisture inside the housing.
- Use lithium batteries. They hold voltage in the cold far better than alkaline, which matters on an unheated garage door.
- Check the door sweep and weather strip. Damp getting into the door edge swells timber and throws the bolt out of alignment.
- Fit a rain deflector if the door faces prevailing weather. A small hood above the keypad extends its life considerably.
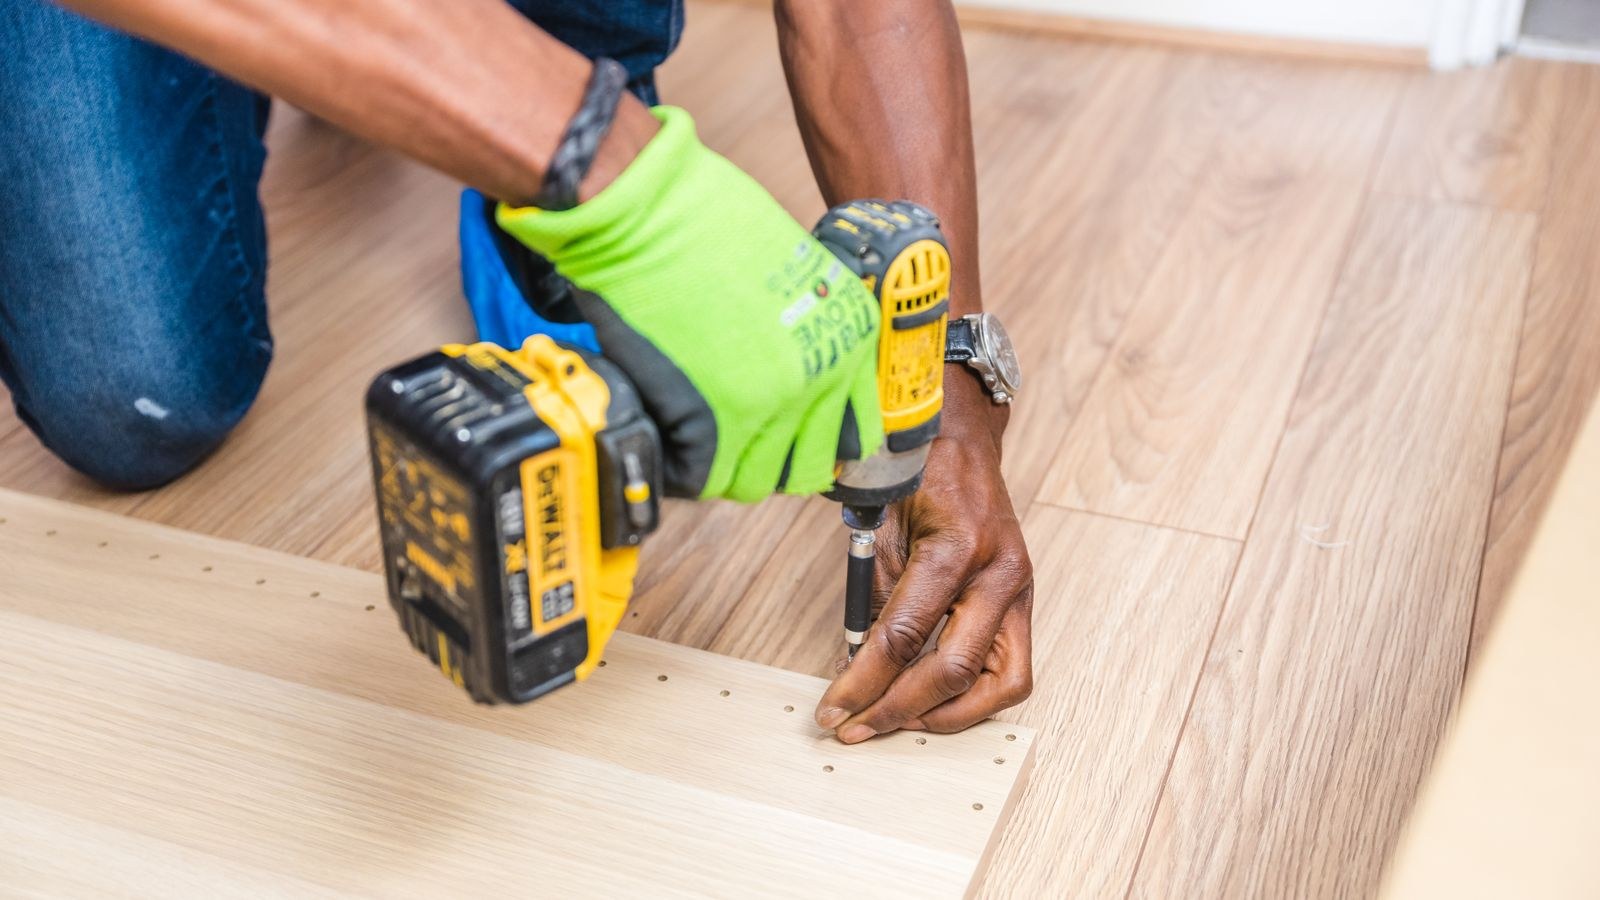
Programming the Codes
- Set a new master or programming code immediately, replacing the factory default printed in the manual.
- Add individual codes for each household member rather than one shared code, so the entry log means something.
- Create a temporary code for any tradesperson working in the garage, with an expiry if the model supports one.
- Avoid your house number, obvious patterns, and anything visible on post delivered to the property.
- Test every code at the door before you rely on it, and confirm the auto-lock timing suits how the door is used.
- Note where the emergency power terminals or backup keyway are, and keep a spare key somewhere other than the garage.
Common Mistakes
- Drilling the cross bore straight through in one pass. The exit face splinters badly and no escutcheon fully hides it.
- Boring the edge hole off square. The latch binds and no amount of strike adjustment fixes it.
- Skipping the faceplate mortise. A proud plate keeps the door from closing and puts the bolt out of line.
- Using the short screws supplied for the strike. They anchor into trim only. Long screws into the framing are what actually resist a kick.
- Overtightening the mounting screws. This bows the exterior housing and causes the motor to stall.
- Sealing all four sides of the exterior unit. Trapped condensation kills the electronics faster than rain does.
- Leaving the factory master code active. It is printed in a manual anyone can download.
Frequently Asked Questions
Can I fit a keypad deadbolt to a steel garage door?
Yes, on a steel-faced side entry door. Use a bi-metal hole saw at low speed with cutting fluid, and fit any reinforcement sleeve the manufacturer supplies. Sectional overhead garage doors are a different product entirely and are not suitable.
Do I need to drill if a deadbolt is already fitted?
Usually not. If the existing bore is the standard 2-1/8 inches with a matching backset, the new lock drops straight in and the job takes about twenty minutes.
How high should the deadbolt go?
Roughly 6 inches above the existing knob is the convention. That keeps both within reach and puts the bolt into solid jamb material rather than close to a joint.
Will cold weather affect the keypad?
It can. Rubber keypads stiffen and battery capacity drops in freezing conditions. Lithium cells and a weather-rated housing handle winter far better than the basic combination.
Is a keypad deadbolt secure enough for a garage?
A well-installed grade 2 or grade 1 deadbolt with a reinforced strike is considerably stronger than the lock most garage side doors ship with. If you want to compare grades and materials before buying, our roundup of the best deadbolt locks and the best smart deadbolts covers the differences, and the front door lock buying guide explains how the ratings are assigned.
Final Thoughts
A keypad deadbolt on the garage side door is one of the highest-value afternoons of home improvement available, because it upgrades the weakest entry on most properties and removes the daily nuisance of carrying a key. Measure before you buy, drill from both sides, mortise the faceplate properly, and anchor the strike into real framing. Then seal the exterior housing sensibly, fit lithium cells, and set individual codes. Done carefully, it will open thousands of times without complaint and shrug off whatever the weather does to that side of the house.









