Owen Bradley
 Smart lighting only feels magical when the pieces work as one system. A single app-controlled bulb is a novelty; a house where the hallway lights fade up as you come downstairs, the porch light follows sunset rather than a fixed clock, and the living room dims itself for a film is a genuinely different place to live. Getting there means combining three device families that many buyers treat as alternatives: switches, dimmers and timers. Each solves a problem the others cannot. This guide explains what each one does best, how to layer them, and how to plan an automation setup in 2026 that stays reliable and never leaves a guest fumbling in the dark.
The Three Building Blocks
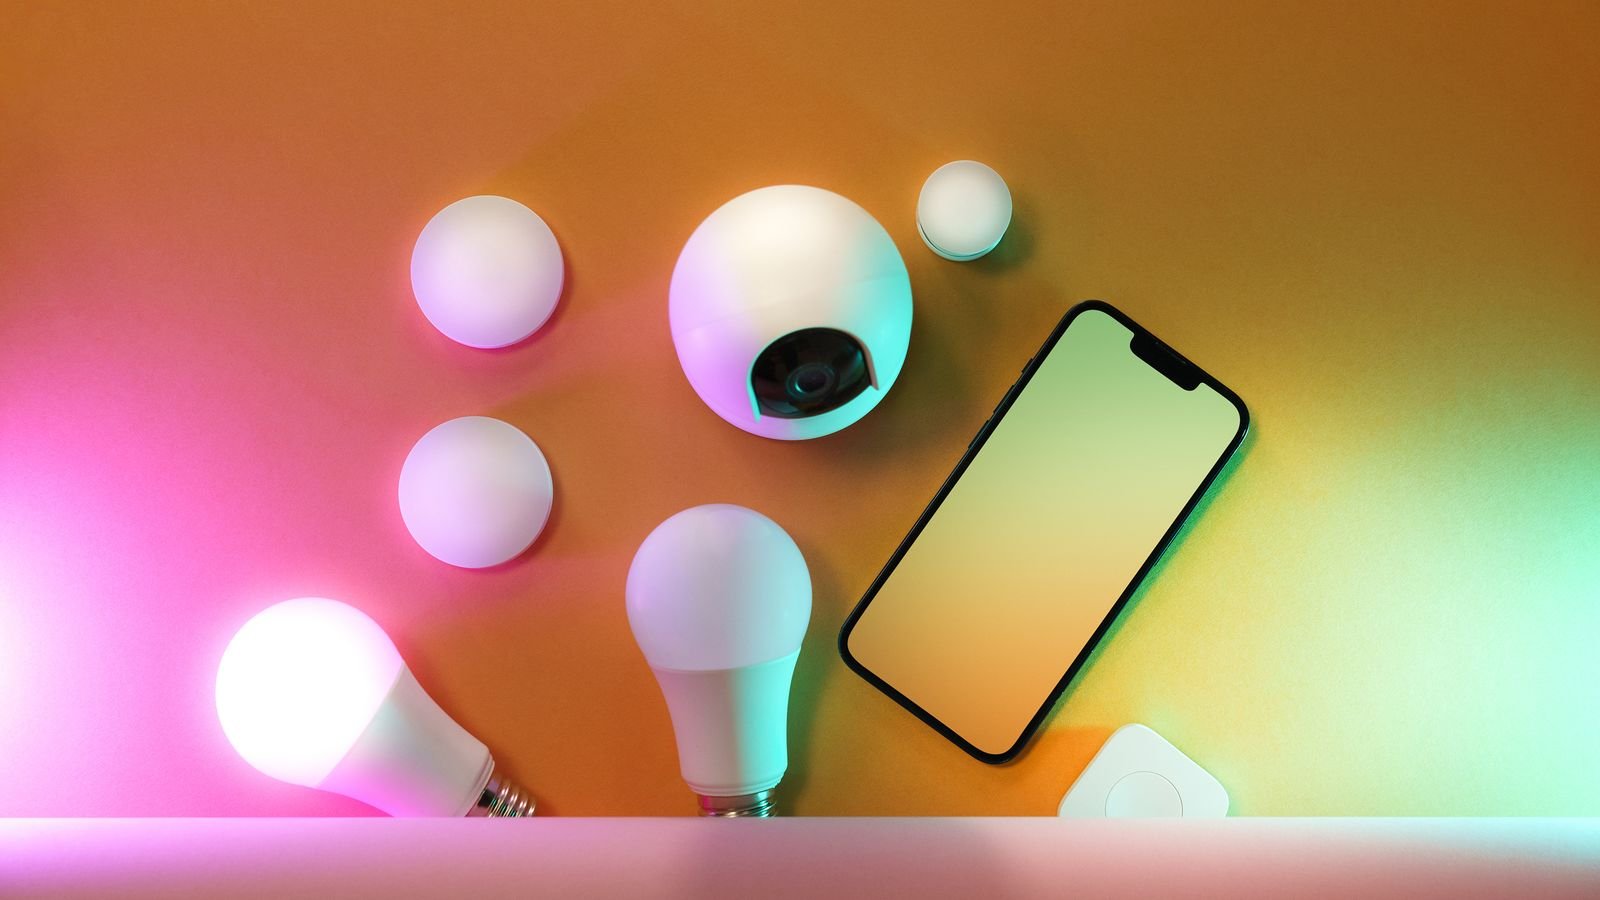
Think of lighting automation as three layers rather than one product category.
Switches control whether a circuit has power. They are the foundation because they preserve manual operation for everyone in the house, they control every bulb on a fixture at once, and they never leave an automation stranded because somebody flipped something off. The best smart light switches are the natural starting point for ceiling fixtures.
Dimmers control how much light a circuit produces. They turn lighting from a binary state into an adjustable one, which is what makes scenes feel considered rather than abrupt. The best smart dimmer switches add app control on top of proper LED-compatible dimming.
Timers control when things happen. Whether at the socket, the switch or inside a hub, timers turn a set of controllable lights into a system that runs itself. The best timer plugs handle lamps and seasonal lighting without any rewiring at all.
A well-built setup uses all three. Switches for fixed fixtures, dimmers where mood matters, timers and sensors to remove the need to think about it.
Start With a Room-by-Room Plan
Before buying anything, walk the house and write down what annoys you about the lighting today. Automation is worth building only where it solves something specific.
- Entrance and hallway. Lights that come on at arrival and turn themselves off afterwards. Motion sensing is the right tool here rather than schedules.
- Living room. Multiple scenes: bright for cleaning, medium for company, low for watching something. Dimmers do the heavy lifting.
- Kitchen. Consistently bright task lighting with a low overnight level. Simple, but the switch must remain obvious for guests.
- Bedrooms. Gradual fade-down at night and a gentle rise in the morning. Dimming range matters more than anything else.
- Stairs and landings. Safety first. These should never depend on cloud connectivity.
- Outdoors. Sunset-to-sunrise operation with motion boost, which requires astronomical scheduling rather than a fixed time.
That list tells you exactly which device belongs in which position, and it stops you buying colour-changing bulbs for a utility room.
Schedules, Sunset Tracking and Why Fixed Times Fail
The most common automation disappointment is a schedule set to a fixed clock time. Sunset moves by more than two hours across the year in temperate latitudes, so a porch light set for 6pm is an hour late in midwinter and an hour early in midsummer.
Astronomical scheduling solves it. Any decent hub, smart switch or timer plug lets you trigger at sunset or sunrise with an offset, such as fifteen minutes before dusk. This one setting is the difference between lighting that feels intelligent and lighting that feels programmed.
Random variation is the other schedule feature worth using, particularly when you are away. A light that switches at exactly 7:00pm every evening signals an empty house; one that varies by up to half an hour looks like someone lives there. Many best outlet timers include this randomisation for exactly that reason.
Sensors: The Trigger That Makes Everything Feel Automatic
Schedules handle predictable events. Sensors handle you. A lighting system that reacts to presence is the point at which people stop touching switches altogether.
Occupancy sensors turn lights on when someone enters and off after a set period of stillness. They are transformative in hallways, garages, pantries, laundry rooms and bathrooms, and the tidiest implementation is a switch with the sensor built in. The best motion sensor light switches handle this without any hub at all, which makes them a good first automation for a sceptical household.
Two settings determine whether people love or hate them. Timeout must be long enough that the light does not drop while somebody is sitting still, and sensitivity must be tuned so that a passing pet does not trigger it. Ambient light thresholds are equally important, so that a bright room in daylight does not switch on unnecessarily.
Building Scenes That People Actually Use
A scene sets several lights to particular levels at once. Good scenes are few, memorable and named for the activity rather than the technology.
- Keep the count low. Four or five scenes per living area is plenty. Twenty scenes means nobody remembers any of them.
- Name them by activity. Film, Dinner, Reading and Cleaning are used; Scene 3 is not.
- Give every scene a physical trigger. A wall button, a bedside control or a scene switch beats opening an app every time.
- Design for the transition. A one-second snap feels harsh. A two to three second fade feels deliberate and expensive.
- Always include an “everything off” control near the front door and the bed. It becomes the most used automation in the house.
Layering It All Together
The layers combine in a predictable hierarchy. Timers and sunset schedules set the baseline state of the house. Sensors override that baseline when someone is present. Scenes override both when a person deliberately chooses a mood. Manual switch presses override everything, and the system should respect that override for a sensible period rather than fighting the person who pressed it.
That last point causes more household friction than any other. If someone turns a light off manually and an occupancy rule turns it straight back on, the automation is working against its user. Look for switches and hubs that support a manual override window, and set it to something like half an hour. For lights on schedules rather than sensors, the best light switch timers give you the same timed behaviour at the wall while keeping the manual control everyone expects.
Reliability: Local Control and Graceful Failure
Automation earns trust by never failing awkwardly. Two design choices deliver that.
First, prefer local execution. Rules that run on a hub inside your house respond in milliseconds and keep working when broadband does not. Cloud-only devices introduce a delay you notice on every press and stop entirely during an outage. Stairs, hallways and entrances should always be locally controlled.
Second, ensure every automated fixture still works manually. Any setup where the only way to switch on a light is an app will eventually strand a guest, a babysitter or a family member with a flat phone. The physical switch must remain a physical switch.
Budgeting the Rollout
Costs scale with the number of controlled circuits rather than the number of rooms, so count fixtures before estimating. Timer plugs are the cheapest entry point and need no wiring, which makes them the sensible place to start and the easiest to move if you change your mind. Smart switches sit in the middle and represent the bulk of a whole-house budget. Dimmers cost a little more again, and are worth reserving for the rooms where light level genuinely affects how the space feels.
A practical approach is to spend in three stages. Stage one automates outdoor and entrance lighting, which delivers the most obvious daily benefit. Stage two covers the main living areas with dimmers and scenes. Stage three fills in utility spaces with motion sensing, where cheap hardware performs perfectly well. Spreading the spend this way also spreads the learning, so each stage is planned with the lessons of the previous one.
Common Mistakes to Avoid
- Automating everything at once instead of solving one annoyance at a time.
- Mixing four ecosystems and ending up unable to build a rule that spans them.
- Putting smart bulbs behind a standard switch, so cutting power makes them unreachable.
- Setting sensor timeouts too short, which drops lights on people sitting still.
- Relying on fixed clock times for anything related to daylight.
- Building automations only you understand, leaving the rest of the household unable to operate the lights.
- Forgetting that dimmers and bulbs must be compatible, no matter how clever the automation is.
Frequently Asked Questions
Should I automate with switches or bulbs?
Switches for fixed ceiling fixtures, because they control every bulb at once and keep manual operation intact. Bulbs for lamps and accent lighting where colour or per-bulb control matters. Most good systems use both.
Do I need a hub for lighting automation?
Not for simple schedules, which most smart switches and timer plugs handle alone. You need one for fast local rules, for automations that span brands, and for keeping everything running during an internet outage.
Can I combine timers and motion sensors on the same light?
Yes, and it is often the best configuration. A schedule defines when motion triggering is allowed, so a hallway light responds to movement at night but stays off during the day.
Why do my automations sometimes take several seconds?
Almost always because the rule runs in a cloud service rather than locally. Moving the automation onto a hub, or choosing devices with local control, removes the delay entirely.
What is the best first automation to build?
Outdoor lighting on sunset-to-sunrise scheduling. It is simple, requires no rewiring with a timer plug, delivers an obvious daily benefit, and demonstrates the value to sceptical household members immediately.
Final Thoughts
Lighting automation is a design problem rather than a shopping list. Decide what irritates you today, then choose the layer that fixes it: a switch for control, a dimmer for mood, a timer or sensor for timing. Tie schedules to sunset rather than the clock, keep scenes few and clearly named, insist on local execution for anything safety-related, and never remove the ability to operate a light by hand. Build it in that order, one room at a time, and the system stops being something you manage and becomes something you simply live in.