
 Owen Bradley
 Vanity lighting is the one place in the house where getting the light wrong has immediate, visible consequences. Foundation that looked perfectly blended at the mirror turns orange in daylight. Contour that seemed subtle reads as stripes outside. Shadows under the eyes and jaw appear from nowhere. None of that is a skill problem; it is a lighting problem, and it comes down to three things: where the light comes from, what colour it is, and how accurately it renders colour. This guide covers all three, plus fixtures, bulbs, layouts and the mistakes that cause most complaints.
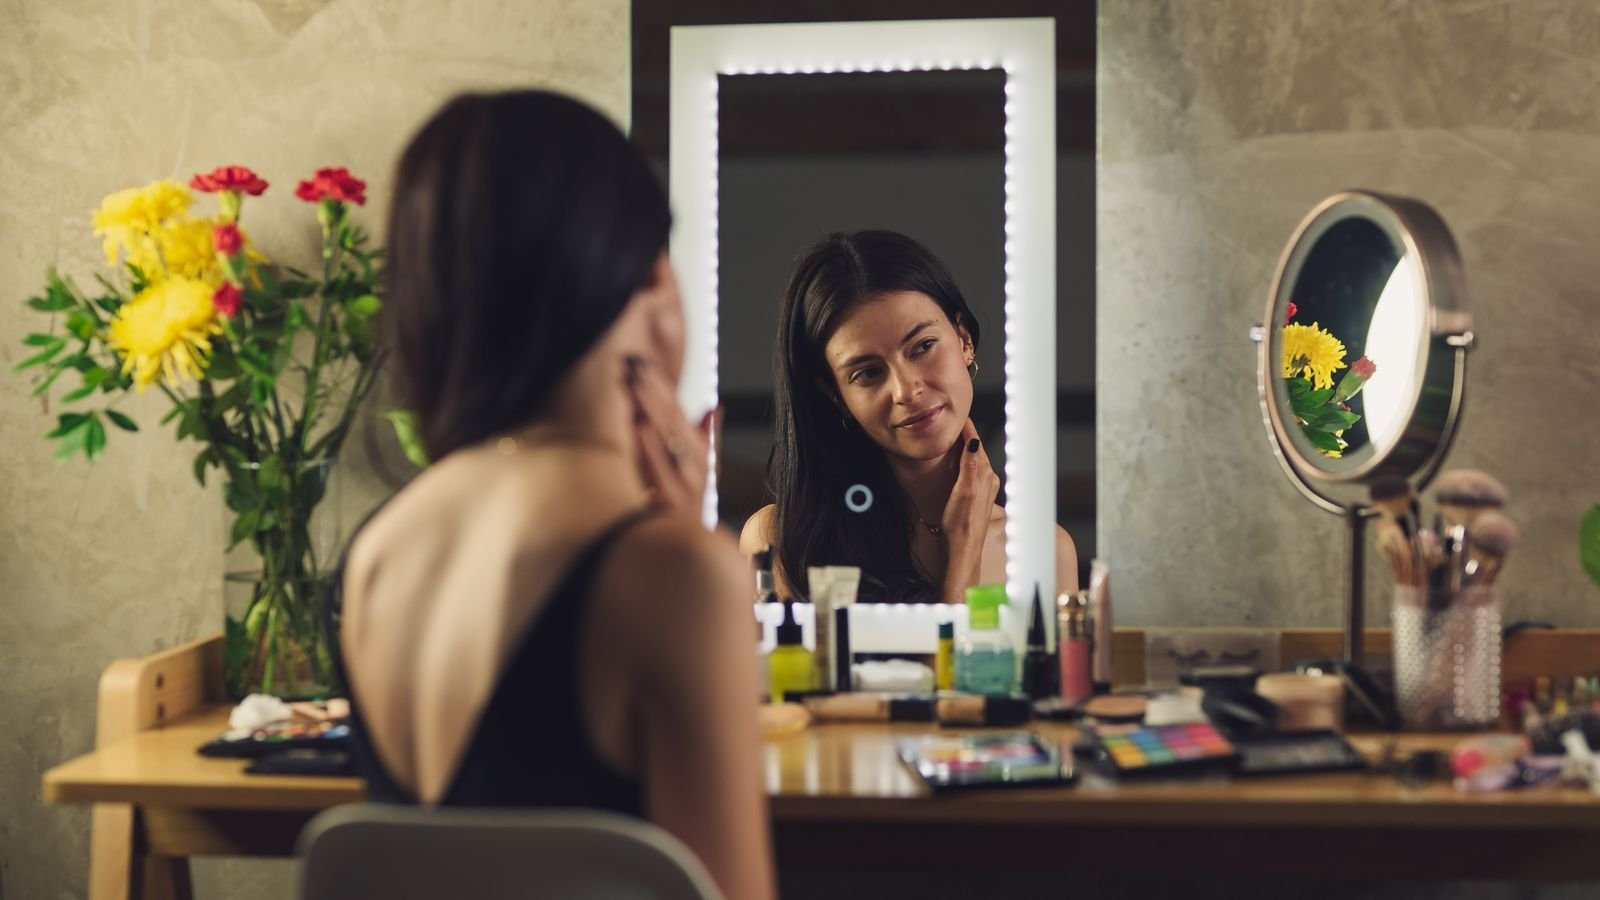
The Golden Rule: Light From the Front, Not Above
If you take one thing from this guide, take this. Light aimed down at your face from a ceiling fixture or a bar mounted above the mirror creates shadows in exactly the places you are trying to work: the eye sockets, under the nose, under the cheekbones and beneath the jaw. You then compensate for shadows that do not exist in normal light, which is why the result looks heavy outdoors.
Correct vanity lighting comes from the sides at roughly eye level, so the face is lit evenly from both directions with no dominant shadow. Two sconces or vertical bars flanking the mirror, mounted around 60 to 66 inches from the floor and roughly 36 to 40 inches apart, is the professional layout for a reason.
Where side mounting is impossible, the next best option is a lit mirror or a ring light positioned in front of the face rather than above it. A top-mounted bar is the last resort, and if you must use one, choose a long fixture with a strong diffuser so light spills forward rather than dropping straight down.
Colour Temperature: Match the Light You Will Be Seen In
Makeup applied under one colour temperature and viewed under another will always look different. The fix is to apply it under light that approximates the environment where you will be seen.
- 4000K to 5000K: neutral to daylight. The standard for makeup application, because it approximates midday light and reveals true pigment.
- 3000K to 3500K: warm white. Flattering and pleasant for a bathroom generally, but it warms the whole face and hides orange undertones in foundation.
- 2700K: too warm for accurate application. It masks colour differences entirely.
- Above 5500K: can look clinical and blue, exaggerating redness and making skin appear flat.
For most people, 4000K is the sweet spot: accurate enough for colour work, not so cool that the bathroom feels like an operating theatre. If you regularly do evening makeup, a tunable bulb that switches between daylight and warm lets you preview both. Options selected for accuracy are compared in our best light bulbs for makeup guide, with cooler full-spectrum choices in the best daylight bulbs roundup.
Colour Rendering: The Specification That Matters Most
Colour temperature tells you the tint of the light. Colour rendering index tells you whether the light contains enough of the full spectrum to reproduce colours honestly. For makeup, CRI is more important than any other number.
Aim for CRI 90 as a minimum and 95 or above if you take it seriously. Just as important, look for the R9 value, which measures deep red rendering. Cheap LEDs are notoriously weak in red, and since skin tone, blush, lipstick and undertones are all red-based, a bulb with poor R9 will misrepresent exactly the colours you are judging.
A bulb with CRI 82 will make two visibly different foundation shades look identical at the mirror. That is the entire problem in one sentence. Bulbs suited to vanity fixtures specifically are covered in the best vanity light bulbs comparison.
Brightness: Enough, Evenly Spread
A vanity needs more light than the rest of the bathroom, but that light needs to be diffuse rather than concentrated. As a working target, aim for roughly 1500 to 1700 total lumens reaching the face across all fixtures. Two sconces at around 800 lumens each hits this comfortably.
Evenness matters more than raw output. One very bright source on one side produces a lit half and a shadowed half, which is worse than two moderate sources. If you can only fit one fixture, place it directly in front at eye level rather than to one side.
Dimming is a genuine benefit here. Full daylight brightness is right for application, but you rarely want it at midnight. A dimmable setup lets the same fixtures do both jobs.
Fixture Types Compared
- Wall sconces: the best all-round solution. Mounted either side at eye level, ideally with an opal or frosted shade that emits in all directions rather than up or down only.
- Vertical bar lights: a long diffused strip on each side of the mirror. Excellent even coverage, the most consistent option available.
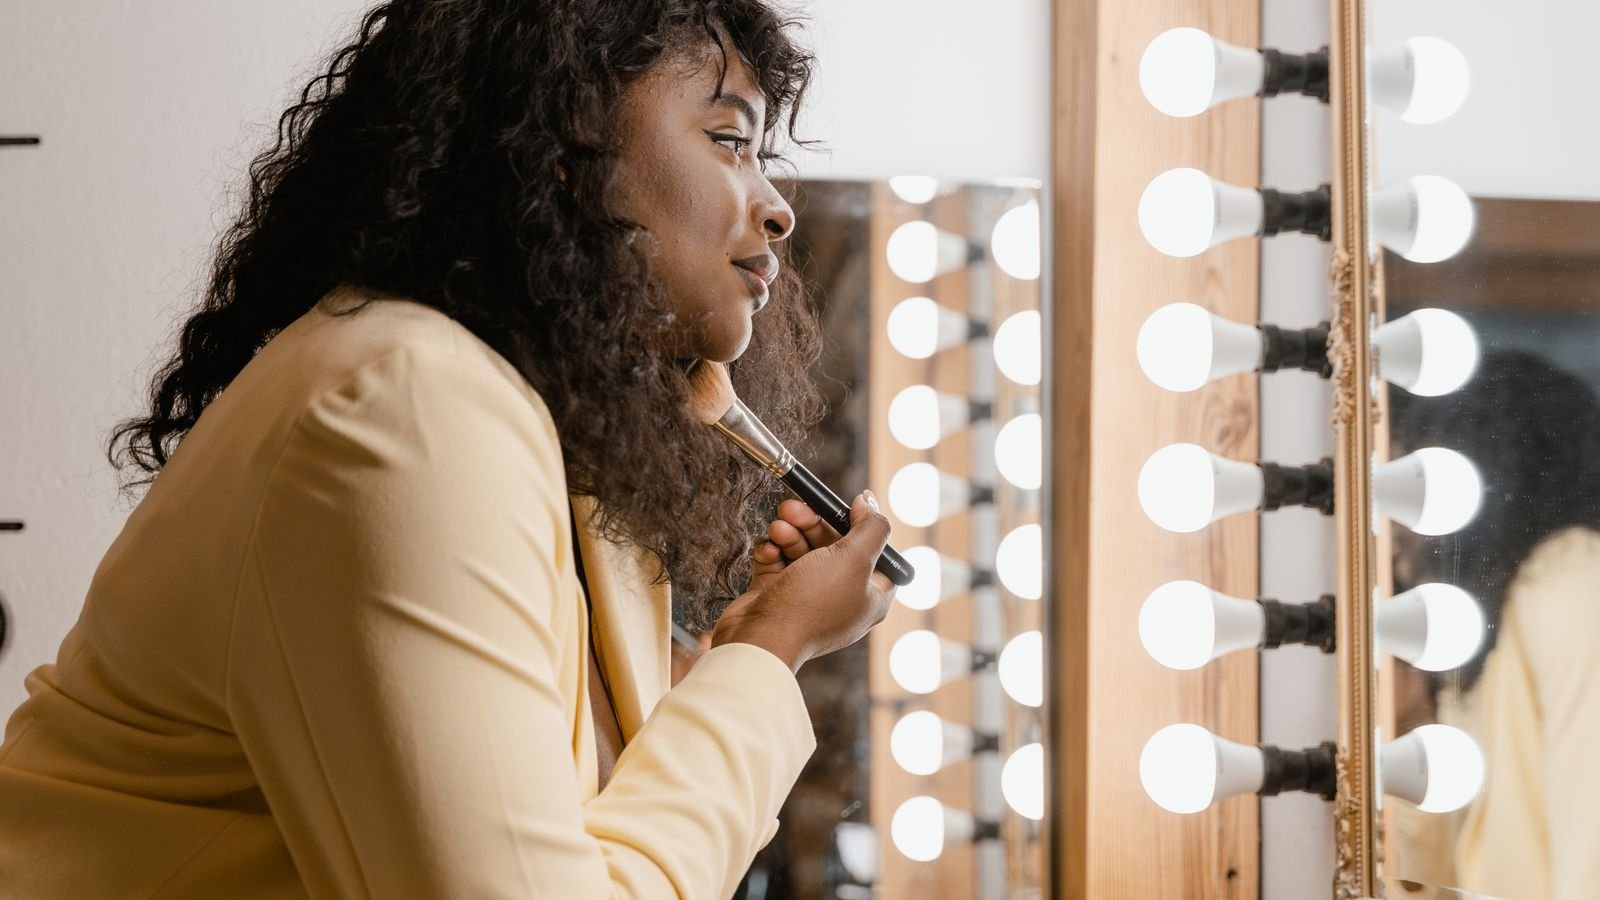
- Hollywood-style bulb strips: a row of exposed globes around the mirror frame. The classic look, genuinely effective because it surrounds the face, but only if the bulbs are frosted and the row is long enough.
- Backlit and edge-lit mirrors: a glow around the mirror perimeter. Attractive and glare-free, but often too dim on their own for detailed work.
- Front-lit mirrors: illuminated panels on the mirror face itself. Very good for makeup because the light source is in front of you at the right height.
- Ring lights: excellent even frontal light and no shadows, though the characteristic circular catchlight in the eyes is noticeable in photos.
- Overhead bars: common, convenient, and the least flattering. Use only with heavy diffusion and supplement from the sides where possible.
Bulb Shapes and Bases for Vanity Fixtures
Vanity fixtures are fussier about bulb shape than most fittings, because the bulb is often visible.
- Globe bulbs (G25 and similar): the classic Hollywood strip bulb. Always choose frosted, never clear.
- Candelabra bulbs: small-base decorative bulbs for sconces. Check the base size, as candelabra and standard bases are not interchangeable.
- Standard A-shape: the workhorse, fine in any shaded sconce.
- Tubular and linear: used in vertical bar fixtures, giving the most even vertical spread.
Whatever the shape, frosted beats clear every time at a vanity. A clear bulb concentrates output into small brilliant points that reflect off the mirror straight into your eyes, and glare that severe makes fine colour judgement genuinely difficult.
Layout Measurements Worth Following
- Sconce height: centre the light source at approximately 60 to 66 inches from the floor, roughly at eye level for a standing adult.
- Horizontal spacing: 36 to 40 inches apart, which is wide enough to avoid hot spots and close enough to wrap light around the face.
- Distance from the mirror: mount fixtures just outside the mirror edge, not behind or on it, so light travels forward.
- Overhead bar length: if you must use one, choose a fixture at least three quarters of the mirror width so light spreads rather than spotlights.
- Seated vanities: drop all the heights by roughly 10 to 12 inches so the light still meets the face at eye level.
Budget Tiers
- Entry level: swap the existing bulbs in your current fixture for frosted 4000K CRI 90 bulbs. Costs very little and fixes the colour accuracy problem even if the geometry stays imperfect.
- Mid range: add a lit mirror or a pair of sconces alongside the existing fixture. This is where the shadow problem gets solved properly.
- Premium: vertical bar fixtures either side, CRI 95+ tunable bulbs on a dimmer, and a separate ambient layer for the rest of the bathroom. Full control of level and temperature for any occasion.
General bathroom lighting still needs solving alongside the vanity, and the best light bulbs for bathroom guide covers the ambient layer, while the best light bulbs for bathroom vanity comparison focuses on fixture-mounted options.
Common Mistakes
- Relying on a single overhead fixture. The most common setup and the least flattering.
- Clear decorative bulbs at the mirror. Glare and mirror reflections make accurate work harder.
- Choosing 2700K because it feels cosy. Comfortable to sit in, useless for judging colour.
- Ignoring CRI entirely. The single most predictive number for whether shades match, and the one most often unprinted on cheap packaging.
- Mixing colour temperatures across the vanity. Two different Kelvin values either side of the mirror tints one half of the face.
- Coloured or tinted walls near the mirror. A strong wall colour bounces onto the face and shifts everything.
Frequently Asked Questions
What is the best colour temperature for applying makeup?
Around 4000K for general use, or up to 5000K if you want the closest match to outdoor daylight. Avoid anything below 3000K for application.
Are ring lights good enough for a bathroom vanity?
For application, yes, they produce excellent even frontal light. They are less suitable as the room’s only light source, and they leave a circular catchlight in photographs.
How many lumens does a vanity need?
Roughly 1500 to 1700 lumens total delivered to the face, split across at least two fixtures so the light comes from both sides.
Can I keep my existing overhead fixture?
Yes, as an ambient layer. Add side lighting for the mirror rather than removing it, and put the overhead on a separate switch or dimmer.
Do LED bulbs work for makeup lighting?
They are the best option available, provided you choose high CRI versions with good R9. A low-CRI LED is genuinely worse than an old incandescent for colour work.
Final Thoughts
Good vanity lighting is mostly geometry plus one specification. Get the light in front of the face rather than above it, use two sources instead of one, choose 4000K frosted bulbs with CRI 90 or higher, and put the whole thing on a dimmer so it can be soft when you are not working at the mirror. Even in a rented bathroom with a fixed fixture, changing bulbs alone will noticeably improve colour accuracy, and it is the cheapest lighting upgrade you can make this 2026.









