
 Owen Bradley
 A standing desk converter is one of the easiest ways to add sit-stand flexibility to your workspace without replacing your entire desk. These platforms sit on top of your existing desk surface and let you raise or lower your monitor, keyboard, and mouse with a simple lift or crank mechanism. Setting one up typically takes less than fifteen minutes, and getting the height and ergonomics right makes a big difference in comfort throughout the day. This guide covers selection, setup, and ergonomic fine-tuning.
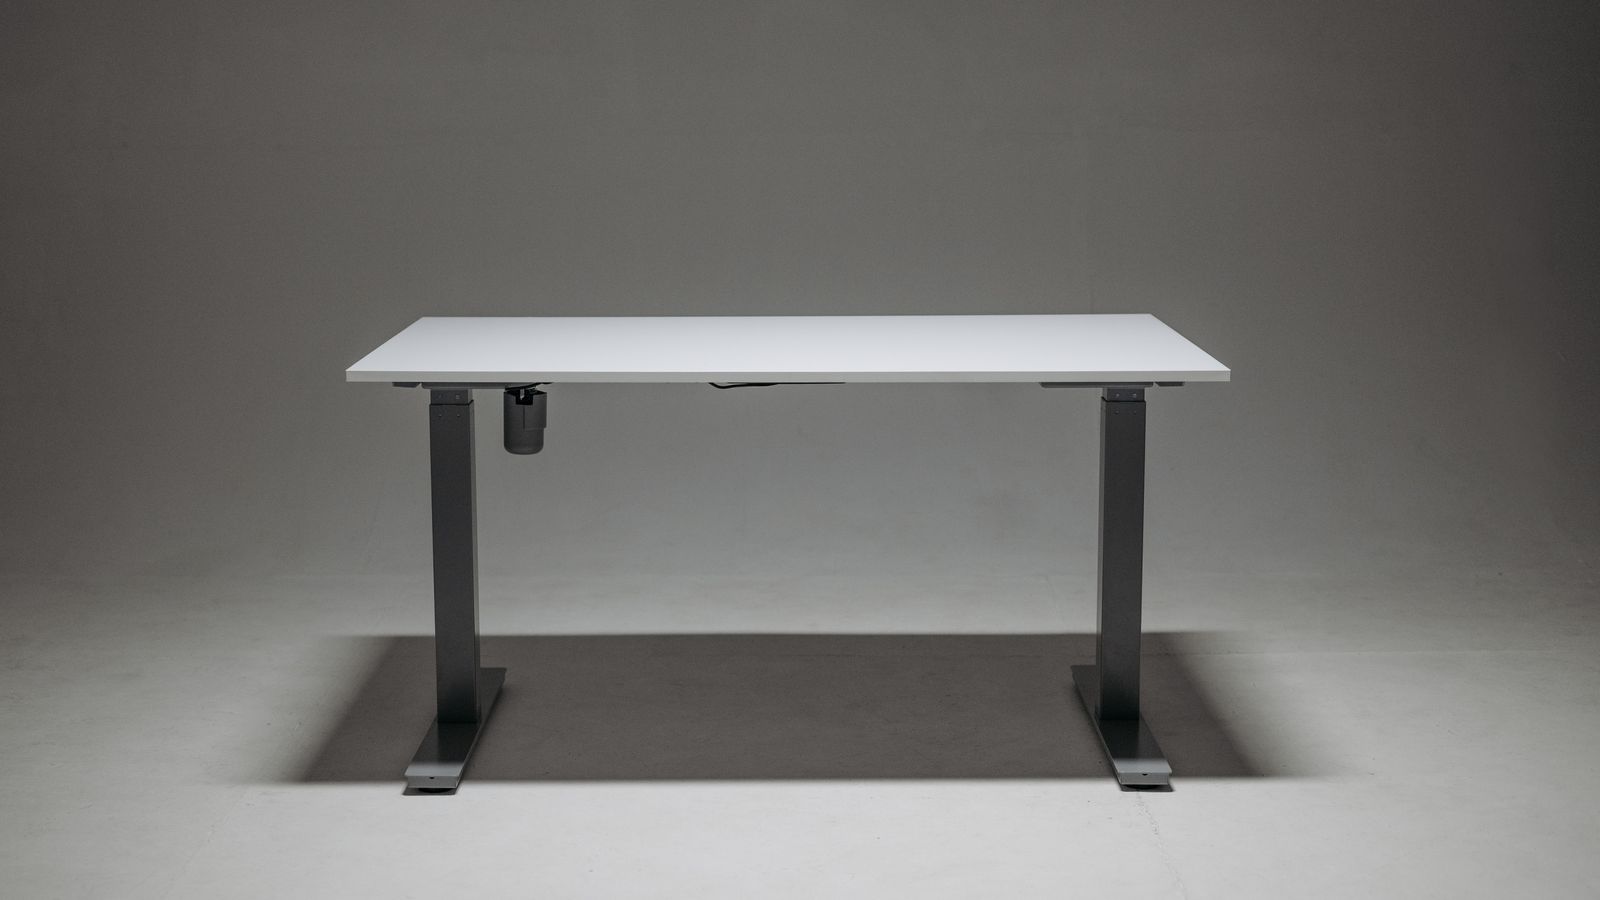
Benefits of a Standing Desk Converter
Unlike a full standing desk, a converter is affordable, portable, and requires no assembly of an entire frame. It lets you alternate between sitting and standing throughout the day, which can reduce back discomfort, improve circulation, and help you stay more alert during long work sessions. Because it sits on top of your current desk, you keep the furniture you already own and simply add flexibility on top.
Choosing the Right Converter for Your Desk
Before setup, confirm your existing desk has enough surface area and depth to accommodate the converter’s footprint, and check its weight capacity against your monitor, keyboard, and any accessories. Not all converters are created equal, so comparing the best standing desk converters and the best stand-up desk converters can help you find a model with the right size, weight capacity, and lift mechanism for your setup. Pay attention to the maximum height too, since taller users need a converter that raises high enough for a neutral standing posture.
Tools and Prep
- A tape measure to confirm your desk depth and available space
- A clear, flat section of your desk to place the converter
- Your keyboard, mouse, and monitor ready to transfer over
- An assistant, if your converter and monitor are heavy
Step-by-Step: Setting Up Your Standing Desk Converter
- Clear a flat section of your existing desk that’s large enough for the converter’s base, leaving a few inches of clearance on all sides.
- Unbox the converter and check for any included assembly parts, such as risers, clamps, or a keyboard tray, referring to the manufacturer’s instructions.
- Place the converter’s base directly on your desk surface, positioning it centered with your chair and existing sightline.
- If the converter includes a keyboard tray, attach it according to the included hardware, making sure it slides smoothly.
- Test the lift mechanism a few times while empty to get a feel for the resistance and range of motion before adding your equipment.
- Place your monitor on the upper platform, centered and roughly at eye level when standing, adjusting a monitor riser if needed.
- Set your keyboard and mouse on the lower tray or platform, positioned so your elbows can rest at roughly a 90-degree angle.
- Raise the converter to standing height and check that your wrists, elbows, and eye line all feel neutral and comfortable.
- Lower it back to sitting height and repeat the check, adjusting monitor height with risers or arm mounts if there’s a mismatch between sitting and standing eye level.

Dialing In Your Ergonomics
Proper ergonomics is what makes a standing desk converter worth using. When standing, your elbows should bend at roughly a 90-degree angle with your forearms parallel to the floor, and your monitor’s top edge should sit at or just below eye level about an arm’s length away. If your monitor is too low when standing, add a small riser on the upper platform. Taking the time to fine-tune these positions prevents the wrist, shoulder, and neck strain that comes from an improperly set up workstation.
Ergonomic Tips for Everyday Use
- Alternate between sitting and standing every thirty to sixty minutes rather than standing for extended periods
- Keep your monitor an arm’s length away regardless of sitting or standing position
- Use an anti-fatigue mat if you plan to stand for longer stretches
- Pair your converter with a supportive chair for your seated intervals
- Shift your weight and move your feet occasionally instead of standing rigidly still
Understanding Lift Mechanisms
Standing desk converters generally use one of a few lift styles, and knowing the difference helps you set yours up smoothly. Gas-spring (pneumatic) models rise and lower with a squeeze of a handle and require the least effort, making them ideal for frequent transitions. Z-lift and X-lift designs fold up and down and are typically more affordable, though they may need a bit more force. Post or column lifts move straight up and down and often offer the largest work surface. Whichever type you have, practice the motion a few times empty so the transition feels natural before your gear is loaded on.
Managing Cables and Accessories
Because the top surface moves up and down, cable slack matters more than on a fixed desk. Leave enough length in your monitor, power, and peripheral cables so they aren’t pulled taut at full height, and use clips or a small cable channel to keep them tidy as the platform travels. If you use a laptop or webcam, route those cables the same way. Taking a minute to manage cables prevents snags that could pull equipment or interrupt your workflow mid-transition.
Building a Healthy Sit-Stand Routine
Simply owning a converter isn’t enough; the benefits come from actually alternating positions. A good starting rhythm is to stand for a portion of each hour and sit for the rest, gradually increasing your standing time as your body adapts. Listen to your feet, legs, and lower back, and sit down before you feel fatigued rather than pushing through discomfort. Pairing your standing intervals with brief stretches or a short walk amplifies the circulation and energy benefits even further.
Common Mistakes to Avoid
- Placing the converter too close to the edge of the desk, risking instability
- Overloading the converter beyond its rated weight capacity with multiple monitors or accessories
- Ignoring monitor height adjustments, leading to neck strain while standing
- Standing for too long without breaks, which can cause fatigue rather than improve comfort
- Choosing a converter that doesn’t rise high enough for your height
Frequently Asked Questions
Will a standing desk converter fit any desk?
Most converters work on standard desks, but it’s important to measure your desk’s depth and available surface area first to ensure a proper, stable fit.
How much weight can a standing desk converter hold?
Weight capacity varies by model, typically ranging from around 20 to 35 pounds, so check the specific converter’s rating against your monitor and accessory weight.
Is it hard to switch between sitting and standing throughout the day?
Not with a quality converter. Most models use gas-spring or crank mechanisms that allow smooth, quick transitions in just a few seconds.
Do I need an anti-fatigue mat?
It’s not required, but a cushioned anti-fatigue mat makes longer standing sessions much more comfortable by reducing pressure on your feet and legs.
Final Thoughts
Setting up a standing desk converter is a quick, low-cost way to add healthier movement into your workday without buying a brand-new desk. Once your existing desk is properly configured, you’ll likely find yourself standing more often simply because it’s so easy to switch. For more options tailored to your space, take a look at the best standing desk converters before making your final choice.









