
 Owen Bradley
 A home server or Network Attached Storage (NAS) device turns your house into a private cloud, letting you centralize photos, backups, documents, and media so every device on your network can reach them from one reliable location. Setting one up looks intimidating the first time, but the process breaks down into a handful of predictable stages: choosing hardware, wiring it into your network, configuring storage and redundancy, and locking down remote access. This guide walks through each step in detail so you can get a dependable home server running in a single afternoon, even if you have never touched a NAS before.
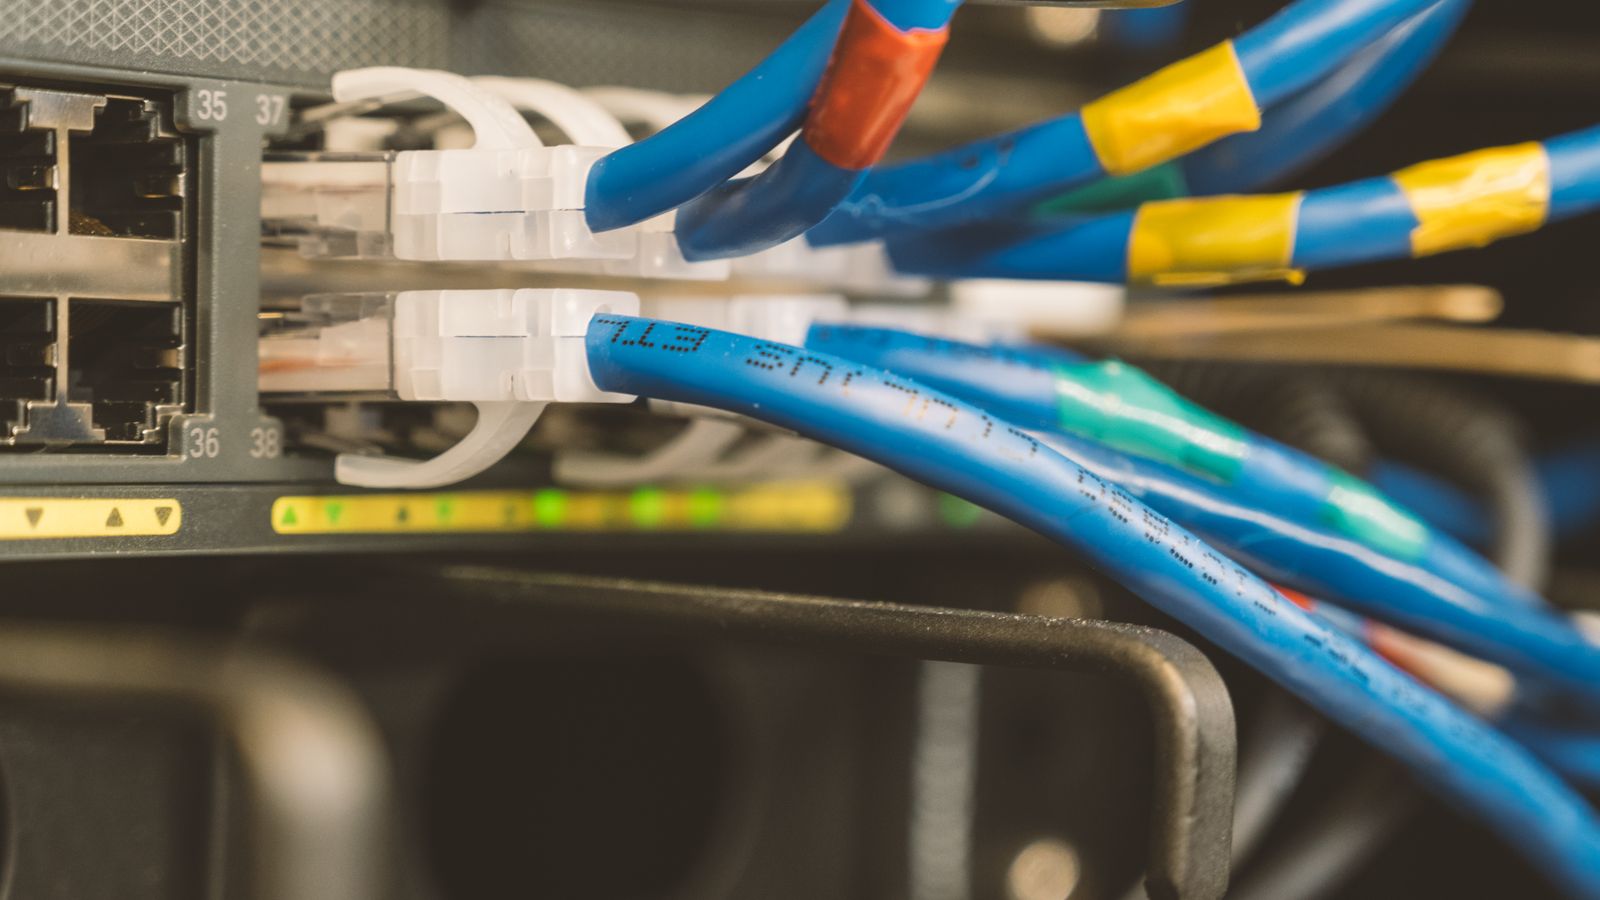
Why Build a Home Server or NAS
The appeal of a home server comes down to control and cost. Instead of paying a monthly subscription for cloud storage you never fully own, a NAS gives you unlimited local capacity that scales as you add drives. You get automatic backups of every computer in the house, a central media library you can stream to TVs and phones, and secure remote access to your files from anywhere without handing your data to a third party. For households with photographers, remote workers, or large media collections, the payback in convenience and privacy is significant.
What You Need Before You Start
Before touching any hardware, gather the essentials. A wired connection is strongly preferred over Wi-Fi for a server, since Ethernet offers far more stable throughput and lower latency for the large file transfers a NAS handles daily.
- A NAS enclosure (2-bay or 4-bay) or a repurposed desktop PC
- Two or more hard drives of matching capacity for redundancy
- A Category 5e or Category 6 Ethernet cable
- A free LAN port on your router or a network switch
- Your router admin credentials for DHCP reservation and access settings
- A laptop or desktop on the same network for initial configuration
If your existing router struggles to keep up with multiple simultaneous connections, it may be worth reviewing some of the best routers for NAS setups, since NAS traffic benefits from strong Gigabit or multi-gig LAN ports, generous throughput, and stable firmware that won’t choke under sustained transfers.
Choosing Your Hardware
Your first real decision is between a purpose-built NAS enclosure and a do-it-yourself server built from a spare PC. A dedicated NAS is quieter, far more power-efficient, and ships with polished software for storage, backups, and remote access. A repurposed PC offers more raw horsepower for the money and total flexibility, but it draws more electricity, takes up more space, and requires you to install and maintain the server operating system yourself. For most first-time builders, a two- or four-bay NAS enclosure is the path of least resistance.
Drive choice matters just as much as the enclosure. Look for drives rated for NAS or 24/7 operation, since desktop drives are not designed for the constant vibration and uptime of an always-on server. Buy drives of identical capacity so your redundancy configuration uses every gigabyte efficiently.
Step-by-Step Setup Process
- Unbox and install the drives. Slide your hard drives into the NAS bays, following the tray instructions. If you are using a spare PC, mount the drives internally or connect them through a reliable dock.
- Connect power and network. Plug the NAS into a surge-protected outlet, then run an Ethernet cable directly from the NAS to your router or a network switch.
- Power on and locate the device. Most NAS brands provide a discovery tool or web address you open on a laptop to find the device automatically on your local network.
- Run the initial setup wizard. This formats the drives, installs the NAS operating system, and prompts you to create an administrator account with a strong password.
- Choose your storage configuration. Select a RAID or redundancy mode during setup so a single drive failure won’t wipe out your data.
- Create shared folders. Set up separate folders for photos, documents, backups, and media, and assign permissions so only the right household members can reach each one.
- Install core applications. Add a backup utility, a media server package, and any file sync client you plan to use across your devices.
- Reserve a fixed local IP address. In your router settings, create a DHCP reservation so the NAS always keeps the same address after a reboot.
- Enable remote access carefully. Use the manufacturer’s secure relay service or a VPN rather than opening ports directly to the internet whenever possible.
- Run a test backup. Back up one computer end to end and confirm you can restore a file, proving the whole system works before you rely on it.
Choosing the Right RAID Configuration
RAID determines how your drives work together for performance and redundancy, and it is the single most important storage decision you will make.
RAID 1 (Mirroring)
RAID 1 writes identical copies to two drives, so one can fail completely without any data loss. You lose half your total capacity to the mirror, but for a simple two-bay setup it is the safest and easiest option, and it is the configuration most first-time users should choose.
RAID 5 and RAID 6
RAID 5 spreads data and parity across three or more drives, giving you more usable capacity while still tolerating a single drive failure. RAID 6 adds a second parity layer so two drives can fail at once, which is worthwhile for larger four-bay-and-up arrays holding irreplaceable data.
Why RAID Is Not a Backup
It is critical to understand that RAID protects against hardware failure, not accidental deletion, ransomware, fire, or theft. You still need a separate backup, ideally one copy stored off-site or in the cloud, following the classic 3-2-1 rule of three copies on two types of media with one off-site.
Securing Your Home Server
A NAS holding your family photos and financial documents is a tempting target if exposed carelessly. Change the default administrator username and password immediately, since attackers scan the internet for factory logins. Enable two-factor authentication if your NAS supports it, and keep the firmware updated because updates frequently patch serious vulnerabilities. Avoid exposing the NAS web interface directly to the internet; instead, rely on the vendor’s secure remote access app or set up a VPN on your router so all remote traffic is encrypted end to end. Finally, disable any services you are not using, since every open service is another potential entry point.
Common Mistakes to Avoid
- Treating the NAS as the only copy of important files and skipping backups entirely.
- Leaving a weak or default password on the administrator account.
- Placing the NAS on Wi-Fi instead of a wired Ethernet connection, throttling transfer speeds.
- Forgetting to reserve a static local IP, causing shared drives to disconnect after a reboot.
- Ignoring firmware updates that patch security holes and stability bugs.
- Mixing mismatched drive capacities and wasting usable storage in the array.
Frequently Asked Questions
Do I need a NAS enclosure, or can I use an old computer?
An old computer can work as a basic home server, but a dedicated NAS enclosure is more power-efficient, far quieter, and ships with purpose-built software for storage management, backups, and secure remote access, which saves a lot of setup time.
How much storage do I actually need?
For photo and document backups, 2-4TB is usually plenty for a household. If you plan to store a large media library, consider 8TB or more, and always leave room to grow since storage needs tend to expand faster than you expect.
Is it safe to access my NAS from outside my home?
Yes, as long as you use encrypted remote access methods like the manufacturer’s secure app or a VPN, rather than directly forwarding ports, which needlessly exposes your network to attack.
How often should I replace the drives?
NAS drives commonly last 3-5 years or more, but you should monitor drive health through the NAS dashboard and replace any drive showing warning signs immediately, restoring redundancy before a second drive can fail.
Final Thoughts
Setting up a home server or NAS is one of the most rewarding weekend networking projects you can tackle. Once it is running, you get automatic backups, a centralized media library, and remote file access without depending on someone else’s cloud. Take the time to plan your RAID configuration, lock down security, and confirm a working backup up front, and your home server will run reliably for years with only minimal maintenance.









