
 Owen Bradley
 Two smoke alarms can look identical on the ceiling and detect fire in completely different ways. One watches for light scattered by smoke particles; the other watches for a tiny electrical current being disturbed. That difference decides how quickly each responds to a smouldering sofa versus a flash fire in a wastepaper basket, and it explains why one alarm shrieks every time you make toast while another stays silent. This guide explains photoelectric and ionization sensing in plain terms, compares their real strengths, and sets out what to install where so your home is genuinely protected rather than merely compliant.
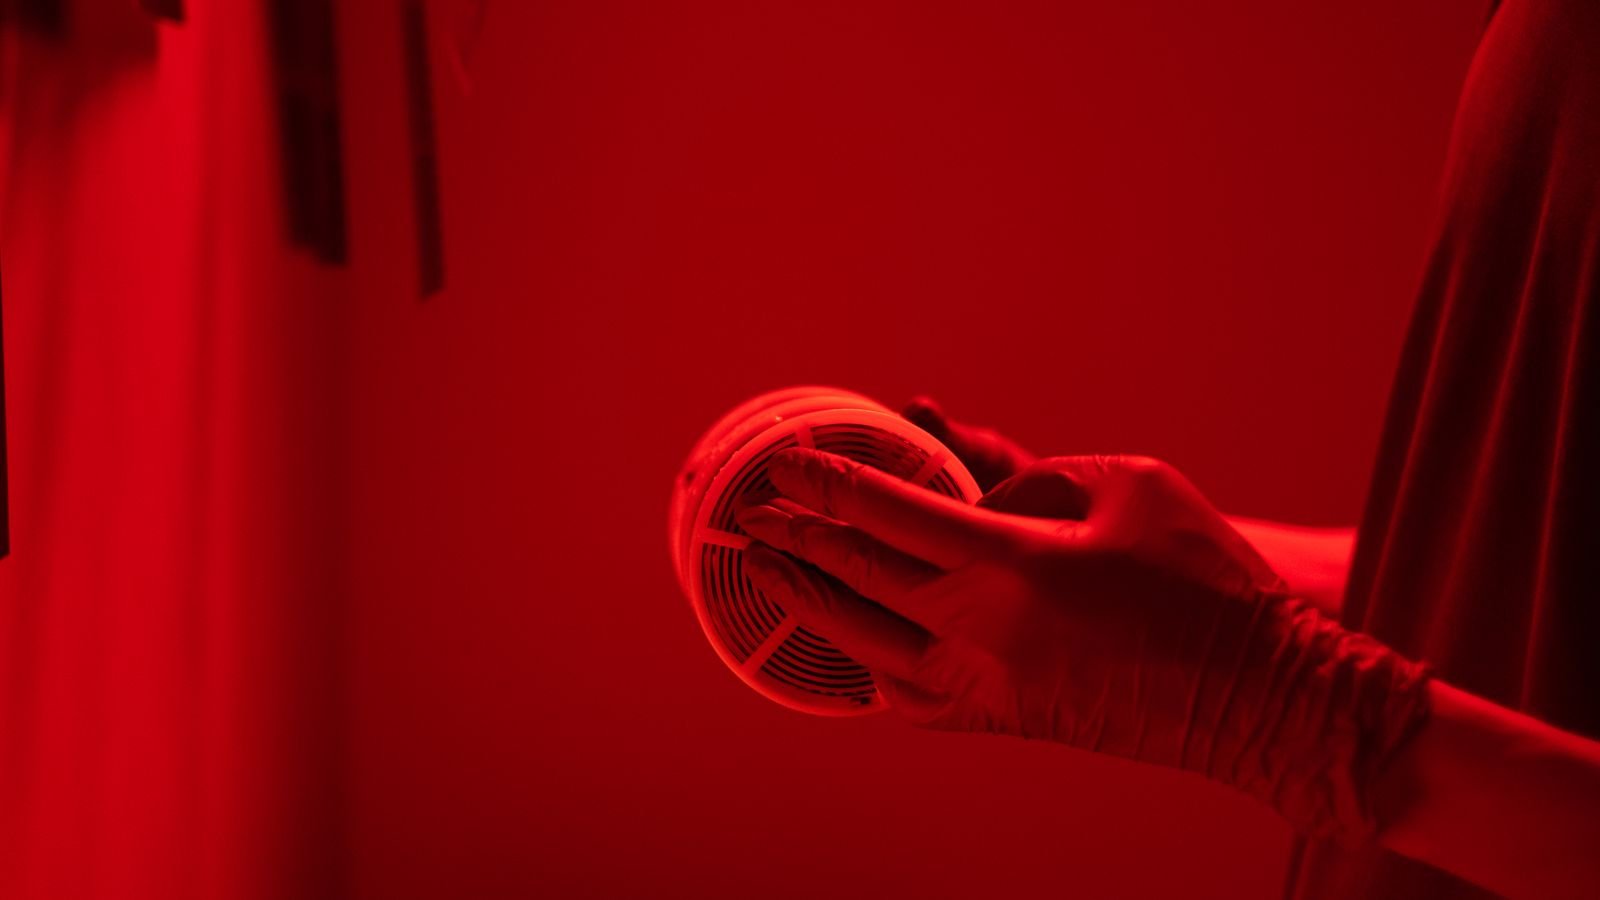
How Photoelectric Detection Works
A photoelectric alarm contains a small chamber with a light source pointing across it and a light sensor positioned off to one side, deliberately out of the beam’s path. In clean air, the sensor sees nothing. When smoke drifts into the chamber, its particles scatter the light in all directions, some of it striking the sensor. Once the scattered light crosses a threshold, the alarm sounds.
This mechanism responds best to large, visible smoke particles, which is exactly what smouldering combustion produces. A cigarette dropped into upholstery, an overheating electrical cable, or a mattress fire can smoulder for tens of minutes, filling a room with dense grey smoke long before any flame appears. Photoelectric sensing catches that phase early, and since smouldering fires kill more people than flaming ones in residential settings, that head start is significant.
How Ionization Detection Works
An ionization alarm uses a minute quantity of radioactive material to ionise the air inside a chamber, creating a small, steady current between two electrodes. Combustion particles entering the chamber attach to those ions, neutralising them and reducing the current. When the drop is large enough, the alarm triggers.
Because it detects invisible particles rather than visible smoke, this method is highly sensitive to fast-flaming fires. Paper, flammable liquids, and dry kindling burn hot with relatively little visible smoke, and an ionization sensor can register those combustion products before a photoelectric unit notices anything. The radioactive source is sealed and the quantity is very small, so the health risk in normal use is negligible, though disposal rules vary by region.
The Nuisance Alarm Problem
This is the practical difference most households actually notice. Ionization alarms are far more prone to false triggers from cooking, steam, and shower humidity, because those same invisible particles look like a fire to the sensor. That matters more than it sounds. A nuisance alarm is not just annoying; it is the leading cause of alarms being disabled. Batteries get removed, units get taken down, and the household then has no protection at all.
Photoelectric alarms tolerate kitchen and bathroom conditions considerably better, which is why they are the recommended choice anywhere near a cooking area or a steamy hall. If you have ever removed a battery to stop a beeping unit during dinner, the sensor type is almost certainly the reason, and swapping to one of the best photoelectric smoke alarms usually ends the problem entirely.
Dual-Sensor and Combination Units
The obvious conclusion is that you want both technologies, and manufacturers agree. Dual-sensor alarms house both chambers in one body and trigger on either. They deliver the broadest coverage from a single device and are the simplest way to avoid choosing.
The trade-off is that they inherit some of the ionization sensor’s nuisance sensitivity, so a dual unit directly outside a kitchen may still complain about frying. Many models mitigate this with a hush button and smarter algorithms that require sustained signal rather than a momentary spike.
A separate category worth understanding is the combination smoke and carbon monoxide alarm. Carbon monoxide is a completely different hazard, detected by a different electrochemical cell, and is not caught by any smoke sensor. Combination units save ceiling space and simplify installation, though the CO cell has a shorter service life than the smoke sensor, which usually dictates when the whole unit gets replaced. Our roundup of the best combination smoke and carbon monoxide detectors compares the sensor lifespans directly.
Power Options: Battery, Hardwired, and Sealed
- Replaceable battery: cheapest, installs anywhere, and requires annual battery changes plus the low-battery chirp that always starts at three in the morning.
- Sealed ten-year lithium: no battery changes for the unit’s entire life. The battery and alarm are retired together, which conveniently enforces the replacement schedule.
- Hardwired with battery backup: mains powered, so no runtime concerns, with a cell that carries it through outages. Standard in new construction and required by code in many places; see the best hardwired smoke alarms for compatible retrofit models.
- Smart alarms: send phone alerts, name the room that triggered, and let you silence from an app. Genuinely useful for anyone who travels or has an elderly relative living alone.
Interconnection: The Upgrade Most Homes Skip
A standalone alarm in the basement sounding at two in the morning will not reliably wake someone on the second floor behind a closed door. Interconnected alarms solve this: when any unit detects smoke, every unit in the house sounds. In a multi-storey home this is arguably a bigger safety improvement than the sensor type debate.
Hardwired systems interconnect over a third conductor between units. Wireless interconnection achieves the same result using a radio link, which makes it a realistic retrofit for houses without existing alarm wiring. Better systems also announce the location, so you hear which room is affected rather than a uniform screech from every ceiling, which matters enormously when deciding which way to evacuate. The best interconnected smoke alarms cover both wired and wireless linking options.
Placement Rules That Change Outcomes
- Install one inside every bedroom, one outside each sleeping area, and at least one on every level including basements.
- Keep at least 10 feet from cooking appliances where practical, and use photoelectric sensing when the distance is unavoidable.
- Mount on the ceiling where possible, since smoke rises. Wall mounting is acceptable but should sit within 12 inches of the ceiling.
- Stay clear of corners. The dead air space where wall meets ceiling can delay smoke reaching the sensor.
- Avoid vents, fans, and windows, which can push smoke away from the unit.
- On a sloped ceiling, mount within 3 feet of the peak but not at the apex itself.
- Do not install in unconditioned attics or garages, where dust and temperature extremes cause false alarms and premature failure.
Testing, Cleaning, and Replacement
The test button verifies the sounder and the electronics, not the sensing chamber itself. It is still worth pressing monthly because a failed sounder is a silent failure. Vacuum the exterior vents every few months, since dust and insects inside the chamber are a leading cause of both false alarms and delayed response.
Every smoke alarm has a finite life, generally ten years from the date of manufacture printed on the back, not from the date you installed it. Sensor chambers drift and become less sensitive over time, so an old alarm that passes its test button may still respond too slowly. Combination CO units are often rated for seven to ten years. Write the replacement date on the unit with a marker when you install it, and replace the whole set at once rather than piecemeal.
Building a Sensible Whole-Home Setup
A practical plan for most houses looks like this. Use photoelectric units in hallways adjacent to kitchens and bathrooms, where nuisance resistance matters most. Use dual-sensor or ionization units in bedrooms, living rooms, and near sleeping areas where fast-flaming risks such as electrical faults and heaters exist. Add at least one carbon monoxide detector near sleeping areas if you have any fuel-burning appliance, fireplace, or attached garage. Interconnect everything, ideally wirelessly if retrofitting.
Budget realistically. Protecting a typical house properly takes more units than people expect, and the total cost is still modest against what it protects. Buying a multi-pack of matched, interconnectable alarms is almost always cheaper and simpler than assembling a mixed collection that cannot talk to each other.
Frequently Asked Questions
Which type should I buy if I can only choose one?
Photoelectric, in most homes. It responds well to the smouldering fires that cause the majority of residential deaths and produces far fewer nuisance alarms, so it is more likely to stay installed and working.
Are ionization alarms unsafe because they contain radioactive material?
No. The source is sealed and the amount is tiny, posing no risk during normal use. Follow local guidance for disposal rather than putting them in ordinary household waste.
Can I mix the two types in one house?
Yes, and it is a good strategy. Place photoelectric units near kitchens and bathrooms and dual-sensor or ionization units elsewhere, provided they can all interconnect.
Why does my alarm chirp once a minute?
Usually a low battery. If replacing it does not stop the chirp, the unit has likely reached its end-of-life and is signalling that it must be replaced.
Do smoke alarms detect carbon monoxide?
No. Carbon monoxide requires a dedicated electrochemical sensor. You need either separate CO detectors or combination units that include both technologies.
Final Thoughts
The photoelectric versus ionization debate has a practical answer rather than a purely technical one. Photoelectric sensing catches the slow, smoky fires that do most of the killing and rarely cries wolf over cooking, which makes it the safer default and the one most likely to still be on the ceiling in two years. Ionization adds genuine value against fast-flaming fires, best deployed as part of a dual-sensor unit away from kitchens. Whichever you choose, interconnection, correct placement, and honouring the ten-year replacement date will do more for your household’s safety than any argument about sensing chambers.










Comments are closed.
No reviews yet. Be the first to share your experience!