
 Owen Bradley
 Overclocking a CPU used to be the fastest free upgrade in computing. Today the headroom is smaller, because processors ship close to their limits and boost algorithms already squeeze out most of the available speed automatically. Even so, a careful manual overclock can still deliver meaningful gains in sustained multi-core workloads, and the process teaches you more about your hardware than any benchmark result. The key word is careful. This guide walks through checking whether your parts support overclocking at all, the settings that matter, how to raise clocks in safe increments, how to stress test honestly, and how to recognize the point where you should stop.
Can Your System Actually Overclock?
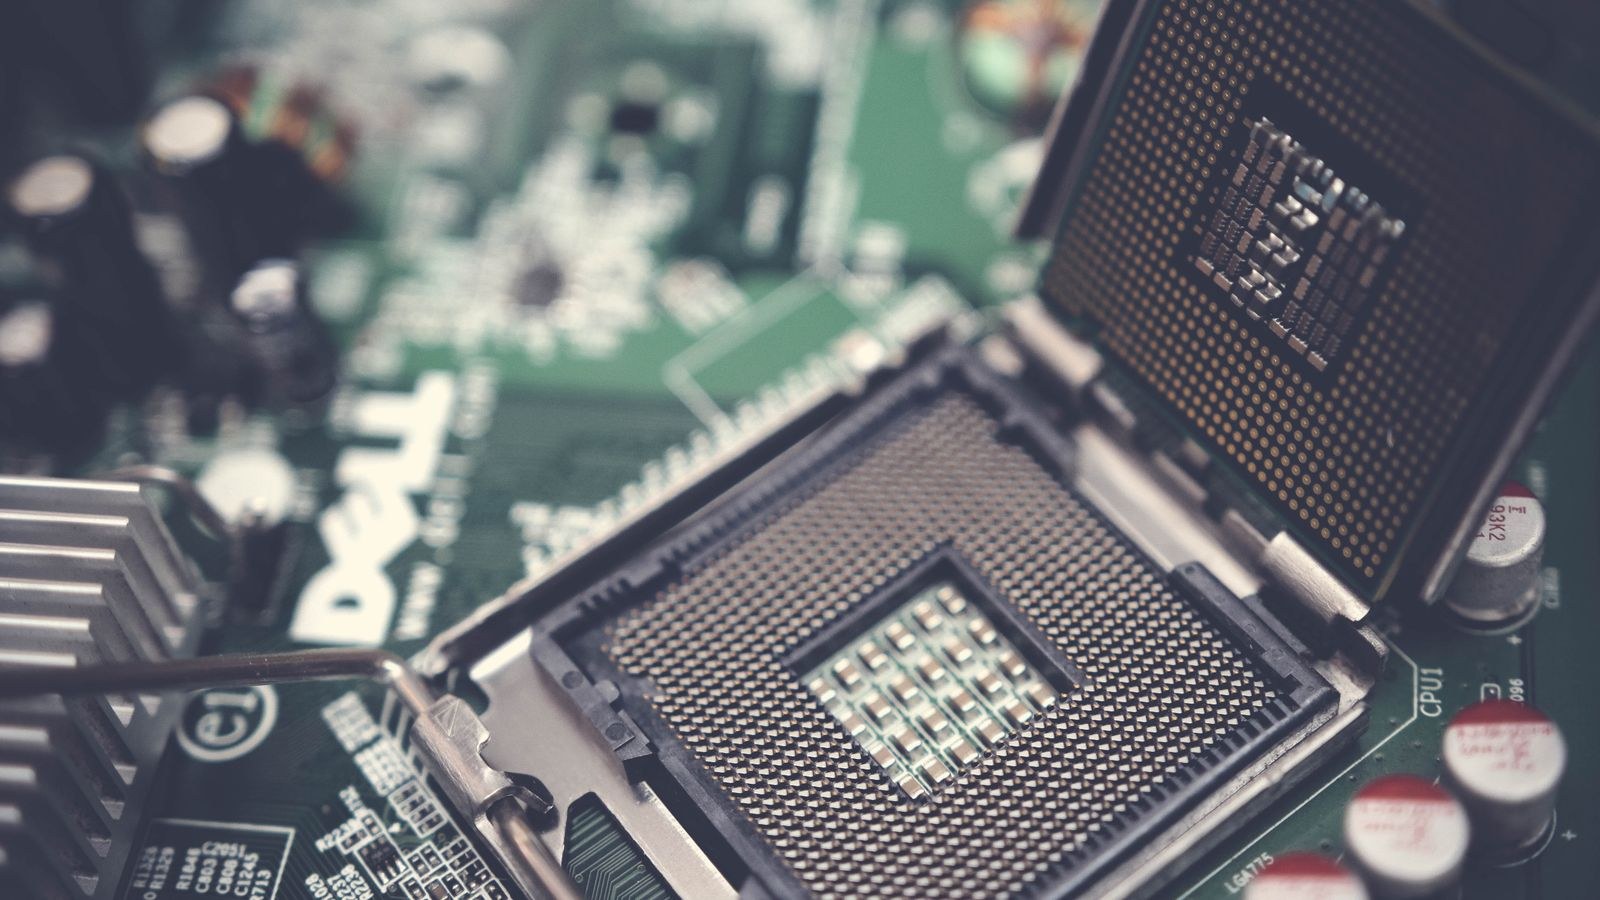
Three things must line up before you change a single setting. First, the processor itself must have an unlocked multiplier. On the Intel side that traditionally means a K or KF suffix, while most modern AMD desktop chips are unlocked as standard. If your chip is locked, no amount of BIOS tinkering will raise its multiplier.
Second, the motherboard chipset must permit it. Enthusiast chipsets support full manual control, while entry-level boards often restrict voltage adjustment or lack the power delivery to sustain higher currents. Look at the board’s voltage regulator module and whether it has heatsinks on the components beside the socket. A cheap board with a weak VRM will throttle or run dangerously hot long before the processor does.
Third, cooling must have headroom. Overclocking raises heat output faster than it raises performance because power scales roughly with the square of voltage. A stock cooler is not enough for anything beyond trivial gains. If you are assembling a system with overclocking in mind, start with parts chosen for it: the best CPUs for overclocking have the most headroom, paired with one of the best motherboards for overclocking for stable power delivery.
What You Need Before You Start
- A capable cooler. A large dual-tower air cooler or a 240mm or larger liquid cooler. Browse the best CPU coolers for overclocking for options with real thermal headroom.
- A power supply with margin. Overclocking increases sustained current draw, and transient spikes get sharper. The best PSUs for overclocking offer the stable rails and wattage headroom this demands.
- Quality thermal interface material. Mounting pressure and paste quality both matter more at higher power. See the best thermal paste for overclocking for compounds that hold up under sustained heat.
- Monitoring software that reports per-core clocks, package temperature, effective voltage, and power draw in watts.
- A stress testing tool plus a separate stability checker, since different tools expose different weaknesses.
- A written baseline. Record stock clocks, idle and load temperatures, voltage, and a benchmark score before touching anything.
Step-by-Step: Overclocking Your CPU
- Establish and record a baseline. Run a multi-core benchmark and a twenty-minute stress test at stock settings. Note the peak temperature, the sustained clock speed, and the package power in watts. Without this you cannot tell whether your overclock helped or merely made things hotter.
- Update your BIOS. Firmware updates frequently improve voltage control and memory compatibility. Do this before tuning, because a later update will reset your settings anyway.
- Enter BIOS and disable automatic overclocking features. Turn off vendor auto-tuning, then set the load-line calibration to a moderate level rather than the maximum. Aggressive load-line settings cause voltage overshoot during transitions, which is a common cause of degradation.
- Set a manual voltage as your starting point. Begin conservatively, around 1.25 volts for most modern desktop processors, and set a firm ceiling you will not exceed. For daily use, 1.35 volts is a widely accepted upper limit on air or liquid cooling, and going beyond that accelerates wear.
- Raise the core multiplier by one step. One multiplier equals roughly 100MHz. Apply the change to all cores, save, and boot into the operating system.
- Run a short stability test. Five to ten minutes is enough at this stage. If it passes without errors and temperatures stay reasonable, return to BIOS and add another multiplier step.
- Repeat until instability appears. Sooner or later the system will fail to boot, crash during testing, or throw an error. That is the boundary of what your current voltage supports.
- Decide whether to add voltage. Increase in small increments of 0.01 to 0.02 volts, then retest. If you reach your voltage ceiling or your temperature limit before the next multiplier is stable, stop and step back one multiplier.
- Watch temperature as the real limit. Keep sustained load temperatures under 85 degrees Celsius. If you hit that before your voltage ceiling, cooling is your constraint, not silicon, and more voltage will only make things worse.
- Back off one step from your maximum. The highest setting that passed a ten-minute test is rarely stable for months. Drop one multiplier below your best result, or add a small amount of voltage at that clock, to build in margin.
- Run a long validation test. Two to four hours of mixed stress testing, then a full day of ordinary use including games, video work, and idle periods. Idle instability is real and often shows up as random reboots overnight.
- Save the profile. Store the settings in a named BIOS profile and write the values down separately. A CMOS reset or firmware update will wipe them, and reconstructing an overclock from memory is tedious.
Understanding the Key Settings
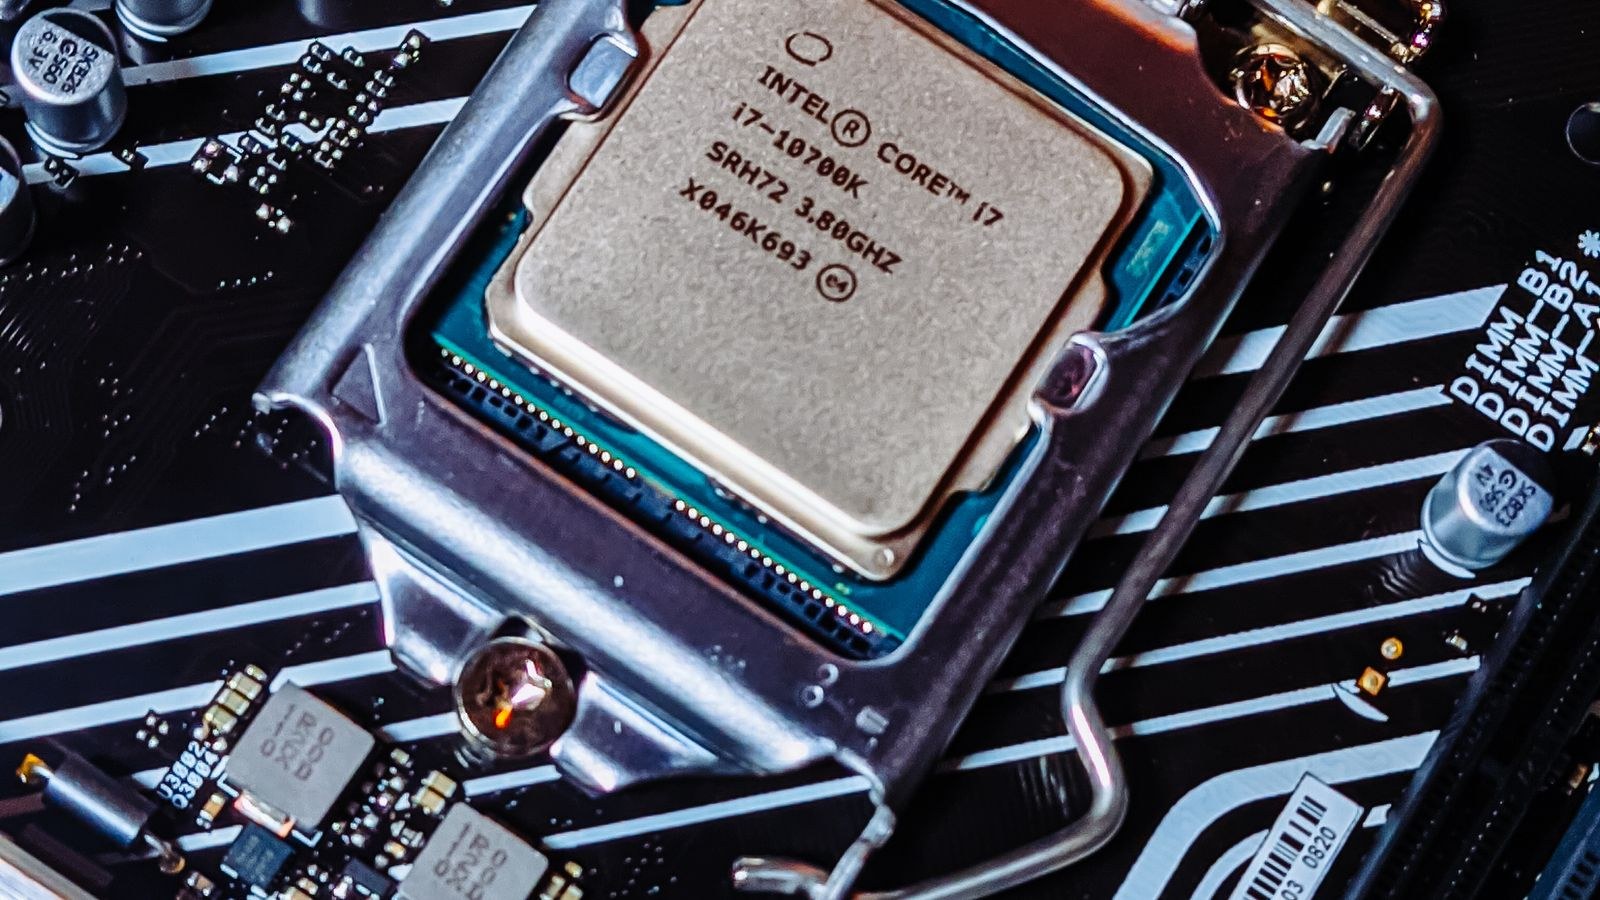
The core multiplier sets the final clock speed by multiplying the base clock, normally 100MHz. Adjusting the multiplier is the safe path. Adjusting the base clock itself also affects other buses and is best left alone unless you enjoy troubleshooting.
The core voltage determines how much electrical pressure the transistors receive. Higher clocks need more, but heat and long-term wear both scale sharply with it. This is the single setting that can genuinely damage hardware, so treat your self-imposed ceiling as absolute.
Load-line calibration compensates for voltage sag under sudden load. Moderate settings keep the voltage steady without overshooting; extreme settings deliver momentary spikes above your configured value, which is why benchmark-focused presets are a poor choice for daily systems.
Power and current limits cap how many watts and amps the processor may draw. Some boards raise these to effectively unlimited by default, which is itself a form of overclocking. Setting sensible limits gives you a predictable ceiling on heat.
Per-Core and Curve-Based Tuning
An all-core overclock sets every core to the same fixed speed, which is simple but sacrifices the high single-core boost frequencies your processor reaches on its own. Many users end up slower in games as a result. Per-core tuning, where the best cores get higher multipliers, preserves more of that behavior. Curve-based approaches go further, adjusting the voltage the chip requests at each frequency point rather than fixing one value, which usually delivers better sustained clocks and lower temperatures than a blunt all-core setting.
Safety Rules You Should Not Break
Change one variable at a time. If you raise the multiplier and the voltage together and the system crashes, you have no idea which caused it. Slow, single-variable steps take longer but produce a result you can actually understand and trust.
Respect the voltage ceiling. Electromigration is cumulative and irreversible: excessive voltage gradually degrades the silicon so that settings stable today fail months later, and eventually stock speeds become unstable too. Damage from voltage is not covered by warranty and cannot be undone by resetting the BIOS.
Never leave a stress test unattended on the first run. Watch the temperature climb for at least the first few minutes so you can abort before anything reaches a critical level. Keep the case closed during testing as well, since an open bench setup with a desk fan produces temperatures you will never see in daily use.
Troubleshooting Instability
If the system will not post, power off and clear CMOS using the jumper or rear-panel button; the board reverts to defaults. Every overclocking motherboard has this recovery path.
A blue screen or hard freeze under load normally means insufficient voltage for the requested clock. Add a small increment or reduce the multiplier by one. Crashes at idle or during light browsing are the opposite signal in disguise, often caused by voltage dropping too far during low-power states, and a slightly higher minimum or a different power plan usually resolves them.
Thermal throttling shows up as clocks dropping below your configured speed under load. Check the cooler mount, reapply paste, or accept a lower clock. If errors appear only in memory-heavy tests, retest with memory at stock speeds to isolate the cause.
Common Mistakes
The biggest is copying someone else’s settings. Every processor is physically unique, and two identical models can differ by 200MHz or more at the same voltage. A value that is comfortable on one chip may be marginal on yours, so treat published numbers as a rough starting range, never a target.
The second is testing too briefly. A ten-minute pass proves almost nothing. Real instability often takes hours to appear, and the cost is corrupted files or a crash in the middle of important work. Validate over hours and days before you call an overclock finished.
Third is ignoring the diminishing returns. Squeezing the last 100MHz frequently requires a disproportionate voltage increase, adding significant heat and noise for a performance gain you will never perceive. Stopping one step short of the absolute maximum gives you nearly all the benefit with far more stability. Finally, do not overlook memory: on many platforms, enabling the memory profile and tuning timings delivers a bigger real-world improvement than core overclocking, for less risk.
Frequently Asked Questions
Does overclocking void my warranty?
Policies vary and have changed over the years. Manufacturers generally do not cover damage attributed to operation outside specification, though proving the cause after the fact is difficult. Assume you are accepting the risk yourself.
What temperature is too hot?
Keep sustained load temperatures under 85 degrees Celsius for comfort and longevity. Brief peaks into the low nineties during a stress test are survivable, since processors throttle automatically, but if that is your normal gaming temperature you have overclocked past what your cooling supports.
How much performance can I expect?
On modern processors, typically five to ten percent in sustained multi-threaded workloads, and often less in games where single-core boost already runs high. Older generations with more conservative stock behavior can gain considerably more.
Is undervolting a better option?
For many people, yes. Reducing voltage while keeping stock clocks lowers heat and noise, and can even raise sustained boost speeds because the chip stays within its power limit longer. It carries essentially no risk of damage, making it an appealing first experiment.
Final Thoughts
Safe overclocking is a discipline more than a skill. Confirm your processor, board, and cooler can support it, record a baseline, then move in single small steps while watching temperature and voltage. Set a voltage ceiling before you begin and treat it as non-negotiable, back off one step from your best result, and validate over hours rather than minutes.
Approach it that way and the worst outcome is a clear CMOS and a fresh start. Approach it by pasting in a stranger’s voltage numbers and you risk shortening the life of an expensive component for a gain you would not notice. The measured path is slower, but it is the one that leaves you with a faster machine you can still trust throughout 2026.









