
 Owen Bradley
 Most people only think about temperatures after something has already gone wrong: a game starts stuttering, fans scream during a loading screen, or the machine shuts itself off mid-match. Watching temperatures in real time turns that reactive scramble into something far more useful, because you can see heat building and clocks dropping as it happens, and connect a specific in-game moment to a specific sensor reading. This guide explains how to monitor CPU and GPU temperatures live, which of the many sensors on a modern system actually deserve your attention, what the safe ranges look like, and how to tell the difference between a machine running hot and a machine running badly.
Which Sensors Actually Matter
Open any monitoring tool and you are confronted with dozens of readings. Only a handful are worth watching regularly.
- CPU package temperature is the headline figure. It reports the hottest point across the processor die and is what the chip itself uses to decide when to throttle.
- Per-core temperatures matter when you suspect uneven cooler contact. Cores should sit within a few degrees of each other under an even load.
- GPU core temperature is the number the card advertises, measured across the main die.
- GPU hotspot or junction temperature is the highest single point on the die and runs meaningfully hotter than the core figure. On many cards this is the sensor that triggers throttling first.
- GPU memory junction temperature is exposed on cards with dense high-speed memory and is often the hottest reading in the whole system.
- Motherboard VRM temperature tells you whether the power delivery feeding your processor is coping, which matters with high-power chips.
- Storage temperature is worth a glance, since fast drives under a heat-trapping shroud can throttle during long transfers.
Alongside temperature, always log clock speed and fan RPM. Temperature without clock speed is half a story: a chip sitting at a comfortable 75 degrees while running 800MHz below its rated speed is not cool, it is throttled.
Choosing a Monitoring Approach
There are three ways to see the numbers, and each suits a different situation. A desktop monitoring application shows every sensor at once in a table and is best for diagnosis, when you want to inspect a system after a test run. A game overlay draws a compact readout on top of whatever you are playing, which is the only way to see what happens during the demanding moments that actually cause problems. A logging tool records everything to a file at a set interval, which is what you want for a long session where you cannot watch the screen the whole time.
Most builds benefit from all three: an overlay for daily awareness, a full application when investigating, and logging when you are testing a change.
Setting Up Real-Time Monitoring, Step by Step
- Install a sensor-reading tool that supports your specific motherboard chipset and graphics card. Older tools may not expose newer sensors such as memory junction temperature at all.
- Identify your sensors. Load the machine briefly and see which readings move. Boards often report several ambiguous temperature values, and watching which ones respond to load quickly separates the meaningful sensors from the decorative ones.
- Choose a sensible polling interval. One second is fine for general watching. If you are hunting a brief spike that precedes a crash, drop to 250 milliseconds, accepting that log files grow quickly.
- Enable the in-game overlay and select only what you need: CPU package temperature and clock, GPU core temperature and clock, GPU hotspot, frame rate, and frame time. A cluttered overlay is one you stop reading.
- Position the overlay in a corner that does not cover the game’s own interface, and keep the font small enough to ignore until you want it.
- Record an idle baseline. Ten minutes at the desktop with nothing running. Note the numbers and the room temperature. Every future reading is judged against this.
- Record a load baseline. Thirty minutes of a demanding game, logged to file. Note peak and sustained temperatures for each sensor and the clock speeds that accompanied them.
- Set alert thresholds if your tool supports them, so a warning appears when a sensor crosses a limit rather than requiring you to notice.
Safe Temperature Ranges
Modern components are designed to run warm, and a number that looks alarming is often perfectly normal. For a desktop processor, idle readings of 30 to 45 degrees Celsius in a typical room are healthy. Sustained gaming loads commonly land between 60 and 80 degrees. Heavy all-core work such as rendering or compilation regularly pushes into the low 90s on chips that boost aggressively, and this is by design rather than a fault.
Graphics cards under gaming load typically sit between 60 and 80 degrees on the core sensor. The hotspot reading usually runs 10 to 20 degrees above that. Memory junction temperatures in the 85 to 95 degree range are common and within specification for most cards, though sustained readings above 100 degrees warrant attention.
The trend matters more than any single value. A processor that climbs steadily to 75 degrees and stays there is fine. One that climbs past 95 within two minutes and stays pinned there while clocks fall is telling you the cooling cannot keep up.
Reading Throttling Correctly
Throttling is not always a problem. Modern chips boost opportunistically until they hit a thermal, power, or current limit, so brushing a limit occasionally is normal behaviour. What concerns you is sustained thermal throttling, where the temperature is pinned at the ceiling and clocks are visibly reduced for the whole session. Watch for clock speed dropping while temperature holds steady at a round number such as 95 or 100 degrees; that flat line is the signature of a chip actively holding itself back.
What the Patterns Tell You
Different failures produce distinctive shapes in the data. A rapid spike within the first minute of load points to poor cooler contact, since the heat has nowhere to go. A slow climb over twenty or thirty minutes points to case airflow, because the cooler is working but the case is recirculating warm air. Large gaps between individual core temperatures point to uneven mounting pressure on one side of the cooler.
If your processor sits fine but the graphics card climbs steadily while its fans stay quiet, check the fan curve, which is often set conservatively by default for noise reasons. If both components climb together and the case exhaust feels warm, the problem is the case rather than either cooler, and a chassis designed around airflow will do more than a bigger heatsink.
When Monitoring Says You Need Better Cooling
Data is only useful if it changes a decision. Once you have logged a full session, a few results genuinely justify spending money. If your processor throttles thermally in ordinary gaming, not just synthetic tests, the cooler is undersized for the chip. Browsing the best CPU coolers for gaming gives you a sense of the class you should be shopping in.
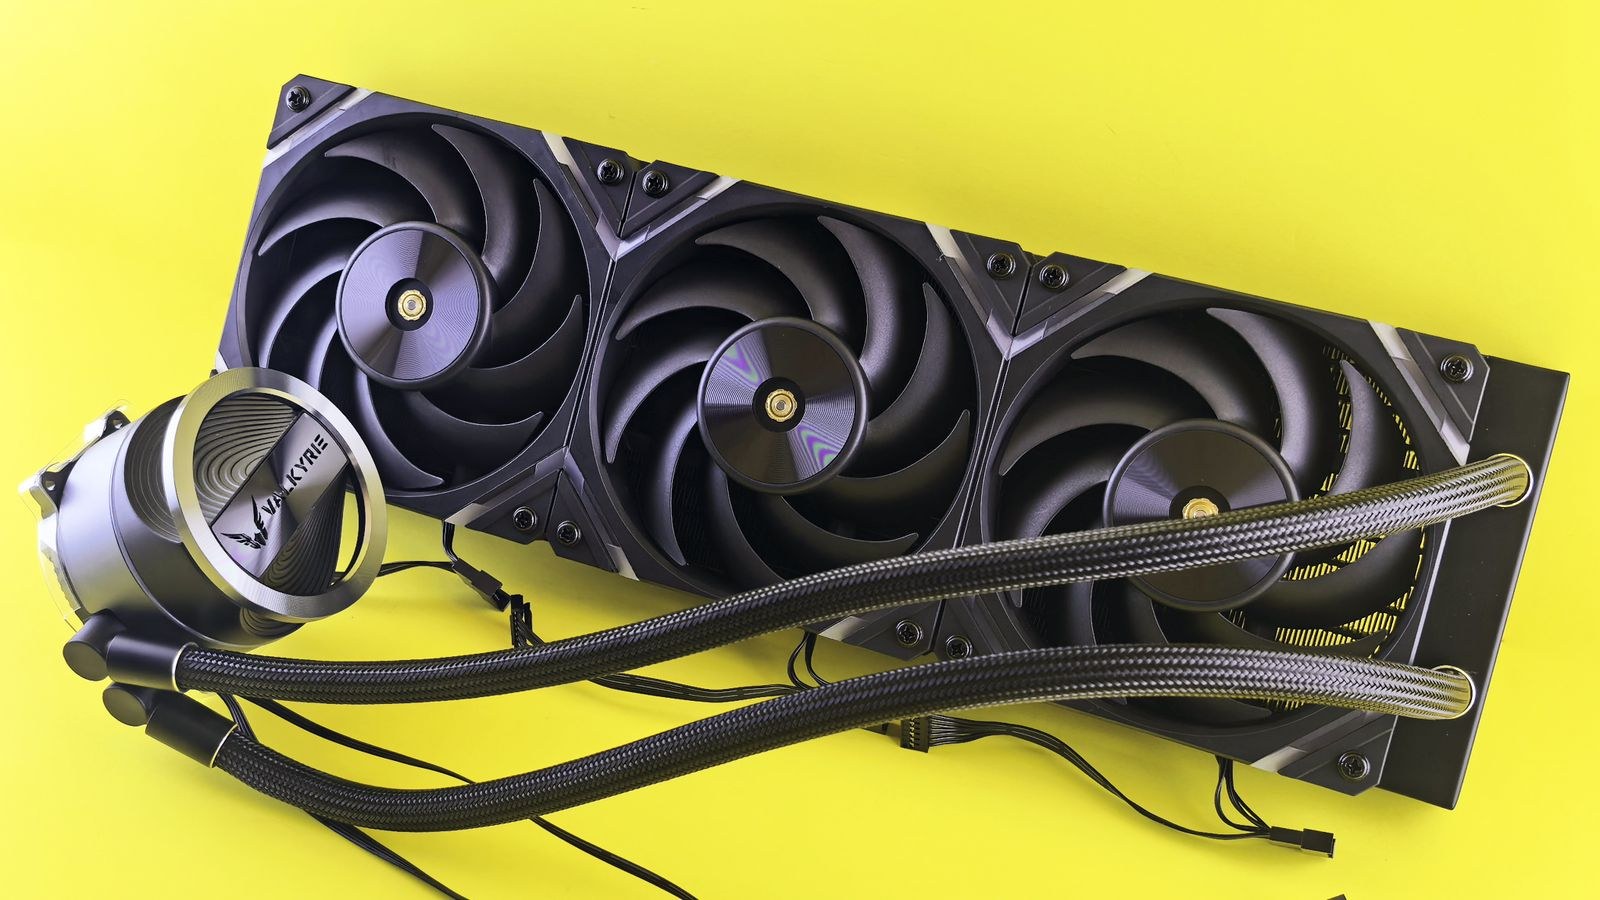
If you prefer a maintenance-free solution with a large heatsink, the roundup of best air CPU coolers covers towers that handle high sustained loads quietly. If your case has front radiator space and you want to move heat straight out of the chassis, the comparison of best AIO CPU coolers explains what radiator size to match to your processor’s power draw.
Where the pattern points at the case rather than the cooler, more or better case fans usually fix it for far less money. The options in the best cooling fans for PCs list differ meaningfully in static pressure and airflow, which matters depending on whether they push through a radiator or into open space. For the wider picture of how intake, exhaust, and radiator placement interact, the overview of PC cooling fans, liquid cooling and airflow is a sensible next read.
Common Monitoring Mistakes
Judging by peak values alone is the most common. A one-second spike to 95 degrees during a shader compilation means very little; a sustained thirty minutes at 92 means a great deal. Look at the sustained figure.
Ignoring ambient temperature is the second. A machine tested in a cool morning room and again on a warm afternoon will show a ten degree difference with no hardware change at all. Always note the room.
Running too many monitoring tools at once is the third. Multiple applications polling the same sensors can conflict, produce erratic readings, or cause stutter of their own. Pick one and close the rest.
Finally, watching temperature without watching clock speed hides the answer. The pair together tells you whether your cooling is adequate; either one alone does not.
Frequently Asked Questions
What is a safe CPU temperature while gaming?
Sustained readings between 60 and 80 degrees Celsius are healthy for most desktop processors. Consistently above 90 with reduced clocks means your cooling needs attention.
Why is my GPU hotspot so much hotter than the core?
The hotspot sensor reports the single warmest point on the die rather than an average, so it is always higher. A gap of 10 to 20 degrees is normal, while more than about 25 suggests uneven cooler contact or dried thermal interface material.
Does monitoring software hurt performance?
Barely. A single tool polling once per second costs a negligible amount. Aggressive polling intervals combined with a heavy overlay can cost a frame or two, which is worth it while diagnosing and worth trimming afterwards.
Should I monitor temperatures all the time?
A minimal overlay costs nothing and builds useful intuition for what normal looks like on your machine. Full logging is better reserved for testing sessions and troubleshooting.
Final Thoughts
Real-time temperature monitoring is less about chasing the lowest possible number and more about knowing your system’s normal behaviour well enough to notice when it changes. Establish an idle and a load baseline, watch package temperature alongside clock speed, pay attention to the hotspot and memory junction sensors on your graphics card, and judge sustained values rather than momentary peaks. With that habit in place, dust buildup, a failing fan, or degraded paste announce themselves in the data weeks before they announce themselves as a crash.









