
 Owen Bradley
 LED strip lighting has moved from novelty to genuine architectural tool. A reel of flexible tape costs very little, needs no electrician in most cases, and can do things no bulb can: light the underside of a cabinet, trace a ceiling cove, wash a wall from behind a headboard, or line a stair edge. It is also the easiest lighting product to buy badly, because the specifications that decide whether a strip looks like custom architectural lighting or like a cheap party decoration are rarely on the front of the box. This guide covers what those specifications are, and how to apply strip lighting room by room.
How LED Strips Are Built
A strip is a flexible circuit board with LEDs soldered along it at regular intervals, an adhesive backing, and copper contacts at cut points. It runs on low-voltage direct current, usually 12V or 24V, supplied by a driver plugged into mains power. Longer runs favour 24V because voltage drop over distance is less severe, which is why a long 12V run often fades noticeably toward its far end.
The chips themselves are described by a four-digit code giving their dimensions in tenths of a millimetre. 2835 chips are efficient and common in single-colour strips. 5050 chips are larger, brighter and used in most colour-capable strips because they house three separate emitters. 3528 is an older, dimmer type still found in budget reels. The code alone does not settle quality, but it tells you roughly what output to expect.
The Specifications That Decide the Result
- LED density: the most important figure. Strips with 30 LEDs per metre show visible dots and scalloped light. 60 per metre is the workable minimum, 120 per metre or more produces a smooth continuous line. Density matters far more than the headline brightness claim.
- Lumens per metre: the honest brightness measure. Around 400 to 700 lumens per metre suits accent lighting; 1,000 or more is needed for task lighting under a kitchen cabinet.
- CRI: below 80 is common on cheap strips and looks terrible on food, wood and skin. Insist on 90 or above anywhere the light falls on things you look at closely.
- IP rating: IP20 is bare and indoor-only. IP65 has a silicone coating and tolerates splashes and humidity. IP67 and above are suitable for genuinely wet locations.
- Power supply headroom: size the driver at roughly 20 percent above the strip’s total draw. Undersized drivers run hot, buzz and fail early.
- Adhesive quality: the most common failure point. Branded 3M backing holds; generic tape releases within months, especially in warm or humid spaces.
Working through these figures before comparing prices changes the shortlist entirely. The general roundup of the best LED strip lights is a useful reference for how the specifications translate into real products.
Kitchens: Under-Cabinet Task Lighting
Under-cabinet lighting is the highest-value application of LED tape in the entire house. Standing at a counter with a ceiling fitting behind you means working in your own shadow, and no amount of overhead brightness fixes it. A strip mounted under the wall cabinets removes that shadow completely.
Specify carefully here, because this is task lighting rather than accent. Aim for at least 1,000 lumens per metre, CRI 90 or above so food colour reads correctly, and 3000K to 4000K to match typical kitchen schemes. Mount the strip toward the front edge of the cabinet underside rather than at the back, which throws light onto the work surface instead of up the splashback, and fit an aluminium channel with a diffuser to hide the individual diodes from anyone sitting at a nearby table. Choose IP65 near sinks and hobs. The focused guide to LED strip lights for kitchen cabinets covers mounting hardware and driver placement in more depth.
Bedrooms: Indirect and Deeply Dimmable
In a bedroom, strip lighting should almost never be visible as a source. Hide it behind a headboard, above a wardrobe, in a ceiling cove, or under the bed frame as a night-time floor wash. The goal is a glow whose origin you cannot see.
Warm 2700K works best, and the critical requirement is deep dimming. A strip that will not go below twenty percent is useless in a bedroom, so look for drivers with genuine low-end dimming rather than an abrupt cut-off. Under-bed strips paired with a motion sensor are one of the genuinely excellent uses of the technology, giving enough light to navigate at three in the morning without waking anyone properly. The roundup of LED strip lights for bedroom installations covers dimming behaviour and control options.
Living Rooms and Media Spaces
Behind a television, strip lighting serves a practical purpose beyond decoration. A bias light behind the screen reduces the contrast between a bright picture and a dark wall, which measurably reduces eye fatigue during long viewing and makes blacks appear deeper. For this application, colour temperature should sit near 6500K to match the display’s white point, and the strip should be dim rather than bright: it is a backdrop, not a feature.
Colour-capable strips get used here most often, and they earn their keep for ambient effects and for syncing with on-screen content. The guide to LED strip lights for TV covers sizing to different screen widths and the sync options available.
Ceiling coves are the other living room application worth doing properly. A strip hidden in a cove or behind a crown moulding bounces light off the ceiling and produces soft, even ambient light with no visible fitting at all. Density matters enormously here, since scallops on a ceiling are impossible to ignore. The comparison of LED strip lights for ceiling use is worth reading before cutting anything.
Bathrooms, Stairs and Outdoors
Bathrooms need at least IP65, and anything within reach of shower spray needs IP67 or a fully sealed extrusion. Mirror surrounds and vanity underlighting both work well, and a low-level strip along a plinth makes an excellent night light.
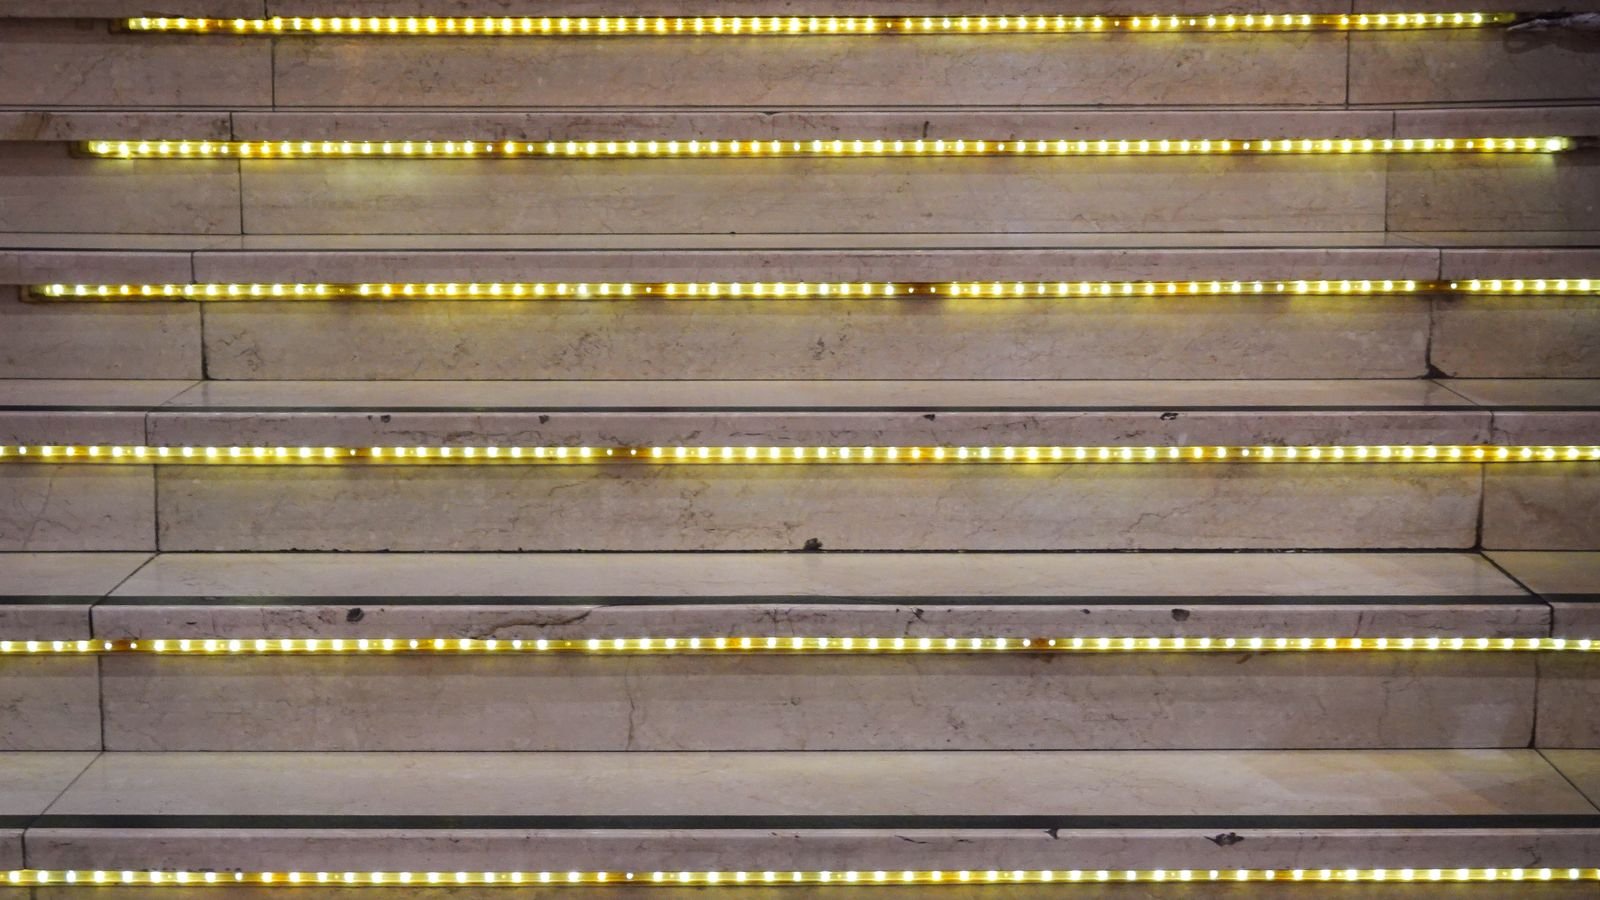
Stairs are a strong safety application. A strip recessed under each nosing, or a single run along the wall at ankle height, lights the tread edges without glare. Motion-triggered control makes this practical rather than wasteful.
Outdoors, the rules change. You need IP67 as a minimum, UV-stable silicone that will not yellow, an outdoor-rated driver, and connections made in sealed junctions rather than taped joints. The guide to waterproof LED strip lights covers rating differences, and the roundup of outdoor LED strip lights deals with weather resistance and mounting in exposed positions.
Installation Points That Prevent Regret
- Measure the run and add ten percent. Strips cut only at marked points, so you cannot fine-tune length freely.
- Plan where the driver will live before you buy. It needs mains power, ventilation and access, and it is bigger than people expect.
- Clean the mounting surface with isopropyl alcohol. Dust is why adhesive fails.
- Use aluminium channel wherever the strip might be seen. It hides diodes, diffuses light and acts as a heat sink that extends life.
- Do not coil unused strip on the reel while powered. Trapped heat destroys the diodes.
- Solder joints where possible; clip connectors are convenient but are the most common cause of flicker and dead sections later.
- Test the entire run before committing the adhesive.
Budget Tiers and What They Buy
At the bottom of the market you get 30 to 60 LEDs per metre, CRI in the 70s, thin adhesive and a bundled driver with no headroom. These reels are adequate for a temporary decorative effect and little else. The mid tier brings 120 LEDs per metre, CRI in the high 80s, branded backing tape and an IP65 option, which covers the majority of household installations properly. At the top end you find CRI above 95, dense chip spacing, a properly rated driver, sealed silicone construction and channel systems designed to match, which is what you want for kitchen task lighting and anywhere the light falls on faces or food.
Spending more on the driver and the channel usually improves the visible result more than spending more on the strip itself, because heat and diffusion determine both appearance and lifespan.
Common Mistakes
- Buying 30 LEDs per metre to save money and living with visible dots forever.
- Using an accent-grade strip as kitchen task lighting and finding it far too dim.
- Ignoring CRI, then wondering why the worktop looks grey.
- Running a long 12V strip and losing brightness at the far end.
- Fitting IP20 tape in a bathroom because it was cheaper.
- Mounting directly to a surface without a channel, so heat has nowhere to go.
Frequently Asked Questions
How long do LED strips last?
Quality strips are rated in the region of 30,000 to 50,000 hours, but real lifespan depends on heat. A strip in an aluminium channel with an adequately sized driver lasts far longer than the same tape stuck flat to a wooden shelf.
Can I cut and rejoin a strip?
Yes, at the marked copper pads only. Rejoin with solder for reliability, or with a good-quality connector if soldering is not practical. Cutting anywhere else destroys the segment.
Why is one end of my strip dimmer?
Voltage drop over a long run. Use 24V instead of 12V, shorten the run, or inject power at both ends from the same driver.
Do LED strips get hot enough to be a fire risk?
Properly specified strips run warm rather than hot. Risk comes from overloaded or undersized drivers and from strips left coiled on the reel while powered, both of which are avoidable.
Can strips replace a room’s main lighting?
In small spaces with high-output tape in a cove, yes. In general, treat strips as accent or task layers and keep a conventional fitting for overall illumination.
Final Thoughts
The gap between strip lighting that looks professionally designed and strip lighting that looks improvised comes down to a handful of decisions: high LED density, honest lumen output, CRI above 90, the right IP rating, an aluminium channel with a diffuser, and a driver with headroom. None of those cost much individually, and together they turn a cheap reel of tape into lighting that reads as part of the architecture rather than something stuck on afterwards.









