
 Owen Bradley
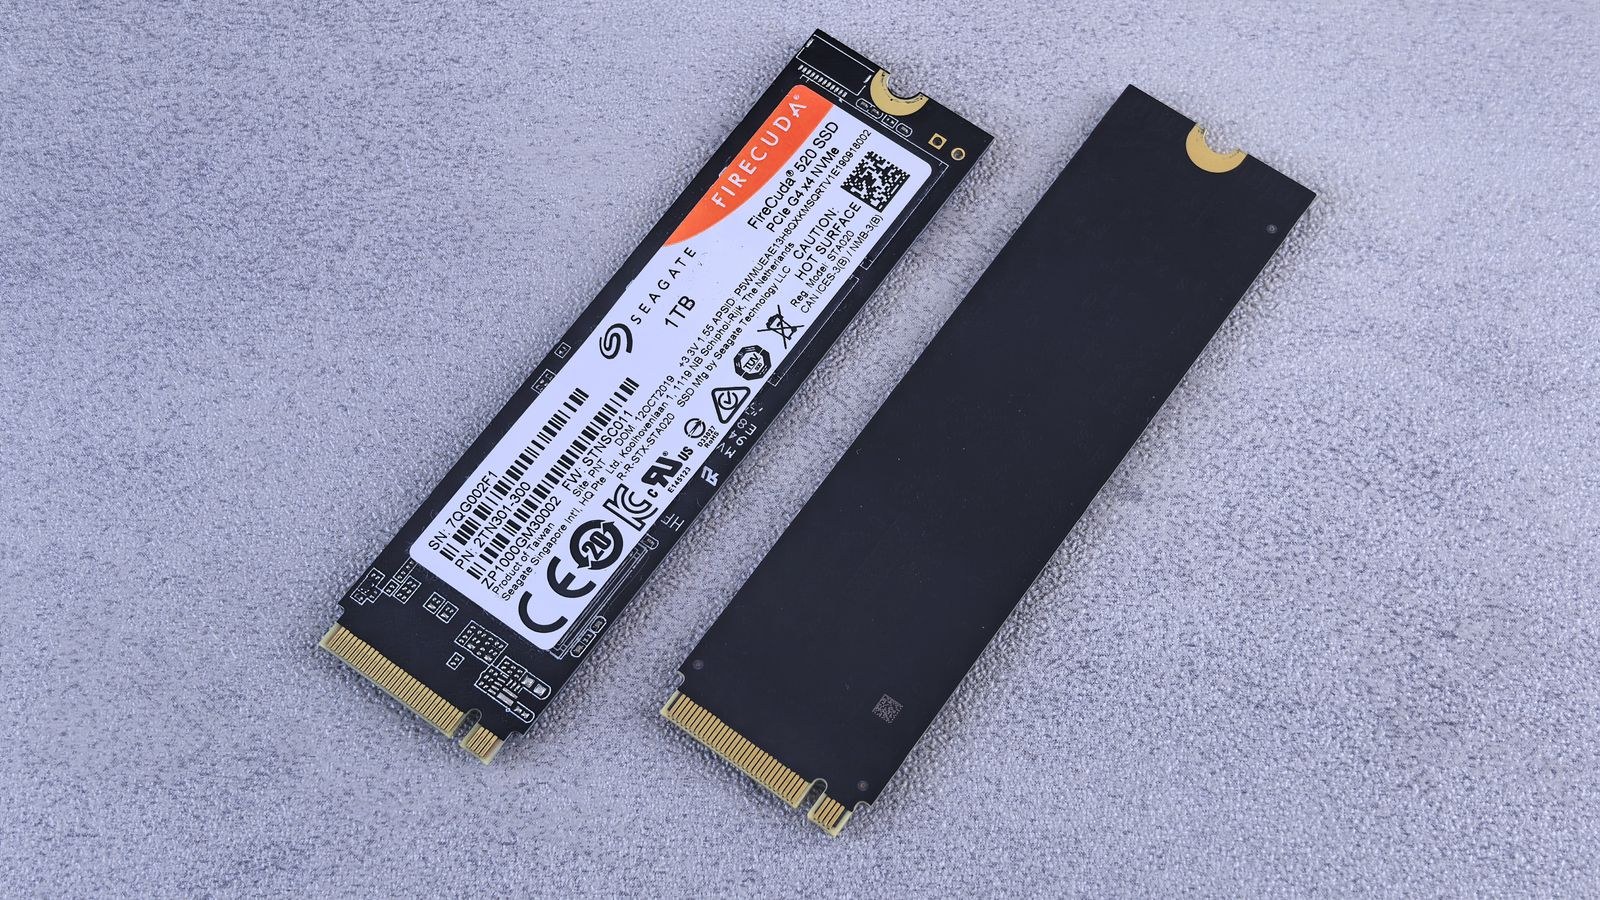
 An M.2 NVMe SSD is the fastest upgrade most desktops can receive, and it installs with a single screw. There is no data cable, no power cable, and no drive bay to fight with. The catch is that the simplicity hides a few decisions that genuinely matter: which M.2 slot you use, whether that slot shares bandwidth with your SATA ports, whether the standoff is in the right position, and what to do in the BIOS if Windows does not immediately see the drive. Get those right and the whole job takes ten minutes. Get one wrong and you will spend an evening wondering why two other drives disappeared. This guide covers the full process, from picking the correct slot to confirming the drive runs at its rated speed.
What You Need Before Starting
- A small Phillips screwdriver, usually #0 or #1, since M.2 screws are tiny.
- The M.2 mounting screw and standoff, which normally ship with the motherboard rather than the drive.
- A heatsink, either the motherboard’s built-in shield or one supplied with the drive. High-speed drives benefit noticeably.
- Good light and a clear workspace, because dropping an M.2 screw into a case is a genuine hazard.
- Your motherboard manual, which is the only reliable source for slot bandwidth and port-sharing behaviour.
Check compatibility first. Confirm your board has a free M.2 slot keyed for NVMe, note the supported length, almost always 2280, and check whether the slot runs PCIe 3.0, 4.0, or 5.0. A faster drive works in a slower slot but only delivers the slot’s speed, which is fine as long as you did not pay for headroom you cannot use.
Choosing the Right Drive
Capacity and sustained write behaviour matter more for everyday feel than headline sequential numbers. A 1TB drive is the practical minimum for a modern system drive once a couple of large games are installed, and larger drives usually offer higher sustained write speeds because they have more flash to write across in parallel.
If you are still shopping, our roundups of the best NVMe SSDs and the best M.2 SSDs cover the full range, while the best 1TB SSDs list focuses on the sweet spot for a boot drive. For drives that will sit under a graphics card or run heavy sustained workloads, the best SSDs with heatsink avoid the throttling that plagues bare high-speed drives in cramped cases.
Which M.2 Slot Should You Use?
This is the decision people most often get wrong. On most boards the top M.2 slot, nearest the CPU, is wired directly to the processor and offers the highest bandwidth. Lower slots route through the chipset and sometimes share lanes with SATA ports or a PCIe slot. Populating a shared slot can silently disable SATA ports 5 and 6, or drop the second graphics slot to fewer lanes.
The manual has a table listing exactly which ports are disabled by which slot. Read it before you install rather than after your storage drive vanishes.
Step-by-Step NVMe SSD Installation
- Back up important data. The install itself is low risk, but any work inside a machine is a good moment to have a current backup.
- Shut down and remove power. Power off, switch the PSU off at the rear, unplug the mains lead, and hold the case power button for five seconds to drain residual charge.
- Open the case and ground yourself. Lay the case on its side, remove the side panel, and touch bare chassis metal before handling the drive.
- Locate the M.2 slot. Look for a short horizontal slot with a small screw hole a few centimetres away, usually labelled M2_1 or similar. It may sit under a metal heatsink shield or beneath the graphics card.
- Remove obstructions. If the graphics card blocks access, take it out temporarily. If the slot has a heatsink cover, unscrew it and set the screws somewhere safe, then peel the protective film off the thermal pad underneath.
- Position the standoff. The brass standoff must sit at the length marking matching your drive, normally 80mm for a 2280 drive. Move it if it is in the wrong hole. Many recent boards use a toolless latch instead, which simply rotates into place.
- Insert the drive. Hold the SSD by its edges, align the notch in the gold connector with the key in the slot, and slide it in at roughly a 30-degree angle. It should go in smoothly. Never force it, because the notch position determines whether the drive belongs in that slot at all.
- Secure it. Press the free end of the drive down flat against the standoff and drive the small screw in until snug. Do not overtighten; the screw is soft and the PCB is thin. If you are using a latch, rotate it until it clicks over the drive.
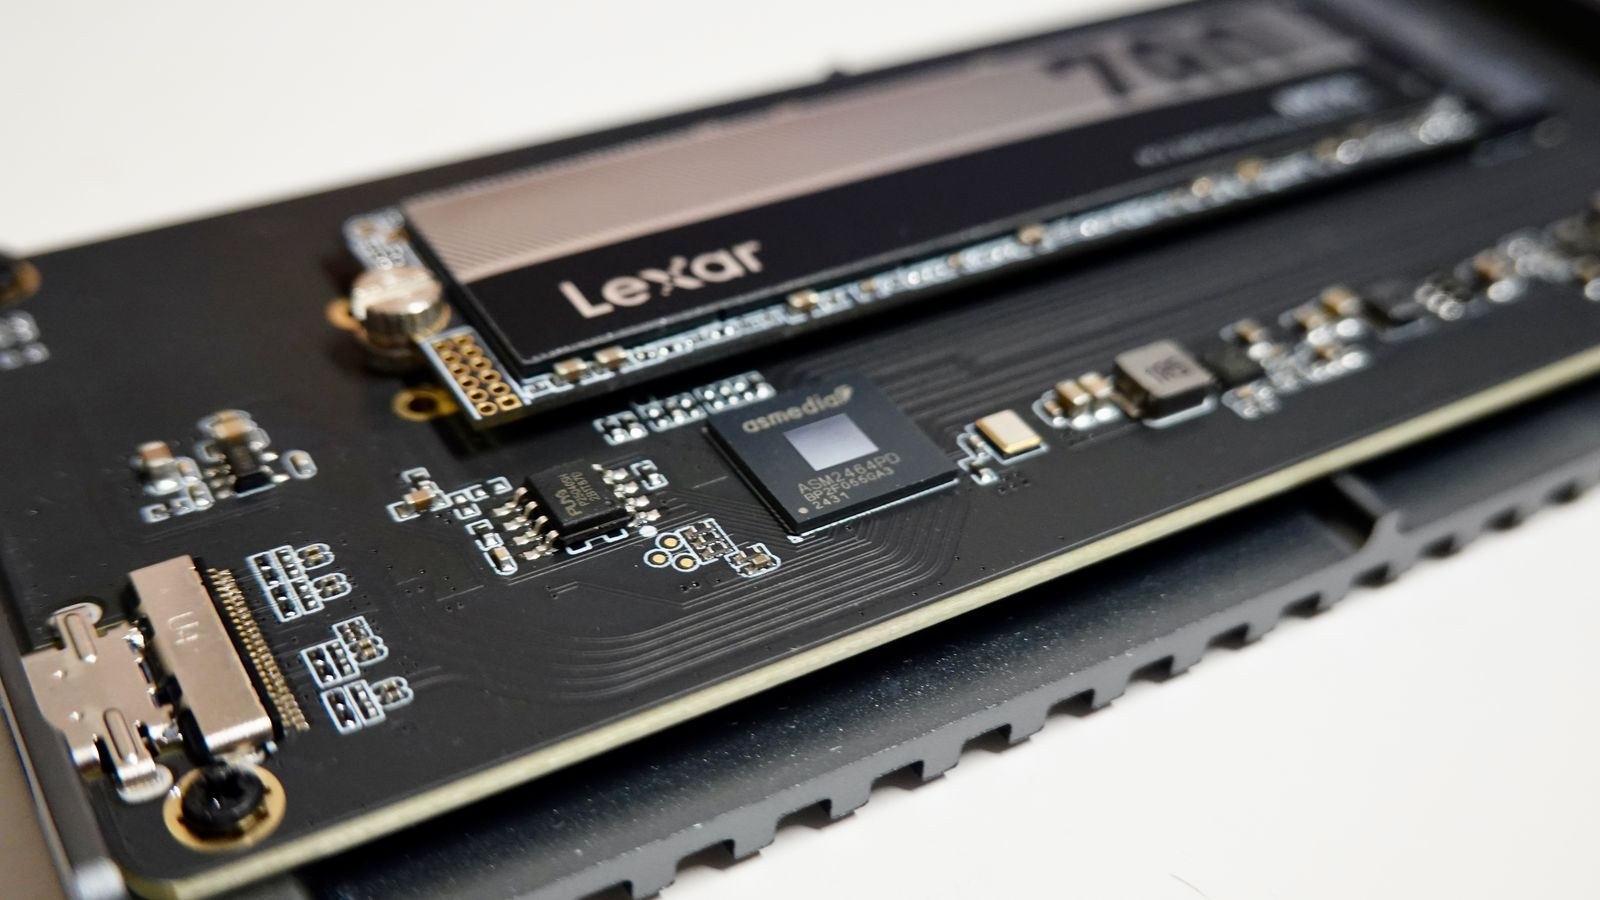
- Fit the heatsink. Refit the motherboard’s M.2 shield after removing the plastic film from its thermal pad, or attach the drive’s own heatsink. A single-sided drive only needs contact on top; a double-sided drive may need a pad underneath too.
- Reinstall anything you removed, close the case, reconnect power, and switch on.
- Check the BIOS. Enter the BIOS immediately and confirm the drive appears in the storage or NVMe configuration list. If it does not, power down and reseat it before troubleshooting anything else.
- Initialise in Windows. Boot into Windows, open Disk Management, and when prompted initialise the drive as GPT. Create a new simple volume, format it as NTFS, and assign a drive letter. The drive is then ready to use.
Using the New Drive as a Boot Disk
If the SSD is replacing your system drive, you have two routes. A clean install of Windows onto the new drive is the tidiest option and gives you a fresh, fast system, at the cost of reinstalling software. Cloning from the old drive preserves everything, and works well as long as the used space on the old drive fits within the new drive’s capacity.
Either way, disconnect or disable the old drive before the first boot from the new one, so Windows cannot leave boot files scattered across two disks. Then set the new SSD first in the BIOS boot order. Anyone combining this upgrade with a memory refresh will find our guide on how to upgrade a desktop computer’s RAM and storage covers doing both in one session.
Safety Notes
- Handle the drive by its edges. The controller and flash chips are exposed and static-sensitive.
- Never insert or remove an M.2 drive with power connected. These slots are not hot-swappable.
- Remove all thermal pad films. A clear plastic film left in place makes an expensive heatsink useless.
- Do not overtighten the retention screw. Snug is enough; more will bend the PCB.
- Keep the tiny screw controlled with a magnetised tip, since retrieving one from under a motherboard tray means stripping the case.
Troubleshooting
The BIOS does not detect the drive
Reseat it first, ensuring it is pushed fully home before the screw goes in; a drive that looks seated can be a millimetre short. Then check the manual for lane sharing, since some slots are disabled entirely when certain PCIe slots are populated. On older boards, a BIOS update may be required for NVMe support.
Windows does not show the drive
A brand-new SSD has no partition, so it will not appear in File Explorer until you initialise and format it in Disk Management. This is normal and not a fault.
Other drives disappeared after installing
Almost certainly lane sharing. Move the NVMe drive to a different M.2 slot, or move the affected devices to SATA ports that remain active according to the board’s table.
Speeds are lower than advertised
Check which slot you used and its PCIe generation, since a fast drive in a slower slot is capped. Sustained writes also slow once the drive’s fast cache fills, which is normal behaviour on large file transfers. Finally, confirm the drive is not thermally throttling by watching its temperature during a long copy.
Common Mistakes
The most frequent error is installing into a chipset slot that shares lanes and then panicking when SATA drives vanish. Next is leaving the protective film on a thermal pad, which turns a well-cooled drive into a throttling one. Third is forgetting to move the standoff, leaving the drive unsupported or the screw unable to reach. Fourth is expecting the drive to appear in Windows without initialising it. Fifth is cloning to a drive without disconnecting the original first, producing a system that boots inconsistently from either disk.
Frequently Asked Questions
Do I need a heatsink?
Entry-level drives generally do not, but high-speed models under sustained load benefit significantly, particularly when installed beneath a hot graphics card. If your board includes a shield, use it.
Can I use an NVMe SSD alongside my existing drives?
Yes. Adding an NVMe drive as a fast boot or game disk while keeping older drives for bulk storage is a very common and effective setup, provided you avoid lane-sharing conflicts.
How do I know if my drive is running at full speed?
Run a quick benchmark and compare against the drive’s rated sequential figures, then check the reported PCIe link speed in the drive vendor’s utility to confirm it negotiated the expected generation and lane count.
Final Thoughts
Installing an M.2 NVMe SSD is genuinely a ten-minute job once you know where to look. Read your motherboard’s lane-sharing table, use the CPU-connected top slot where possible, set the standoff to the right length, seat the drive fully before tightening a single screw, and remember to peel every thermal pad film. Then initialise the drive in Disk Management and confirm the link speed. Do that and you get the single most noticeable performance upgrade available to a modern desktop, with no cables to route and no maintenance to think about afterwards.









