
 Owen Bradley
 A hardwired smoke alarm has a hard expiry date. Ten years after the manufacture date stamped on the back, the sensing element has drifted far enough that the alarm can no longer be trusted, and no amount of battery swapping or cleaning changes that. Replacing one is well within reach of a careful homeowner: the wiring is already in place, the connection is a plug-in harness rather than wire nuts on live conductors, and the whole job usually takes fifteen minutes per unit. The part that trips people up is the interconnect wire, which lets every alarm in the house sound together, and the safe sequence for cutting power. This guide walks through the replacement from breaker to final test.
Understand What You Are Replacing
A hardwired alarm consists of three parts: a mounting base screwed to the ceiling box, a three-wire quick-connect harness, and the alarm head that twists onto the base. The harness carries black (hot), white (neutral) and a third conductor, usually red or orange, which is the interconnect signal. When one alarm detects smoke it sends a low-voltage pulse down that third wire and every other alarm on the loop sounds.
The battery inside a hardwired unit is a backup, not the primary supply. Modern replacements increasingly use a sealed ten-year lithium backup so you never open the compartment again. Older units take a 9V that you were meant to change annually. Which style you buy affects nothing about the installation itself, only the maintenance afterwards.
Check Whether the Whole Set Needs Replacing
Alarms are usually installed as a matched set on the same day, so if one has reached ten years the rest almost certainly have too. Flip each unit over and read the manufacture date, not the purchase date. Replacing the entire loop at once is cheaper in time and avoids the compatibility problems described below. Browsing the best hardwired smoke detectors before you start makes it easier to buy a consistent set rather than mismatched singles.
The Compatibility Rule That Matters Most
Interconnect signalling is not standardised across brands. Mixing manufacturers on one loop can produce alarms that never trigger each other, or that chirp and false-alarm constantly. The safe approach is to keep the entire interconnected loop within a single brand and a compatible product family, which the manufacturer lists in the manual. If you are replacing only one unit, buy the same brand and confirm the model is listed as compatible with the ones staying on the wall.
Harness plugs differ too. Even within one brand, an older harness may not fit a new head. Most replacement alarms ship with a fresh harness, and swapping it is straightforward, but it does mean you will be handling actual house wiring rather than just unplugging a connector. Plan for that. Our overview of the best hard wired smoke alarms notes which families use which harness style.
Tools and Materials
- Replacement alarm, or a full matched set, with a manufacture date within the last few months
- Non-contact voltage tester, plus a multimeter if you have one
- Phillips and flat screwdrivers
- Wire strippers and three orange or yellow wire nuts, only if the harness must be replaced
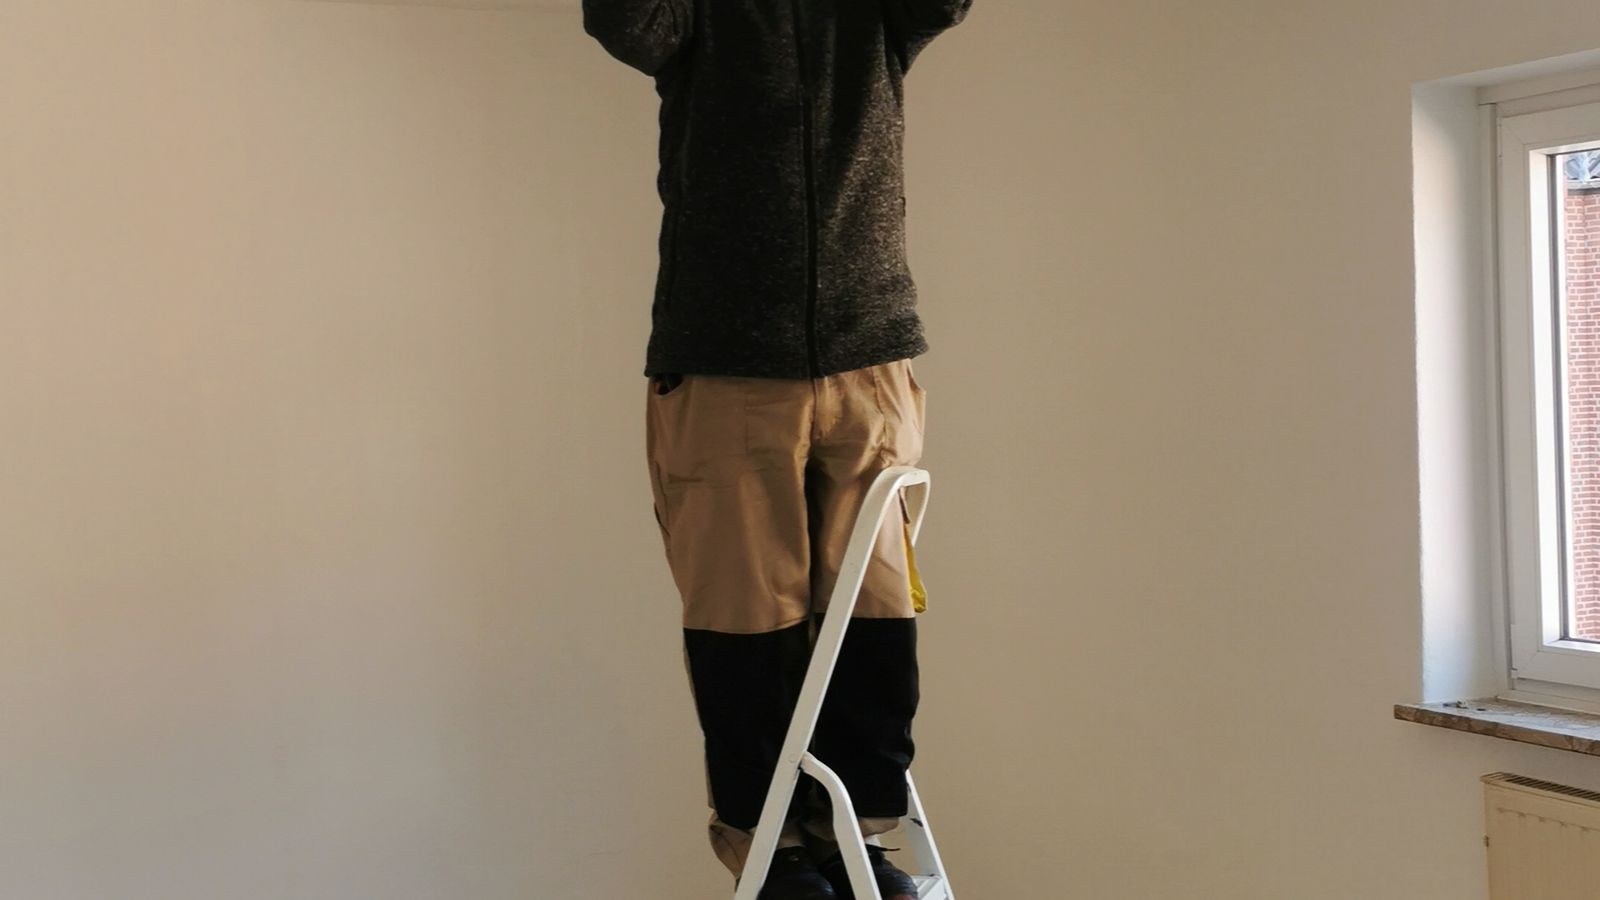
- A sturdy step ladder rated for your weight, not a chair
- Painter’s tape and a marker to label the breaker and the interconnect wire
- Fresh backup battery if the new unit does not have a sealed cell
Step-by-Step Replacement
- Identify and switch off the correct breaker. Smoke alarms are frequently on a lighting circuit rather than a dedicated one. Turn off the breaker you believe feeds them, then confirm the alarms have lost AC power. Most units flash a green LED only when AC is present, so watch for that light going out.
- Tape the breaker off and label it. Someone flipping it back while your hands are in the box is the main hazard of this job. Physical tape and a written note eliminate that risk.
- Twist the alarm head off the base. Nearly all units release with a counter-clockwise twist of roughly a quarter turn. Some have a small locking tab or pin you must depress first. Support the unit with your free hand as it releases.
- Unplug the wiring harness. Squeeze the retaining tab on the connector and pull straight out. Do not yank on the wires themselves. If the plug is stiff from years of heat, rock it gently side to side.
- Test the wires for voltage. With the harness now exposed, use the non-contact tester on the black conductor to confirm the circuit is genuinely dead before you go any further.
- Unscrew the old mounting base. Two screws hold it to the ceiling electrical box. Keep them if the new base uses the same slot pattern, though most kits supply new hardware.
- Fit the new base and align the slots. Position it so the alarm head will sit square to the room, then tighten both screws until snug. Overtightening can crack a plastic base or distort a thin metal box.
- Connect the harness. If the new harness plugs straight into the existing connector, simply click it home. If you must join it to house wiring, match black to black, white to white, and the red or orange interconnect to its counterpart. Twist each pair clockwise, cap with a wire nut, and tug-test every joint.
- Tuck the wires and mount the head. Fold the conductors neatly into the box so nothing is pinched, plug the harness into the alarm, and twist the head onto the base until it locks. A pinched wire is a slow-developing fault, not an instant one, which makes it easy to miss.
- Insert the backup battery if required. Sealed units skip this. If yours takes a 9V, seat it firmly and close the door until it clicks; many alarms will not mount to the base at all with the battery door open, which is deliberate.
- Restore power and watch the LED. Remove the tape, switch the breaker on, and confirm the steady or blinking indicator that means AC is present. A short chirp on power-up is normal.
- Test the interconnect loop. Press and hold the test button on the new alarm for several seconds. Every other alarm in the house should sound within about ten seconds. If they do not, the interconnect wire is the fault, not the alarm.
Testing and Verifying the Whole Loop
One successful test on the unit you replaced is not enough. Walk the house and test each alarm in turn, confirming that all of them respond every time. This is the only way to catch an interconnect break that happens to sit between two other units. If a section of the house stays silent, the problem is almost always a missing or wrongly landed third conductor at one junction. Our walkthrough on how to interconnect smoke alarms covers tracing and repairing that loop, including wireless bridging when running new wire is impractical.
Write the installation date on the side of each new alarm with a marker. Ten years is a long time to rely on memory, and the printed manufacture date on the back becomes unreadable once the unit is on the ceiling.
Common Mistakes
The most frequent error is assuming the alarm has no power because the breaker for the nearest light is off. Alarm circuits often span multiple rooms and are sometimes fed from a circuit you would never guess. Always verify with the LED and a tester rather than logic.
Second is mixing brands on one loop, which produces intermittent failures that are maddening to diagnose. Third is leaving the interconnect conductor disconnected because the single alarm still works fine on its own; it does, right up until a fire starts in the basement and nobody upstairs hears anything. Fourth is installing an alarm too close to a kitchen, bathroom or HVAC register, which guarantees nuisance alarms that eventually get the unit disabled.
Finally, do not paint over an alarm or its base. Paint blocks the vents and permanently ruins the sensing chamber. If a ceiling is being repainted, remove the alarms first and reinstall them afterwards.
Frequently Asked Questions
Do I need an electrician to replace a hardwired smoke alarm?
Usually not, when the existing base and harness stay in place and you are only swapping the head. If you must cut into house wiring, are unsure which breaker feeds the circuit, or find aluminium or damaged conductors in the box, hire a licensed electrician.
Can I replace a hardwired alarm with a battery-only unit?
Not if local code required hardwired interconnected alarms when the home was built or last permitted. A battery unit also loses the interconnect function unless it uses a wireless equivalent. Comparing dedicated best interconnected smoke alarms is the better route if you want to keep whole-house sounding.
Why does the new alarm chirp after installation?
Common causes are a loose or missing backup battery, a battery pull-tab left in place, or residual charge that needs clearing. Cut power at the breaker, hold the test button for fifteen seconds to drain the capacitor, then restore power.
How often should the whole set be replaced?
Every ten years from the manufacture date, regardless of whether the units appear to work. Test monthly and replace the entire loop as a set. A quick look through the best smoke alarms each cycle is worthwhile because sensor technology and backup battery life have both improved considerably.
Final Thoughts
Replacing a hardwired smoke alarm is a short job with one non-negotiable rule: prove the circuit is dead before your hands go near the box. After that, match the brand across the loop, land the interconnect conductor properly, and test every alarm in the house rather than just the one you touched. Do it as a full set with the date written on each unit and you will not have to think about it again until 2026 plus ten.









