
 Owen Bradley
 Security cameras are, from a network point of view, small computers that you never update, made by companies you may never have heard of, sitting permanently on the same Wi-Fi as your laptop, your phone, and your file backups. That is a poor arrangement. If one camera is compromised — through weak firmware, a factory password, or an abandoned cloud service — it has a clear path to everything else on the network. Putting cameras on a separate Wi-Fi network fixes that. It is a job you can do on a normal home router in well under an hour, without a rack of enterprise gear, and this guide covers three practical ways to get there.
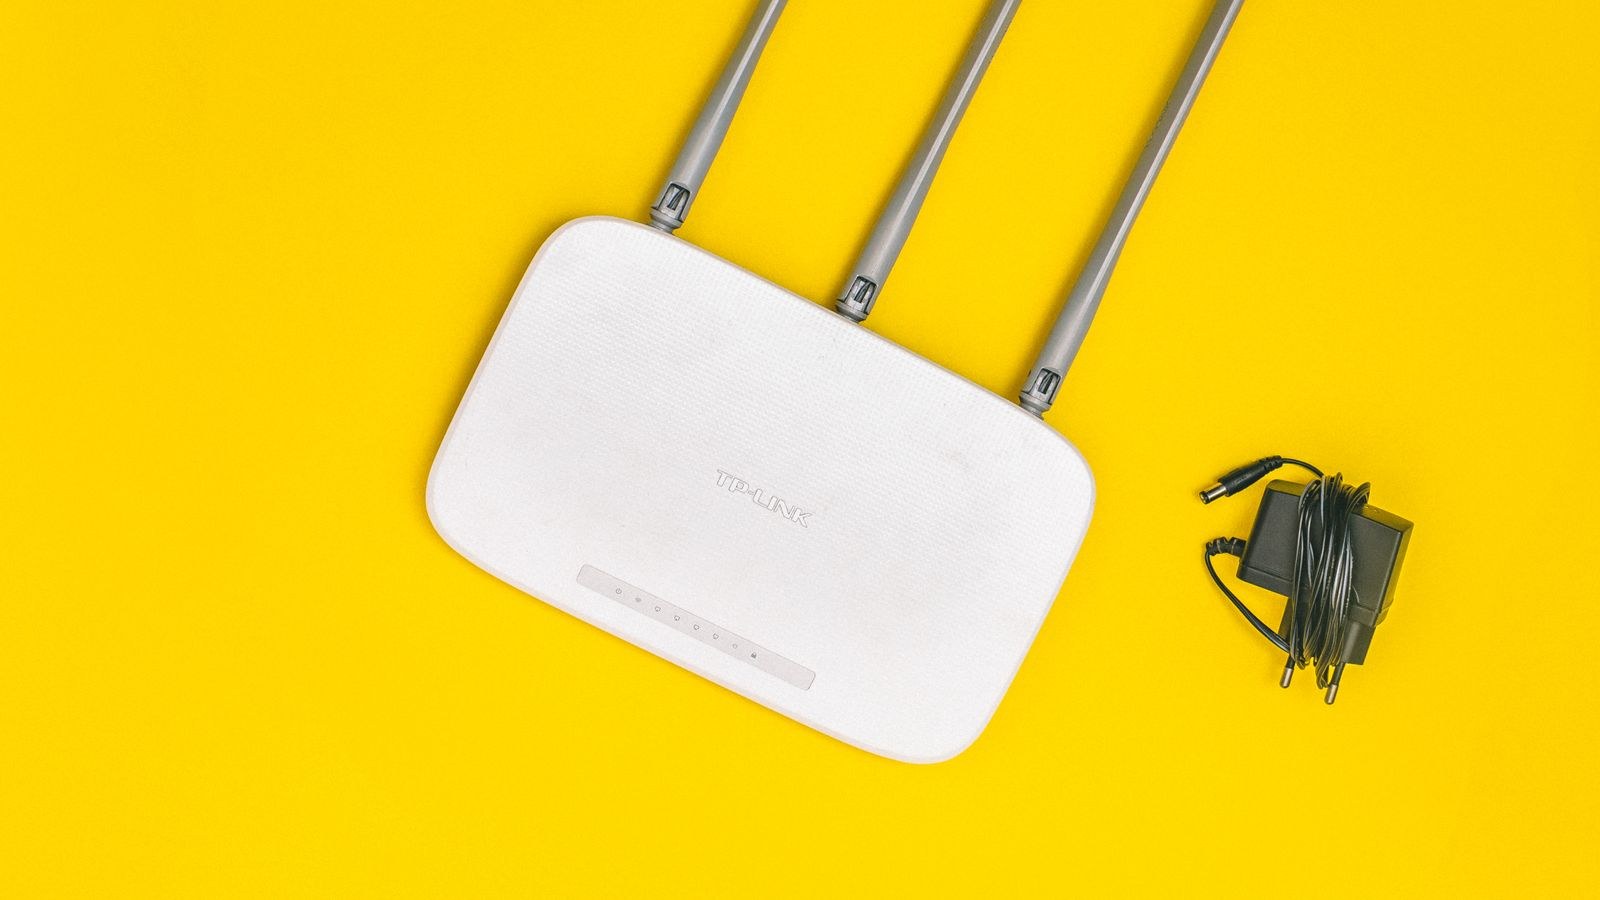
What Network Isolation Actually Buys You
Segmentation does not make a camera secure — it limits what a compromised camera can reach. On a flat home network, any connected device can attempt to talk to any other: scan for open shares, probe your NAS, reach your printer, and see your computers. Move the cameras onto their own network segment and those paths close. A camera can still reach the internet to send you notifications and upload clips, but it can no longer see your laptop at all.
It is also useful in the other direction. Cameras stream constantly and chatter with cloud services; keeping them off the main network reduces broadcast noise and makes it far easier to spot unusual traffic when you go looking. And if a manufacturer ends support for a model, you can keep using it with a much smaller risk profile than leaving it alongside your personal devices.
Three Ways to Separate Cameras
Pick the approach your hardware supports. They are listed from simplest to strongest:
- Guest network — available on virtually every modern router, takes two minutes, and typically includes client isolation. Good enough for most households.
- Dedicated IoT SSID or VLAN — offered by many mesh systems and prosumer routers. A separate wireless network with its own firewall rules, giving proper control over what can talk to what.
- Second physical router — an old router plugged into your main one, creating its own subnet. Free if you have spare hardware and genuinely effective.
Before choosing, check one thing: whether your cameras need to be discovered on the local network by your phone. Most modern cloud-connected cameras do not — they connect out to the manufacturer and your app reaches them through that service, so isolation is invisible to you. Older local-only systems and NVR setups may need same-network discovery, which changes the approach.
Step-by-Step: Setting Up the Separate Network
- Inventory your cameras. List every unit, whether it is 2.4GHz-only or dual-band, and how you currently access it. Many cameras only support 2.4GHz, which matters when you name and configure the new network.
- Log in to your router’s admin page. Use its local IP address in a browser, or the manufacturer’s app. If you have never changed the router admin password, do that first.
- Create the new network. Enable the guest network or add a new SSID, and give it a clear name such as “Home-Cameras” so it is obvious later. Set a long unique password — different from your main Wi-Fi password.
- Enable client isolation. Look for “AP isolation”, “client isolation”, or “allow guests to see each other” and set it so devices on this network cannot talk to each other or to your main network. This is the setting that does the real work.
- Set the band correctly. If any camera is 2.4GHz-only, either enable 2.4GHz on the new SSID or give the camera network a separate 2.4GHz name. Cameras frequently fail to join a combined band SSID during setup.
- Move one camera first as a test. In the camera app, run the Wi-Fi change or re-add flow and point it at the new network. Confirm it comes back online, streams live, records events, and sends notifications before you move anything else.
- Verify remote access from mobile data. Turn Wi-Fi off on your phone and open the camera app. If the feed works over cellular, the camera is reaching its cloud service correctly and isolation has not broken your access.
- Move the remaining cameras. Work through them one at a time, checking each before the next. Doorbells and battery cameras often need to be woken or held near the router during the switch.
- Handle wired cameras and NVRs. A PoE camera system connected to a recorder is often already isolated, because the cameras sit on the recorder’s own switch ports and never touch your main LAN. If they plug into your main switch instead, move the recorder’s camera-side connections onto a dedicated switch or VLAN port group.
- Keep the NVR reachable if you need it. With a local recorder you usually still want to view footage from your PC. Place the recorder itself on the main network while its cameras stay isolated, or create a single firewall rule allowing your viewing device to reach the recorder and nothing else.
- Lock down the camera network’s outbound access if your router supports it. Blocking the camera segment from initiating connections to your main subnet is the key rule. Some routers also let you restrict which internet destinations these devices can reach.
- Test the isolation. From a laptop on the main network, try to reach a camera’s local IP address. It should fail. Then confirm from the camera app that everything still works normally. Both results together confirm the setup is correct.
Using an Old Router as a Camera Network
If your main router lacks a usable guest network, a spare router does the job well. Connect an Ethernet cable from a LAN port on your main router to the WAN or internet port on the old one. Give the old router a different Wi-Fi name and password, and set its local IP range to something distinct from your main network so the two subnets do not overlap. Leave NAT enabled — that is what creates the boundary. Cameras joined to the old router can reach the internet through your main connection but cannot see devices on the main network, because traffic only flows outward through the second router’s NAT.
The main caveat is coverage: the old router’s Wi-Fi range needs to reach every camera, which may mean placing it centrally or running a cable to a better position. Whole-home coverage is where a proper mesh system earns its keep, and the roundup of the best mesh routers is worth reviewing if camera signal has been marginal, since most mesh platforms include IoT SSID support built in.
Common Mistakes to Avoid
- Creating the second network but leaving isolation off. A separate SSID without client isolation on many routers still shares one subnet, which provides no protection at all.
- Moving every camera at once. If something breaks you will not know which change caused it. Move one, verify, then continue.
- Forgetting 2.4GHz-only cameras. The single most common reason a camera refuses to join the new network.
- Reusing the main Wi-Fi password. The point is to separate the credentials as well as the traffic.
- Port forwarding to a camera “so it works remotely”. This punches straight through your isolation and exposes the device to the internet. Use the manufacturer’s remote service or a VPN into your home network.
- Assuming isolation replaces basic hygiene. Unique device passwords and current firmware still matter. Segmentation limits the blast radius; it does not prevent the compromise. Our guide on how to secure a home network from hackers covers the rest of that groundwork.
Choosing Hardware That Makes This Easy
Some routers make segmentation a two-tap affair with a purpose-built IoT network and per-device rules; others bury a half-functional guest mode behind three menus. If you are replacing a router anyway, treat IoT network support as a real feature to shop for. Modern standards also help with camera-heavy homes, since a dozen streaming devices strain older hardware — the best WiFi 6 routers handle many simultaneous clients far more gracefully. For wired installs, the best PoE routers combine power and data over a single cable and naturally keep camera traffic on dedicated ports. And if you are still choosing the cameras themselves, the best WiFi home security cameras guide notes which models handle network changes and isolation without fuss in 2026.
Frequently Asked Questions
Will my camera app still work if the cameras are isolated?
For cloud-connected cameras, yes. They connect outward to the manufacturer’s service and your app reaches them through it, so local isolation makes no difference. Only local-only systems that require direct discovery need an exception.
Is a guest network really enough?
For most homes, yes — provided client isolation is enabled. A dedicated VLAN gives finer control and better logging, but the guest network already closes the main risk of a compromised camera reaching your computers.
Can I still record to a NAS if the cameras are separated?
Only with a specific rule allowing the camera segment to reach that one NAS address, or by placing the NAS on the camera network. A blanket separation blocks it, so plan this before you migrate.
Does this slow my cameras down?
No meaningfully. The same router handles both networks and the internet path is unchanged. If anything, keeping camera traffic separate makes the main network feel cleaner.
What about my doorbell and smart lock?
Put them on the same isolated network. Every low-update IoT device benefits from the same treatment, and grouping them keeps the arrangement simple to manage.
Final Thoughts
Separating cameras from your personal devices is one of the highest-value hours you can spend on home network security. Create a dedicated SSID or guest network, enable client isolation, set a unique password, move one camera at a time while verifying it works, and test the isolation from both directions when you finish. Keep remote access through the manufacturer’s service rather than port forwarding, and pair the segmentation with unique device passwords and current firmware. A compromised camera then costs you one camera — not the run of your entire home network.









