
 Owen Bradley
 A chandelier over a dining table is one of the few light fixtures people actually notice. Hang it well and the room feels finished. Hang it badly and the problem is obvious every evening: heads bumping the glass, a fixture floating off-center, or glare so harsh nobody can look across the table. The good news is that hanging a chandelier is mostly measuring and planning, with a short stretch of straightforward electrical work in the middle. This guide walks through the job in order, from confirming your ceiling box can carry the weight to picking bulbs and a dimmer that make the finished fixture look right.
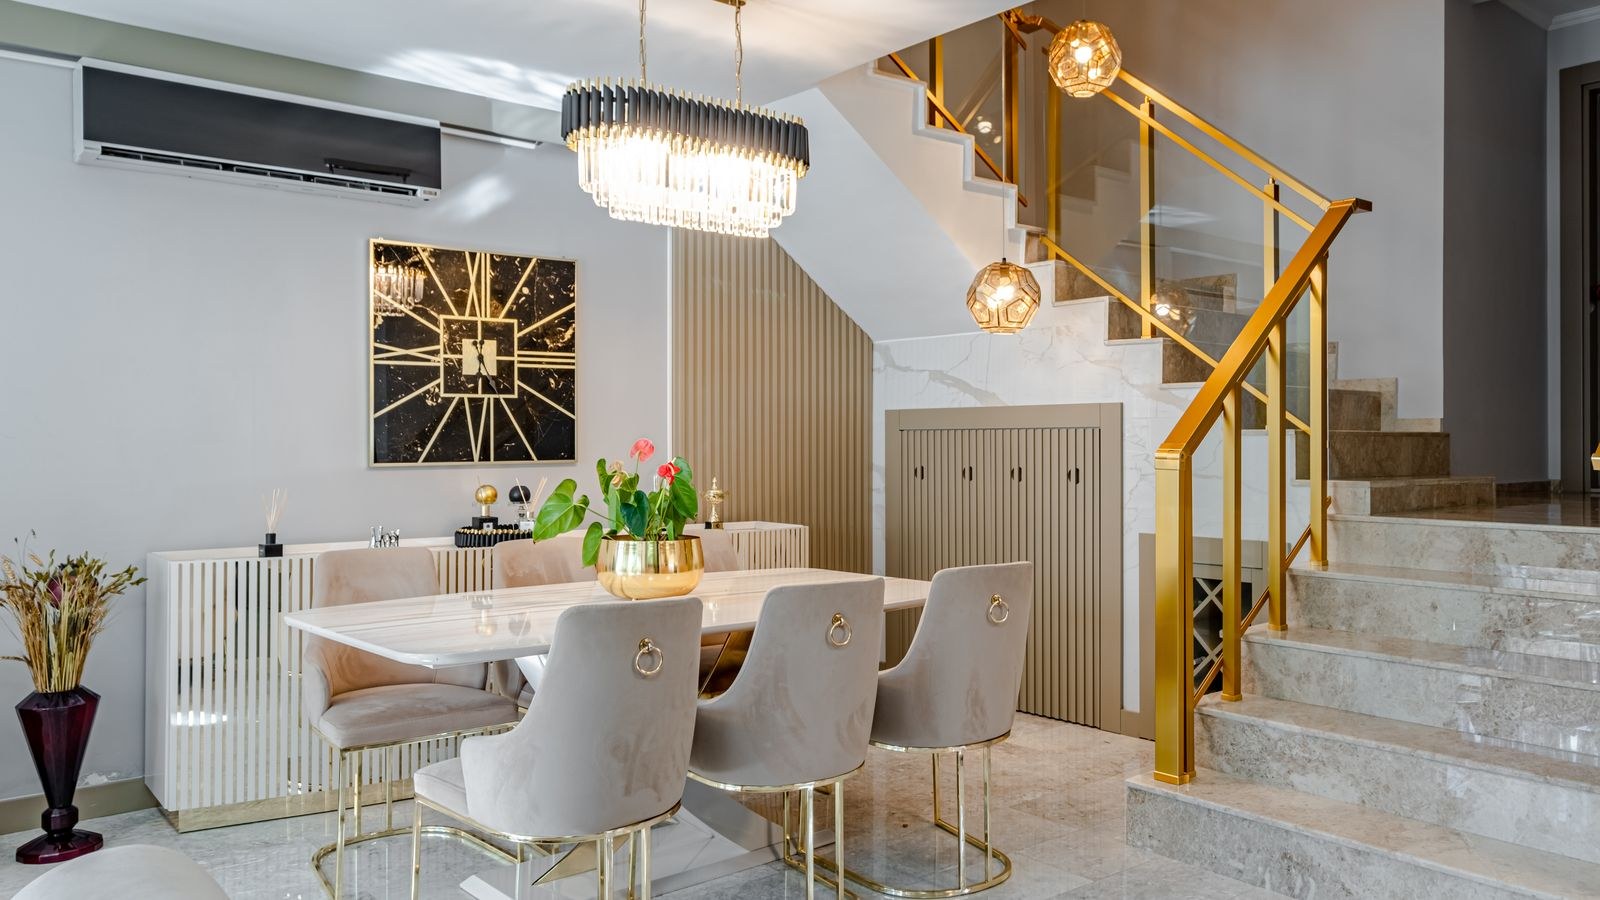
Before You Touch Anything: Weight, Box, and Circuit
Every chandelier project starts with three questions that have nothing to do with style. First, how much does the fixture weigh? Weigh the boxed fixture on a bathroom scale and subtract the packaging, or check the spec sheet. Anything over 35 pounds needs to be supported by the building structure rather than the electrical box alone, and many jurisdictions treat 50 pounds as the point where a dedicated support system is mandatory.
Second, what kind of ceiling box is up there? A standard round plastic box is rated for lightweight fixtures only. What you want overhead is a metal box marked as fan-rated or fixture-rated, ideally screwed into a joist or carried by an adjustable brace bar installed between two joists. A brace bar can be fed through the existing hole and expanded until its ends bite into the joists, so this upgrade rarely requires cutting new drywall.
Third, what circuit is the box on? Label the breaker that kills power there. If the fixture is switched from two locations, you have a three-way circuit and should photograph the existing wiring before disconnecting anything.
Tools and Materials to Gather
- Non-contact voltage tester
- Step ladder tall enough that you work at chest height
- Wire strippers, lineman’s pliers, and a Phillips screwdriver
- UL-listed wire connectors sized for the conductors you are joining
- Fixture-rated metal ceiling box or an adjustable brace bar, if needed
- Tape measure, pencil, and a laser or bubble level
- Painter’s tape and a length of string for mocking up the height
- A helper — chandeliers are awkward, not necessarily heavy
Getting the Height Right
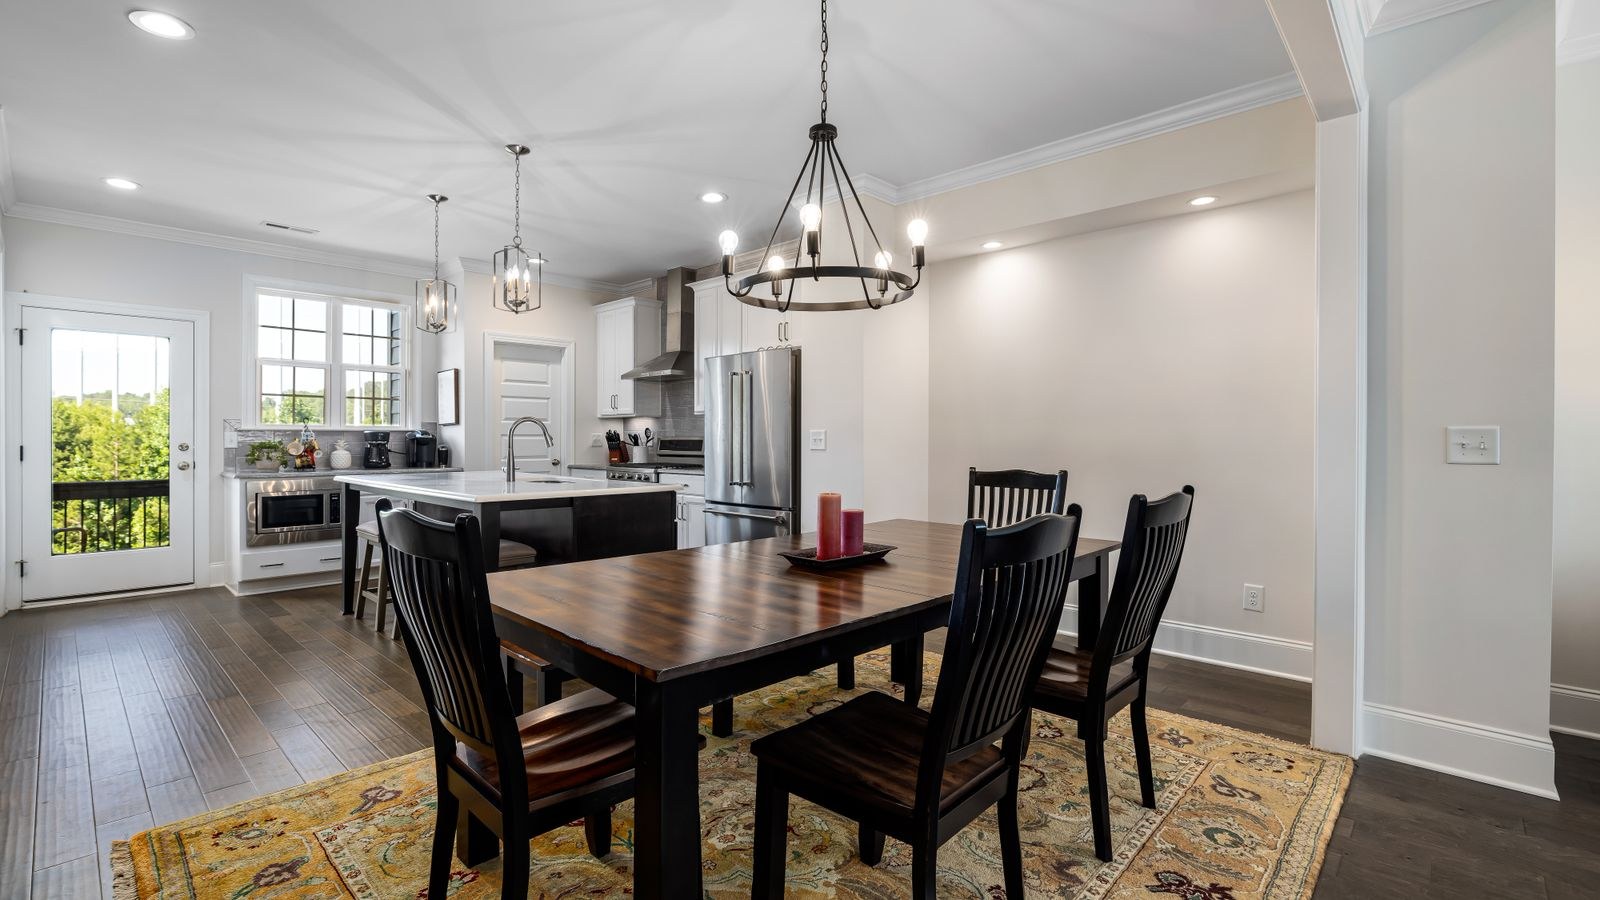
This is the number everyone asks about. Over a dining table, the bottom of the chandelier should sit roughly 30 to 34 inches above the tabletop in a room with an 8-foot ceiling. That range keeps the fixture below eye level for seated diners so the light feels intimate, while staying high enough that a standing person passing the table does not clip it.
For taller ceilings, add about 3 inches of height for every additional foot of ceiling. A 10-foot ceiling therefore puts the bottom of the fixture around 36 to 40 inches above the table. Two other adjustments matter. If the chandelier has an open frame you can see through, you can hang it a little lower without blocking sightlines. If it has a solid drum shade or a wide bowl, hang it toward the upper end of the range so it does not wall off the two halves of the table.
Do not guess. Cut a piece of string to your intended drop, tape it to the ceiling with a paper cutout of the fixture’s diameter on the end, and live with it for an evening. Adjusting a chain by two links now is far easier than after the wiring is done.
Sizing the Fixture to the Table
A chandelier over a table should be roughly one-half to two-thirds the width of the table, and never wider than the table itself. For a 42-inch-wide table, that means a fixture between 21 and 28 inches in diameter.
Finding the Center Point
The chandelier should center on the table, not on the room. That distinction trips up a lot of installations, because dining tables are frequently offset toward a window or a wall. Measure the table’s length and width, mark the intersection of both midpoints with a small piece of tape on the tabletop, then transfer that point to the ceiling using a plumb bob or a laser level.
If the existing box is more than a couple of inches off that mark, you can move the box (cleanest, but involves patching drywall) or use a swag hook and chain to redirect the cord to the correct point. For a long rectangular table, consider two smaller fixtures spaced evenly along the table’s long axis instead of one large one.
Step-by-Step Installation
- Kill the power at the breaker. Turn off the wall switch too, then hold a non-contact tester against the wires in the ceiling box to confirm they are dead. Test the tester on a known-live outlet first so you know it works.
- Protect the table. Move chairs out, lay a moving blanket over the tabletop, and set the ladder so you never have to lean sideways.
- Remove the old fixture. Loosen the canopy screws, lower the canopy, and have your helper support the fixture while you unscrew the wire connectors. Note which conductor went where before you separate them.
- Inspect and upgrade the box. Confirm the box is metal, securely fastened, and rated for the weight of your new fixture. Install a brace bar now if the existing box is plastic or loose. Make sure the box’s grounding screw is present.
- Set the chain or rod length. With the fixture on the floor or table, remove links from the chain — or trim and assemble the down rods — until the fixture hangs at the height you mocked up. Weave the supply cord through the remaining chain links in a loose spiral so it does not hang straight and slack.
- Attach the mounting strap. Screw the crossbar or mounting strap that came with the chandelier to the ceiling box. Thread the nipple or hickey through the center and test-fit the canopy so you know it sits flush before the fixture is dangling.
- Hang the fixture temporarily. Use a length of stiff wire or a proper fixture hook through the mounting strap to hold the chandelier while you have both hands free. Never leave the fixture hanging by its electrical conductors.
- Make the connections. Join black to black (or the smooth conductor to hot on a lamp cord), white to white, and the bare or green ground to the ground screw and the fixture’s ground lead. Twist each pair with pliers, cap with a connector, and give a firm tug on every joint.
- Tuck and close up. Fold the conductors accordion-style into the box so nothing is pinched, raise the canopy, and tighten the retaining nut or screws until the canopy seats flat against the ceiling.
- Install the bulbs and glass. Fit the bulbs before the shades or crystals so you are not reaching past fragile parts. Restore power at the breaker and test the switch.
- Level and dress the fixture. Sight along the arms from across the room and adjust the chain or canopy until the fixture reads level. Hang crystals or drops last, working symmetrically around the frame.
Choosing Bulbs That Flatter the Room
Bulb choice makes more difference to how a chandelier looks than the fixture’s price tag. Aim for a warm color temperature in the 2200K to 2700K range — cooler light makes food look grey. Keep total output modest, since a chandelier is ambient light rather than a work light.
Most dining chandeliers use candelabra bases, and clear or lightly frosted glass reads best in exposed sockets. For a starting point, compare options in our roundup of the best chandelier bulbs, then narrow down with the picks in best light bulbs for dining room chandeliers. For small-base fixtures specifically, the guide to the best LED candelabra bulbs covers shape and filament styles that look right in an open frame. If the chandelier is only part of your dining lighting plan, the wider list of best light bulbs for dining room fixtures helps you match color temperature across sconces and recessed cans.
Do Not Skip the Dimmer
A chandelier without a dimmer only has one mood. Swapping the wall switch for a dimmer takes fifteen minutes and transforms dinner lighting, but it only works if the switch and the bulbs are compatible. Modern LED bulbs need an LED-rated dimmer with an adjustable low-end trim; a legacy incandescent dimmer will produce flicker, buzzing, or a bulb that drops out entirely at low settings. Check the dimmer’s compatibility list against your bulbs, and browse the best dimmer switches if you need one that handles a low LED load smoothly.

Common Mistakes
- Centering on the room instead of the table. The eye reads the fixture against the table, so any offset there is glaring.
- Hanging too high. A chandelier pulled up near the ceiling loses its intimacy and lights the ceiling more than the table.
- Trusting an old plastic box. The most common failure in a chandelier install is a fixture that pulls loose months later.
- Mixing bulb color temperatures. Five sockets with four different bulbs will look mismatched no matter how good the fixture is.
- Skipping the ground. Metal fixtures must be bonded, and a missing ground is both a code violation and a real shock risk.
Troubleshooting After Installation
If nothing lights up, confirm the breaker is on and check whether the wall switch is a three-way that needs both switches in the right position. If some sockets work and others do not, the culprit is almost always a loose bulb or a socket tab pressed too flat — with power off, gently lift the brass tab in the base of the socket a few millimeters.
Flicker at low dimmer settings usually means the LED load is below the dimmer’s minimum, or the low-end trim needs adjusting. If the fixture swings or feels loose to a light touch, take it down and revisit the box and brace bar rather than tightening the canopy harder.
Frequently Asked Questions
How high should a chandelier hang over a dining table?
Roughly 30 to 34 inches from the tabletop to the bottom of the fixture with an 8-foot ceiling, adding about 3 inches per extra foot of ceiling height.
Can I hang a chandelier from an existing ceiling fan box?
Usually yes. Fan-rated boxes are built for higher loads and moving weight, so they comfortably support most chandeliers, but confirm the rating stamped inside the box.
Do I need an electrician?
Replacing a fixture on existing wiring is a common homeowner project. Call a licensed electrician if you need to move the box, add a new circuit, work with aluminum wiring, or if the existing wiring has no ground conductor.
What if my table gets moved later?
If your layout is likely to change, a plug-in swag installation is far easier to reposition than a hard-mounted box.
Final Thoughts
Hanging a chandelier rewards patience at the measuring stage far more than speed at the wiring stage. Confirm the box can carry the load, mock up the drop with string before cutting a chain link, center the fixture on the table rather than the room, and finish with warm bulbs on a compatible dimmer. Get those four things right and you will only have to do the job once.









