
 Owen Bradley
 The average household first aid kit is a plastic box under the bathroom sink containing eleven adhesive bandages, a tube of cream that expired years ago, and nothing that would help in the situations most likely to happen. Real household injuries cluster by room: burns and cuts in the kitchen, slips and scalds in the bathroom, splinters and lacerations in the garage, and scrapes in the yard. Building your kit room by room rather than as one central box means supplies are within arm’s reach when seconds matter, and it forces you to think about what actually goes wrong in each space. Here is how to assemble a household system that works.
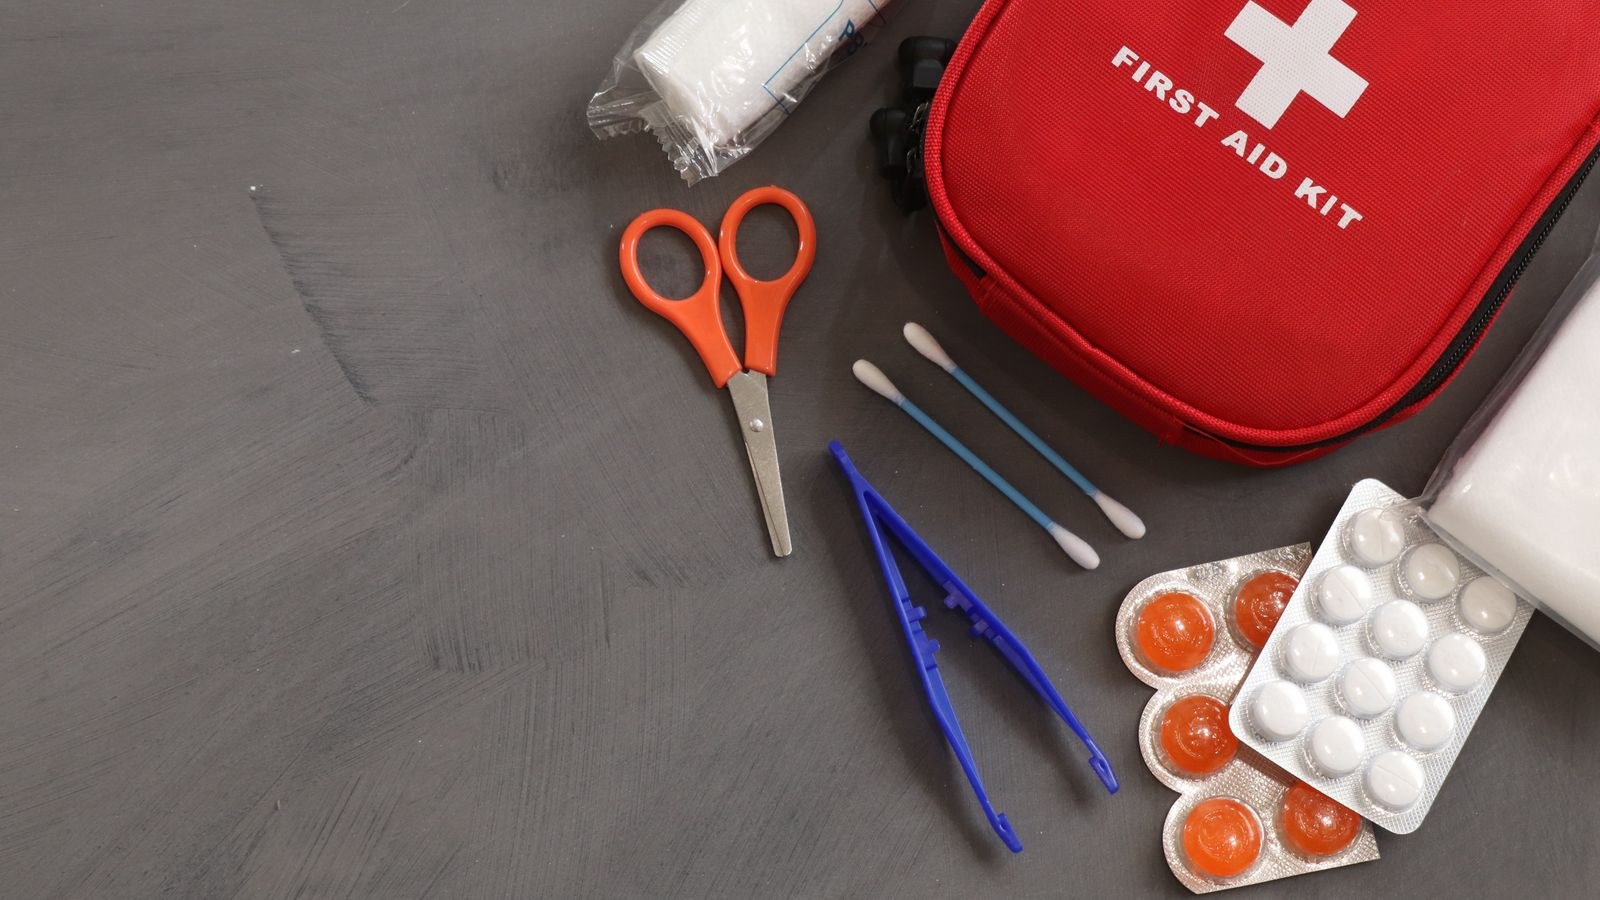
Why One Central Kit Is Not Enough
A single kit in a hallway cupboard sounds tidy, but it fails in practice for two reasons. First, distance: someone with a bleeding hand in the garage should not be walking through the house dripping while searching a drawer. Second, specificity: the supplies that matter for a grease burn are not the supplies that matter for a deep cut from a chisel.
The better model is one main kit plus small satellite kits placed where injuries actually occur. The main kit holds the depth of supplies and the items you reach for rarely. The satellites hold the three or four things that room demands, in a container you can grab one-handed. Total cost is modest, and the layout does most of the thinking for you in a moment when clear thinking is in short supply.
The Core Kit: What Every Household Needs
Start with a main kit in a central, easily reached location that adults know and children can be told about. It should contain the following categories at minimum.
- Wound cleaning: saline pods or a sterile wash, antiseptic wipes, and unscented soap.
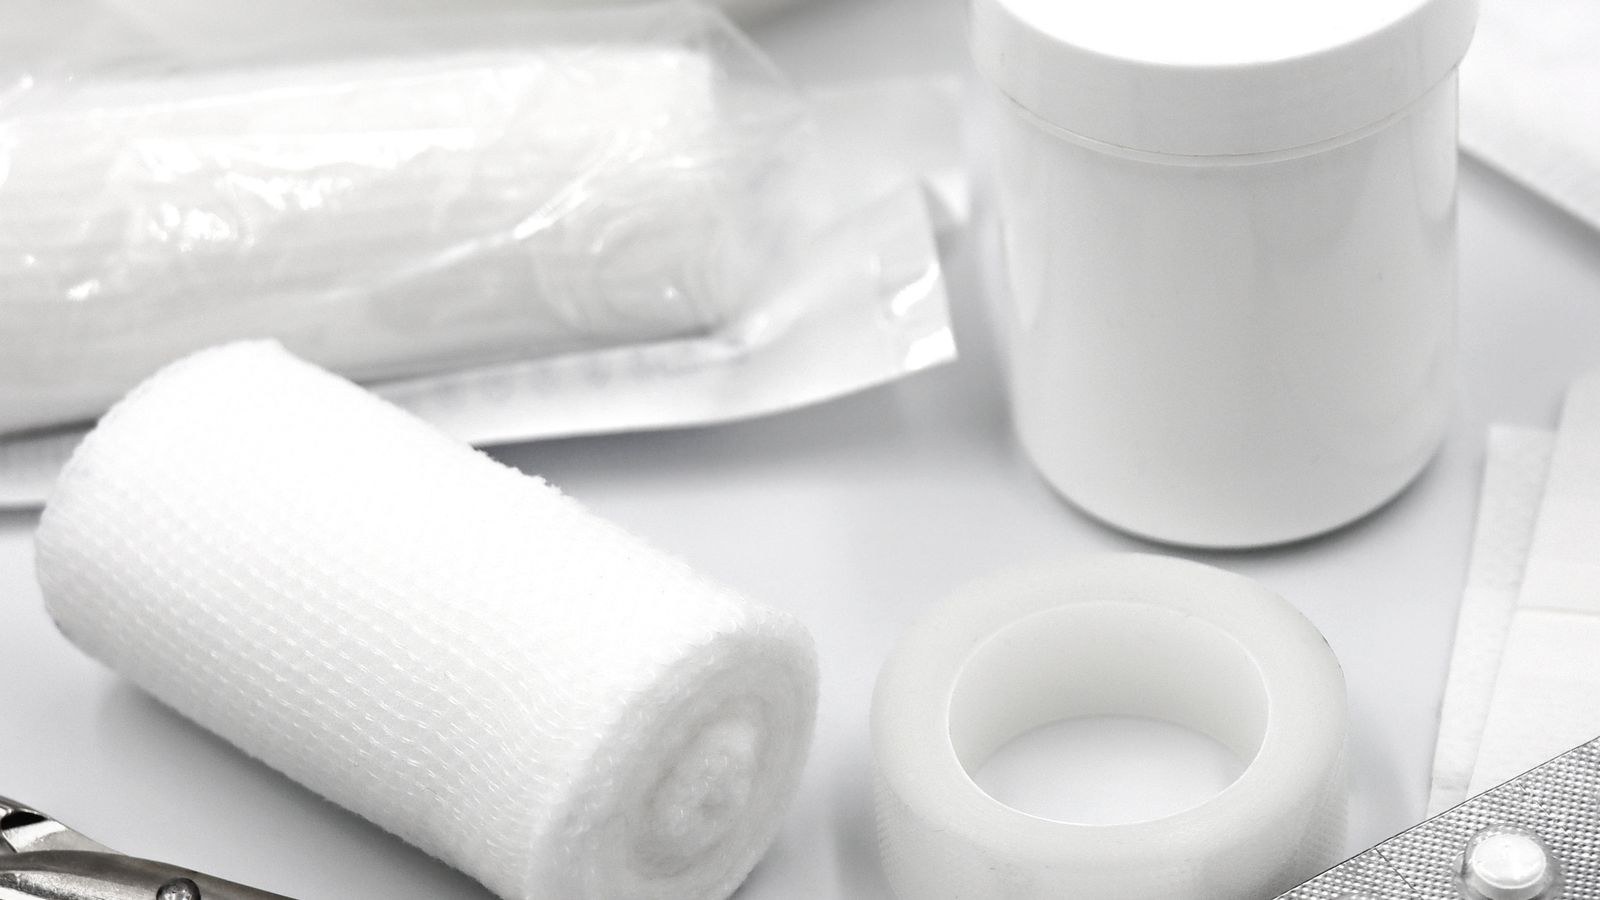
- Dressings: adhesive bandages in several sizes, sterile gauze pads, non-adherent pads for burns and abrasions, and a roll of conforming bandage.
- Fixation: medical tape, self-adhering cohesive wrap, and a couple of triangular bandages for slings.
- Tools: blunt-tipped shears strong enough to cut clothing, fine-point tweezers, a digital thermometer, and a torch.
- Protection: nitrile gloves in two sizes, a CPR face shield, and a few disposable masks.
- Medication: pain relief for adults and children, antihistamine, hydrocortisone cream, antibiotic ointment, and oral rehydration sachets.
- Reference: a printed first aid guide and a card listing emergency numbers, poison control, allergies and current prescriptions for each household member.
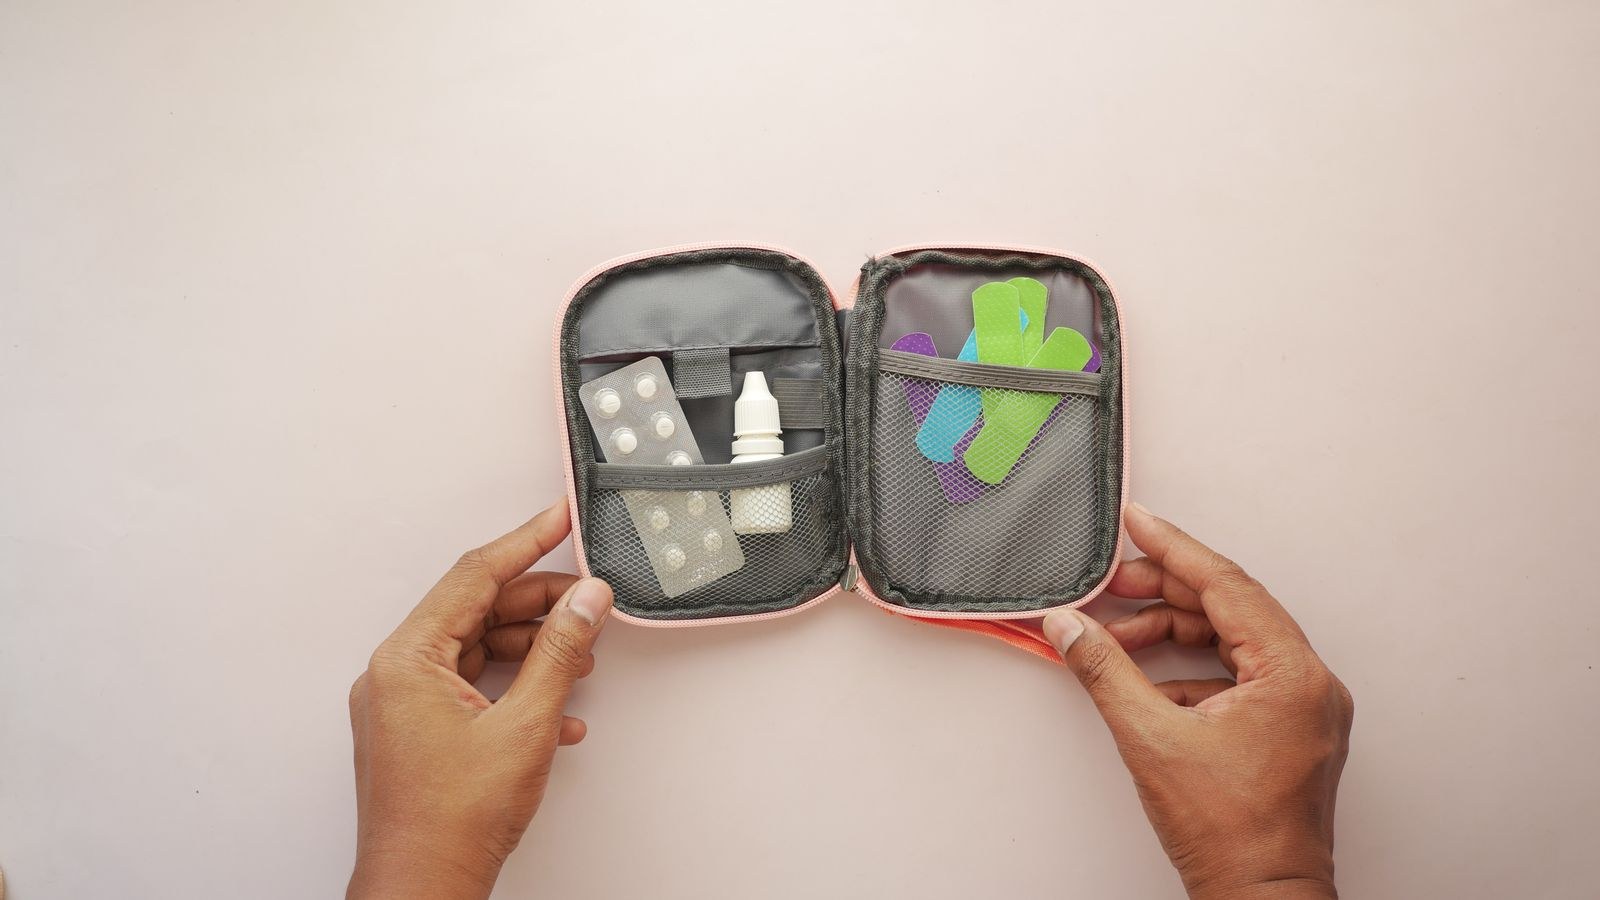
Choose a container with compartments rather than one deep cavity, because rummaging costs time. A soft case with clear pockets or a tackle box with trays both work well.
Step-by-Step: Building the Kit Room by Room
- Walk the house and list the hazards. Go room by room and write down what could realistically go wrong. Hot pans, sharp knives, wet tile, stairs, power tools, garden chemicals. This ten minute exercise shapes everything that follows.
- Assemble the main kit from the core list above and place it somewhere central, ideally a hall cupboard or kitchen pantry rather than a bathroom, where steam degrades adhesives and medications.
- Build the kitchen burn shelf. Kitchens produce more household injuries than any other room. Keep burn gel dressings, non-adherent pads, cling film for covering a large burn, sterile gauze, and a pair of shears in a drawer near the stove but not above it.
- Stock the bathroom for cuts and hygiene. Adhesive bandages, antiseptic wipes, tweezers for splinters, and a thermometer. Keep medications out of the bathroom itself; humidity shortens their life considerably.
- Add a garage or workshop trauma pouch. This is where serious bleeding happens. Include large trauma dressings, a pressure bandage, nitrile gloves, eyewash solution, and heavy shears. If anyone in the household uses saws or grinders, a tourniquet plus the training to use it is a reasonable addition.
- Prepare a car kit. A compact pouch with dressings, gloves, a foil blanket, a torch and a window breaker with seatbelt cutter. Cars sit in the sun, so check the contents twice a year.
- Cover the outdoors and garden. Insect sting relief, tick removal tweezers, sunscreen, blister plasters and a small supply of the basics in a weatherproof box near the garden door.
- Personalise for your household. Add child-specific dosing medication, an epinephrine auto-injector if prescribed, a spare inhaler, glucose gel for diabetics, or pet-specific items. This step matters more than any generic list.
- Label everything clearly on the outside of each container, including a contents list and a review date written in marker.
- Show everyone where the kits are. A perfectly stocked kit nobody can find is worthless. Walk every adult and older child through the locations, and repeat it when anyone new joins the household.
Integrating First Aid With Wider Home Safety
A first aid kit is one part of a household emergency system, and it works best alongside the equipment that stops small incidents becoming large ones. A kitchen fire that is smothered in the first thirty seconds needs a plaster afterwards; the same fire ignored for two minutes needs a fire service. Keep an extinguisher rated for cooking fires within reach of the kitchen but not directly beside the stove, where you would have to reach across flames to get it. Our guide to the best home fire extinguishers explains which classes cover which fire types.
Detection deserves equal attention. Working smoke alarms on every level give you the warning time that makes first aid relevant at all, and carbon monoxide poisoning presents as headache and nausea long before anything visible happens, which is precisely why it needs a sensor rather than a first aid response. Pair your kit locations with the guidance in our roundup of the best smoke alarms and the placement notes in our list of the best carbon monoxide detectors.
If you are setting up a household from scratch, it is worth planning detection, suppression and first aid together rather than piecemeal. Our broader fire safety buying guide covers how the pieces fit, and our comparison of the best fire extinguishers helps size units for each room.
Storage, Safety and Access
Store kits high enough that small children cannot reach medications, but low enough that an adult can grab one without a stool. Lockable medicine boxes are worth using where teenagers or visitors are a concern, provided the key location is known to every adult.
Temperature and light degrade supplies faster than time alone. Avoid bathrooms, car glove boxes in hot climates, and any spot above a radiator or in direct sun. Keep everything dry, since damp destroys the sterility of gauze and the adhesion of tape long before the printed expiry date.
Most importantly, supplies are not a substitute for training. A tourniquet in an untrained hand can do harm, and CPR knowledge saves more lives than any box of dressings. A basic certified first aid and CPR course takes a single day and transforms what your kit can accomplish.
Common Mistakes to Avoid
The biggest is buying a pre-made kit and never opening it. Commercial kits are typically heavy on plasters and light on the gauze, tape and gloves that real injuries need, so treat one as a starting point to be topped up rather than a finished product.
The second is never checking expiry dates. Sterile dressings, ointments and medications all age, and a kit assembled once and forgotten is often half-useless within three years. The third is storing everything in the bathroom, where humidity is at its worst. The fourth is omitting gloves, which protect both parties and are the cheapest item on the list. The fifth is failing to personalise for allergies and prescriptions, which is exactly where a generic kit fails hardest. And the sixth is telling nobody where the kits live.
Maintenance Schedule
Set a recurring reminder every six months, ideally aligned with the day you test smoke alarms, and run a short check: scan expiry dates, replace anything used, confirm the torch batteries work, and update the emergency contact card. Once a year, do a deeper review that accounts for changes in the household such as a new baby, a new prescription or a new power tool in the garage.
Keep a small written log in each kit noting the last check date. It takes seconds and removes the uncertainty about whether the box has been looked at since you assembled it.
Frequently Asked Questions
How many kits does a typical home need?
One main kit plus two or three satellites covers most houses: kitchen, garage or workshop, and car. Larger or multi-storey homes benefit from one per floor.
Should I include prescription medication?
Keep a documented list and a small emergency supply where a doctor advises it, such as an inhaler or auto-injector. Do not stockpile prescriptions in the kit without medical guidance.
Is a tourniquet appropriate for a home kit?
It is reasonable for a workshop where power tools are used, but only with proper training. Applied incorrectly it causes serious harm, so treat the training as part of the purchase.
How long do supplies last?
Sterile dressings typically carry a three to five year date, ointments two to three years, and medications vary widely. Heat and damp shorten all of these, which is why storage location matters as much as the date printed on the pack.
What should I do first in an emergency?
Make the scene safe, call emergency services for anything serious, then treat what you can while help is on the way. The kit supports that sequence rather than replacing it.
Final Thoughts
Building a home first aid kit room by room takes an afternoon and a modest budget, and it puts the right supplies where the injuries actually happen. Start with a well-stocked core kit, add small purpose-built satellites in the kitchen, garage, car and garden, personalise for the people and pets in your household, and label everything clearly. Then take a certified first aid course, tie your kit into the smoke alarms and extinguishers already protecting the house, and set a six-month reminder to check the contents. That combination turns a dusty box under the sink into something genuinely useful on the worst day of the year.









