
 Owen Bradley
 Handing guests your everyday Wi-Fi password is the most common security mistake short-term rental hosts make. That one string gives a stranger the same network standing as your own laptop, meaning your network attached storage, indoor cameras, smart locks and printer all become visible to whoever booked the room this weekend. A properly configured Airbnb guest network fixes that in an afternoon. It gives visitors fast internet on an isolated segment, keeps your private devices invisible, caps the bandwidth one heavy streamer can consume, and cuts the “the Wi-Fi isn’t working” messages that eat into your evenings.
Why a Separate Guest Network Matters for Rentals
A home network is built on trust. Devices on the same subnet can usually see and talk to one another, which is exactly what you want when your phone casts to the living room television. In a rental, that trust is misplaced. Guests rotate every few days, their devices may be infected or misconfigured, and you have no way to vet them. Network isolation replaces trust with a wall.
There are three concrete risks a guest network eliminates: lateral access, meaning a curious guest browsing shares and finding your documents on a NAS; device tampering on smart plugs, thermostats and cameras with weak local credentials; and liability, since separated traffic can be shut down without taking your own connection offline. There is a practical benefit too. Guest networks let you change the password whenever you like without re-pairing every smart bulb, speaker and printer in the property.
What You Need Before You Start
Gather these before touching any settings so you are not hunting for information mid-configuration.
- A router that supports guest networking with client isolation. Most mid-range and better models do. If yours does not, or if it only offers guest Wi-Fi without isolation, this is the upgrade to make first. Compare options among routers with guest network support before buying.
- Router admin credentials. Not the Wi-Fi password. The admin login, usually printed on a sticker underneath the unit.
- A laptop or tablet for the admin interface. Phone browsers work, but router dashboards are cramped on small screens.
- An inventory of your private devices: cameras, smart lock hub, NAS, printer, thermostat, personal computers. You need to know what must stay on the private side.
- Your internet plan’s actual speeds. Run a wired speed test so you know the real ceiling before you divide it up.
- A spare hour. Rushing this is how cameras end up on the guest side.
Step-by-Step: Building the Guest Network
- Log into the router admin panel. Type the gateway address (commonly 192.168.1.1 or 192.168.0.1) into a browser, or use the manufacturer’s app. If you have never changed the default admin password, change it now to something long and unique. A rental property router is physically accessible to strangers, so this matters more than it does in a private home.
- Update the firmware. Guest isolation bugs have been patched in many models, so install pending updates before configuring anything. Enable automatic updates if the option exists.
- Locate the guest network settings. These usually sit under Wireless, Guest Network, or Guest Access. Enable the guest SSID. If your router offers separate 2.4GHz and 5GHz guest networks, enable both so older devices and modern phones both connect cleanly.
- Name the SSID clearly and helpfully. Use something a guest will recognise instantly, like the property name plus the word Guest. Avoid your surname, your unit number or anything that identifies the address to passers-by. Do not hide the SSID; hidden networks confuse guests and generate support messages without adding real security.
- Turn on client isolation. This setting does the actual work and may be labelled AP isolation or “allow guests to access my local network” (leave that unchecked). Guests must not reach your private LAN, and ideally not each other. If you rent rooms to unrelated parties, guest-to-guest isolation is essential.
- Set strong encryption. Choose WPA2/WPA3 mixed mode for broad compatibility. Never leave a rental guest network open; that invites passers-by onto your connection and makes traffic trivially readable.
- Create a guest password that is secure but typeable. Aim for a passphrase of three or four unrelated words rather than a random jumble of symbols. Something like maple-harbor-lantern-42 is far easier to type on a smart television remote than a 16-character mixed-case string, while still being far too long to guess or brute force.
- Apply a bandwidth cap. Most guest network implementations let you limit upload and download for the guest SSID. Give guests enough for comfortable streaming and video calls, but leave headroom so one guest torrenting a game does not saturate the line. On a 300 Mbps connection, capping the guest side around half is usually generous.
- Verify the private side. Move every camera, the lock hub, the NAS and your own devices onto the main SSID, then confirm none appear when you scan from a guest-connected device.
- Test like a guest. Forget both networks on your phone, join the guest SSID with the printed password, and try to reach your NAS address, your printer and your camera app locally. Every attempt should fail. Then run a speed test and open a video call to confirm the experience is actually good.
Hardening the Setup Beyond the Basics
Once the guest SSID works, a few extra settings turn a decent configuration into a solid one.
Disable Remote Administration and WPS
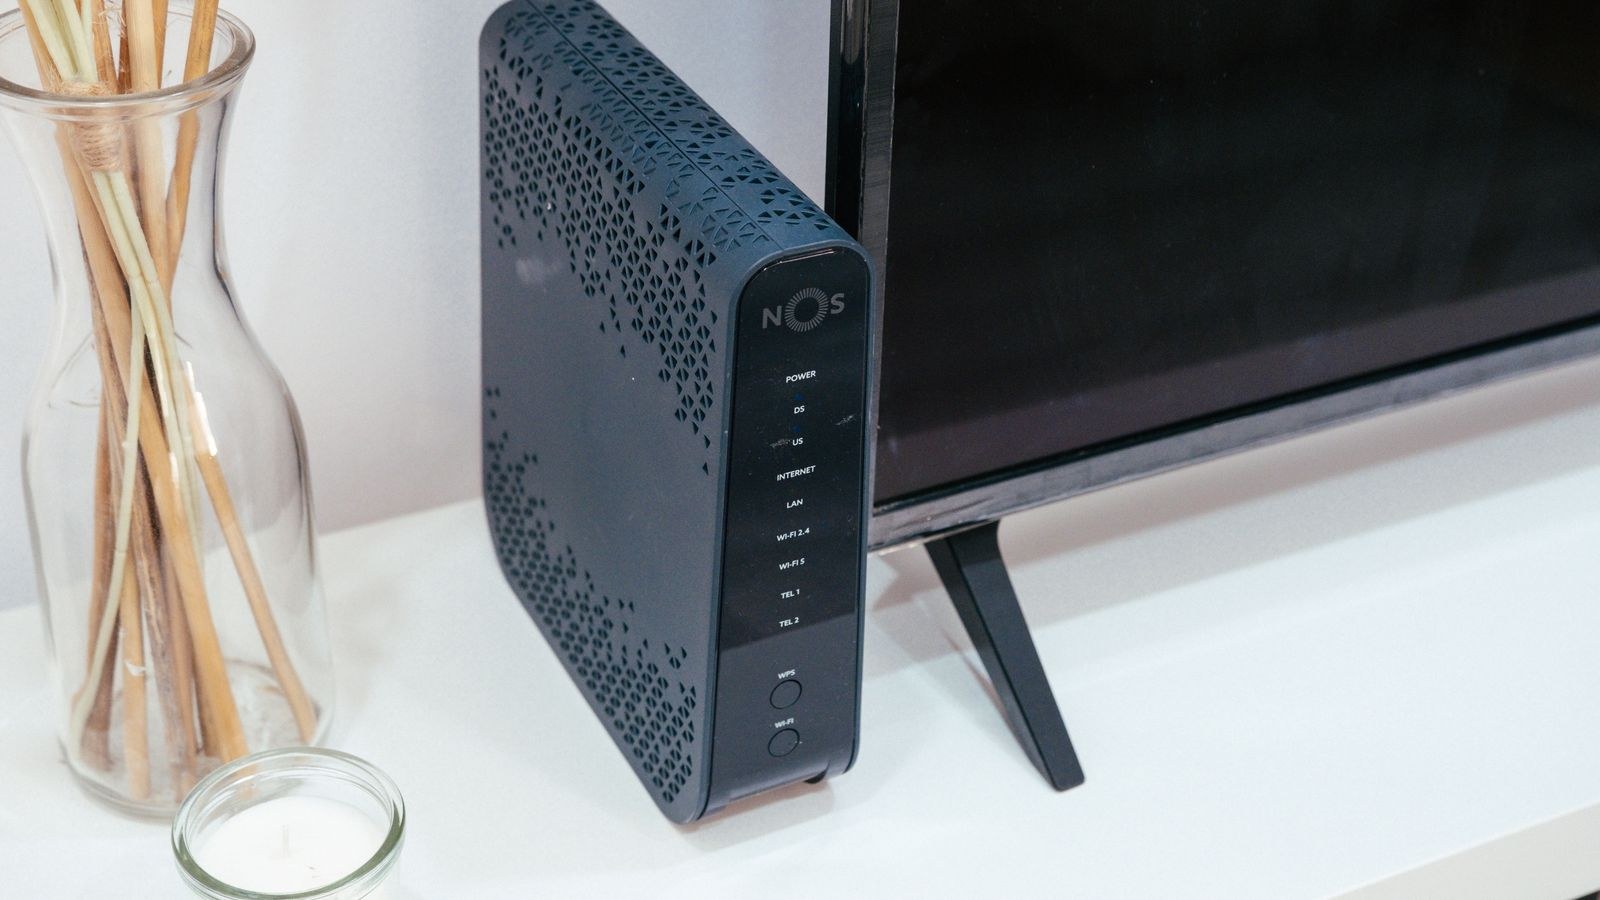
Remote management exposes your admin panel to the wider internet and is rarely needed for a property you can reach through a phone app. WPS can be triggered by anyone standing next to the router and should be off entirely in a rental. Place the unit somewhere less inviting, such as a ventilated cabinet.
Segment Your Smart Home Devices
Many hosts run smart locks, noise sensors and thermostats that guests never need to control directly. Keeping those on a network segment separate from both your personal laptops and the guest SSID limits the damage if any single device is compromised. Routers built with this kind of segmentation in mind, including many routers designed for smart home setups, make it straightforward with dedicated IoT networks. Pair that with a model chosen for its security track record from a shortlist of secure Wi-Fi routers and you have layered protection rather than a single line of defence.
Add Content Filtering If Your Property Hosts Families
Some hosts block adult content and known malware domains on the guest network to protect younger visitors. DNS-level filtering is the simplest approach, and many routers with parental control features apply it per-SSID so the guest network can be filtered while your own remains untouched. Mention any filtering in your listing so guests are not surprised.
Rotate the Password on a Schedule
Old passwords circulate. A guest who stayed six months ago should not still be able to connect from the car park. Rotate the guest passphrase monthly and update your signage at the same time. Because nothing of yours depends on that password, rotation costs two minutes and breaks nothing.
Communicating the Wi-Fi to Guests
Half of all Wi-Fi support messages come from bad signage, not bad networks. Fix the communication and the complaints largely disappear.
- Print the network name and password in a large, unambiguous font. Distinguish visually between zero and the letter O, and between one, lowercase L and capital I. Avoid characters that create that confusion in the first place.
- Include a QR code. A Wi-Fi QR code lets guests join by pointing their camera, eliminating typos entirely. Generate one that encodes the SSID, the encryption type and the password.
- Place the card where guests actually look: on the fridge, beside the bed, and in the digital guidebook you send before arrival. One card by the front door is not enough.
- Say what the network is not. A single line noting that the guest network is separated from the host’s devices reassures technically minded visitors and pre-empts questions.
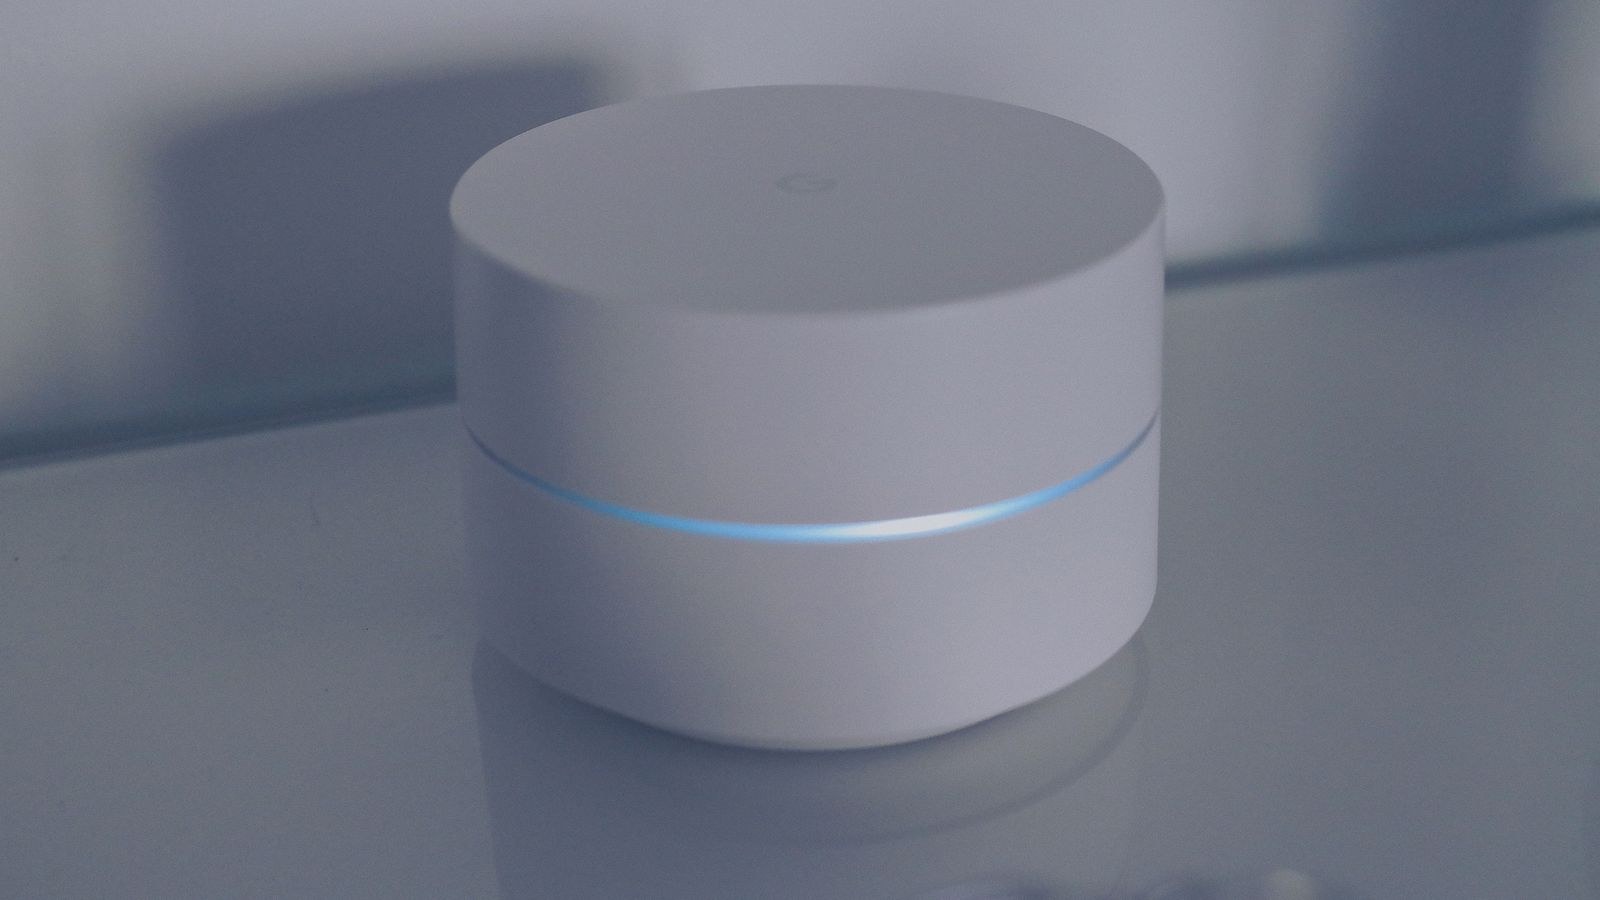
- Add a one-line fix. “If the internet stops working, unplug the white box for 30 seconds and plug it back in.” That instruction resolves a surprising share of issues without you being involved.
Troubleshooting Common Problems
Guests Connect but Have No Internet
This usually means the guest network has an IP conflict or the bandwidth cap is set absurdly low. Check that the guest segment has its own DHCP range and that the cap is not throttled to a value too small to load a page. Rebooting the router after enabling guest mode resolves it on many models.
Smart Television Will Not Join the Guest Network
Older televisions and streaming sticks often support only 2.4GHz and sometimes struggle with WPA3. Enable a 2.4GHz guest SSID and switch encryption to WPA2/WPA3 mixed mode. If the television is yours and stays in the property permanently, it belongs on the main network anyway.
Signal Is Weak in a Bedroom or Basement
One router rarely covers a whole property evenly. A mesh system broadcasts the same guest SSID from every node, so guests roam without reconnecting. Placement matters more than power: get the unit off the floor, out of cupboards and away from metal appliances.
Mistakes Hosts Make Most Often
- Leaving isolation off. A guest SSID without client isolation is just a second password to the same network. Verify it rather than assuming.
- Putting cameras on the guest network because it was the SSID that happened to be on screen during setup. Audit your device list after any router change.
- Reusing the same guest password across years of bookings. Rotation is the cheapest security control you have.
- Using the ISP box with default admin credentials. Those are printed on a sticker any guest can photograph.
- Setting bandwidth caps so aggressive that reviews suffer. Slow Wi-Fi shows up in ratings faster than almost anything else.
Frequently Asked Questions
Do I need a business internet plan for a rental?
Rarely. A standard residential plan with adequate speed handles typical guest use, which is streaming, browsing and the occasional video meeting. Upload speed matters more than most hosts expect, since guests take work calls. Check your provider’s terms if you plan to advertise the connection as a selling point.
Can guests see what I do on the main network?
With client isolation enabled and your devices on the private SSID, no. They share the same internet connection, but they cannot browse your local devices or intercept your traffic. Encryption on the main SSID protects it independently.
How many devices should the guest network support?
Plan for roughly three devices per guest: a phone, a laptop and something streaming. A four-person booking can easily present a dozen clients, so choose hardware rated well above your maximum occupancy.
Final Thoughts
A guest network is one of the highest-return hours a host can spend. It protects your private devices, keeps your smart home under your control, and quietly improves the guest experience because the connection simply works. Start with a router that genuinely supports isolation, walk the steps above once, verify from a guest’s perspective, then rotate the password between bookings. To confirm your configuration matches best practice, our walkthrough on how to set up guest Wi-Fi on a router covers the settings screen by screen. Get this right once in 2026 and it protects every booking that follows.









