
 Owen Bradley
 An overheating gaming PC rarely announces itself politely. It shows up as frame rates that start strong and sag after ten minutes, fans that scream during menus, a case that radiates warmth like a heater, or an abrupt shutdown in the middle of a match. The temptation is to buy a bigger cooler and hope. That works occasionally, but most overheating is a chain problem: heat is generated, moved into a heatsink, blown into the case, and then extracted by case airflow. A failure anywhere along that chain produces the same symptom. This guide shows you how to find the actual weak link and fix it permanently rather than papering over it.
Know What Temperatures Are Actually a Problem
Before fixing anything, establish whether you have a real fault or normal behaviour. Modern processors are designed to run hot under load, and brief peaks near their limit during a heavy benchmark are expected rather than alarming. What matters is sustained temperature and whether clocks are being reduced to hold it.
A rough framework: a CPU sitting in the 40s Celsius at idle and the 70s to low 80s under a long gaming session is healthy. A GPU in the 60s to mid 70s under load is healthy. Consistently hitting the shutdown threshold, hitting the thermal limit within a minute of load starting, or seeing clock speeds fall well below the advertised boost while temperatures sit at the ceiling all indicate a genuine problem. Install a monitoring utility, log a thirty minute gaming session, and look at the sustained figures rather than the peaks.
Tools and Preparation
- Compressed air or an electric duster, plus a soft brush for stubborn dust mats.
- Isopropyl alcohol and lint-free cloths or coffee filters for cleaning old thermal paste.
- A tube of fresh thermal compound.
- A Phillips screwdriver and, for some cooler brackets, a small hex or Torx driver.
- Hardware monitoring software to record temperatures and clock speeds before and after each change.
- A stress test or a demanding game you can run repeatably for comparison.
Work with the machine powered down, unplugged at the wall, and the power supply switched off. Take dusting outside or into a garage rather than blowing a season of debris around a bedroom. Never spin fans with compressed air while they are connected, because a fan driven backwards acts as a generator and can push voltage back into the board.
Step-by-Step Cooling Fixes
- Record a baseline. Run your test workload for twenty minutes and note peak and sustained CPU and GPU temperatures, fan speeds, and clock frequencies. Without this you cannot tell whether any later change helped, and you will end up spending money on the wrong part.
- Clear the dust properly. Dust insulates. A visibly clean case can still have a felted mat inside the CPU heatsink fins, the GPU cooler, and the PSU intake. Remove filters and wash or brush them, blow through every heatsink from the exhaust side outward, and hold fan blades still with a finger while you clean them. This step alone frequently drops temperatures by ten degrees or more on a machine that has not been touched in a year. Our walkthrough on how to clean dust out of a gaming PC covers the process in detail.
- Check that every fan is actually spinning. Power on with the side panel off and look. A seized bearing, an unplugged header after a previous upgrade, or a fan cable caught in a blade is common and easily missed. Confirm each fan appears in your monitoring software with a plausible RPM.
- Fix the airflow direction. Air should enter cool at the front and bottom and leave hot at the rear and top. Every fan has an arrow on its frame showing direction. Cases assembled in a hurry often end up with intake and exhaust fighting each other, creating a pocket of recirculating hot air around the GPU. Aim for slightly more intake than exhaust so the case runs at mild positive pressure, which also keeps dust out of unfiltered gaps.
- Tidy the cables. A bundle of unmanaged cables across the front intake or behind the motherboard tray blocks the path air needs to take. Route what you can behind the tray, strap the rest against the frame, and keep the space between the front fans and the components clear.
- Rebuild the fan curves. Default profiles are tuned for quiet, not for cool, and often let temperatures climb well before ramping. In firmware or your board’s utility, set a curve that starts ramping earlier and reaches full speed before the thermal limit, and base the curve on a sensor that responds quickly rather than a lagging one. Add a short hysteresis delay so fans do not oscillate loudly during light load.
- Reapply the thermal paste. Compound dries out over several years and loses contact quality, and factory applications are sometimes uneven. Remove the cooler, clean both the processor lid and the cooler base back to bare metal with isopropyl alcohol, apply a pea-sized blob in the centre, and remount with even pressure tightening the screws in a diagonal pattern a few turns at a time. Do not over-apply; excess paste insulates rather than helps. A quality CPU thermal paste makes a measurable difference on high-wattage processors.
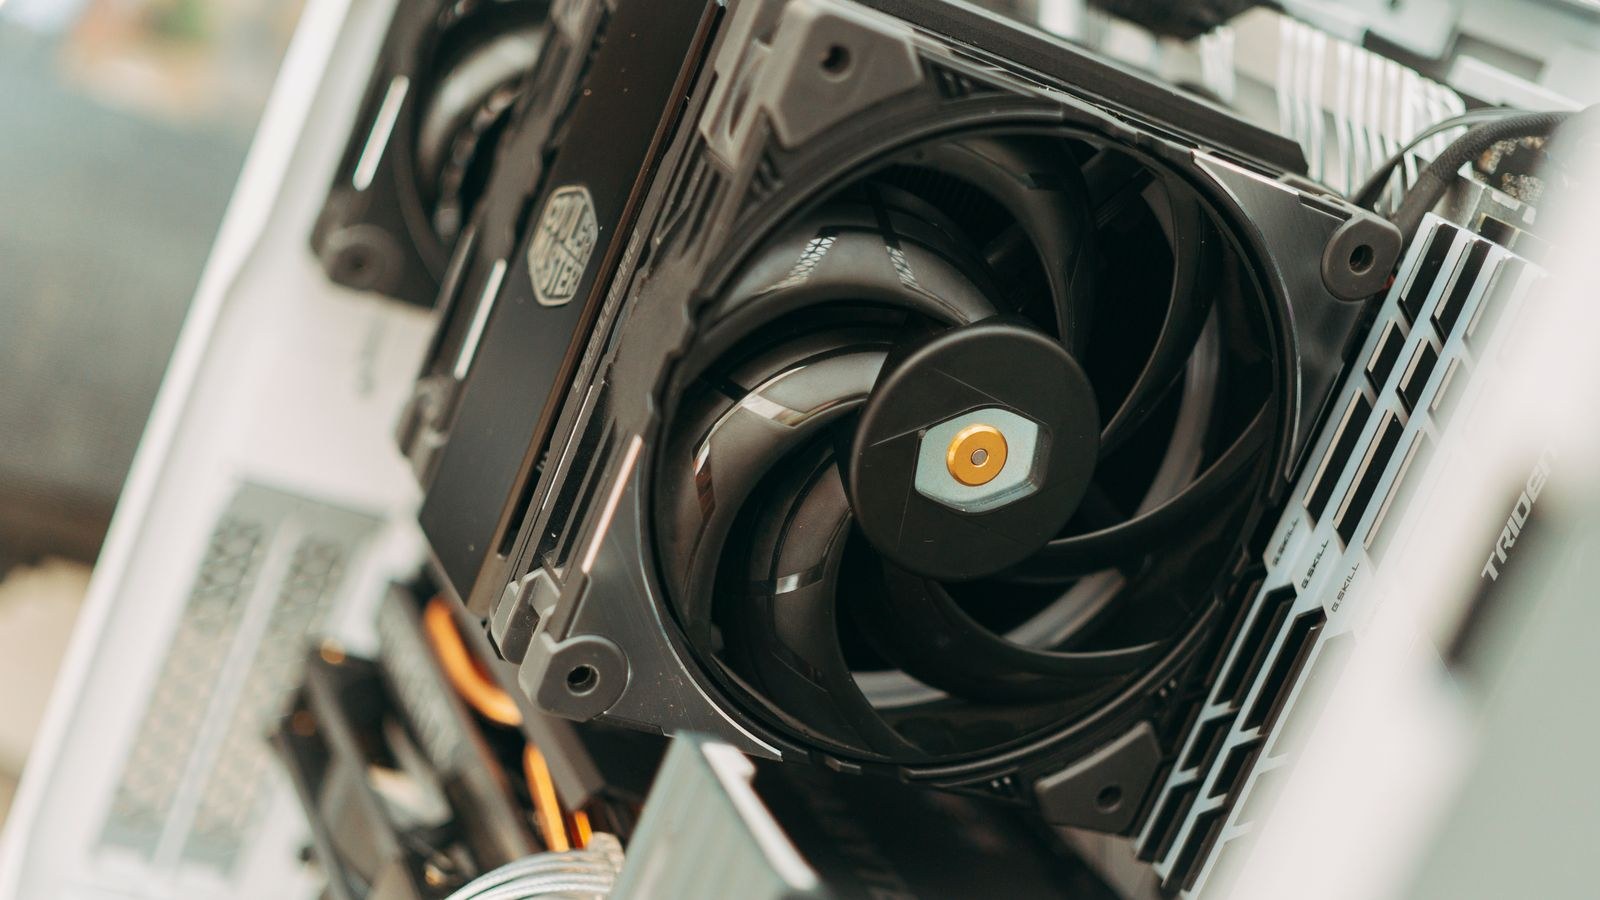
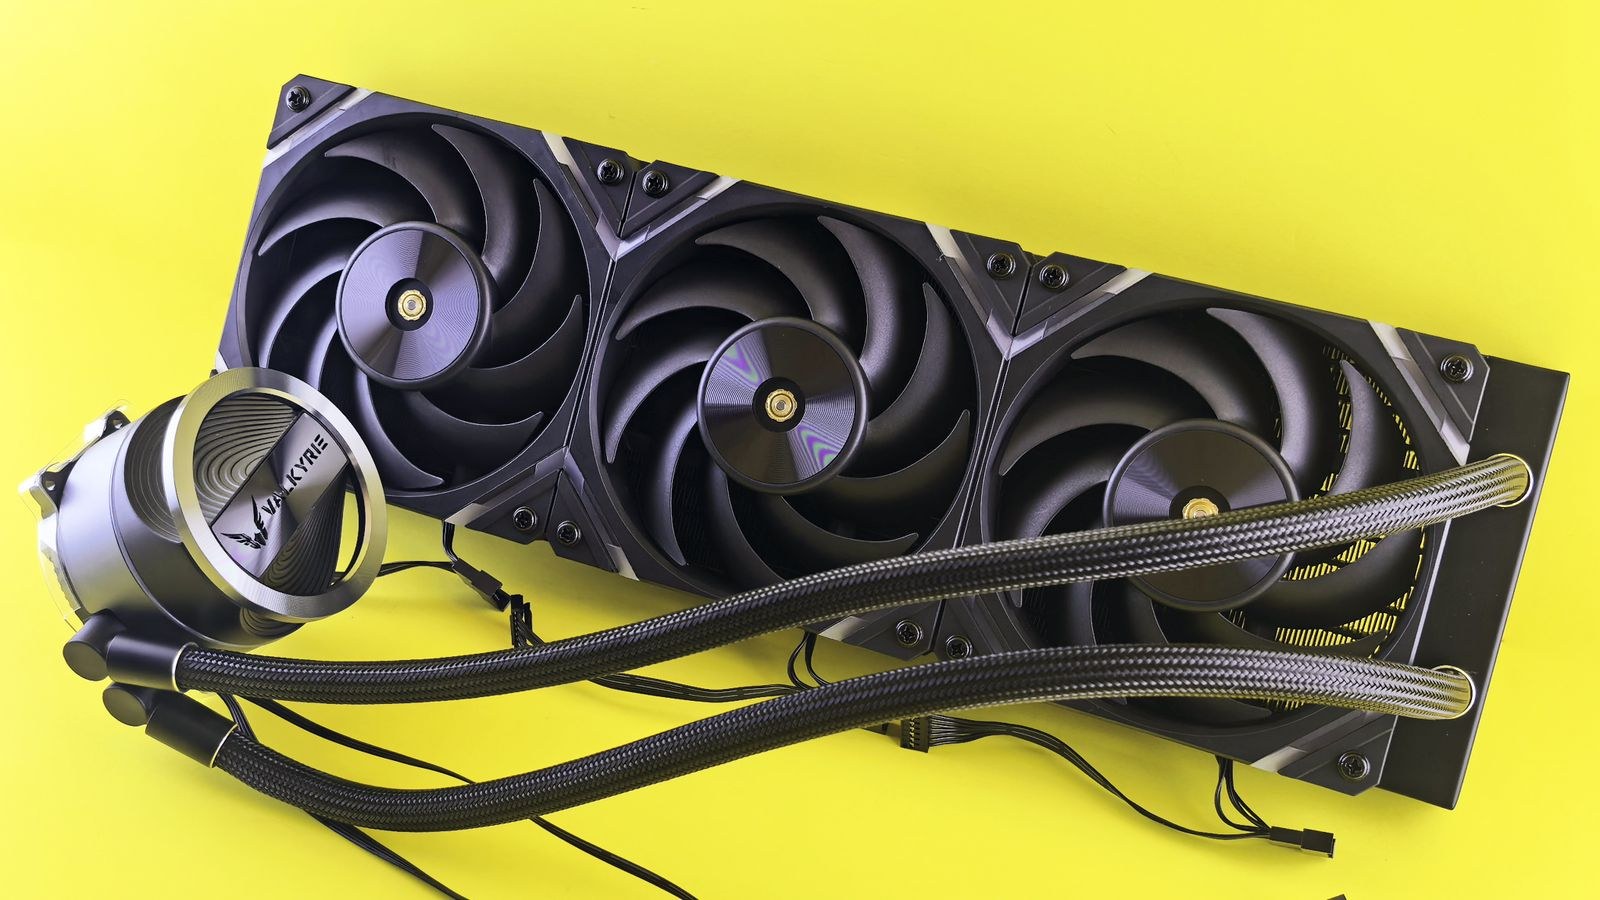
- Verify the cooler is mounted correctly. Uneven mounting pressure is one of the most common causes of a CPU running twenty degrees hotter than it should. Check that the backplate is flat, the standoffs match your socket, and no protective plastic film was left on the cooler base. On a liquid cooler, confirm the pump is running and that the radiator is mounted with the tubes at the bottom or the pump below the top of the radiator, so air collects away from the pump.
- Improve case ventilation. A case with a solid glass front panel and two small fans will bottleneck even excellent coolers. Add intake fans, remove restrictive front covers where the design allows, and make sure the machine is not pushed into a sealed desk cubby with no clearance. Give the case at least a hand’s width of free space at the front and rear. If the chassis fundamentally cannot breathe, moving to one of the best high airflow PC cases is often more effective than any cooler upgrade.
- Address the GPU separately. Graphics cards dump most of their heat straight into the case, so a hot GPU raises everything else. Check that its intake path is not blocked by a drive cage or a bottom panel filter clogged with dust, and consider a modest undervolt, which typically holds nearly full performance while cutting heat output noticeably.
- Reduce heat at the source. If a processor is running at the thermal wall even with good cooling, it may simply be producing more heat than the cooler can move. Setting a sensible power limit, enabling the board’s efficiency preset, or applying a light undervolt trims temperature far more than it trims frame rates. Capping frame rates in games you do not need running at several hundred FPS has the same effect.
- Upgrade the cooler last. Only after cleaning, mounting, airflow, and curves are sorted does a bigger heatsink or radiator make sense. At that point the improvement is real and predictable. Compare the best CPU coolers for gaming against your processor’s actual heat output, and use the best cooling fans for PCs to fill out intake and exhaust positions with units that deliver pressure as well as volume.
Ambient Conditions and Placement
Every internal temperature is measured relative to the air the machine is drawing in. A PC in a warm room in summer will run several degrees hotter than the same machine in winter, and that shifts the whole curve. If the case sits inside an enclosed desk compartment, behind a closed cabinet door, or hard against a wall with the rear exhaust blocked, it is recycling its own hot air. Raising the machine off carpet also matters, since bottom-mounted power supply and case intakes pull directly from underneath and carpet both blocks and feeds dust into them.
Safety Notes
Unplug at the wall and drain residual power before removing any cooler. Never run a system with the CPU cooler removed, even briefly. Hold fans still before dusting them, and keep compressed air cans upright to avoid spraying liquid propellant onto components. Do not open the power supply casing under any circumstances. When remounting a cooler, use the retention hardware for your specific socket rather than improvising, since uneven pressure can crack a die or bend a board.
Common Mistakes
The first is buying a larger cooler before cleaning the machine, which wastes money on a dust problem. The second is over-applying thermal paste in the belief that more is better. The third is setting every case fan to maximum permanently, which is loud, wears bearings, and does little once airflow is already sufficient. The fourth is ignoring the GPU while obsessing over CPU numbers, when the card is often the larger heat source. And the fifth is drawing conclusions from a two minute test, since thermal problems only reveal themselves once the case interior has fully saturated after fifteen or twenty minutes of sustained load.
Frequently Asked Questions
What temperature is too hot for a gaming PC?
Sustained CPU temperatures at the thermal limit with clocks being cut, or a GPU consistently above the mid 80s Celsius, both warrant action. Brief peaks during benchmarks are normal.
How often should I clean the inside?
Every six months for most homes, and every three if you have pets or the machine sits on carpet. Filters benefit from a monthly check.
Is liquid cooling always better than air?
No. A large air cooler matches many all-in-one units for typical processors and has fewer failure points. Liquid helps most with very high wattage chips or cases where height clearance is limited.
Will undervolting reduce my performance?
Usually only marginally, and often not at all, because cooler chips sustain higher boost clocks for longer. Test stability carefully after any adjustment.
Do more case fans always help?
Only up to a point, and only if they are oriented sensibly. Two well-placed intakes and one exhaust in a case with an open front beat six fans fighting each other behind a restrictive panel.
Final Thoughts
Overheating is a systems problem, not a component problem. Measure first, clean thoroughly, confirm airflow direction and cable routing, fix the mounting and paste, tune the fan curves, and only then consider new hardware. Following that order means every pound you eventually spend goes toward a bottleneck you have actually proven exists. The reward is a machine that holds its boost clocks through long sessions, runs quietly during light work, and stops surprising you with a shutdown at the worst possible moment.









