
 Owen Bradley
 Cameras get all the attention, but the humble contact sensor does more everyday work than any other piece of home security hardware. A pair of magnets on a frame tells you the back door opened at 2am, that a window was left ajar while the heating ran, or that a child returned home safely. Door window sensors are cheap, run for a year or more on a coin cell, and quietly become the trigger for half the useful automations in a connected house. This guide covers how they work, the specifications that actually matter, which protocol to choose, how many you need, and the mistakes that leave people with a drawer of sensors that never stuck properly to anything.
How Contact Sensors Work
Almost every sensor in this category uses the same principle. The larger part contains a reed switch or a magnetometer and the radio; the smaller part is just a magnet. Mount them so they sit close together when the door or window is shut, and the sensor reports “closed”. Separate them and the magnetic field drops away, the switch changes state, and an alert fires.
Because the magnet needs no power, the design is extremely efficient. The sensor spends nearly all its life asleep and only wakes to transmit a short message when the state changes, which is why a small battery lasts so long.
Some newer models add a tilt or vibration sensor to detect glass being struck or a window being tilted rather than swung open, and some include a temperature and humidity reading as a bonus. Those extras are useful but secondary; reliable contact detection is the job.
The Specifications That Actually Matter
Gap Tolerance
The most important and least advertised specification. Gap tolerance is the maximum distance between the two parts at which the sensor still reads “closed”. Cheap sensors manage around 10mm; better ones handle 20mm or more. This matters because real doors and windows are not flat. Recessed frames, thick weather seals, uPVC profiles, and out-of-square older doors routinely force the two parts apart. A sensor with tight tolerance will report false openings every time the door flexes in the wind.
Measure the actual gap on the frames you plan to fit before buying. If it exceeds 15mm anywhere, buy generous tolerance or plan to use spacers.
Size and Profile
Slim sensors fit window frames where a bulky unit simply will not sit flat. On casement windows and narrow uPVC beading, a sensor more than about 15mm thick often fouls the opening. Larger sensors typically hold bigger batteries and stronger radios, so there is a genuine trade-off between fit and endurance.
Battery Type and Life
Coin cells are common and typically last a year or two. AAA-based sensors last longer but are bulkier. Check that the battery is a standard size you can buy anywhere; proprietary cells are an unnecessary running cost. Also check whether the system reports low battery, because a silent dead sensor is worse than no sensor at all.
Alert Options
Decide what should happen when the sensor triggers. Options include a phone notification, a chime from a speaker or hub, a local siren, a light turning on, or an entry into a security system’s armed state. The best setups use different responses for different doors rather than one uniform alarm.
Choosing a Protocol
The radio matters more than the brand for battery-powered devices.
Zigbee and Z-Wave are the traditional choices, both mesh networks where mains-powered devices relay signals for battery ones. They use very little power, do not load your router, and work locally without internet. For a house with many sensors, this is the most dependable foundation.
Thread is the modern equivalent, offering the same mesh benefits with faster response and easier cross-ecosystem support through Matter. It is the best choice for new installations where compatible hubs exist.
Wi-Fi sensors need no hub, which is appealing for a first purchase, but they consume far more power. Battery life measured in months rather than years is common, and a dozen of them will clutter your router’s client list.
Proprietary radios used by packaged security systems often deliver excellent range and battery life, but the sensors only work with that brand’s panel. That is fine if you are buying the system anyway and limiting if you plan to mix hardware later.
Standalone Sensors or a Full System?
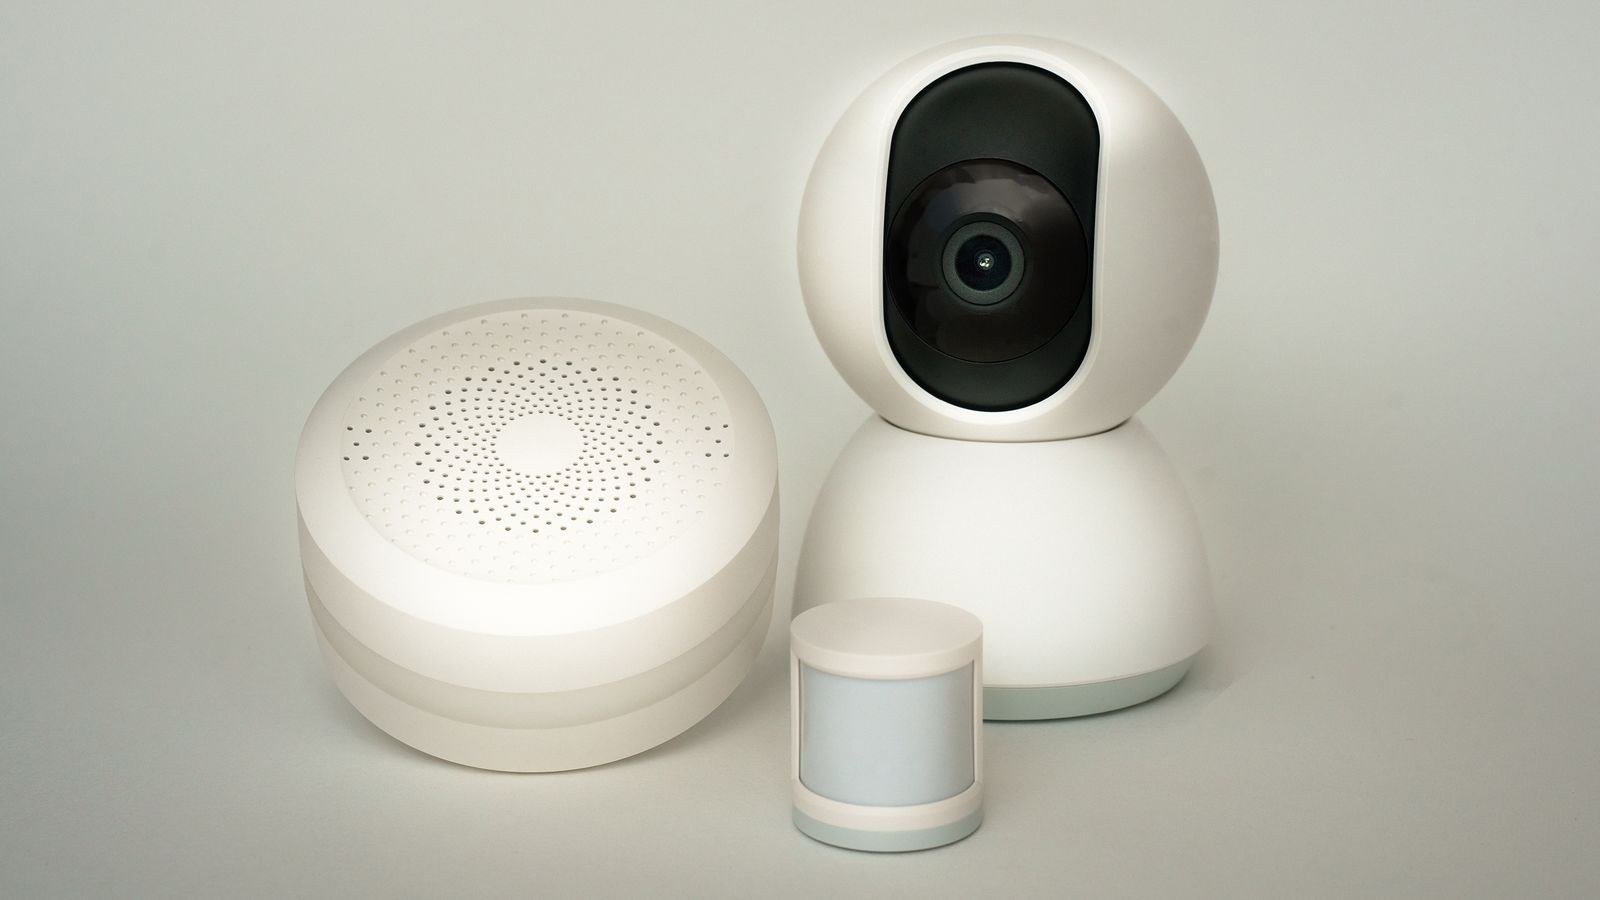
There are two ways to buy. The first is individual sensors joined to a general-purpose smart home hub, which gives maximum flexibility, no subscription, and free choice of brand per device. The second is a packaged security system where sensors, a panel, a siren, and optionally professional monitoring arrive together.
The packaged route is easier and gives you a proper siren and an escalation path if a break-in happens while you are away. The flexible route is cheaper long term and integrates far better with lighting and heating automations. Many households run both: a security system for the perimeter and separate sensors for the automation work.
If a coordinated kit appeals, our roundups of the best DIY home security systems and the best home security systems compare monitoring costs and sensor bundles. If you prefer standalone hardware tied to an existing ecosystem, the best HomeKit door sensors covers slim, locally controlled models.
How Many Sensors Do You Need?
Coverage should follow risk rather than symmetry. A typical family home works out roughly as follows.
- Every ground-floor exterior door, including the front, back, side, and any door from a garage or conservatory into the house. This is non-negotiable.
- Ground-floor windows that are reachable and concealed, particularly those behind fences, hedges, or side returns where an intruder would not be seen.
- Any first-floor window accessible from a flat roof, extension, or drainpipe. These are more common entry points than people assume.
- The garage side door, which is frequently the weakest point on the whole property.
- Interior doors worth monitoring, such as a medicine cupboard, a home office, a gun cabinet, or a door to a pool area if young children are around.
That usually lands between six and twelve sensors for an average three-bedroom house. Buying multi-packs is almost always cheaper per unit than buying singles, and having one spare on the shelf is useful.
Placement and Installation
- Clean both surfaces with isopropyl alcohol and let them dry. Adhesive failure on dusty or waxed uPVC is the number one installation problem.
- Mount the sensor body on the frame and the magnet on the moving door or window, so the part with the battery stays still and accessible.
- Align the alignment marks on the two parts. Most sensors have a notch or line indicating where the magnet should sit, and offsetting them reduces effective gap tolerance.
- Keep the gap as small as the frame allows, using thin spacers behind the magnet if a recess forces them apart.
- Avoid mounting directly onto large metal surfaces, which both weakens the radio signal and distorts the magnetic field. Use a plastic spacer where a metal frame is unavoidable.
- Test before committing. Open and close the door ten times and watch the app register every change before you press the adhesive firmly home.
- Add screws for high-traffic doors. Adhesive is fine for windows; a front door used forty times a day will eventually shake a stuck-on sensor loose.
Getting More From Sensors Than Alerts
Security is only half the value. The most-used automations in a mature smart home tend to start with a contact sensor.
- Pause heating or cooling when a window opens, so a radiator is not fighting the outdoors.
- Turn on a light when a cupboard, pantry, or wardrobe opens, which is far more useful than it sounds.
- Chime on entry so you know someone came in while you were upstairs or in the garden.
- Check-before-bed routines that announce any door or window still open when you say goodnight.
- Away reminders that notify you if a window is open when everyone leaves.
- Humidity pairing in bathrooms, where an open window plus a fan runs only as long as needed.
If you are also considering audible deterrents, standalone units are worth comparing alongside sensors; our guides to the best door alarms and the best window alarms cover models that combine a contact sensor with a built-in siren for renters and outbuildings.
Budget Tiers
Entry level covers basic Zigbee or Wi-Fi multi-packs. Detection works, tolerance is modest, and build quality is plain. Fine for interior doors and low-risk windows.
Mid range is where most people should shop. Better gap tolerance, slimmer profiles, longer battery life, tamper detection, and often a temperature reading included. The extra spend per sensor is small relative to the annoyance of false alerts.
Premium adds recessed sensors that mount inside the frame and are invisible when closed, plus system-grade units with supervision that reports if a sensor stops communicating. Worth it for a main entrance or where appearance matters.
Common Mistakes
- Ignoring gap tolerance. The single biggest cause of false alerts and abandoned sensors.
- Choosing Wi-Fi for a whole house. Battery life collapses and the router fills with clients.
- Mounting the battery half on the moving part. Replacing cells then means working around a swinging door.
- Skipping the surface prep. Adhesive on dusty uPVC fails within weeks.
- Alerting on everything. Notification fatigue means real alerts get ignored, so tailor responses per door.
- Forgetting the garage and side gates. The doors people skip are the ones intruders prefer.
Frequently Asked Questions
Do these sensors detect broken glass?
Standard contact sensors do not, because the frame never moves. Choose a model with vibration or tilt detection, or add a dedicated glass-break sensor, if that is a concern.
How long do the batteries last?
Low-power protocols typically deliver one to three years on a coin cell. Wi-Fi models often need replacing every few months, which is why they suit occasional use rather than whole-house coverage.
Will they work on metal or uPVC frames?
Yes, with care. Metal weakens the signal and distorts the magnetic field, so use a plastic spacer. uPVC is fine provided the surface is cleaned properly before the adhesive goes on.
Can I use them without a subscription?
Absolutely. Sensors paired to a general-purpose hub send notifications and run automations with no ongoing fee. Subscriptions only apply to professionally monitored systems.
Do they keep working during a power cut?
The sensors themselves are battery powered and unaffected. Whether alerts reach you depends on your hub and router, so a small battery backup on that equipment is a worthwhile addition.
Final Thoughts
Contact sensors deliver more practical value per pound than almost anything else in a connected home. Measure your gaps before buying, choose a low-power mesh protocol rather than Wi-Fi if you are fitting more than a handful, prep the surfaces properly, and cover the doors and concealed windows that genuinely represent risk instead of spreading sensors evenly for symmetry. Do that and you get a house that tells you what is open, saves energy without being asked, and gives you a reliable record of every entry, which is a lot to ask of two small plastic blocks and a magnet in 2026.









