
 Owen Bradley
 Craft work is unforgiving of bad light. A quilt top pieced under warm kitchen bulbs can look wrong in daylight, a miniature painted at 10 p.m. picks up shadows you never saw, and an hour of hand sewing under a dim lamp leaves your eyes aching for the rest of the evening. Craft room lighting is a technical problem with a technical answer: get the color rendering right, get enough light onto the work surface, and eliminate the shadow your own hands cast. This guide covers the specs that matter, how magnifier lamps fit in, and how to build a layered lighting plan for sewing, painting, scrapbooking and model work.
Why Color Accuracy Matters More Than Brightness
Most people shopping for craft lighting reach for the brightest bulb they can find. Brightness matters, but for anyone matching thread, mixing paint or judging fabric, color rendering matters more. A cheap bulb can be blindingly bright and still make a navy look black and a deep burgundy look brown.
The relevant spec is CRI, the Color Rendering Index, scored out of 100. It describes how faithfully a light source reveals color compared with natural daylight. Household bulbs often sit at CRI 80, which is fine for a hallway and genuinely misleading over a fabric stash. For craft work, aim for CRI 90 or higher, and CRI 95-plus if you paint, dye, do color-matched quilting or photograph finished pieces.
Some manufacturers publish an R9 value alongside CRI. R9 measures deep red rendering specifically, and it is the value most commonly sacrificed to hit a headline CRI number. If you work with reds, skin tones or wood stains, look for a positive R9 figure rather than trusting CRI alone.
Color Temperature for Craft Work
Color temperature in Kelvin sets the tone of the light. For craft rooms, 4000K to 5000K is the practical target. That range approximates overcast daylight, which is the traditional reference for color-critical work and the reason artists historically wanted north-facing studios.
Going warmer, toward 3000K, makes the room cozier but shifts everything yellow and makes blues read muddy. Going cooler, past 6000K, is technically closer to noon daylight but reads harsh and cold over long sessions. If you work with a mix of materials, a tunable lamp that shifts between warm and daylight lets you check a piece under both, which is genuinely useful when a project will live in a warm-lit living room.
The Three Layers Every Craft Room Needs
No single fixture solves craft lighting. Think in layers, each doing a different job.
- Ambient light fills the room and stops your work area from becoming a bright island in a dark space. That contrast is a major cause of eye fatigue. Ceiling fixtures at 4000K covering the whole floor area handle this.
- Task light puts concentrated, shadow-free brightness directly on your hands. This is the layer people most often skip and most need. Adjustable arm lamps, clamp lamps and under-cabinet strips all qualify.
- Accent or storage light illuminates the places you dig through: thread drawers, fabric shelves, paint racks. Simple LED strips inside cabinets save a surprising amount of frustration.
The ratio matters. Task light should be roughly three times as bright as ambient light on the same surface, but the ambient layer must exist. Working under a single bright lamp in an otherwise dark room forces your pupils to constantly readjust, which is exactly what causes headaches after two hours.
Task Lighting: Getting the Placement Right
Position beats power. A modest lamp in the right place outperforms a powerful one badly aimed.
- Light from the side opposite your dominant hand. Right-handed crafters should place the primary task lamp to their left, so the hand holding the needle, brush or blade does not cast its shadow onto the work.
- Come in at an angle, not straight down. A lamp directly overhead flattens texture, which makes it hard to judge fabric weave, brush strokes or seam allowances. A 30 to 45 degree angle reveals surface detail.
- Keep the bulb out of your eye line. If you can see the light source while looking at your work, you have glare. A shade, diffuser or deeper reflector fixes it.
- Get the lamp close. Light falls off fast with distance. Moving a lamp from 24 inches to 12 inches away roughly quadruples the light on the work.
Adjustable arm lamps with a solid clamp are the workhorse here because they let you re-aim as the project rotates. Our comparison of the best craft lamps covers the clamp and weighted-base designs that hold position without drifting, and the best hobby lamps roundup focuses on models suited to model building, miniatures and small-detail work.
Magnifier Lamps: Who Actually Needs One
A magnifier lamp combines a lens with a ring of light around it, so the magnified area is also the brightest area. For detail work it is transformative, and it is one of the few craft tools that genuinely reduces eye strain rather than just making things easier to see.
Magnification is quoted two ways, which causes endless confusion. Diopter is the optical power of the lens; X is the apparent enlargement. The conversion is straightforward: divide the diopter by 4 and add 1. So a 3-diopter lens gives 1.75x, a 5-diopter gives 2.25x, and an 8-diopter gives 3x.
- 3 diopter (1.75x): the general-purpose choice. Wide field of view, comfortable working distance of roughly 14 inches, good for sewing, knitting and general assembly.
- 5 diopter (2.25x): a middle ground for beading, embroidery and jewelry work. Working distance drops to about 8 inches.
- 8 diopter and above (3x+): for miniature painting, watch repair and soldering. The field of view narrows sharply and you must work very close, so it is a specialist tool rather than an everyday one.
Lens material matters too. Glass lenses resist scratches and give better optical clarity; acrylic lenses are lighter and cheaper but scratch easily. If the lamp lives on a busy table, glass earns its cost. Our roundups of the best magnifying lamps and the best magnifying lights break down the diopter options and lens types across desk, clamp and floor-standing formats.
Arm Reach and Mounting Style
A magnifier lamp is only useful if it reaches where you work. Check the arm reach specification against your table depth. A 30 inch reach clears a standard craft table; a 20 inch arm on a deep cutting table will constantly fall short. Clamp mounts save desk space but need a table edge under about 2.5 inches thick. Weighted bases work anywhere but occupy a chunk of surface. Floor-standing models suit anyone working in an armchair with hand sewing or knitting.
Lighting by Craft Type
Sewing and Quilting
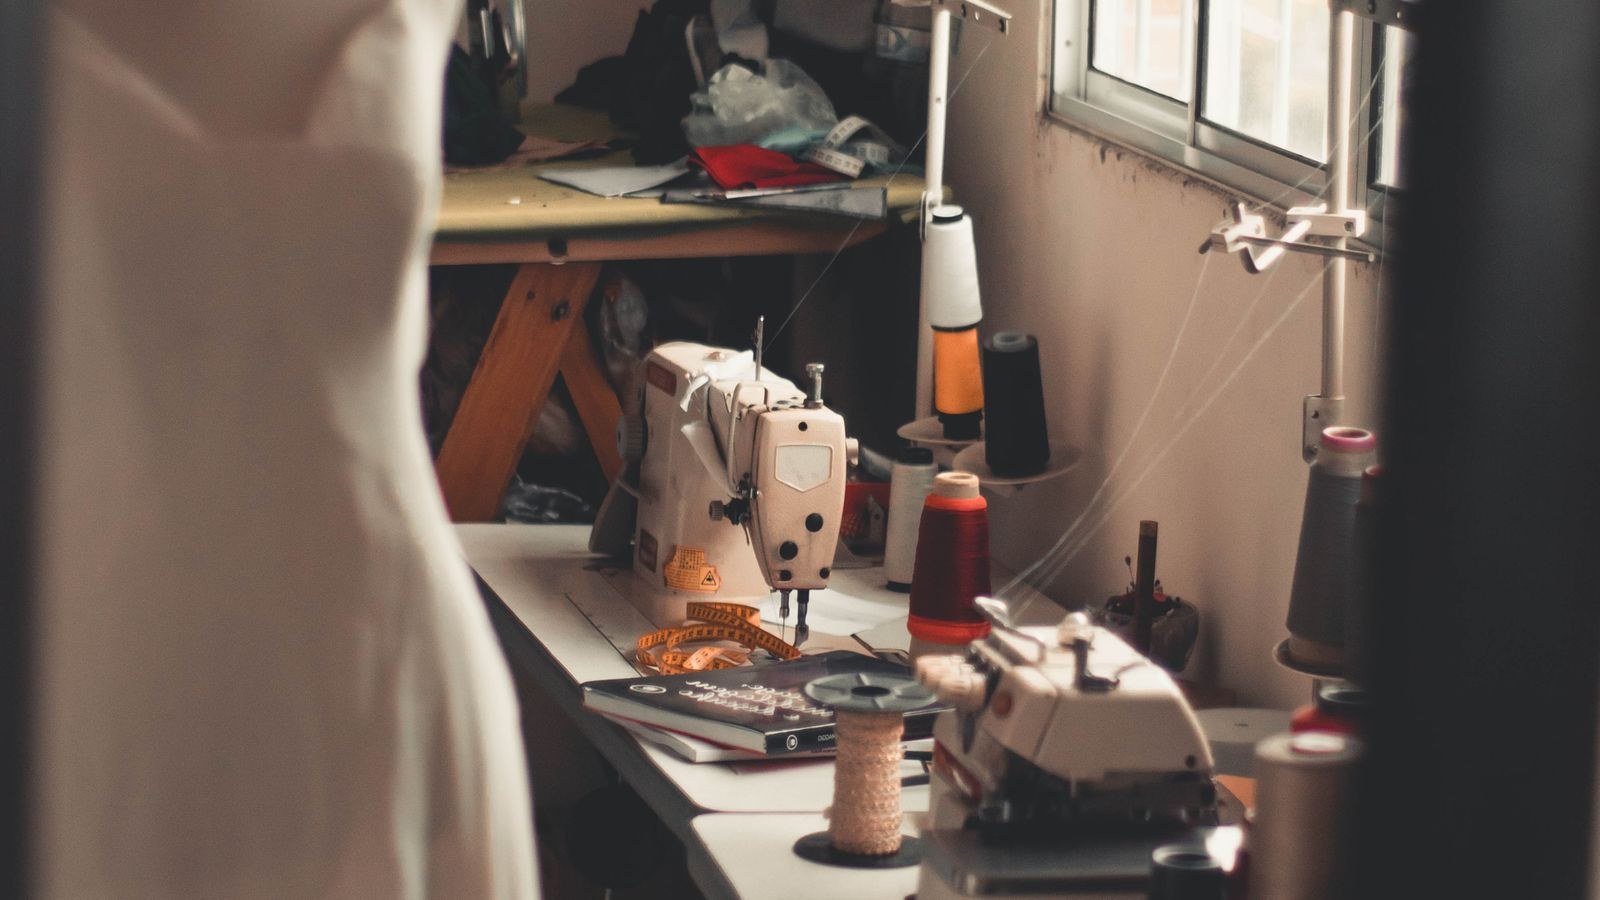
Machine sewing has its own lighting problem: most built-in machine lights are dim, warm and positioned to cast a shadow from the presser foot. Add a dedicated task lamp aimed at the needle from the left side, and light the cutting table separately since it is usually across the room. For colour-critical piecing, a high-CRI daylight bulb over the cutting mat prevents the classic mismatch that only appears in daylight. See the best lamps for sewing for models sized to fit next to a machine without crowding the workspace.
Painting and Miniatures
Paint mixing demands the highest CRI you can get, plus consistent color temperature between the mixing area and the painting area. Miniature painters typically pair a high-diopter magnifier lamp with a second diffuse light from the opposite side to fill the shadows the magnifier ring cannot reach.
Paper Crafts and Scrapbooking
Glossy cardstock and photos reflect, so diffusion matters more than raw output. A broad, soft light source at a shallow angle beats a bright spot. Under-shelf strips work well because they light the surface without hovering over it.
Knitting, Crochet and Handwork
These are done away from a desk, often in a chair, so a floor lamp with an adjustable gooseneck head is the right form factor. Dark yarn is genuinely hard to see, so err bright and consider a lamp with a diffuser to avoid glare off metal needles.
Budget Tiers
- Under $60: one good adjustable task lamp plus high-CRI bulbs in the existing ceiling fixture. This alone fixes most craft rooms.
- $60 to $150: a quality clamp task lamp with dimming and adjustable color temperature, plus a basic magnifier lamp or under-shelf strip lighting.
- $150 and up: a glass-lens magnifier lamp on a proper spring arm, dedicated high-CRI ceiling fixtures, and separately lit storage. Worth it if you craft daily or sell your work.
Common Mistakes to Avoid
- Buying on lumens alone. A 1,600-lumen CRI 75 bulb is worse for color work than a 900-lumen CRI 95 one.
- Working in a dark room with one bright lamp. The contrast, not the brightness, is what tires your eyes.
- Mixing color temperatures in one room. A 2700K ceiling fixture and a 5000K task lamp fight each other and make color judgement impossible.
- Choosing too much magnification. High diopter lenses force an uncomfortably close working distance. Most people are better served by 3 or 5 diopter.
- Ignoring flicker. Cheap LED drivers pulse in a way that causes fatigue over long sessions. Point a phone camera at the lamp: visible banding means flicker.
- Mounting the lamp on the wrong side. Light from your dominant-hand side guarantees your own hand shadows the work.
Frequently Asked Questions
What CRI should craft room lighting have?
CRI 90 or higher for general craft work, and 95-plus if you paint, dye fabric, match thread precisely or photograph finished pieces.
Is daylight or warm white better for crafting?
Daylight-range light between 4000K and 5000K is better for judging color accurately. Warm white is more comfortable but shifts every color toward yellow.
What magnification should I choose for a magnifier lamp?
3 diopter (1.75x) covers most sewing and general craft work with a comfortable field of view. Choose 5 diopter for beading and embroidery, and 8 diopter only for miniature or repair work.
Can one lamp light a whole craft room?
No. You need an ambient layer for the room and a task layer on the work surface. Relying on one lamp creates the high-contrast conditions that cause eye strain.
Do I need dimmable craft lighting?
It helps. Dimming lets you lower the task lamp for planning and sketching and raise it for detail work, and it makes long evening sessions more comfortable.
Final Thoughts
Craft room lighting comes down to four decisions: choose high-CRI bulbs so colors are true, settle on a single color temperature between 4000K and 5000K throughout the room, build a task layer over a real ambient layer instead of one bright lamp in the dark, and add magnification only at the diopter your work actually requires. Handle those and the difference is immediate. Thread matches on the first try, brush strokes land where you intended, and you can work for three hours without your eyes reminding you that you have. It is a small investment that pays back on every project you make afterward.









