Owen Bradley
 Window and door sensors are the least glamorous part of any alarm system and by far the most important. Cameras tell you what happened after the fact, but a contact sensor tells you the instant a point of entry opens, which is the only moment when a response still matters. They are also the cheapest components you will buy, which makes it tempting to scatter them at random and hope for the best. This guide explains how contact sensors actually work, what reed switches and shock detectors are really sensing, how gap tolerance quietly causes most false alarms, and how many sensors an average family home genuinely needs to be properly covered in 2026.
How a Contact Sensor Works
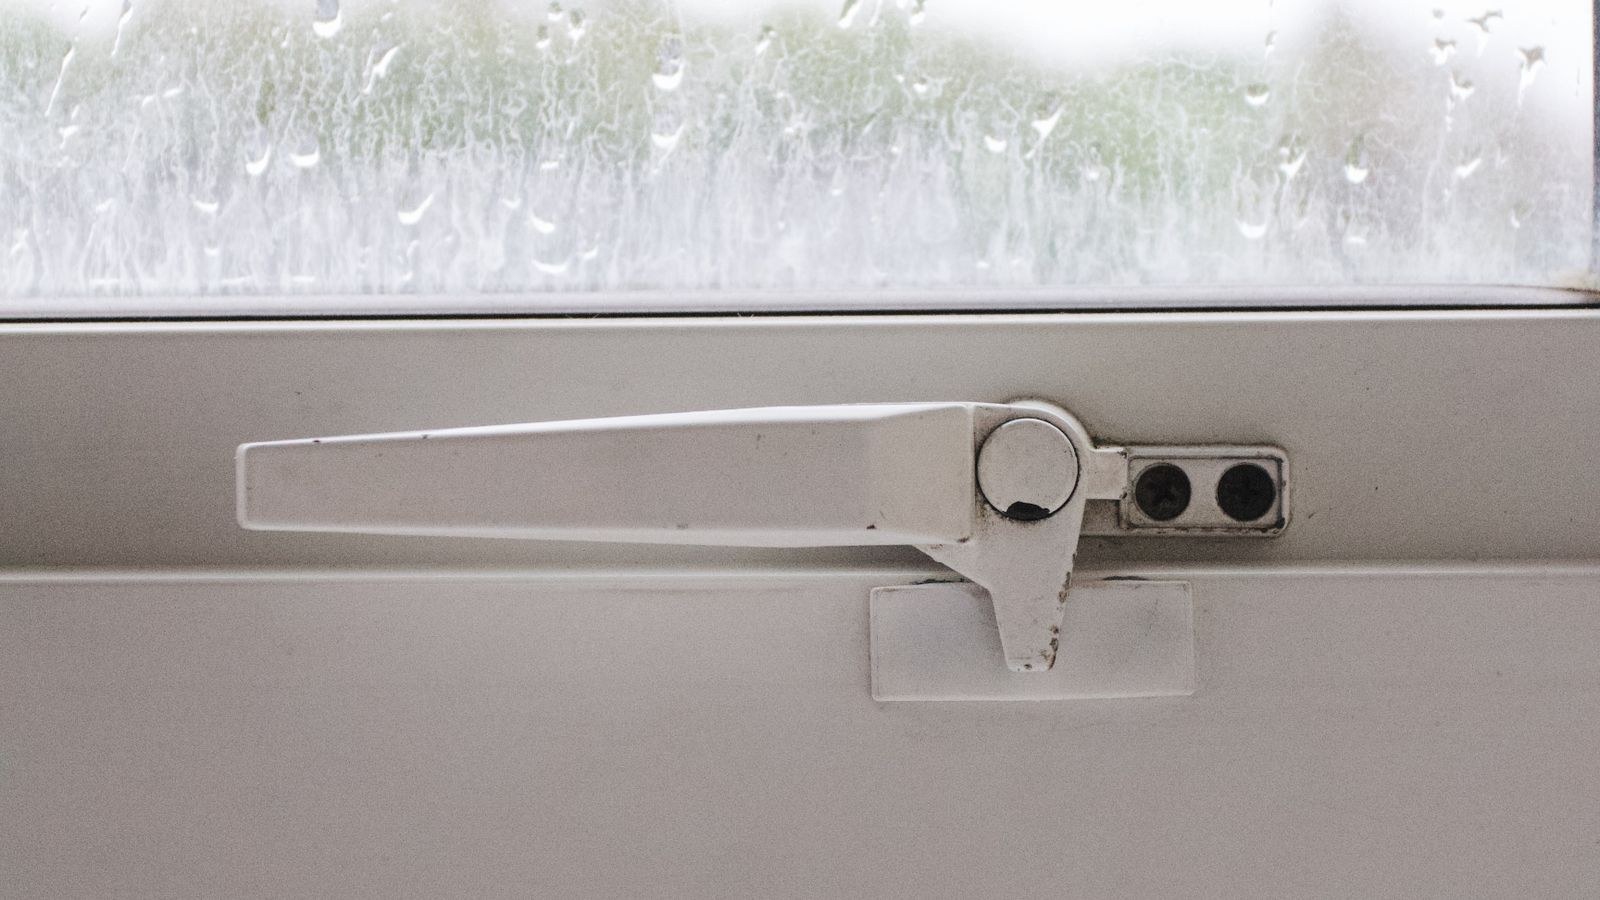
The classic window and door sensor is a two-piece device. One half contains a reed switch, a tiny pair of metal contacts sealed in glass. The other half is a magnet, and nothing more. Mount the switch on the frame and the magnet on the moving part, and while the two sit close together the magnet holds the contacts closed. Separate them and the circuit breaks, the sensor reports an open state, and the panel decides whether that means an alert or simply a logged event.
That simplicity is why these devices are so reliable and why their batteries last years. There is no motor, no lens, and nothing to calibrate. The radio inside only transmits when the state changes or when it sends a periodic check-in, so a sensor on a rarely used window may go three to five years on a single coin cell. It also means the failure modes are easy to understand: a dead battery, a drifting magnet, or a sensor whose radio cannot reach the hub.
Reed Switches Versus Hall Effect Sensors
Some newer sensors replace the mechanical reed switch with a solid-state Hall effect sensor that detects the magnetic field electronically. The practical differences are modest. Hall effect designs have no moving parts to wear or stick, tolerate vibration better, and can offer finer control over the trigger distance. Reed switches draw essentially no current at rest, which is why they still dominate battery-powered products. For a typical home either technology performs the same job well, so choose on build quality, size, and system compatibility rather than the switch type printed on the box.
Shock and Vibration Sensors: The Other Half of the Job
A contact sensor has one blind spot, and it is a significant one. If someone breaks the glass and climbs through without ever moving the sash, the magnet never leaves the switch and nothing triggers. That is where shock sensors come in. They use a piezoelectric element to detect the sharp, high-frequency vibration of glass being struck or broken, and they mount directly on the pane or the frame.
Many modern window sensors combine both functions in one housing, giving you open detection and impact detection from a single battery. If your system supports it, that combination is the better buy for ground-floor windows, patio sliders, and any glass beside a door handle. Standalone units that alarm locally without a hub are also popular for garages, sheds, and rentals, and the options in our best window alarms roundup cover both standalone and hub-connected designs.
Tuning Sensitivity Without Creating False Alarms
Shock detection is only as good as its sensitivity setting. Set it too high and passing lorries, slammed doors, thunder, and a cat landing on the sill will all produce alerts. Set it too low and a deliberate strike may not register. Most decent sensors offer three or more levels; start in the middle, then live with it for a fortnight and adjust once. Windows facing a busy road almost always need a lower setting than those at the back of a house, so do not assume one configuration suits every opening.
Gap Tolerance and Why Placement Decides Everything
Gap tolerance is the maximum distance between the sensor body and the magnet at which the contacts stay closed. It is usually stated in millimetres or fractions of an inch, commonly somewhere between 5mm and 20mm depending on the product. Mount the two halves further apart than the rated gap and the sensor sits permanently in the open state, so the system either refuses to arm or reports a fault.
The trap is that the gap changes with the seasons. Timber doors swell in damp weather and shrink in dry heat, uPVC expands in summer sun, and a door that closes tightly in January may sit two millimetres proud in July. If you install at the absolute limit of the rated gap, you will get intermittent phantom openings months later and never connect the two events. Aim to mount well inside the tolerance, ideally at half the maximum, and align the marked edges of the two halves rather than eyeballing the centres.
Metal, uPVC and Awkward Frames
Metal frames and steel doors weaken and distort magnetic fields, which effectively shrinks your gap tolerance. If you are fitting to steel, plan on using a spacer to lift the magnet slightly off the surface, or choose a sensor rated specifically for metal installation. Recessed sensors that sit inside a drilled hole in the frame are the tidiest solution on doors you never want to look cluttered, but they demand accurate drilling and are a poor fit for rented homes. Adhesive pads work well on clean, dry, non-textured surfaces; wipe with alcohol first and give the adhesive a full day to cure before arming the system.
Wired Versus Wireless Sensors
Wired sensors draw power from the panel and report over a cable, so there is no battery to change and no radio to jam. They are the standard in new build and professionally monitored installations, and they remain the most dependable option if you are running cable anyway. The obvious cost is disruption: you are lifting floorboards or chasing walls to reach a first-floor window.
Wireless sensors dominate retrofits for good reason. They install in minutes, move with you, and modern low-power radio protocols are stable and long-lived. What you accept in exchange is battery management and the need to check signal strength at the furthest openings before you commit to adhesive. Most self-install kits, including the ones covered in our best DIY home security systems comparison, are wireless throughout and let you add sensors one at a time as your budget allows.
Ecosystem Compatibility Matters More Than Specs
A sensor is only useful if your panel, hub, or phone actually understands it. Before buying, confirm the protocol and the ecosystem rather than assuming a generic device will pair. If your home runs on Apple’s platform, choosing from the best HomeKit door sensors avoids the frustration of a sensor that works in its own app but never appears in your automations. If you are building around a monitored panel instead, check the manufacturer’s supported device list first, since many professional systems accept only their own sensors or those using a specific licensed radio.
How Many Sensors Does a Home Actually Need?
The honest answer is fewer than a salesperson will suggest and more than most people install. Work through the house and mark every opening that a person could realistically use. That means all external doors without exception, every ground-floor window, any first-floor window reachable from a flat roof, garage extension, bin store, or sturdy fence, plus the door between an integral garage and the house.
For a typical three-bedroom family home, that usually lands at two or three external doors and six to nine accessible windows, so ten to twelve sensors in total. A flat may need as few as three. A large detached house with patio doors and a conservatory can easily pass twenty. Do not sensor upper-floor windows with no access route; that money buys a shock sensor for the patio door or an extra keypad instead.
A Quick Coverage Checklist
- Every external door, including side doors, back doors, and the garage-to-house door people forget, ideally paired with one of the best door alarms for immediate local noise.
- All ground-floor windows, with combined shock detection on any large or hidden pane.
- Reachable upper windows, judged by whether you could climb up in under a minute without a ladder.
- Patio and sliding doors, which need careful magnet alignment because the frames flex.
- Interior chokepoints, such as the hallway or stairwell door, so an intruder trips a second zone.
- Loft hatches and cellar doors, often overlooked and rarely checked by the homeowner.
Budget Tiers and What You Get
Basic standalone sensors that chime locally cost very little each and require no hub at all. They are genuinely useful in a shed, a rental, or a student flat, but they only make noise where they are fitted and nobody gets a phone alert. The middle tier covers hub-connected sensors sold in kits, which give you app notifications, arming schedules, event history, and the ability to trigger sirens and lights elsewhere in the house. This is where most homes should sit.
The top tier adds professional monitoring, cellular backup so a cut phone line changes nothing, tamper detection on every sensor, and supervision, which means the panel notices if a sensor stops checking in rather than silently trusting it. If you want to compare complete packages at that level, our overview of the best alarm systems for home lays out what each tier of service actually includes and where the recurring costs sit.
Common Mistakes to Avoid
The most damaging mistake is protecting the front door beautifully and ignoring the back of the house. Intruders overwhelmingly enter where they cannot be seen from the street, so rear and side access deserve equal or greater attention. A close second is mounting the magnet on the frame and the sensor on the moving sash, which puts the heavier battery-powered half through every slam and shortens its life considerably.
Two more are worth naming. Installing at the edge of the gap tolerance guarantees seasonal false alarms, as described above. And skipping the arm-and-walk test means you never discover the sensor that lost signal behind a metal radiator until the night it matters. Test every zone after installation, then repeat the test twice a year alongside battery checks.
Frequently Asked Questions
Do door sensors work on uPVC and metal doors?
Yes, but metal reduces effective gap tolerance. Use a sensor rated for metal frames or fit a small non-metal spacer under the magnet, and always test the door through a full open and close cycle before trusting it.
How long do sensor batteries last?
Typically two to five years for a coin cell, depending on how often the door opens and how frequently the sensor checks in. Systems with supervision will warn you at low voltage; replace every battery in the house at once rather than chasing them individually.
Can a contact sensor detect broken glass?
Not on its own, because the sash never moves. Pair contact sensing with a shock sensor on the pane, or choose a combined unit, for windows where entry through the glass is plausible.
Will pets or draughts trigger a window sensor?
Contact detection ignores both, since only the magnet separating matters. Shock detection can be triggered by heavy impacts, so lower the sensitivity on windows a pet uses as a perch.
Final Thoughts
Window and door sensors reward planning far more than spending. Map every realistic entry point first, choose combined contact and shock units where glass is the weak spot, respect gap tolerance with room to spare, and confirm compatibility with the hub you already own before buying a box of twelve. Ten well-placed sensors will always beat twenty scattered without thought. Get that foundation right and every other layer you add later, from cameras to sirens, has something dependable to trigger from.