Owen Bradley
 A keystone jack is the small plastic module that turns a bare cable sticking out of your wall into a finished, professional-looking network outlet. It is also the point where most home cabling projects quietly go wrong: a pair untwisted too far, a conductor seated in the wrong slot, a punch that did not fully cut the insulation, and suddenly a perfectly good cable run refuses to negotiate gigabit. Learning to terminate a Cat6 keystone jack properly takes about fifteen minutes of practice and pays for itself the first time you avoid opening a wall. This walkthrough covers the tools, the wiring standard, the punch-down technique, mounting the wall plate, and testing the finished run so you know it works before the furniture goes back.
What You Need Before You Start
- Cat6 keystone jacks rated for the cable you pulled. Buy a couple of spares; they cost little and mistakes happen.
- Punch-down tool with a 110 blade. The impact type with a cut-off setting is worth the small premium over a plastic stuffer.
- Cable jacket stripper or a sharp utility knife used with restraint.
- Flush cutters or side snips for trimming conductors.
- Wall plate with the right number of keystone openings, plus the mounting screws.
- Old work bracket or low-voltage ring if the wall opening is not already fitted with one.
- Cable tester to verify wire map, and a marker for labeling.
One decision matters more than any tool: pick a wiring standard and never deviate. T568B is the common choice in residential and commercial work across North America, and this guide uses it throughout. T568A is equally valid electrically, but mixing the two on opposite ends of the same cable creates a crossover that can behave unpredictably on older equipment. Whichever you pick, use it on every jack, every patch panel port, and every patch cord in the building.
The T568B Color Order
From pin 1 to pin 8, T568B runs: white/orange, orange, white/green, blue, white/blue, green, white/brown, brown. Most keystone jacks print both A and B color maps directly on the body in two colored rows, so you rarely need to memorize this. Find the B row, follow it, and ignore the A row entirely. The critical detail is that the blue and green pairs interleave rather than sitting in tidy adjacent slots, which is exactly where careless work goes wrong.
Step-by-Step: Terminating the Jack
- Prepare a workable length of cable. Pull about eight to ten inches of cable out of the wall opening. You want enough slack to work comfortably in your hands and to re-terminate later if needed, but not so much that the excess will not fold back into the box.
- Strip the outer jacket. Score the jacket lightly about one and a half inches from the end and slide it off. Do not cut deep. Nicking the insulation on a conductor is invisible damage that can cause intermittent faults months later. If you see any scored copper, cut the end off and start again.
- Remove the spline and any filler. Cat6 cable typically has a plastic separator running down the middle to keep pairs apart. Trim it flush with the jacket. Cut away any ripcord or foil at the same point.
- Separate and fan the pairs. Untwist each pair only as far as you need, and no further. Straighten the conductors gently between your fingers rather than yanking them, keeping the wires as flat and parallel as possible.
- Lay the conductors into the correct slots. Match each wire to the B color row printed on the jack. Seat each conductor firmly into its channel so it sits down between the metal contacts. Work the whole set into place before punching anything, then look at all eight from the side and confirm none has jumped to a neighboring slot.
- Check your untwist length. Cat6 tolerates no more than about half an inch of untwisted conductor before the pair reaches its contact. Twist is what cancels crosstalk; unwinding an inch or two of every pair is the single most common reason a run tests fine for connectivity but fails at high speed. Slide the pairs back toward the jacket so the twist runs as close to the contacts as possible.
- Punch each conductor down. Set the punch-down tool with the cutting blade facing the outside of the jack so it trims the waste end. Hold the tool square to the slot and press until the impact fires. One firm punch per conductor is all it takes. A crooked or half-hearted punch leaves the insulation-displacement contact unable to bite through the plastic and reach copper.
- Trim and inspect. Snip any conductor tails the tool did not cut, and make sure no stray copper strand bridges two contacts. Look for insulation pushed down where copper should be, which shows as a slightly higher-riding wire.
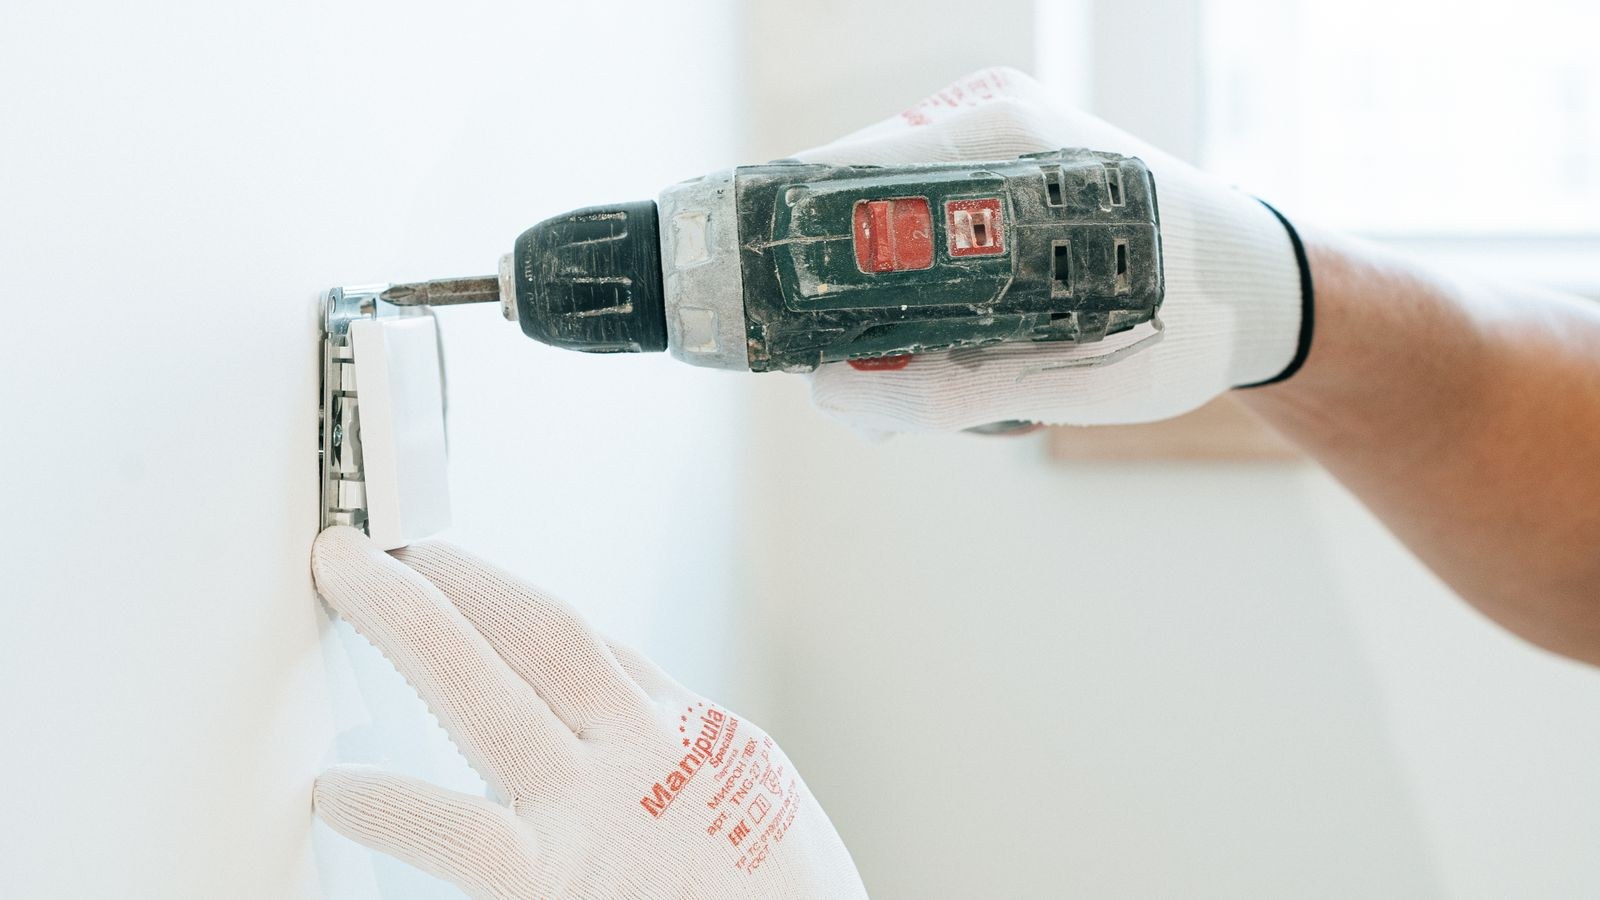
- Snap on the dust cap and seat the jack. Most keystones include a small plastic cap that holds the wires down; press it into place until it clicks. Then push the jack into the wall plate opening from the back until it locks.
- Fold the cable into the box and mount the plate. Gently fold the slack in a wide loop, never a sharp crease, and tuck it into the wall cavity. Screw the wall plate to the old work bracket, snug but not so tight that the plastic bows.
Terminating the Other End
A cable run is only finished when both ends are done. At the central location, punch the same cable into a patch panel port or a second keystone jack in an enclosure, using the identical T568B order. Label both ends with the same room name and number, ideally with printed labels rather than marker on the jacket, which smudges over time.
From the patch panel, a short factory patch cord connects to your switch or router. Keep solid in-wall cable for permanent runs and stranded patch cords for the flexible jumpers; stranded conductors do not punch down reliably, and solid cable cracks with repeated flexing.
Testing the Finished Run
Before you declare victory, test. An inexpensive continuity tester with a remote unit will walk pins 1 through 8 and show you exactly what is happening on each conductor. Watch for three failure patterns:
- Open circuit on one pin: that conductor was not punched fully, was trimmed too short, or broke inside the jack.
- Reversed or crossed pins: two wires are in the wrong slots, almost always the green and blue pairs at one end.
- Split pair: the tester shows all eight pins mapping straight through, but the wires are grouped into the wrong physical pairs. This passes a basic continuity check and still fails at gigabit, which is why the color order matters even when a simple tester looks happy.
Once the wire map passes, plug in a laptop and confirm the link negotiates at 1 Gbps rather than 100 Mbps. A drop to 100 Mbps means one of the four pairs is not working, since gigabit requires all four while older speeds need only two.
Matching the Jack to the Gear Behind It
Perfect terminations only pay off if the equipment at the other end can use them. Once your drops are live, they need to land somewhere. A dedicated switch is the usual answer, and our list of the best ethernet switches for home wiring projects covers models with enough ports to serve a house full of keystone outlets. The router feeding that switch matters too; compare options in our guide to the best ethernet routers with fast wired LAN ports.
If some of your jacks will feed ceiling-mounted wireless hardware or cameras, plan for power over ethernet on those runs. The best PoE routers and powered network gear let one cable carry both data and power, which is far cleaner than adding an outlet in a ceiling. Those same drops pair naturally with the best home Wi-Fi access points for whole-house coverage. For a simpler setup where a single device handles everything, the best routers for home networks covers all-in-one picks.
Common Mistakes That Cause Failures
The mistakes that bite hardest are all small. Untwisting too much tops the list, followed by stripping the jacket too deeply and nicking conductor insulation. Both produce a jack that may connect but performs badly under load.
Another frequent issue is punching with the blade facing inward, which cuts the wire on the wrong side of the contact and leaves an open circuit. Check the tool orientation before every punch until it becomes habit. Also watch for mixing A and B standards between the wall jack and the patch panel, and for overtightening the wall plate, which can flex the jack body enough to unseat a contact. Finally, do not force a sharp bend in the cable when folding slack into the box; a kink inside the wall is invisible and permanent.
Frequently Asked Questions
Should I use T568A or T568B?
Either works as long as both ends of every cable match. T568B is the more common convention in home and office installs, so it is the safer default when other people may work on the network later.
Can I use a keystone jack with Cat5e cable?
Yes. Cat6 jacks are backward compatible and will terminate Cat5e without issue. The reverse also works, though pairing Cat5e jacks with Cat6 cable gives up some of the headroom you paid for.
Do I need a tool-less keystone jack?
Tool-less jacks are convenient and can produce good results, but a proper 110 punch-down tool with an impact action gives more consistent contact pressure, especially across a dozen jacks in one session.
How much cable slack should I leave in the wall?
Roughly a foot of usable slack is ideal. That is enough to pull the jack out and re-terminate it twice without opening the wall, while still folding neatly back into the box.
Final Thoughts
Terminating a Cat6 keystone jack is a repeatable process, not a craft skill. Strip conservatively, keep the twist right up to the contacts, follow one color standard everywhere, punch square with the blade facing out, and test every run before the plates go on. Do the first jack slowly and deliberately, and the rest of the house will go quickly. The result is a set of clean wall outlets that deliver full speed reliably and will still be doing so long after the wireless gear plugged into them has been replaced in 2026 and beyond.