Owen Bradley
 Most living rooms have a television sitting at the wrong height on a console with a tangle of black cables visible from the sofa. Both problems are fixable in an afternoon, and neither requires special tools. Getting the screen to the correct viewing height is a matter of one measurement and a bit of arithmetic; hiding the cables is a matter of routing them deliberately instead of letting gravity decide. Done properly, the setup looks like it came with the room: the screen sits level with your eyes, the console front is completely clean, and every device is still easy to reach when something needs unplugging. This walkthrough covers stand placement, screen height, cable routing, power management, and the mistakes that make a tidy setup fall apart within a month.
Get the Viewing Height Right First
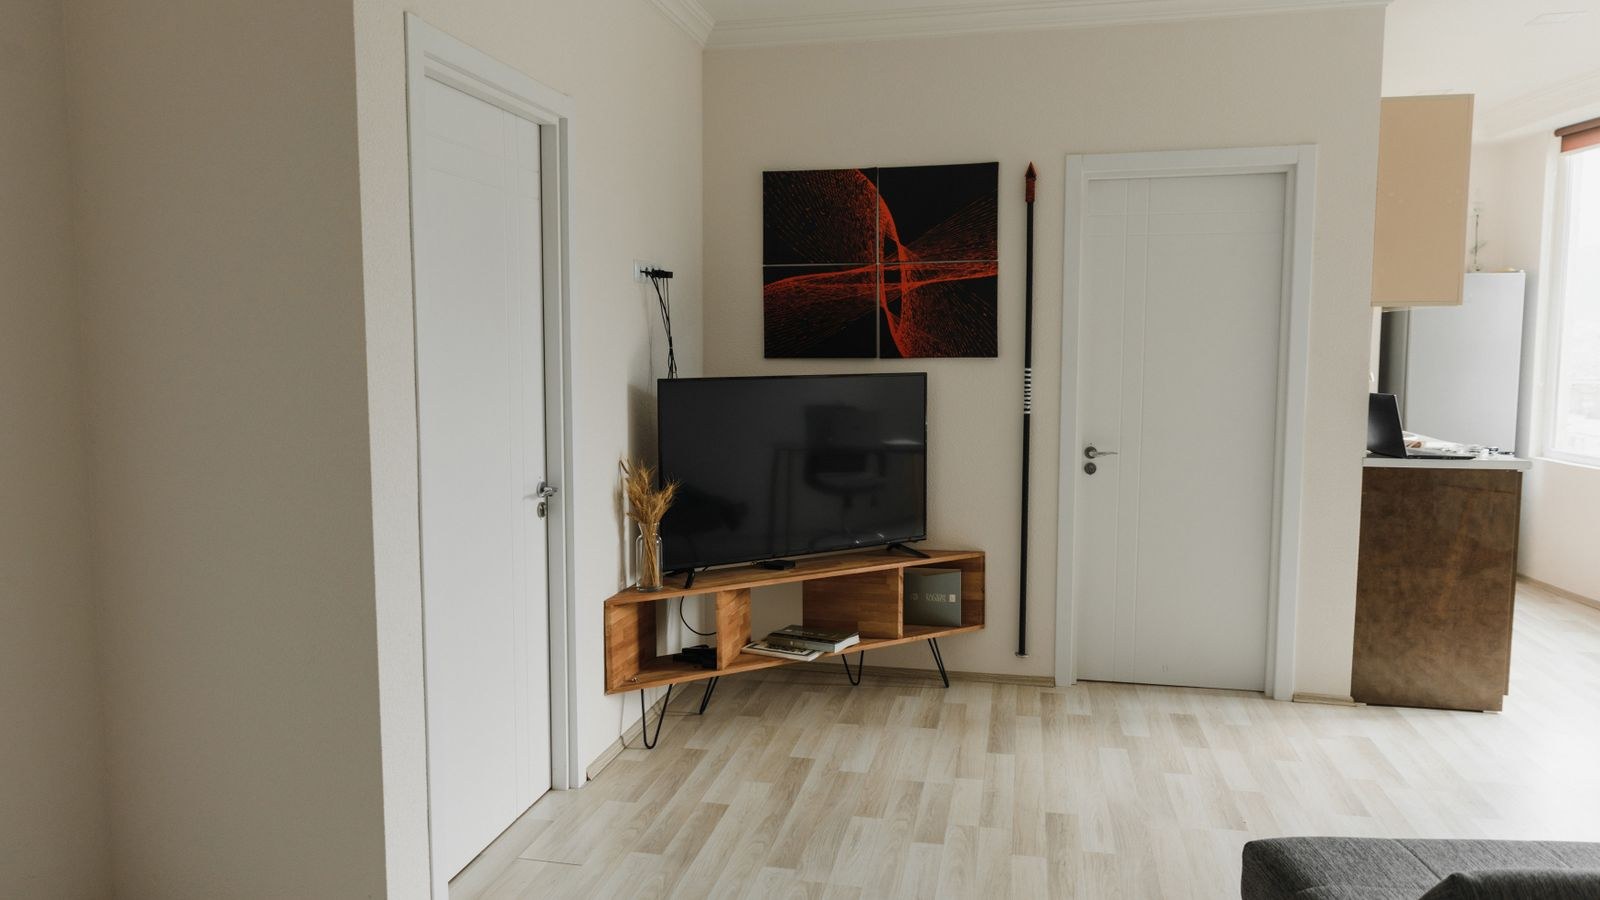
The rule that matters is simple: the center of the screen should sit at roughly eye level when you are seated in your usual spot. For most people on a standard sofa, seated eye height lands somewhere between 38 and 42 inches from the floor. Measure yours rather than assuming — sit down, have someone measure from the floor to the middle of your eyes, and write the number down.
From there, work backward. Subtract half the screen’s vertical height from your seated eye height, and the result is where the bottom of the screen should sit. For a 65-inch television, which is about 32 inches tall, and an eye height of 40 inches, the bottom of the screen wants to be around 24 inches from the floor. Add the height of the TV’s own feet or stand, and you have your target console surface height. Most media consoles fall between 20 and 26 inches, which is why they work — the popular alternative of mounting a screen above a fireplace usually puts it 15 to 20 inches too high and causes neck strain over a long viewing session.
Distance and Sightlines
Viewing distance matters alongside height. A common guideline for 4K content is a distance of roughly 1 to 1.5 times the screen’s diagonal, so a 65-inch set is comfortable from about 5.5 to 8 feet. Check sightlines from every seat, not just the center one — if a chair at the edge of the room sees the screen at a sharp angle, the picture washes out. Our roundups of the best sofas can help if the seating itself is the constraint and the layout needs rethinking rather than the stand.
Tools and Materials
- Tape measure and a pencil.
- Level to check the stand and screen.
- Screwdriver and hex keys for assembling the stand and attaching the TV feet.
- Cable ties or reusable hook-and-loop straps — reusable is worth the small extra cost.
- Cable sleeve or braided wrap to bundle the run from console to wall.
- Adhesive cable raceway if cables must cross open wall.
- Adhesive clips for routing along the back of the console.
- Surge-protected power strip with enough outlets and adequate spacing for bulky adapters.
- Label maker or masking tape and a marker for tagging every cable.
Step-by-Step: Setting Up the Stand and Hiding the Cables
- Assemble the stand away from the wall. Build it in open floor space where you can reach all four sides, then check it for level and adjust the feet before moving it. A stand that rocks will keep rocking once loaded.
- Position it with working clearance. Leave 4 to 6 inches between the back of the console and the wall. That gap is where the cables live, and it also lets AV equipment vent properly.
- Plan the cable paths before plugging anything in. Decide where power enters, where the devices sit, and how the bundle will reach the wall outlet. Five minutes of planning saves an hour of rework.
- Mount the power strip off the floor. Screw or strap it to the inside back panel of the console. Keeping it off the carpet prevents dust buildup and means unplugging one device does not mean crawling underneath.
- Place devices with their ports accessible. Set the streaming box, console, or receiver so their rear connections face the open back of the cabinet. Anything you may swap in a year should not require dismantling the setup.
- Label every cable at both ends. Do this as you connect, not afterward. Ten labels take three minutes and eliminate every future guessing session behind the TV.
- Run power and signal cables separately. Keep HDMI and audio cables a few inches away from power cords where they run parallel, and cross them at right angles rather than bundling them together. This avoids induced interference on long runs.
- Bundle the runs. Gather each group with reusable straps every 6 to 8 inches, leaving a little slack at each end so devices can be pulled forward without unplugging.
- Sleeve the visible span. Feed the bundle from the console to the wall outlet into a braided sleeve or wrap. This is the single change that makes the biggest visual difference from the sofa.
- Use a raceway for open wall runs. If a cable must cross bare wall — a wall-mounted screen, for instance — fit a paintable adhesive raceway in a straight vertical line and paint it to match. A straight line reads as trim; a diagonal reads as a mistake.
- Route the TV’s own cables down the back leg. Use adhesive clips along the rear edge of the stand or the leg so the cables from the screen drop out of sight rather than hanging in the open.
- Check from the seated position. Sit on the sofa and look. Anything visible from there gets clipped, sleeved, or moved. Anything not visible can be left alone.
Adding Backlighting Without Adding Cables
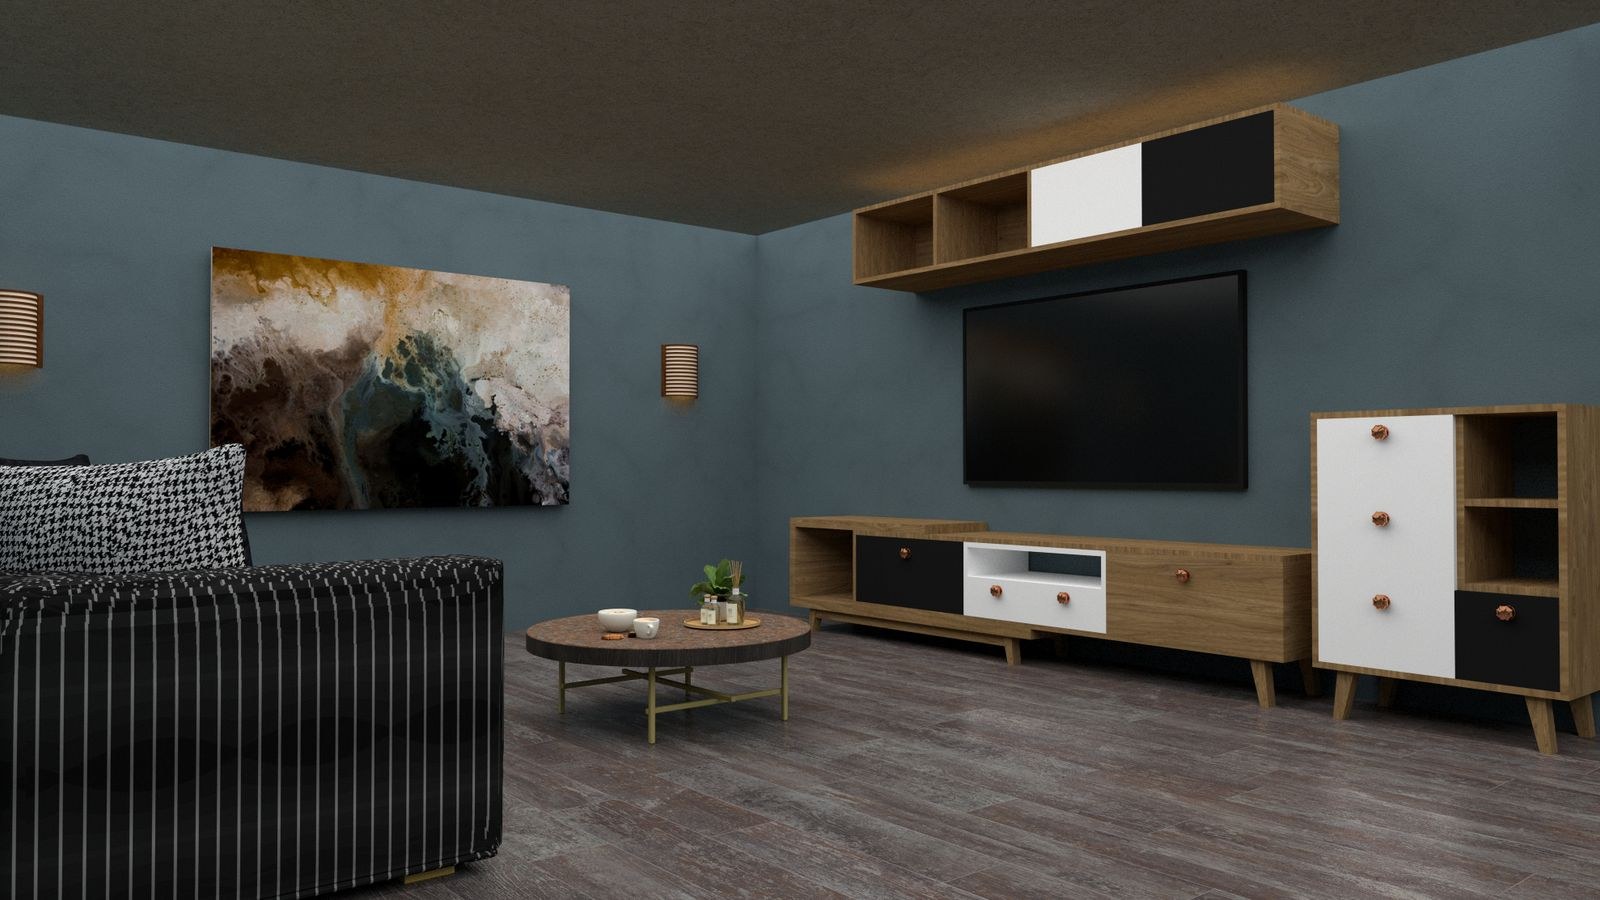
Bias lighting behind a television reduces eye strain in a dark room and makes the picture appear to have deeper contrast, because your eye is no longer adapting between a bright screen and a black wall. It also happens to be one of the easiest upgrades to do cleanly, since the strip and its controller can hide entirely behind the panel.
The key is choosing a strip with a neutral 6500K white or a controllable color, powered from a USB port on the television so it switches on and off with the screen and adds no extra wall plug. Our comparison of the best LED strip lights for TV covers the options and what to look for in adhesive quality and controller placement. For the installation itself, the walkthroughs on how to mount LED strip lights behind a TV and setting up TV backlighting with LED strips explain corner routing and how to avoid visible hot spots on the wall.
Speakers and the Cable Count
Adding separate speakers raises your cable count immediately, so plan their runs at the same time as everything else rather than retrofitting later. Keep speaker wire away from power cords, run it along the wall base or under the console rather than across open floor, and leave enough slack to reposition the speakers a few inches for imaging. If you are still choosing, the guide to the best bookshelf speakers covers what fits on or beside a standard console without dominating it.
Safety and Stability
Tip-overs are a real hazard, particularly with large screens on narrow consoles in homes with children or pets. Use an anti-tip strap kit anchoring the television and, where the stand supports it, the console itself to wall studs. Confirm the stand’s rated weight capacity exceeds the screen’s actual weight with a comfortable margin, and keep the screen centered rather than offset toward one end.
On the electrical side, plug AV equipment into a surge-protected strip rather than directly into the wall, and do not daisy-chain strips together. Leave ventilation gaps around receivers and game consoles, which throw off real heat in an enclosed cabinet. Never run a cable underneath a rug where it will be walked on — the insulation wears through invisibly and it is a genuine fire risk.
Common Mistakes
- Mounting the screen too high. Above-fireplace placement looks tidy and causes neck strain within an hour.
- Pushing the console flat to the wall. No cable gap, no ventilation, and every future change means dragging furniture out.
- Bundling power with signal cables. Can induce hum and interference on longer runs. Separate them.
- Skipping labels. Three minutes now against twenty minutes of guessing every single time.
- Zero slack in the bundle. Cables under tension pull out of ports and strain connectors.
- Diagonal raceways. Always run them vertically or horizontally; a diagonal draws the eye straight to it.
- No anti-tip strap. The one shortcut with a genuinely serious consequence.
Frequently Asked Questions
How high should a TV be on a stand?
The center of the screen should be near your seated eye level, typically 38 to 42 inches from the floor. Subtract half the screen height from that number to find where the bottom of the panel should sit.
Can I run TV cables inside the wall?
Only with cables rated for in-wall use, and power cords generally cannot go in a wall without a proper recessed outlet kit. If you are not confident about local electrical code, an external raceway is the safe choice.
What is the easiest way to hide cables without drilling?
Adhesive raceways and clips plus a braided sleeve for the visible run. Together they handle almost every setup with no holes and no permanent changes.
Should the power strip go on the floor?
No. Mount it to the inside back panel of the console so it stays out of dust, stays accessible, and keeps the cable bundle up off the carpet.
How far from the wall should a TV stand sit?
Four to six inches is the sweet spot: enough room for cables and airflow, not so much that the gap is noticeable from the seating area.
Final Thoughts
A clean television setup comes from doing two things in the right order. First, set the height from your actual seated eye level rather than from what looks balanced on the wall — measure, subtract half the screen height, and choose the console to suit. Second, treat the cables as a routing problem with a plan: mount the power strip off the floor, label everything as you connect it, separate power from signal, bundle with slack, and sleeve the one run that is visible from the sofa. Add an anti-tip strap, leave ventilation room, and check the whole thing from the seat you actually use. The result stays tidy because it was built to be changed, not because nothing will ever be unplugged again.