
 Owen Bradley
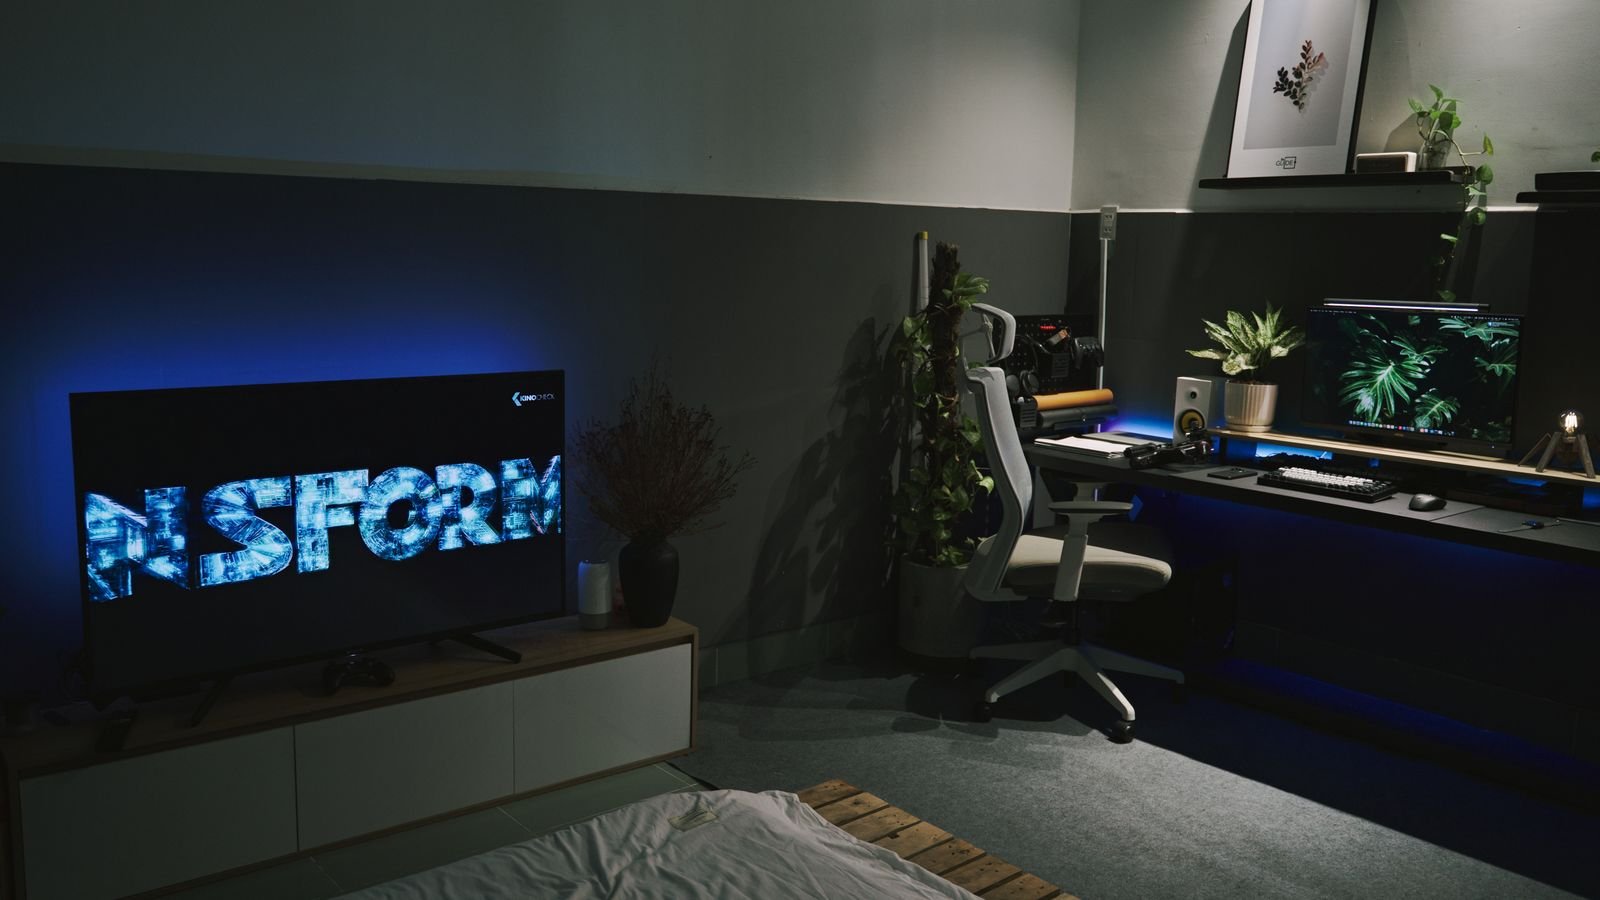
 TV backlighting — a strip of LEDs hidden behind the panel washing light onto the wall — is one of those upgrades that costs very little and changes a room noticeably. It softens the harsh contrast between a bright screen and a dark wall, which reduces eye strain during long evening viewing, and it makes the picture look higher in contrast because your eye has a mid-level reference to work against. Done badly it is a visible strip of coloured dots and a cable dangling down the wall. Done properly it is an even, invisible glow. The difference is entirely in preparation, placement, and cable management. This guide covers measuring, choosing the right strip, surface prep, mounting, corner handling, and setup.
Why Bias Lighting Behind a TV Is Worth Doing
- Reduced eye strain. Your pupils constantly readjust between a bright screen and a dark surround. A moderate light behind the panel narrows that gap.
- Apparent contrast improvement. A neutral reference light makes dark scenes read as deeper black rather than grey haze.
- Ambience. Colour-capable strips let you match the room’s mood, and sync-capable systems extend on-screen colour onto the wall.
- Very low power draw. A typical TV backlight strip uses a few watts, far less than a lamp.
For pure eye-strain purposes, a fixed 6500K white light at modest brightness is the technically correct choice, since it matches the display’s white point and does not tint what you see. Colour strips are more fun; white strips are more accurate. Many people run a colour strip set to white for films and colour for everything else. If you are choosing hardware, comparing adhesive quality, colour accuracy, and controller options across the best LED strips for TV and the best TV light strips is worth the ten minutes — adhesive failure is the most common long-term complaint and it correlates strongly with product quality.
Measuring and Choosing the Strip
Measure the perimeter of the back of your TV, not the diagonal screen size. Add up all four sides, then subtract a few inches per side because the strip should sit inset from the edge, not right at it. A 55-inch TV typically needs around 3 to 4 metres of strip; a 65-inch needs closer to 5.
Consider whether you want three sides or four. Running the bottom edge often produces a visible pool of light on the media console rather than a wall wash, and many people skip it. Three sides — left, top, right — is a common and cleaner choice.
Check a few specifications before buying:
- Power source. USB-powered strips draw from the TV’s own USB port and turn on and off with the TV automatically, which is enormously convenient. Mains-powered strips are brighter but need their own switching.
- LED density. Higher density means fewer visible hotspots. Widely spaced LEDs produce a dotted look on a nearby wall.
- Cuttable segments. Confirm the strip can be cut at marked intervals, and check whether cut segments can be rejoined with connectors.
- Adhesive quality. The stock adhesive on cheap strips fails within months, particularly on the warm rear panel of a TV. Plan to reinforce it regardless.
Tools and Materials
- The LED strip kit with controller and power supply
- Isopropyl alcohol and a lint-free cloth
- Scissors for cutting at marked points
- Double-sided mounting tape or 3M mounting squares to reinforce adhesion
- Corner connectors or right-angle clips if the kit includes them
- Cable clips, hook-and-loop ties, and a cord cover or in-wall pass-through kit
- Tape measure and a pencil
Step-by-Step: Installing the LED Backlight
- Get access to the back of the TV. If it is wall-mounted, tilt or pull it out on its bracket, or take it down and lay it face-down on a soft blanket. Never lay a TV face-down on a hard surface, and never press on the panel.
- Plan the strip path. Decide on three or four sides and mark the route with pencil, keeping the strip inset roughly one to two inches from the panel edge. Inset placement is what turns a hard line of dots into a soft glow.
- Dry-fit the strip. Lay it along the planned route without removing the backing. Confirm the length is sufficient, that the controller end reaches your power source, and that no segment crosses a vent, a port cluster, or a mounting bracket.
- Clean the mounting surface thoroughly. Wipe the back panel with isopropyl alcohol and let it dry fully. Dust and factory release agents are the reason adhesive fails, and this step matters more than any other for longevity.
- Cut to length at the marked points only. Strips have copper pads at intervals with a scissors icon. Cutting anywhere else kills the segment. Measure twice and cut once — you cannot uncut.
- Apply the strip progressively. Peel a few inches of backing at a time and press the strip down as you go, rather than removing all the backing and trying to align a metre of strip at once. Press firmly along the whole length.
- Handle corners properly. Do not bend the strip sharply — it can crack the circuit and kill everything downstream. Use the corner connectors supplied with the kit, or make a gentle wide loop. If you have neither, cut at a marked point and rejoin with a connector.
- Reinforce the adhesive. Add mounting squares every eight to twelve inches, especially at corners and near the ends. The back of a TV gets warm in use and heat is what makes factory adhesive let go.
- Route the controller and power cable. Bring the cable down the back of the TV toward the port area. If your TV has a USB port, plug in there so the lights follow the TV’s power state. Otherwise route to a wall outlet.
- Manage the visible cable. For a wall-mounted TV, use an in-wall low-voltage pass-through kit or a paintable cord cover running straight down to the console. For a stand-mounted TV, bundle the cable with hook-and-loop ties and run it behind the stand. This is the step people skip and immediately regret.
- Remount the TV and power up. Reattach to the bracket or stand, then switch on. Check that the whole strip lights evenly and no segment is dark.
- Set brightness and colour. Start at roughly 10 to 20 percent brightness in a dark room — backlighting should be a subtle glow, not a second light source. If your goal is eye comfort, set a neutral white around 6500K. Pair the app or remote and save your presets.
Getting the Look Right
Wall distance matters. If the TV sits within about two to four inches of the wall, the light has nowhere to spread and you get visible hotspots. Pulling the TV out an extra inch or two on its bracket, if the mount allows, makes a large difference to how even the wash looks.
Wall colour matters too. A white or light neutral wall reflects the light evenly and produces the classic effect. A dark wall absorbs most of it and you will need considerably more brightness for the same result. A textured or patterned wall will show the texture strongly when raked by light from the side.
Aim the strip outward, not backward, where the kit allows. Strips mounted on the very edge of the panel facing sideways create a broader, softer wash than strips facing straight back into the wall from close range.
Troubleshooting
Part of the strip does not light. Usually a cut in the wrong place, a damaged corner bend, or a connector not fully seated. Check the corners first.
Colours are wrong or shifted toward one end. Voltage drop on a long run. Feed power from both ends if the kit supports it, or shorten the run.
The strip falls off after a few weeks. Inadequate surface prep, or heat. Clean with alcohol and reapply with proper mounting tape rather than the stock adhesive.
Visible dots on the wall. LED density too low, or the TV sits too close to the wall. Increase the gap, or add a diffuser channel.
Lights stay on when the TV is off. The strip is on mains rather than the TV’s USB. Move it to a switched USB port, or put the power supply on a smart plug tied to the TV.
Flicker. Underpowered supply for the strip length, or a failing controller. Check the supply’s rated output against the strip’s draw.
Frequently Asked Questions
Should the LED strip go on all four sides?
Three sides is usually better. The bottom edge tends to light the console rather than the wall and can create glare in your eyeline.
What colour should I use for watching films?
Neutral white around 6500K. It matches the display’s white point and does not tint your perception of on-screen colour.
How bright should the backlight be?
Low. Around 10 to 20 percent in a dark room is typical. If you notice the strip itself rather than the glow, it is too bright.
Will the strip damage my TV?
No, provided you avoid covering ventilation slots and do not press hard on the panel during installation. Keep the strip clear of any vents.
Can I sync the lights to what is on screen?
Only with a kit that includes a camera module or an HDMI capture box. A basic strip has no way of knowing what the screen is showing.
Final Thoughts
Setting up TV backlighting with LED strip lights is a thirty-minute job that lives or dies on preparation. Measure the panel perimeter rather than the screen size, clean the mounting surface with alcohol, inset the strip from the edge, use corner connectors instead of sharp bends, and reinforce the adhesive from the start. Power from the TV’s USB port so the lights follow the TV, hide the cable properly, and set the brightness lower than instinct suggests. Get those right and you end up with the effect you were after — a room that is easier on the eyes and a picture that looks better, with no visible hardware at all.









