
 Owen Bradley
 Almost every event a home security camera is bought for happens after dark, yet night performance is the specification buyers scrutinise least. A camera that looks razor sharp in daylight can produce a grey, grainy smear at two in the morning, and the difference between a useful clip and a useless one usually comes down to how the camera handles darkness. There are three broad approaches: traditional infrared, low-light colour sensors marketed as starlight, and spotlight-assisted full colour. This guide explains how each works, how far each really sees, and which one stands a chance of identifying a face at night when you buy in 2026.
How Infrared Night Vision Works
Infrared night vision is the oldest and most common approach. A ring of IR LEDs around the lens floods the scene with light at roughly 850 or 940 nanometres, invisible to human eyes but clearly visible to the camera’s sensor. At dusk a mechanical filter, the IR-cut filter, swings out of the light path so the sensor can respond to that infrared light. The result is a monochrome image, because infrared carries no usable colour information.
The advantage is that IR works in absolute darkness, needs no ambient light at all, and adds little to the camera’s cost. The disadvantages are equally clear. Monochrome footage cannot tell you that a jacket was red or a car was blue, which is often the most identifying detail a witness can give. Infrared also falls off sharply with distance, so subjects near the camera are bright while anything beyond the illuminator’s range disappears into black.
850nm Versus 940nm LEDs
Most cameras use 850nm LEDs, which produce a faint red glow visible if you look directly at the camera. The 940nm variety is genuinely invisible, which suits discreet installations, but it delivers noticeably less usable range for the same power because sensors are less sensitive at that wavelength. If concealment matters more than reach, choose 940nm and mount the camera closer to the area it watches. Otherwise 850nm gives better results, and the visible glow arguably serves as a deterrent in its own right.
Starlight and Low-Light Colour Sensors
Starlight cameras take a different route. Instead of adding light, they use a larger sensor, bigger pixels, and a wider aperture to gather more of the light that already exists. In a suburb with streetlights, porch lights, and a moon, that ambient light is often enough to record usable colour video without any illumination from the camera at all.
The key specification is minimum illumination, quoted in lux. Full moonlight is around 0.1 lux, a dim residential street perhaps 1 lux, and true overcast darkness under 0.01 lux. A camera rated at 0.005 lux in colour is genuinely capable; one claiming 0.001 lux with IR on is quoting a different mode entirely and should not be compared directly. Also check the aperture, expressed as an f-number, where a lower figure such as f/1.0 admits substantially more light than f/2.0.
Where Starlight Falls Short
Starlight sensors need something to work with. In a rural garden with no streetlights and no moon, ambient light approaches zero and even the best low-light sensor produces a noisy, near-black frame. Good starlight cameras handle this by switching to infrared automatically, so you get colour when there is light and monochrome when there is not. That hybrid behaviour is the sensible default for most homes, and many models in our roundup of the best outside cameras operate exactly this way.
Spotlight Cameras and Full-Colour Night Vision
The third approach simply adds visible white light. A built-in LED spotlight turns on when motion is detected, or stays on continuously, and the camera records in full colour as though it were daytime. Colour footage at night is enormously more useful for identification, because clothing, hair, vehicle colour, and skin tone all survive.
The trade-offs are practical rather than technical. A bright light on all night annoys neighbours, attracts insects that then trigger motion alerts, and consumes considerably more power, which is punishing on battery-powered cameras. Motion-triggered spotlights mitigate most of this, but the light takes a moment to reach full brightness, so the first second or two of a clip may still be dark. Some cameras solve that by recording in infrared until the light stabilises, then switching to colour.
Combining Cameras With Separate Floodlights
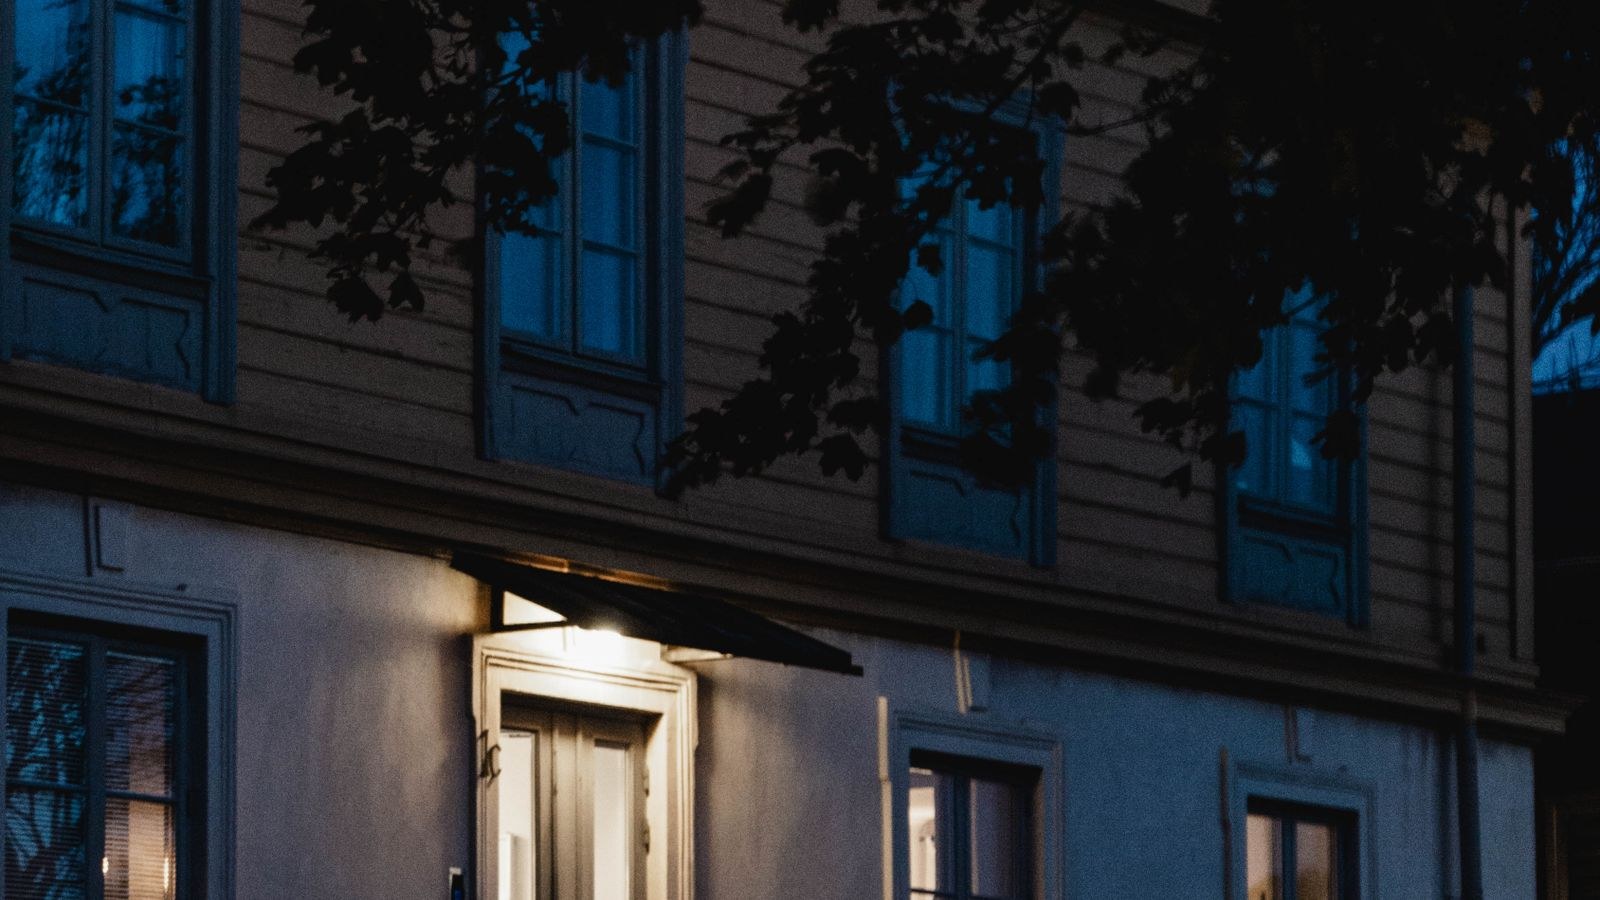
A camera’s built-in spotlight is small and mounted right beside the lens, which can wash out nearby objects while leaving the background dark. A separate, properly positioned floodlight often produces a far better night image than any onboard LED, because the light comes from a different angle and covers a wider area evenly. Motion-activated exterior lighting also serves as a deterrent in its own right, and pairing a good camera with one of the best smart flood lights is frequently cheaper than buying a premium low-light camera.
How Far Night Vision Really Sees
Manufacturers quote infrared range in metres or feet, commonly 30m, 50m, or occasionally 100m for premium units. Treat those numbers as a maximum detection distance under ideal conditions, not as an identification distance. The rule of thumb is that useful, detailed footage extends roughly half to two-thirds of the advertised range, and identification of an unfamiliar face is realistic at perhaps a third of it.
The physics behind this is simple: light intensity falls with the square of distance, so doubling the distance leaves a quarter of the illumination on the subject. Reflectivity matters too. A person in a white coat lights up brilliantly at 20 metres while someone in dark clothing at the same spot barely registers. Rain, fog, and snow scatter infrared badly and can cut effective range by half or more, and a wet driveway reflects light away from the camera rather than back into it.
The IR Bounce-Back Problem
One of the most common night vision failures has nothing to do with range. If a camera is mounted under an eave, behind glass, or close to a wall or railing, its own infrared light bounces straight back into the lens, producing a bright white haze that ruins the whole frame. The same happens with cameras placed inside a window looking out, which is why almost every indoor camera pointed through glass records a useless glare. The fix is placement: keep the lens clear of nearby surfaces, mount outdoor cameras on an open face rather than tucked into a corner, and never rely on infrared through a window.
Choosing the Right Night Mode for Each Position
- Front door and porch: spotlight colour works well because existing lighting is usually present and distances are short. Colour identification here is worth the extra brightness.
- Driveway: starlight colour if streetlights reach it, otherwise a spotlight camera. Vehicle colour is a genuinely valuable detail to preserve.
- Rear garden and boundaries: infrared, because these areas are usually dark, unlit, and lighting them all night is impractical.
- Sheds and outbuildings: infrared with a motion-triggered light nearby, giving discreet monitoring plus a deterrent when something moves.
- Indoors: infrared, since visible light at night in a bedroom or hallway is unwelcome and distances are short enough for IR to perform well.
Higher-resolution sensors help at night too, though not as much as buyers expect, because packing more pixels onto the same sensor area makes each pixel smaller and less sensitive. A well-implemented 4K camera with a large sensor beats a 1080p unit, but a cheap 4K camera with a tiny sensor can be worse after dark than a good 1080p one. The models in our list of the best 4K security cameras are chosen partly on how well they hold detail once the light drops, and the broader guide to the best security cameras covers balanced all-round performers.
Settings That Improve Night Footage Immediately
Software choices matter as much as hardware. Reducing shutter speed brightens the image but blurs anything moving, so a camera set for a pretty static night scene will smear a running figure into a ghost. If your camera allows it, cap the minimum shutter speed around 1/30 second so moving subjects stay legible even if the frame is darker. Turn down excessive noise reduction, which smooths grain away along with facial detail. Set the day-to-night switching threshold sensibly so the camera does not flip modes repeatedly at dusk, and disable any digital zoom that crops away real pixels. These adjustments cost nothing and often improve results more than a hardware upgrade.
Common Night Vision Mistakes
The most frequent error is judging a camera by its daytime demo footage. Ask for or seek out real night samples at the distance you care about before buying, because night performance varies far more between models than daytime performance does. The second mistake is mounting a camera behind glass and expecting infrared to work, which it never does.
Third, many owners install a bright floodlight directly above or behind the camera, pointing into its field of view. The sensor exposes for the light and silhouettes everything else, so the person you wanted to see becomes a black outline. Position lights to illuminate the subject from the side or from the camera’s own direction, never toward the lens. Fourth, spiders love the warmth of infrared LEDs and build webs across the lens, which reflect IR straight back and produce a permanently hazy image. Wiping the housing every few weeks solves it.
Finally, do not assume the camera’s field of view and its infrared coverage match. Illuminators throw a narrower cone than most lenses, leaving dark wedges at the frame edges. Check the night image after installation and adjust the aim so the area that matters sits in the illuminated centre. Systems built around cameras selected for consistent night behaviour, such as those covered in our guide to the best house security cameras, avoid most of these surprises.
Frequently Asked Questions
Is colour night vision always better than infrared?
It is better when there is enough light for it, because colour carries far more identifying detail. In genuine darkness with no ambient or artificial light, infrared produces a usable image where a colour sensor produces noise.
Why does my camera look bright close up and black further away?
That is normal infrared falloff. The illuminator’s light weakens rapidly with distance, and the sensor exposes for the bright foreground. Aiming the camera so subjects appear mid-frame rather than right beside the lens improves balance.
Can I add an external infrared illuminator?
Yes, and it is one of the most effective upgrades for long driveways. A separate IR illuminator mounted away from the camera extends usable range and avoids the bounce-back that plagues on-camera LEDs.
Does higher resolution help at night?
Only when paired with a large sensor and a fast lens. Sensor size, pixel size, and aperture determine low-light performance more than the megapixel count printed on the box.
Will a spotlight camera annoy my neighbours?
It can if left on continuously or aimed across a boundary. Use motion activation, keep brightness moderate, and angle the light down onto your own property to avoid complaints.
Final Thoughts
Night vision is where security cameras earn their keep, and the right choice depends almost entirely on how much light each position already has. Where streetlights or porch lamps reach, a strong low-light sensor recording in colour gives you the descriptive detail that actually helps afterwards. Where there is nothing, infrared remains the dependable option, provided you respect its real range and keep the lens clear of surfaces that bounce light back. Spotlights bridge the gap at entrances where colour matters most and a little brightness is acceptable. Walk your property after dark, note what is already lit and what is not, then pick a night mode per camera rather than one setting for the whole house.









