
 Owen Bradley
 Every smart plug, camera, speaker, and robot vacuum you add to your home is another small computer sitting on the same network as your laptop, your phone, and your file backups. Most of those gadgets receive firmware updates rarely, run software you cannot inspect, and talk to servers you have never heard of. Putting them on their own iot guest network is the single most effective privacy and security upgrade you can make without buying anything new, because almost every modern router already supports it. This tutorial walks through planning the split, creating the network, moving devices across, and fixing the app and discovery problems that usually appear afterwards.
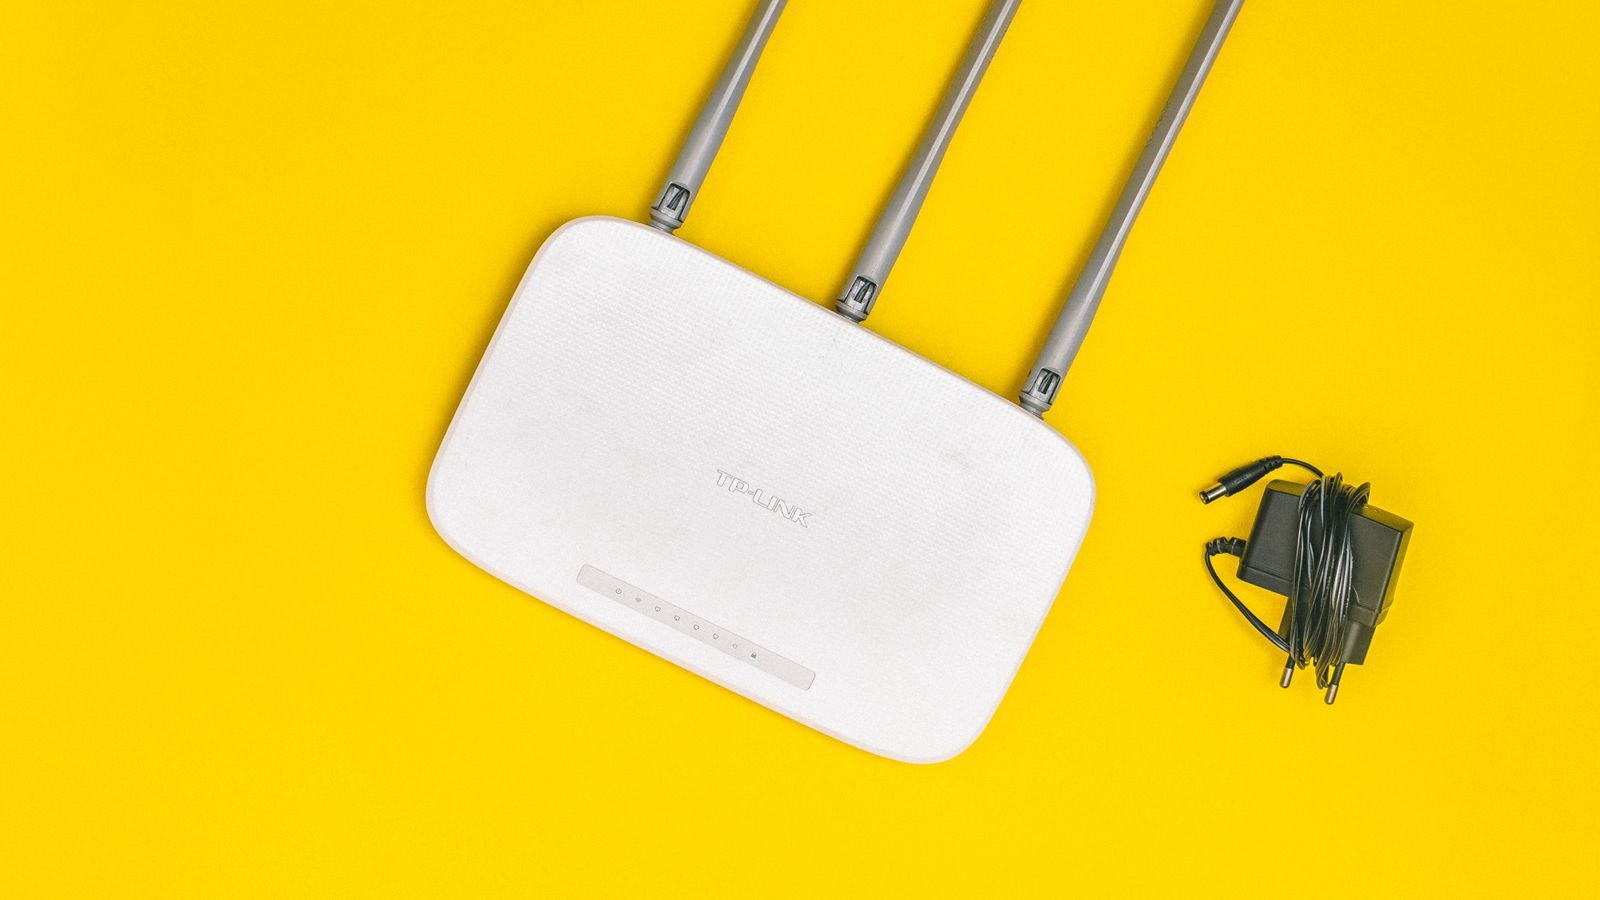
Why Isolating Smart Devices Matters
On a flat home network, every connected device can potentially see and reach every other device. If a cheap camera or an abandoned smart plug gets compromised, an attacker gains a foothold on the same segment as your network-attached storage, your printer, and your work laptop. Isolation limits that blast radius. The compromised device can still misbehave, but it cannot scan or attack the machines that hold your data.
There is a practical benefit too. Smart devices generate constant chatter, and dozens of them competing for airtime on the same band as your laptop can drag down performance. Splitting them off lets you tune each network for what it actually carries: high throughput on one side, wide coverage and low overhead on the other.
Guest Network Versus a True VLAN
Two approaches exist. A guest network is the easy one: nearly every router offers it, it creates a second SSID, and it usually blocks clients from reaching the main network. A VLAN with dedicated firewall rules is the advanced option, available on prosumer and business gear, and it gives you granular control over which devices may talk to which. For the vast majority of homes, a guest network with client isolation configured correctly is more than enough. Start there, and only move to VLANs if you have a specific rule you cannot express otherwise.
What You Need Before You Start
- A router with a guest network feature and, ideally, a separate 2.4GHz SSID option. If yours lacks both, consider one of the best routers with guest network support, which expose these controls clearly.
- Your router’s admin password, not the WiFi password. If you have never changed it from the label default, change it as part of this project.
- A written inventory of every smart device you own, with the app that controls it. You will move them one at a time, and the list keeps you from stranding something in a closet.
- A phone with each vendor app installed and logged in, since most devices are re-added through their app rather than a web page.
- Thirty to sixty minutes of uninterrupted time. Reconnecting devices is not hard, but it is repetitive, and rushing causes mistakes.
Step-by-Step: Building the Smart Device Network
- Log into the router admin interface. Open a browser to the router’s address, typically printed on the label, or use the manufacturer’s mobile app. Sign in with the admin credentials. If the router prompts you to install a firmware update, do it now and let it reboot before continuing, because guest network options are frequently added or fixed in updates.
- Locate the guest network settings. Look under Wireless, Guest Access, or Advanced. You should see options to enable a guest SSID, set its password, and choose whether guests can access the local network. Some routers offer separate guest networks per band, which is exactly what you want.
- Create the SSID and choose the band. Name it something obvious like HomeSmart. Critically, set it to 2.4GHz only if the option exists. Most smart plugs, sensors, and bulbs are 2.4GHz devices and will fail to join, or join intermittently, if the network advertises both bands under one name.
- Set a strong, unique password. Use WPA2 or WPA2/WPA3 mixed mode with a long passphrase. Do not reuse your main WiFi password. Avoid WPA3-only, because many older smart devices cannot negotiate it and will silently refuse to connect.
- Enable client isolation deliberately. This is the setting people get wrong. Full isolation blocks device-to-device traffic within the guest network, which breaks casting, hub discovery, and any local control. If all your devices are cloud-controlled, turn isolation on. If you use a hub, a speaker group, or local automations, leave intra-network communication allowed but keep the guest network blocked from the main LAN.
- Save and confirm the new SSID appears. On your phone, check that the network is broadcasting and that you can connect to it and reach the internet. Fix any problem here before moving a single device.
- Move devices one at a time. In each vendor app, remove the device, factory reset it if instructed, then run setup again and select the new SSID when prompted. Put your phone on the smart network during setup, since many pairing routines copy credentials from the phone’s current connection.
- Verify each device after moving it. Toggle a plug, request a live view from a camera, trigger a sensor. Confirm the action works both on WiFi and over mobile data with WiFi disabled, which proves remote access still functions.
- Rebuild any automations that broke. Routines that reference a removed device usually need the new device re-selected. Walk through your scenes and schedules and repair them before you forget which ones existed.
- Record the final layout. Note which SSID each device lives on, the guest password, and any device you deliberately left on the main network. Future you will need this.
Deciding Which Devices Go Where
Not everything belongs on the isolated network. Use a simple test: does the device handle data you care about, and does it need to reach other devices on your LAN? A network printer, a NAS, and a media server belong on the main network. Smart plugs, bulbs, sensors, doorbells, cameras, robot vacuums, and smart appliances belong on the isolated one.
Streaming devices are the awkward middle case. A TV stick you cast to from your phone must be reachable by that phone, so keep both on the same side of the divide or accept that casting stops working. Many households put the TV and phones on the main network and everything else on the smart network.
Hubs and Bridges Need Special Handling
If a hub coordinates your sensors, the hub and its children must be able to reach each other. Put the hub on the smart network alongside its devices rather than splitting them. Where the hub uses a wired connection, check whether your router can assign a LAN port to the guest segment. If it cannot, keeping the hub on the main network is a reasonable compromise, since a good hub is generally better maintained than the sensors it manages. Households running many protocols at once often benefit from routers designed for that load, and our roundup of the best routers for smart home setups covers models that handle high device counts without stalling.
Fixing the Problems That Usually Appear
A device refuses to join. Nine times out of ten this is a band problem. Confirm the guest SSID is 2.4GHz only, temporarily disable the 5GHz radio during pairing if you cannot separate the names, and move the phone within a few feet of the device. Some devices also reject SSIDs or passwords containing unusual characters, so keep both alphanumeric with simple punctuation.
The app finds nothing during setup. Local discovery relies on multicast traffic that guest networks often block. Look for a setting named multicast, mDNS, Bonjour, or IGMP snooping and enable it for the guest network. Also grant the app local network permission in your phone’s privacy settings, a step that trips up a surprising number of installs.
Voice assistants cannot see devices. The speaker and the devices must be able to talk. Either move the speaker to the smart network, or rely on cloud-linked accounts, which work across networks but respond slightly slower.
Cameras stream on WiFi but not remotely. Check that the guest network still has full internet access and that no parental control or content filter is applied to it. Some routers throttle guest bandwidth by default, which starves video uploads.
Hardening the Setup Further
Once the split works, spend ten more minutes on the details that make it durable. Disable WPS, since it undermines a strong password. Turn off UPnP unless a device demands it, and if one does, forward the single port manually. Disable remote administration of the router from the internet, and enable automatic firmware updates if offered. Routers that make these controls easy to reach are worth the upgrade, and the best secure WiFi routers tend to bundle automatic updates with clearer firewall options.
Coverage Considerations for Larger Homes
Sensors and plugs often sit in garages, basements, and outdoor corners where signal is weakest. If your single router struggles to reach those spots, the isolated network will be the first to suffer, because 2.4GHz devices with small antennas have little margin. A multi-node system that broadcasts the same guest SSID from every unit solves this cleanly. Comparing the best mesh WiFi systems is a sensible next step if you regularly see devices drop offline in the same physical locations, and a broader look at the best WiFi routers helps if a single stronger unit would cover the same ground for less.
Common Mistakes to Avoid
- Enabling full client isolation without checking dependencies. It looks like the secure choice and quietly breaks half your automations.
- Using one SSID for both bands on the smart network. This causes intermittent failures that are maddening to diagnose weeks later.
- Reusing the main WiFi password. If it leaks from a cheap device, the isolation you built means nothing.
- Moving every device in one sitting without testing. Verify each one as you go, or you will not know which change caused a failure.
Frequently Asked Questions
Does a guest network slow down my smart devices?
Not meaningfully. Guest traffic shares the same radios, but smart devices use so little bandwidth that the difference is invisible. If your router applies a default guest bandwidth limit, raise it enough to comfortably carry camera uploads.
Can I still control everything when I am away from home?
Yes. Remote control runs through the vendor’s cloud service, which only needs internet access from the device. Isolation blocks local traffic between segments, not outbound connections.
What if my router does not offer a guest network?
You have three options: update the firmware, add a second inexpensive router behind the first and connect smart devices to it, or replace the router. The second option works well and costs little, though managing two admin interfaces is slightly more effort.
Final Thoughts
Splitting your smart devices onto their own network is a genuinely high-value hour of work. It contains the risk from the least trustworthy hardware in your home, cleans up wireless congestion, and gives you a clear mental map of what is connected. Start with a 2.4GHz guest SSID and a strong unique password, move devices one at a time while testing each, and adjust isolation only as far as your automations allow. Do that once and the arrangement will quietly protect your home for years, no matter how many gadgets you add along the way.









