
 Owen Bradley
 Swapping an old floodlight for a floodlight camera is one of the highest-value security upgrades a homeowner can do in an afternoon. The junction box, the wiring and the mounting point already exist, so you are not running new cable or drilling through siding. What changes is that the fixture now sees, records and alerts instead of simply lighting up. This guide covers how to install a floodlight camera safely: cutting power at the breaker, checking that the existing box and wiring can support the new fixture, making the connections, sealing the mount against weather, and aiming both the lamps and the lens so you get useful footage rather than a wall of glare.
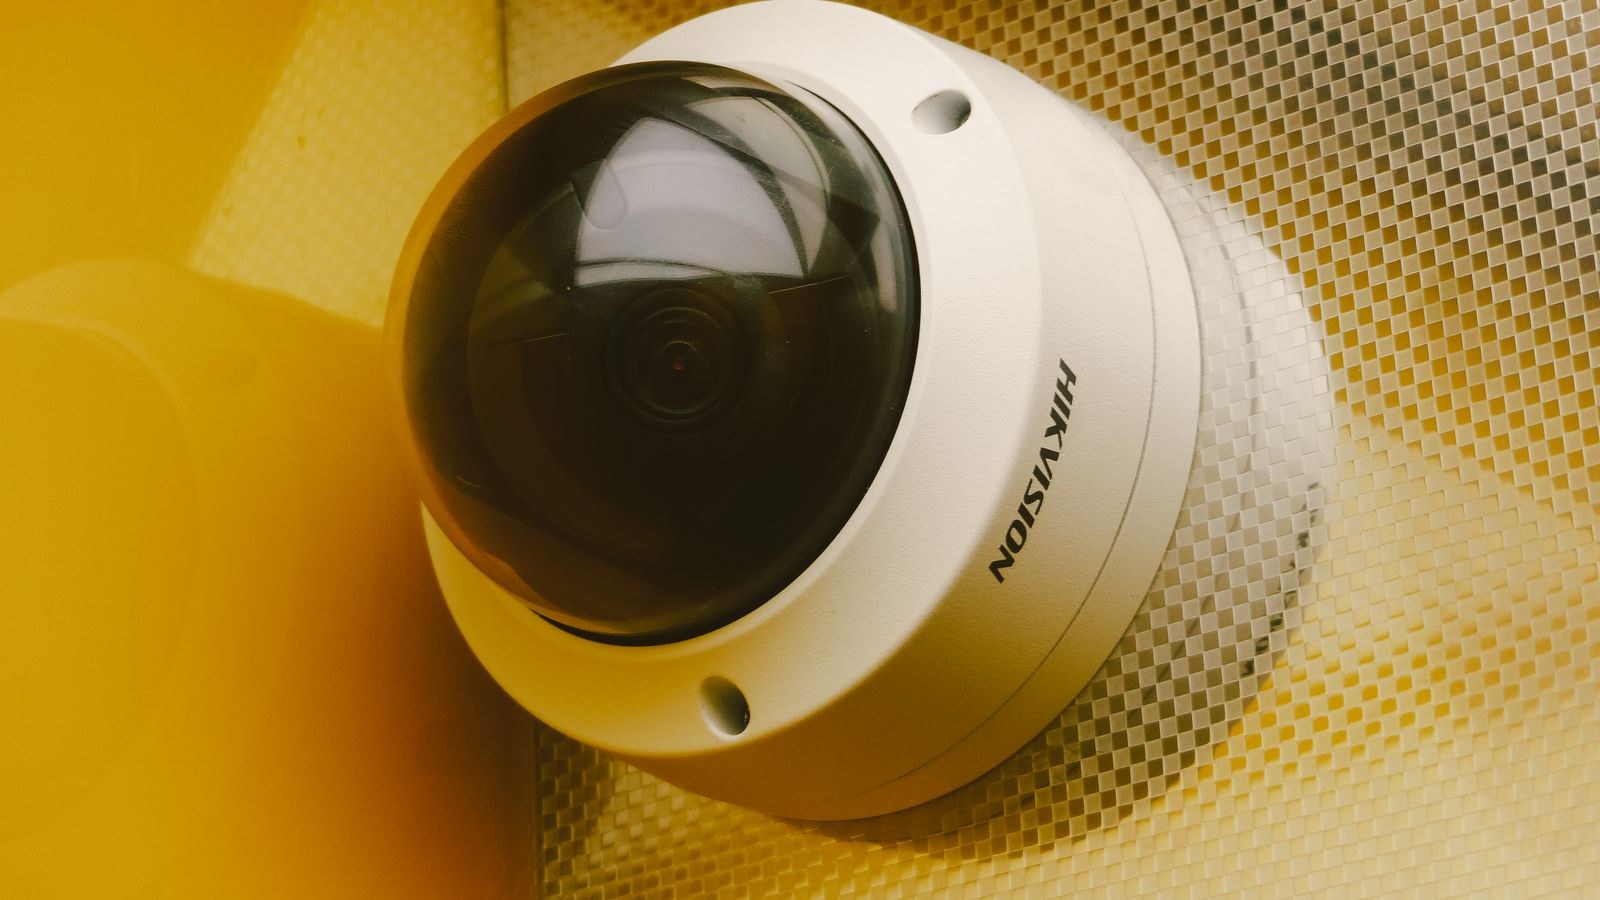
Tools and Materials You Will Need
- Non-contact voltage tester — the one tool you must not skip.
- Screwdrivers, both Phillips and flat, plus a nut driver if your box uses hex screws.
- Wire strippers and a few spare wire connectors sized for the conductors.
- Stable ladder rated for your weight plus the fixture, on firm level ground.
- Exterior silicone caulk for sealing the mounting plate against the wall.
- Drill and appropriate anchors if the new bracket does not line up with existing holes.
- Phone with the manufacturer’s app installed and your Wi-Fi password on hand.
- Helper to hold the fixture while you wire it, since these units are heavier than a plain lamp.
Check Compatibility Before You Buy or Climb
Three things decide whether the swap is straightforward. First, the fixture must be on a circuit with constant power. Many floodlights are wired through a wall switch, and if someone turns that switch off the camera goes dark. Plan to leave the switch permanently on, or replace it with a blank plate or a smart switch that cannot be casually flipped.
Second, check the junction box. A floodlight camera weighs noticeably more than a bare lamp head, and the box must be rated for the load and firmly attached to structure rather than dangling from siding. Third, confirm Wi-Fi reach. Stand at the fixture location with your phone and check signal strength; a weak connection there means dropped clips and long app delays no matter how good the camera is.
Step-by-Step Installation
- Turn off the breaker, not just the switch. Find the correct breaker in your panel and switch it off. Put a note on the panel so nobody restores it while you are on the ladder.
- Verify the circuit is dead. Hold a non-contact voltage tester against the existing fixture wires. Test the tester on a known live outlet first so you know it works, then test at the fixture. No beep, no light, proceed.
- Photograph the existing wiring. Before disconnecting anything, take a clear photo showing which conductor goes where. This costs seconds and saves confusion later.
- Remove the old fixture. Loosen the mounting screws, support the fixture’s weight, then untwist the wire connectors and separate black, white and ground. Lower the old unit carefully.
- Inspect the box and conductors. Look for cracked insulation, corrosion, scorch marks or a box full of water. Any of these means stopping and calling an electrician rather than pressing on.
- Attach the new mounting bracket. Fit the bracket supplied with the camera to the junction box. If the holes do not align, use the adapter plate in the box rather than forcing screws. Make sure it sits flat and tight.
- Connect the wires. Ground to ground first, then white to white (neutral), then black to black (hot). Twist each pair, cap with a connector, and give a gentle tug to confirm nothing pulls loose.
- Tuck the wiring and seat the fixture. Fold the conductors neatly into the box so nothing is pinched, then mount the camera body to the bracket and tighten the retaining screws evenly.
- Seal the top and sides. Run a bead of exterior caulk along the top edge and both sides of the mounting plate, leaving the bottom open so any moisture that gets in can drain out.
- Restore power and pair the camera. Switch the breaker back on. The unit should power up and enter setup mode. Follow the app prompts to join your Wi-Fi and update firmware before final aiming.
- Aim the lamps and the lens separately. Point the lamp heads down and outward to wash the approach without shining into the lens or a neighbor’s window. Then set the camera angle using the app’s live view.
- Tune motion zones and sensitivity. Mask out the street, a busy sidewalk or trees that sway, and test by walking the area at night to confirm you get alerts where it matters and silence elsewhere.
Getting the Aim Right
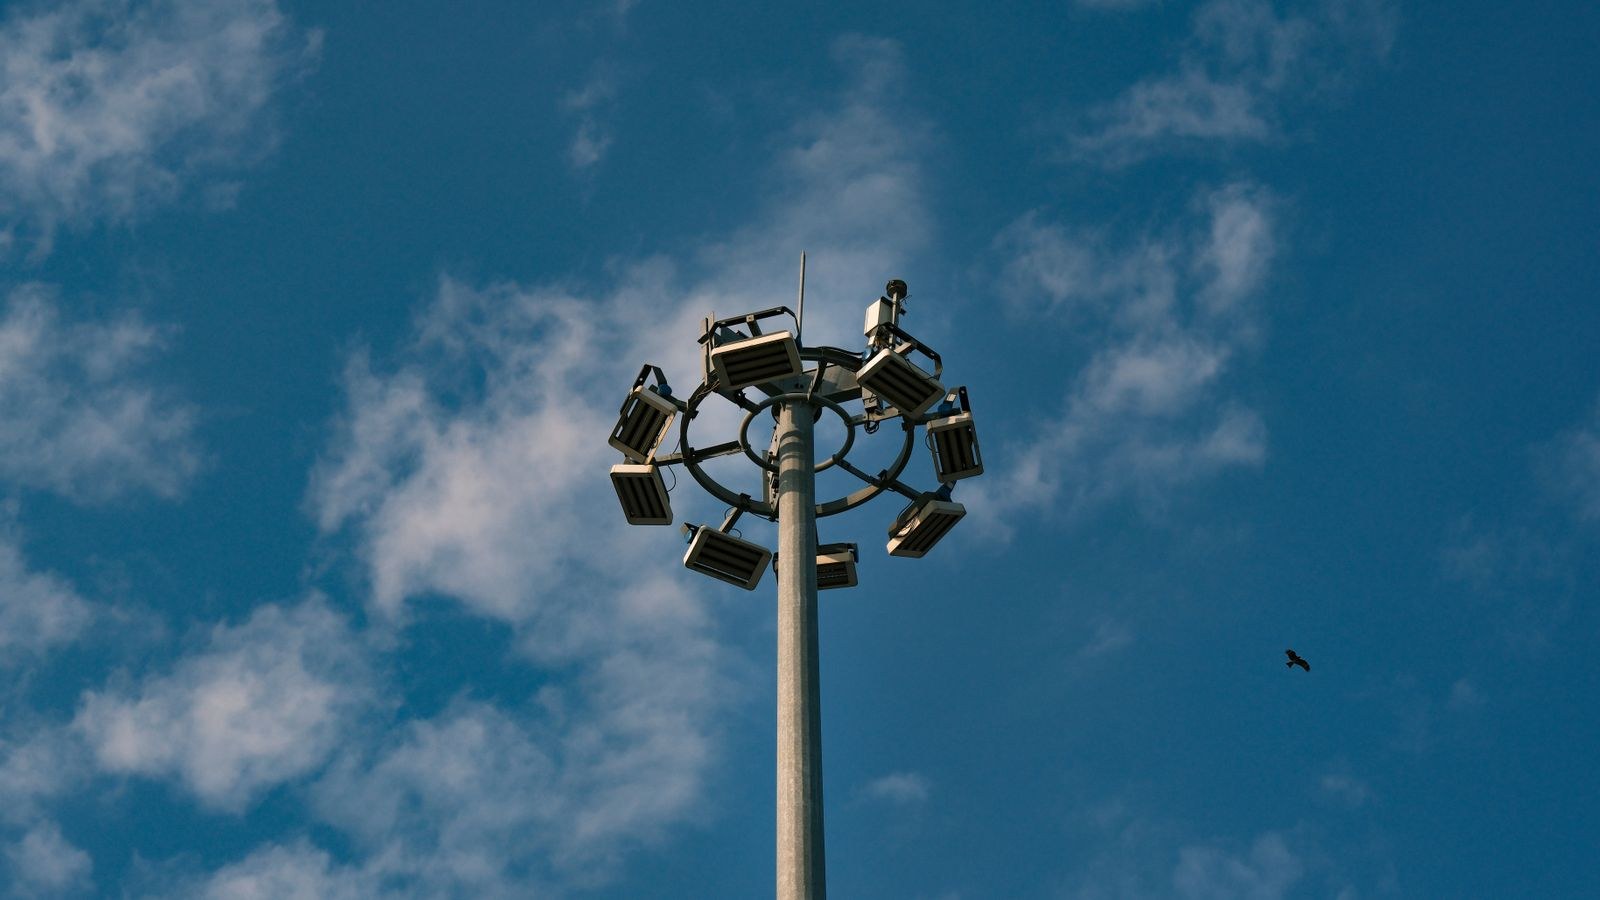
Aiming is where most installs succeed or fail. The classic mistake is pointing the lamp heads straight out at eye level, which blinds anyone approaching, throws light into windows and creates a bright hotspot that the camera’s exposure fights all night. Angle the heads roughly forty-five degrees downward so the pool of light lands on the ground you care about, then splay them slightly apart to widen coverage.
For the camera itself, mount height of about nine to ten feet gives a useful compromise: high enough to be out of easy reach, low enough that faces are recognizable rather than tops of heads. Aim so the horizon sits near the top of the frame and most of the image is ground, path and doorway. Check the night view in the app, not just daytime, because infrared and light bounce look completely different after dark.
Safety Rules Worth Repeating
Never work on a fixture that is only switched off at the wall. A wall switch may break the neutral instead of the hot in older wiring, leaving the fixture live. Always kill the breaker and always verify with a tester. Do not work in the rain, do not overreach from a ladder, and set the ladder on level ground with a helper steadying the base.
If the existing box has no ground wire, the wiring is knob-and-tube or cloth-covered, or the box wobbles when you touch it, that is an electrician’s job. The same applies if you find aluminum conductors, which require special connectors. Spending a service call to make an outdoor circuit safe is far cheaper than a fire or a shock.
Troubleshooting After Install
- No power at all. Recheck the breaker, then confirm the wall switch is on and the wire connectors are fully seated.
- Lights work but the camera will not connect. Wi-Fi is too weak at that wall. Add a mesh node or extender nearer the fixture, or move the router.
- Constant night alerts. Insects drawn to the lamps cross the lens. Reduce sensitivity, narrow the motion zone and keep the lamp heads angled away from the lens.
- Washed-out night footage. The lamps are lighting the camera rather than the scene. Rotate them further out and down.
- Lights stay on continuously. Check whether a schedule or manual override is enabled in the app, and confirm the dusk sensor is not facing another light source.
Common Mistakes to Avoid
Skipping the caulk is the most common long-term error. Water tracking behind the mounting plate corrodes connections and eventually kills the fixture, often a year or two later when you have forgotten the install. A minute with a caulk tube prevents it.
The second mistake is mounting too high. Eave-level installs at fourteen feet look tidy and produce footage of shoulders and hats. Nine to ten feet is far more useful. The third is treating the floodlight camera as a complete system when it only watches one approach. Pair it with dedicated coverage elsewhere; our roundup of the best outside cameras covers angles a floodlight fixture cannot reach, and the best smart flood lights are worth comparing if you want app-controlled lighting on additional walls.
Frequently Asked Questions
Can I install a floodlight camera myself?
If you are replacing an existing hardwired fixture, the box is sound and there is a ground wire, most homeowners can do it safely with the breaker off. New wiring runs or a questionable box call for an electrician.
Do I need to leave the wall switch on?
Yes. The camera needs constant power. Leave the switch on permanently, or swap it for a smart switch so nobody kills the circuit by habit.
Will it work without Wi-Fi?
The lights will, but recording, alerts and live view will not. Confirm signal strength at the fixture before you buy.
Should I add plain motion lights too?
Often yes. Cameras need light to produce color footage, and lighting the perimeter reduces dark gaps. Compare the best motion security lights and the best exterior motion sensor lights, and see our walkthrough on how to install motion sensor lights for non-camera fixtures.
Final Thoughts
A floodlight camera swap rewards patience far more than speed. Kill the breaker and verify it, inspect the box before committing, connect ground first and seal the top edge properly. Then spend real time on aiming, because a fixture that lights the ground and frames the walkway at a sensible height gives you footage you can actually use, while one blasting light at eye level gives you glare and false alerts. Get those two things right and the fixture you replaced in an afternoon will keep earning its place for years.









